
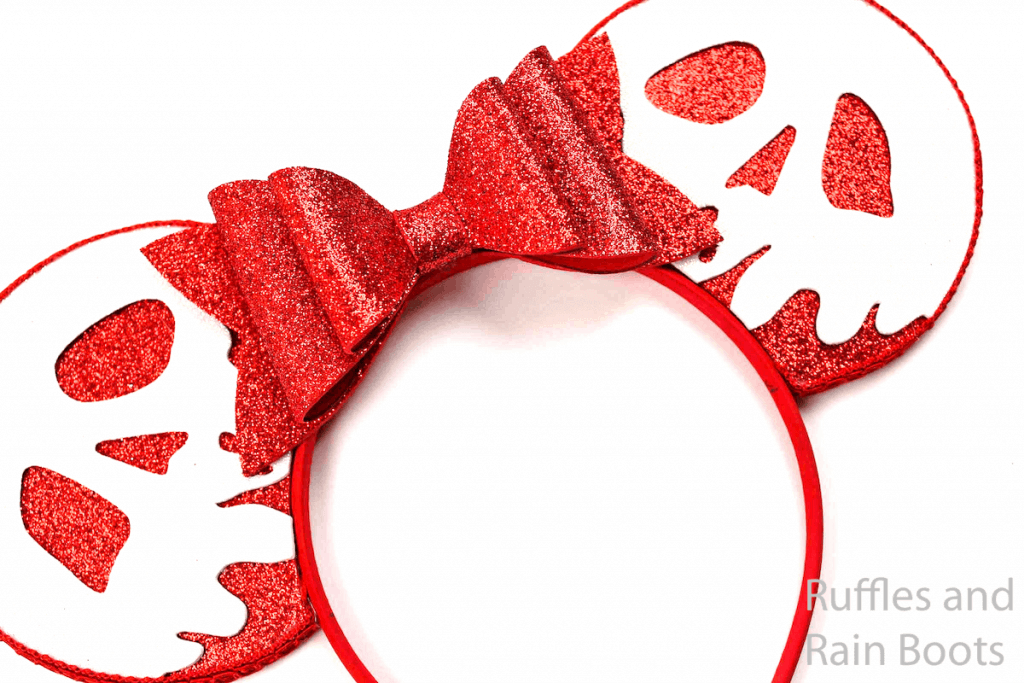
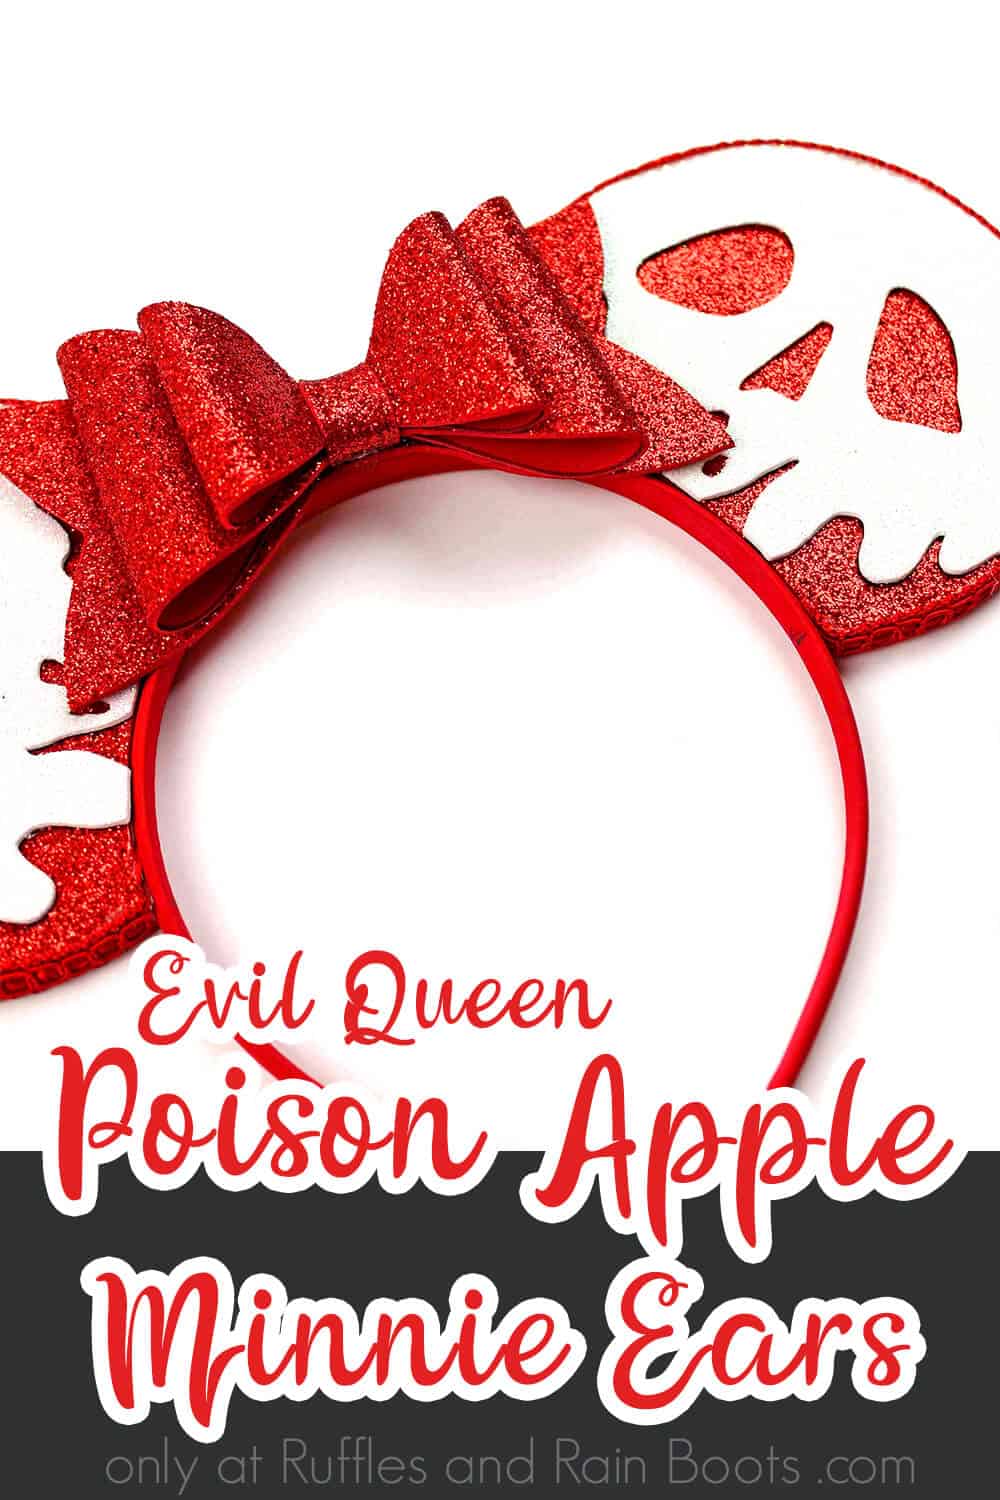
These Evil Queen Poison Apple Minnie Ears are so Easy!
These poison apple Minnie ears are so very simple. Not only is the poison apple design perfect for the Evil Queen Mickey ears, but it’s also perfect for Disney at night!
What You'll Find On This Page
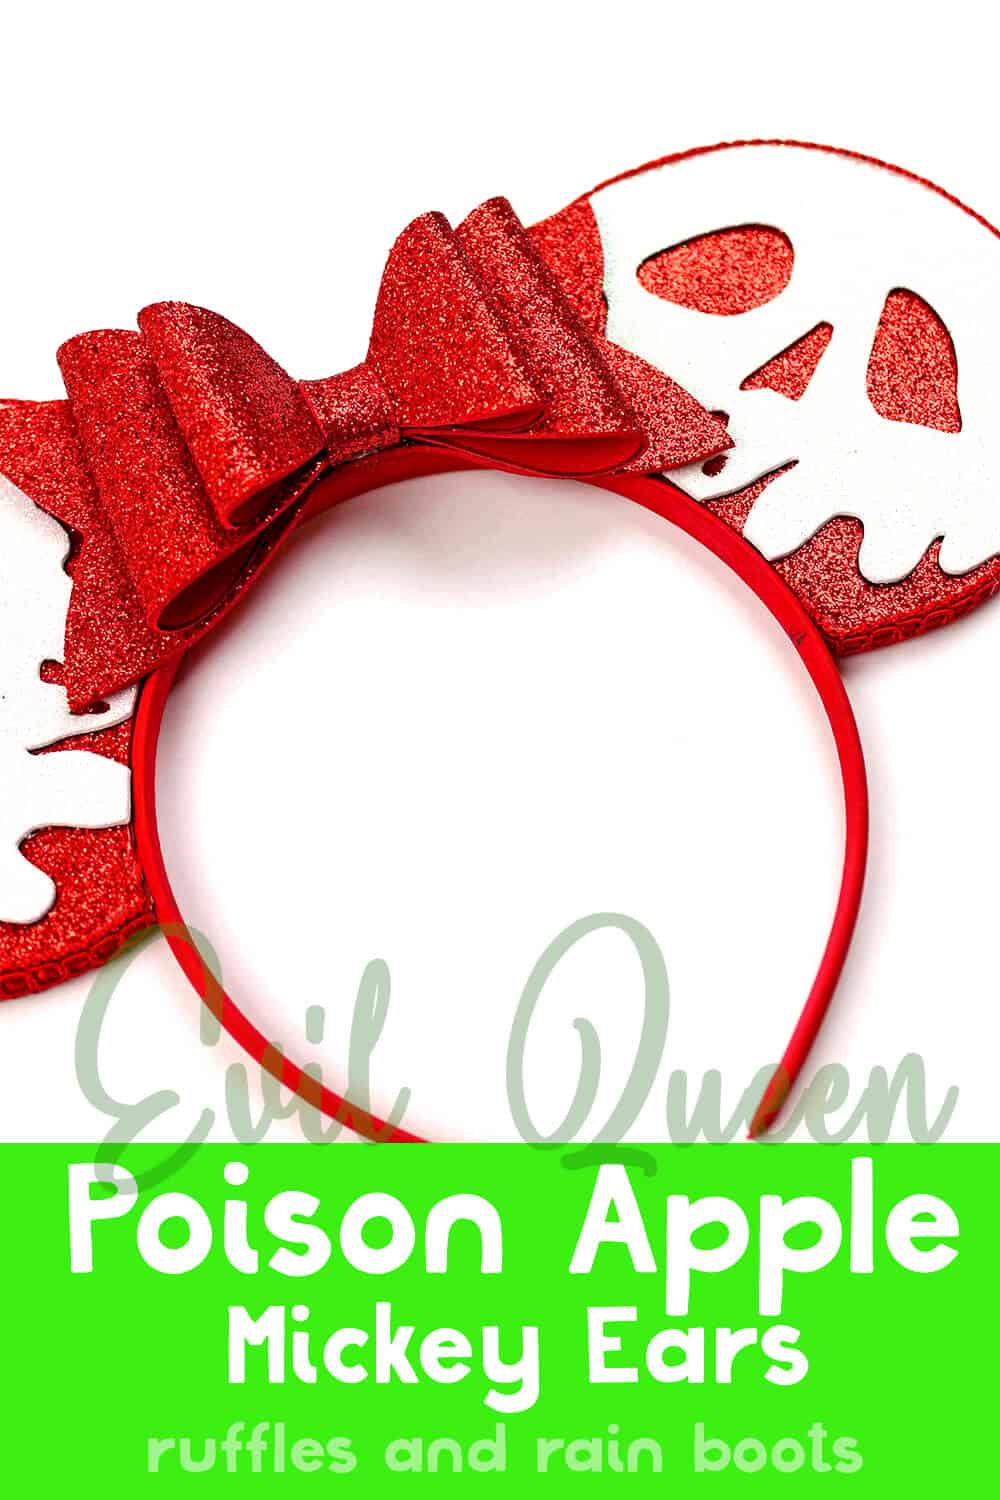
Poison Apple Minnie Ears
Here at Ruffles and Rain Boots, I have a dark side. It’s nothing truly wicked, but it’s fun to enjoy the villainous side of things. I made these awesome poison apple Minnie ears for Disney at night – they’re going to be perfect for Mickey’s Not So Scary Halloween party.
Even if you don’t have a drawing bone in your body, you can make them with the free printable template! Let’s get started.
RELATED READING: THE BEST VILLAIN MICKEY EARS
No Time to Make This Now? Share or Save It
You’re busy, I get it. Save this to your favorite DIY Mickey ears pin board or share it in the Disney ears Facebook groups.
Tips to Make Evil Queen Minnie Ears
- Click here to download the free printable template for these poison apple Mickey ears.
- If you can find it (it sells out quickly) grab the glow in the dark foam. Oh my goodness, it’s SO much fun and it doesn’t matter what other color you choose (stick with a deep tone) for optimum contrast.
- Be really careful with your hot glue gun. If you make a little mess or have some squeeze-out, remove it quickly. You can use an exacto knife for this or even a pencil. Because these don’t have any wrapping around the headband, there’s little room for forgiveness with messy hot glue.
- If you can’t find white foam, you can use felt on your Evil Queen Minnie ears. It doesn’t need to be foam. Just be aware that it will look a little bit different than mine, but it wills till look great.
How Do I Make Poison Apple Minnie Ears?
I’m so glad you asked. Below is our written tutorial. If you are creating a DIY Mouse ears playlist on YouTube, here is our Poison Apple Minnie ears video tutorial.
Poison Apple Minnie Ears

These poison apple Minnie ears are so very simple. Not only is the poison apple design perfect for the Evil Queen Mickey ears, but it's also great for Disney at night at Halloween!
Materials
- 1 White Foam Sheet
- 2 Red Glitter Foam Sheets
- Red Ribbon Trim
- Red Headband
- Free Printable Template
Tools
- Scissors
- Hot Glue
- Marker or Pen
Instructions
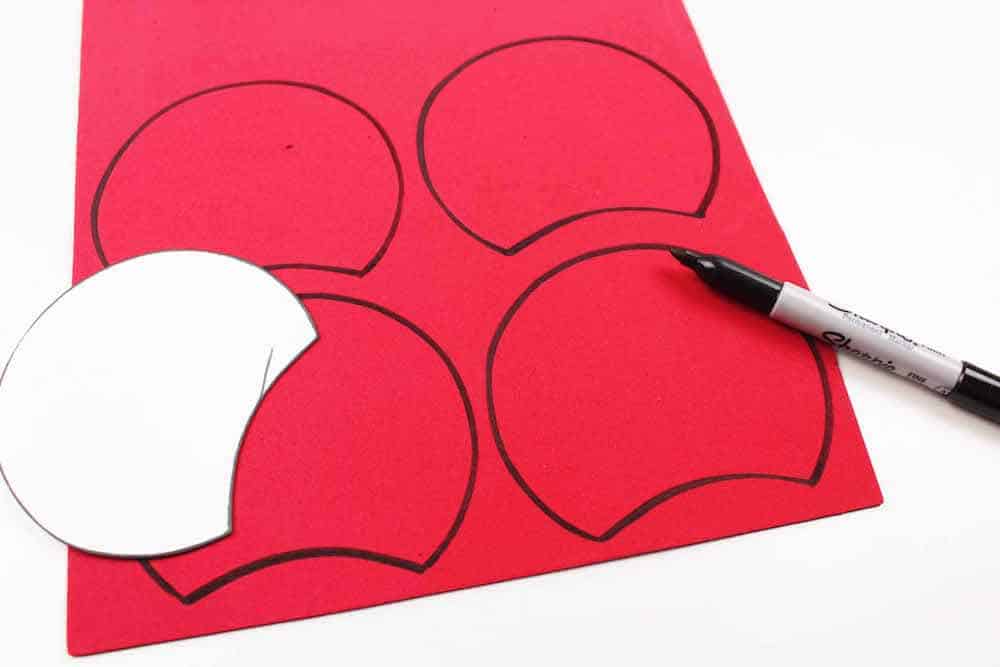
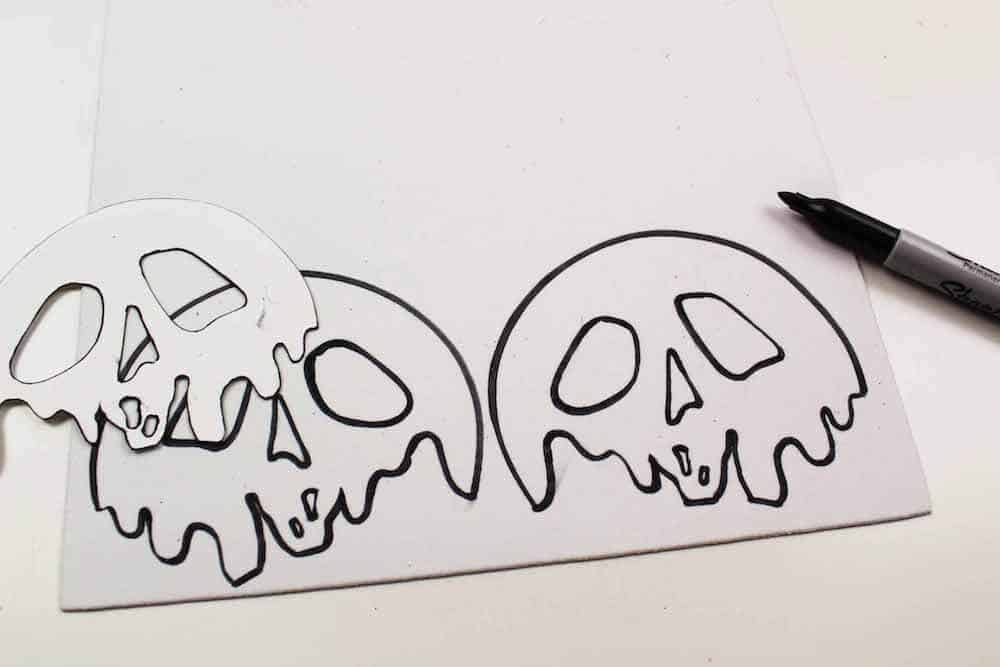
- Download the printable template and cut out each of the pieces of the template.
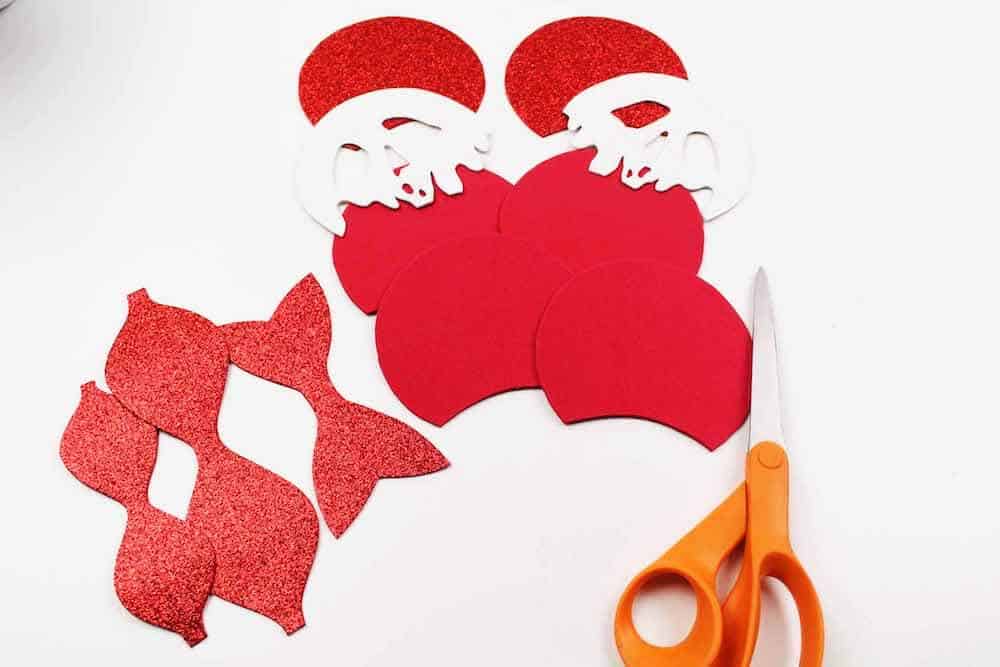
- Trace the round ear shapes onto the back of the red glitter foam sheets 6 times. Cut out the red glitter ear shapes. Set aside.

- Trace the poison apple skull shape onto the back of the white foam sheet 2 times. Cut out the poison apple skull white foam shapes. Set aside.
- Trace the ribbon template pieces onto the back of the red glitter sheet once. Cut out the ribbon template pieces foam shapes. Set aside. You should have all of the shapes cut out for the project.
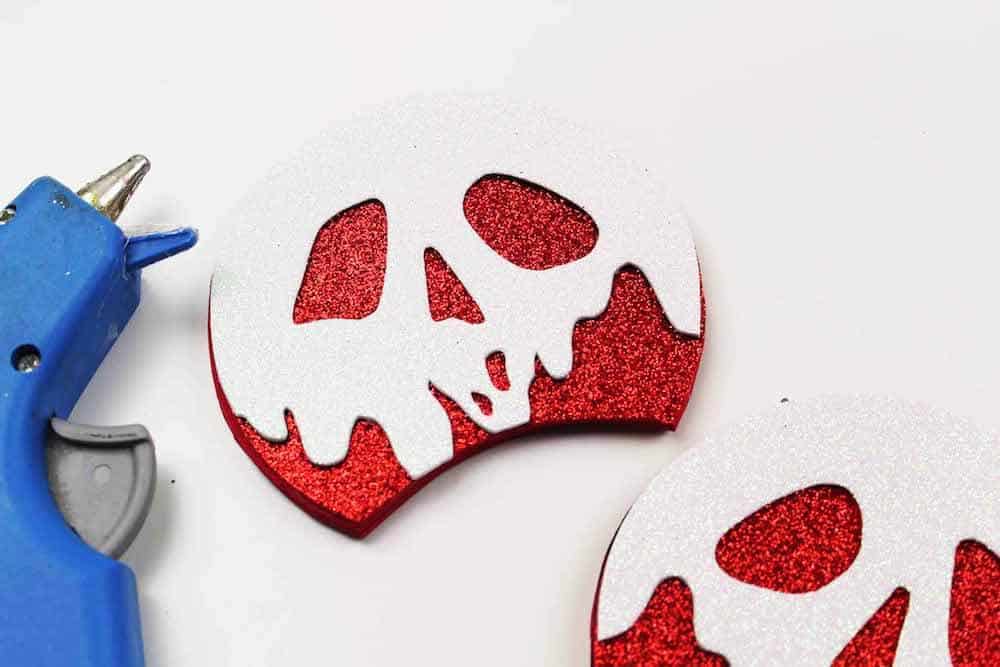
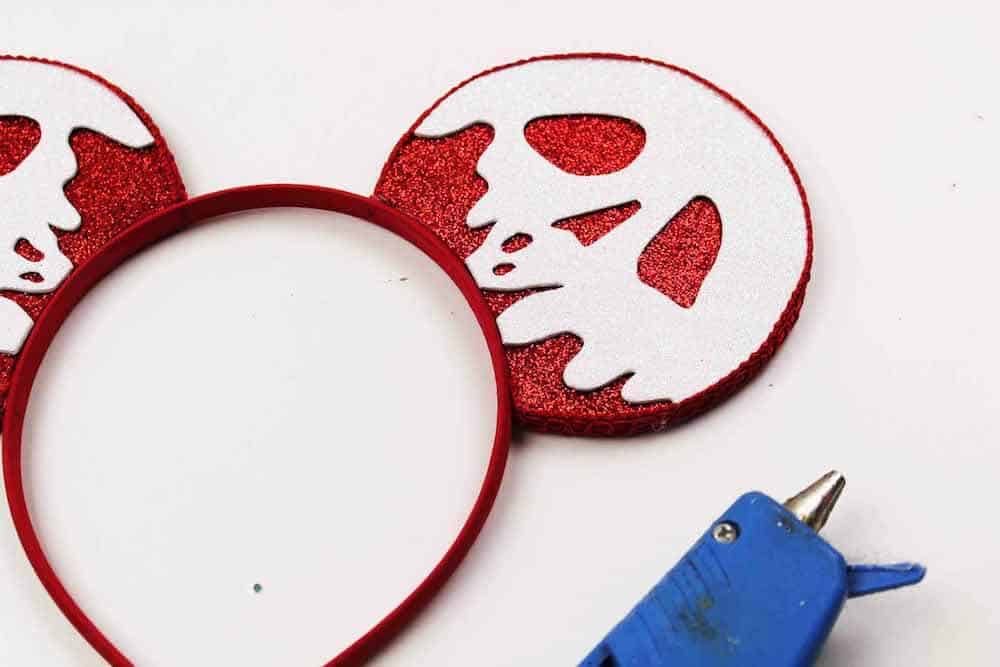
- Hot glue three of the red ear shapes together with the glitter facing outward on front and back. Hot glue a white skull shape to the front of the ears. Repeat for the other ea and set aside.
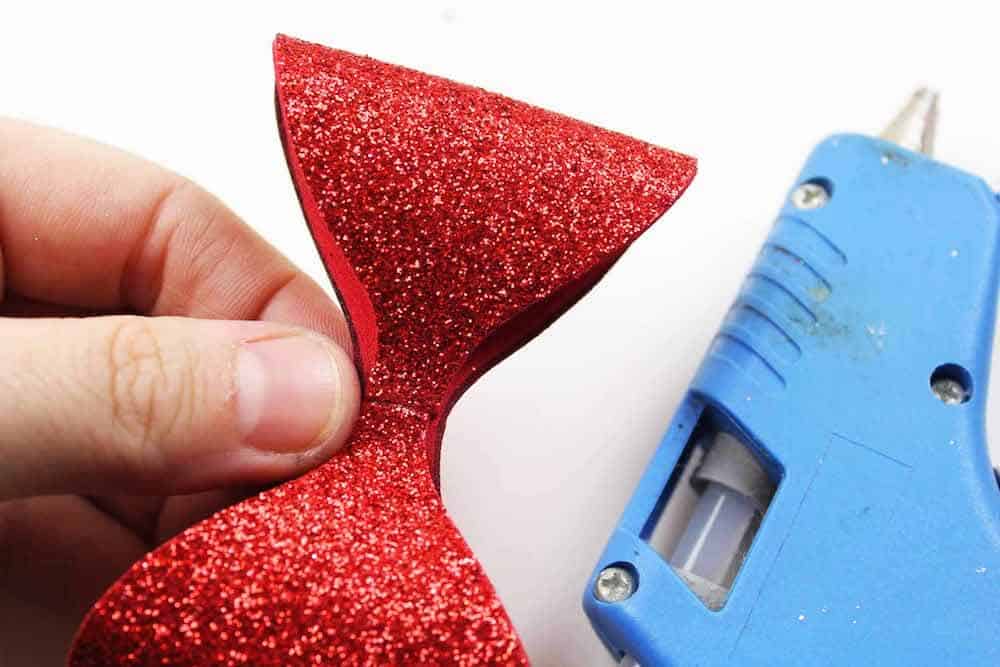
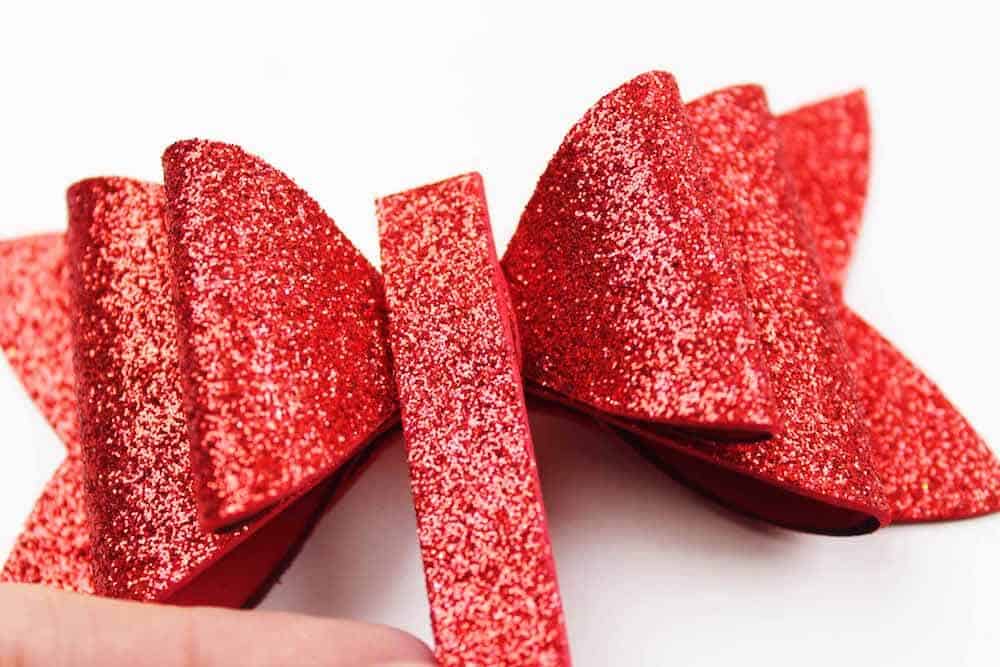
- To make the bow, fold the largest hourglass shape (the one with tabs) in a loop and hot glue the two tabs together, with the glitter on the outside. Press this shape down in the center at the tabs and hot glue in place.
- Fold the smaller hourglass shape (the one with the tabs) in a loop and hot glue the two tabs together, with the glitter on the outside. Press this shape down in the center at the tabs and hot glue in place.
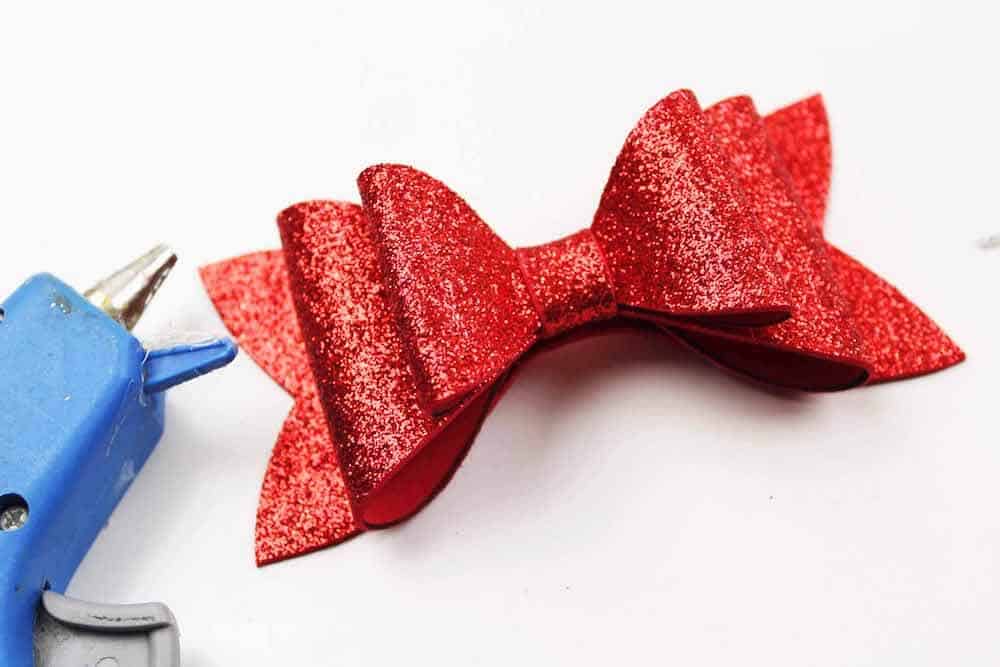
- Hot glue the larger of the two shapes to the ribbon tail shape with the glitter side up. Hot glue the smaller of the two shapes to the center of the larger ribbon shape.
- Cut a small strip of red glitter foam and wrap it around the center of the bow, hot gluing it in place.
- Set aside.
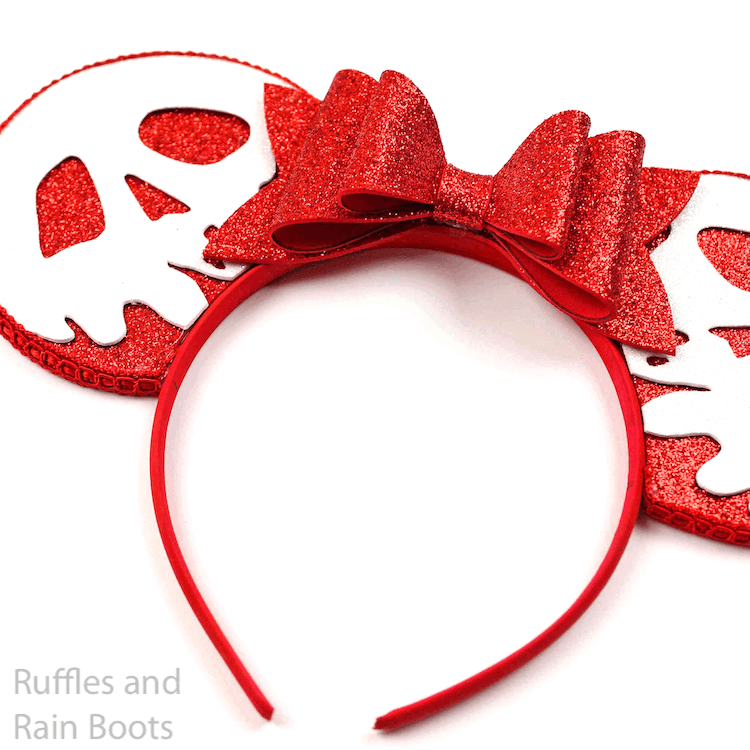
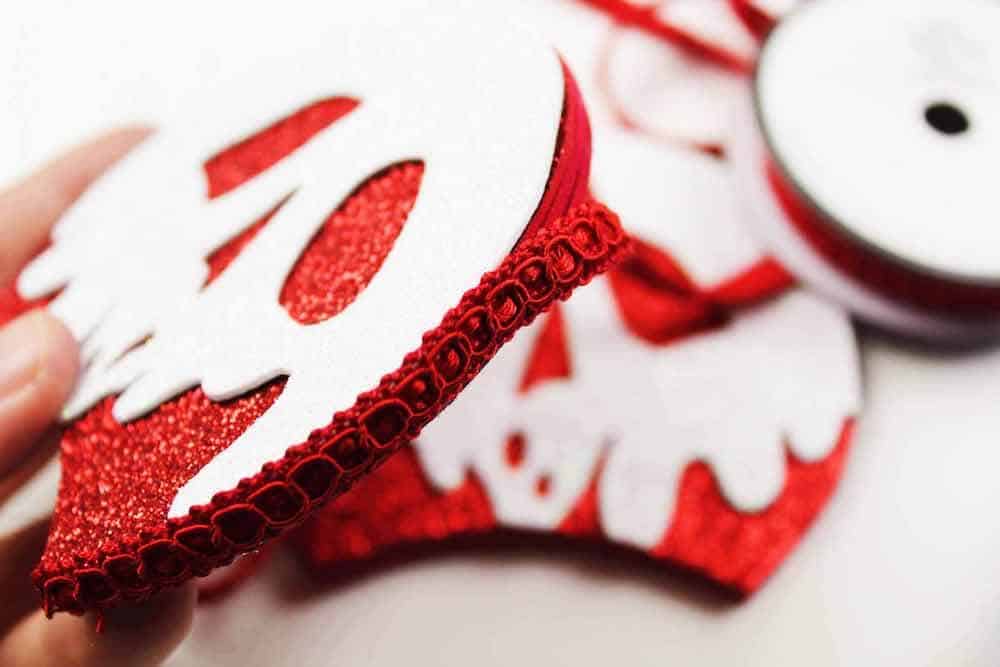
- Glue the ribbon trim around the edge of the ears.
- Glue the ears in place on the headband. Hot glue the bow in place on the center of the headband.
Notes
For more fun DIY Mickey ears, visit Ruffles and Rain Boots.
Creativity, Delivered
Would you like inspiration delivered right to you each week? Sign up for the once-weekly Ruffles and Rain Boots newsletter and you’ll get that and more! Get access to the exclusive libraries full of free SVGs, hand lettering practice, and so much more.
More Diy Mickey ears You Might Like
- Moana Mickey Ears – Not only are these ears reminiscent of the ocean wave that Moana befriends, but the flowers are so pretty. And surprisingly easy!
- The Very Best Villain Mickey Ears – If you’re looking for a little evil, this is the best resource for villain Mickey ears you can make or buy!
- All Sorts of Awesome DIY Mickey Ears and Minnie Ears – Every Mickey ear we’ve ever made at Ruffles and Rain Boots!
Please Save or Share This
Your shares are how this site grows and I am sincerely grateful. Know a friend who’d like this? Please share it on Facebook or save it to your favorite Disney crafts pin board.

Did you delete the template? I clicked over & it says the folder is empty.
No, it’s still there. Can you access it with this? https://drive.google.com/file/d/1u9_42sXh5p1AP-XzDDUdczatqZKvAMR3/view?usp=sharing
So cute