
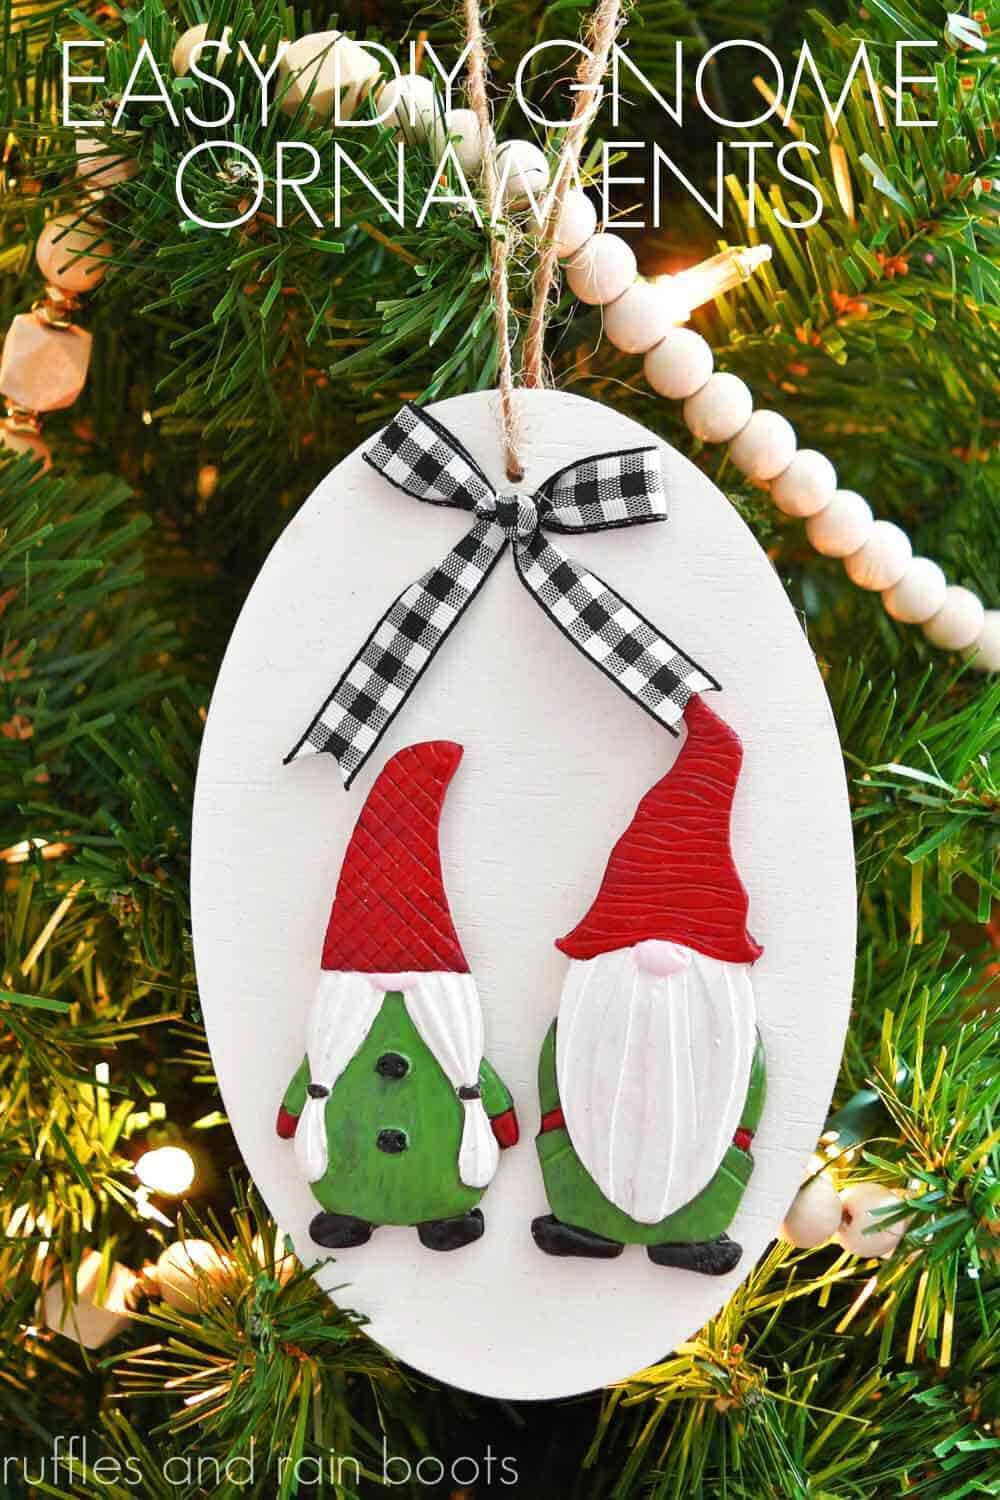
DIY Plaster Gnome Ornament for Christmas Trees or Packages
Using a pre-made gnome mold, you can make a plaster gnome ornament (or a set) quickly and easily. Whether painted or left white, you can make this Christmas craft to fit any decor.
I loved this easy craft so much that I ended up making quite a few of them and creating package tags, too. No one will know that you made these – they look so high end! Follow the full gnome ornament video tutorial or step by step written tutorial below.
What You'll Find On This Page
Plaster Gnome Ornament Tutorial
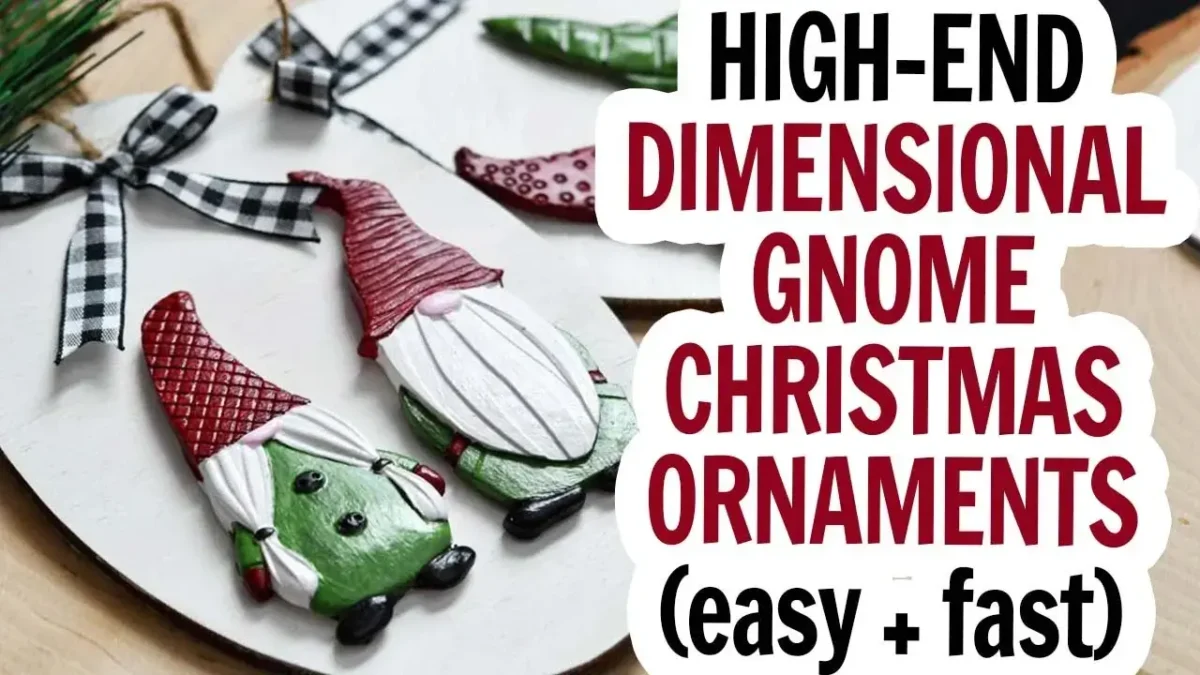
Here at Ruffles and Rain Boots, I have shared quite a few ways to make your own Christmas gnome ornaments (I will link a few below). This year, I wanted to challenge myself to recreate a set of high-end, 3-dimensional ornaments I saw once in Europe many years ago.
Because many of us aren’t sculptors (I am really, really not that talented), my plan was to hunt down and use a pre-made gnome mold. And guess what? After a few tries, I figured out what worked best and I couldn’t be happier with the result! If you’d like to make your own gnome ornaments, let’s get started.
RELATED READING: Plaster Gnomes Made in Minutes!
No Time to Make These Plaster Ornaments Right Now?
If you need to order the mold, be sure to save or share this free tutorial. Most people save it to a holiday pin board or share it to a crafting Facebook group.
Speaking of Facebook, be sure to join the Facebook group here. We’d love to have you!
As an Amazon Associate, I could earn from qualifying purchases. There could be affiliate links within this article.
Tips for Making Plaster of Paris Christmas Ornaments
- I used this silicone gnome mold and was very impressed with the quality. I sent another one back because they were wafer thin and just flimsy, but this one was solid and the details came out perfect.
- The way in which you ‘mix up’ the plaster matters. I’ve been working with this stuff a while and will say that adding the powder to the water is the way to go. Place the water in the bowl and add the entire amount of plaster. Let it sit (no stirring) until most of the powder is absorbed and then fold the rest together slowly to avoid bubbles.
- Do not un-mold the plaster gnomes until they have fully set. Because of the mold I used, these were dry in no time at all.
- Please use a dust mask when working with plaster of Paris. You should have it on when you mix, un-mold, sand, and when you are cleaning up any excess powder.
- Be sure to scrape off any extras pieces from the back of the gnome ornaments so they can be securely adhered to the wood.
Easy Plaster Christmas Ornaments Video Tutorial
I’m so glad you want to make these cute Christmas gnome ornaments. I had a lot of fun putting this set together and my daughter was even able to make and paint her own.
Below for the written and printed instructions. If you’re a visual learner, click here for the full, step by step DIY Plaster Gnome Ornaments video tutorial.
3D Gnome Ornaments – DIY Plaster Gnome Ornaments
Below is the step by step process on how to put these adorable ornaments together. Keep this page open and follow along, using the comments for any questions.
Add 1 part water into a bowl and to it add 2 parts Plaster of Paris. Let sit.
Lay out the silicone gnome molds on a flat, protected surface. Fold the plaster in the water (do not stir) and spoon it into the molds. Use the skewer to ensure the plaster gets into all of the areas. Scrape the popsicle stick over the back to make sure the backs are flat and set aside to dry.
Un-mold the gnomes and clean up, if necessary, any rough edges with sand paper or sanding block.
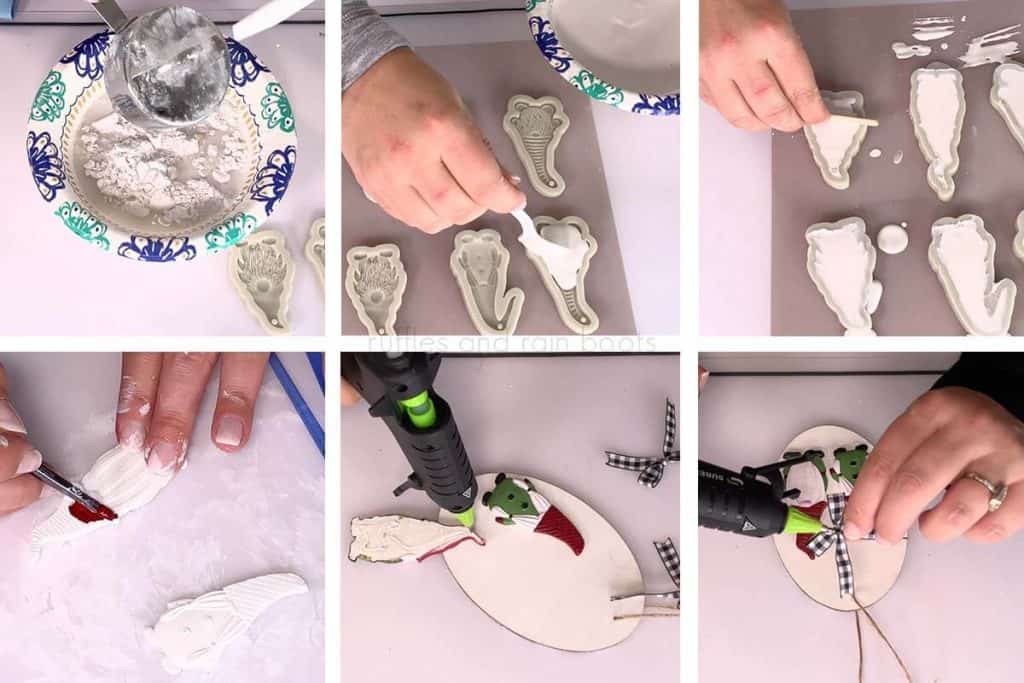
Paint the wood ovals white and once dry, decoupage the napkin onto the back of them with the ModPodge, foam brush. Once dry, cover the napkin with ModPodge to seal.
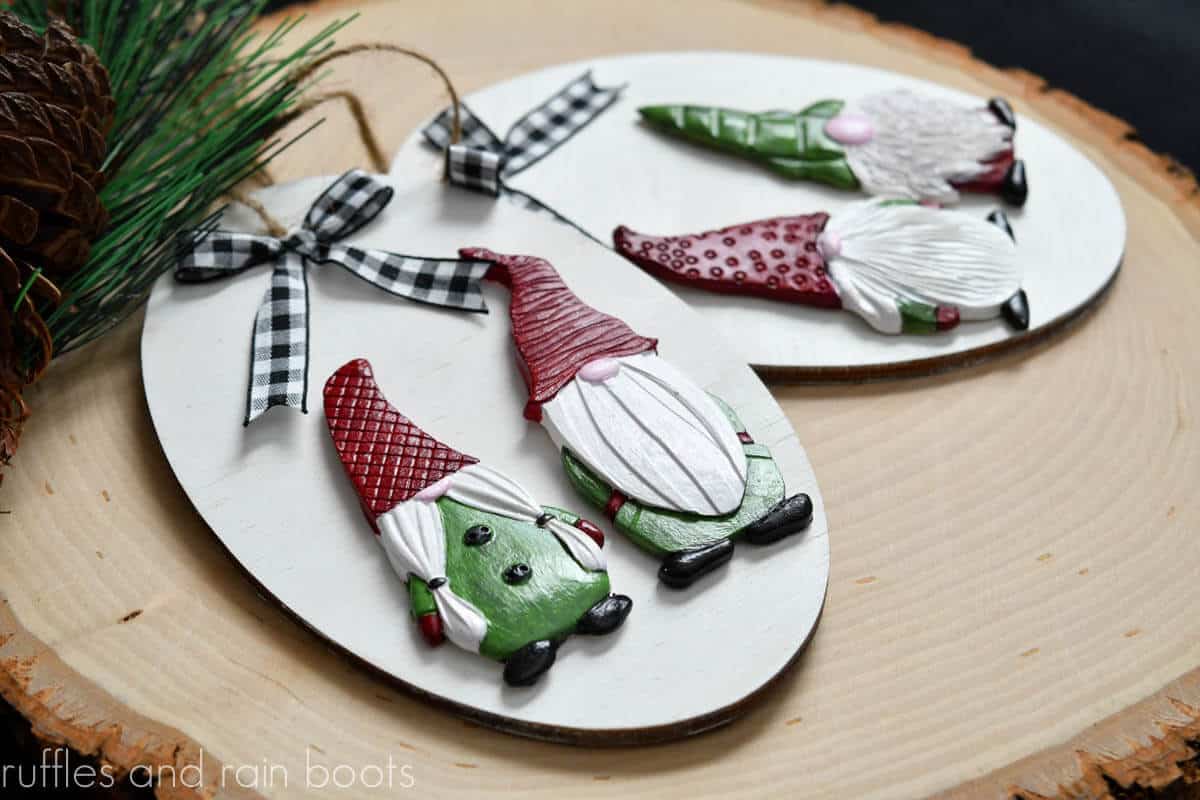
Paint the plaster gnomes (I painted beards and braids white and used black mixed with red and green to get a vintage look). Cover the sides and front of gnomes with sealant and let dry.
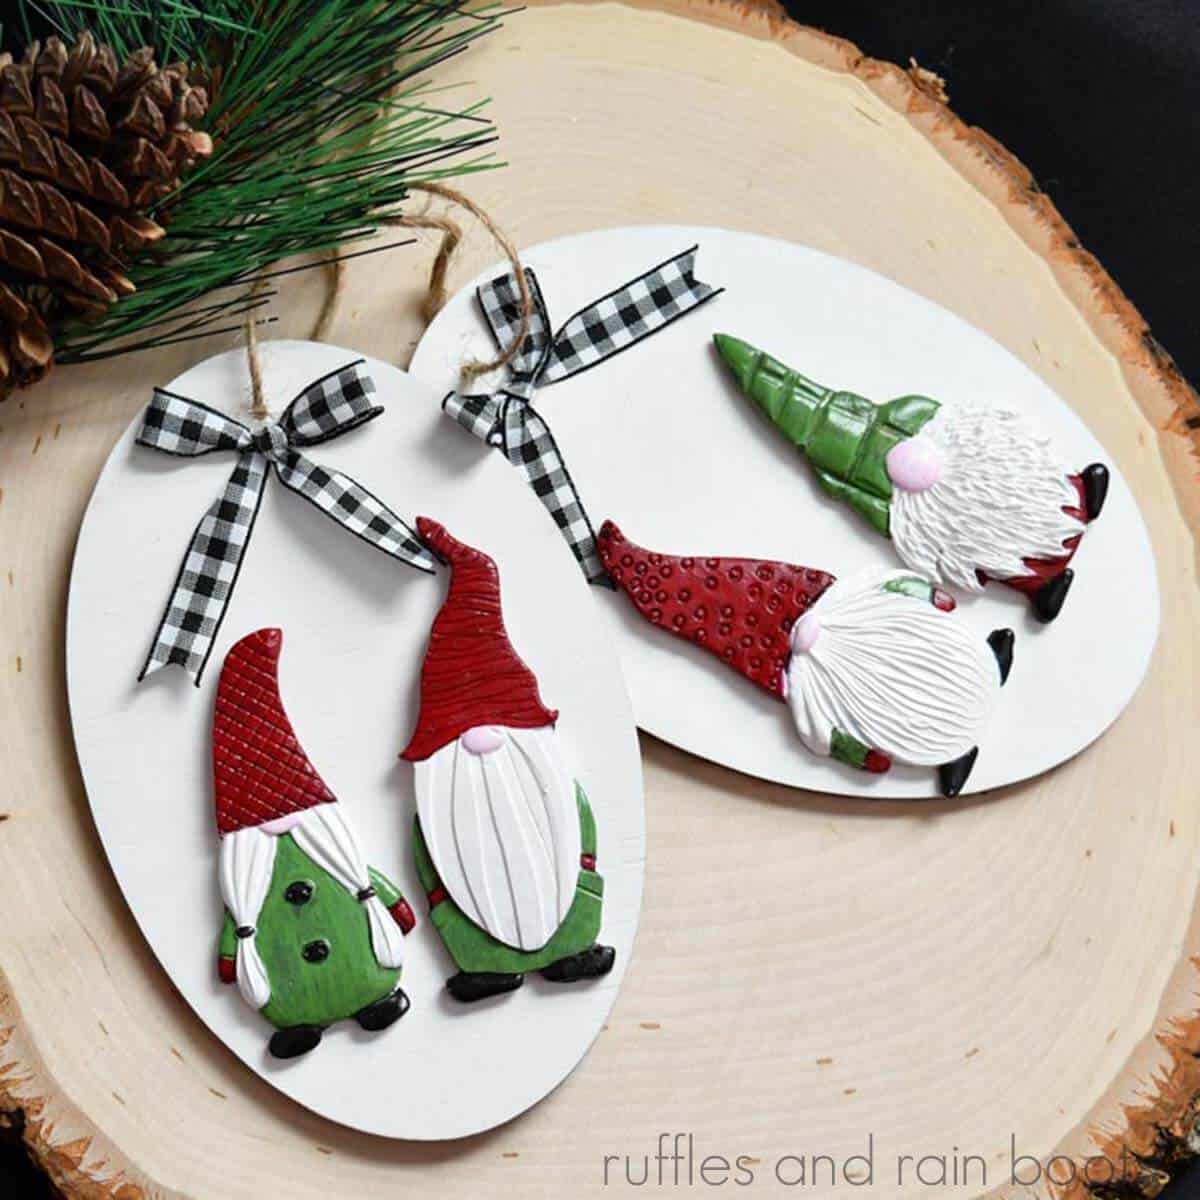
Glue the gnomes to the front of the wood oval, tie a ribbon bow, and string with twine for a hanger.
Additional Ways to Use These Gnomes
I am a firm believer in making things once and finding a ton of ways to use and repurpose them. Here are a few ways I am thinking of using this plaster gnome mold:
- make a gnome garland – Leave the keychain ring opening or glue a string to the back and you have a homemade garland.
- make wreath picks – These gnomes would be so cute in a wreath or vase; just add a skewer to the back.
- DIY earrings – I’m thinking a simple jump ring and a fish hook earring might just do it for those who like dangling earrings!
- create fondant gnomes – You could use colored fondant or food coloring to ‘paint’ white fondant pressed into the mold… Oh, you could add a toothpick before drying and oh my goodness, standing gnomes for the top of a cake or cupcakes!
More Gnome Crafts You Might Like
- Dimensional Christmas Gnome Ornaments – I know it sounds silly to use what I used, but let me tell you – these are downright cute.
- Farmhouse Yarn Gnome Ornaments – This is a quick and easy way to add a bit of the gnome trend into your decor (subtly).
- DIY Sock Gnome: Easy Santa Gnome – This one is a cutie and a keeper (and so, so easy).
Please Save or Share
Your shares are how this site grows and I am sincerely grateful. Please save this free tutorial to a holiday pin board or share it to your favorite crafting group on Facebook.

DIY Plaster Gnome Ornaments
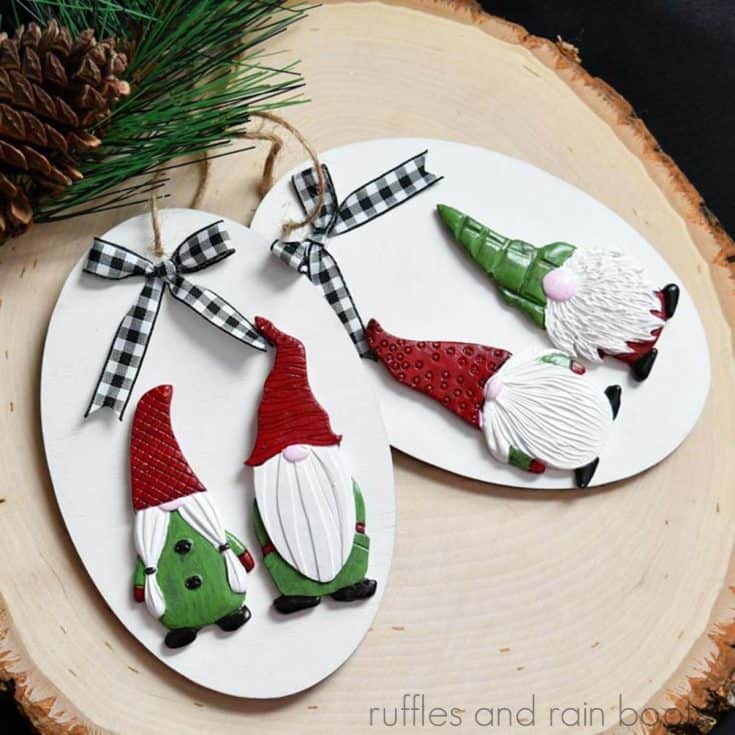
You can use a simple mold and inexpensive craft supplies to create these high-end, 3D plaster gnome ornaments for a Christmas tree or package tags.
Materials
- gnome silicone mold (I used this one)
- plaster of Paris
- wood oval (or round)
- white, red, green, and black paint
- paint sealant sealant
- 3/8 inch ribbon
- twine
- paper napkin (optional)
- ModPodge (optional)
Tools
- measuring cups (1/2 and 1/4 cups)
- skewer
- popsicle stick (or something flat)
- paintbrush
- foam brush
- sand paper or sanding block
Instructions
How to Make Plaster Gnomes
- Add 1 part water into a bowl and to it add 2 parts plaster of Paris. Let sit.
- Lay out the silicone gnome molds on a flat, protected surface.
- Fold the plaster in the water (do not stir) and spoon it into the molds. Use the skewer to ensure the plaster gets into all of the areas.
- Scrap the popsicle stick over the back to make sure the backs are flat and set aside to dry.
- Un-mold the gnomes and clean up, if necessary, any rough edges with sand paper or sanding block.
How to Make the 3D Gnome Ornaments
- Paint the wood ovals white and once dry, decoupage the napkin onto the back of them with the ModPodge, foam brush. Once dry, cover the napkin with ModPodge to seal.
- Paint the plaster gnomes (I painted beards and braids white and used black mixed with red and green to get a vintage look). Cover the sides and front of gnomes with sealant and let dry.
- Glue the gnomes to the front of the wood oval, tie a ribbon bow, and string with twine for a hanger.
Notes
The silicone mold is one I will be making more crafts with because it was a quality set and worked brilliantly!
Recommended Products
As an Amazon Associate and member of other affiliate programs, I earn from qualifying purchases.


Meet the Creator
Hi there, I’m Sarah Nenni-Daher. I’m a crafty gal and always have at least 14 projects going at once. I am a crafter, designer, DIYer, and pattern maker. I share my creations here and in the Ruffles and Rain Boots® Shop.
Here at Ruffles and Rain Boots®, you’ll find DIY gnomes, crafts, gifts, cupcakes, laser crafts, and so much more. I love sharing video tutorials over on YouTube and chatting with other crafters in my Facebook groups. We’d love to have you!