
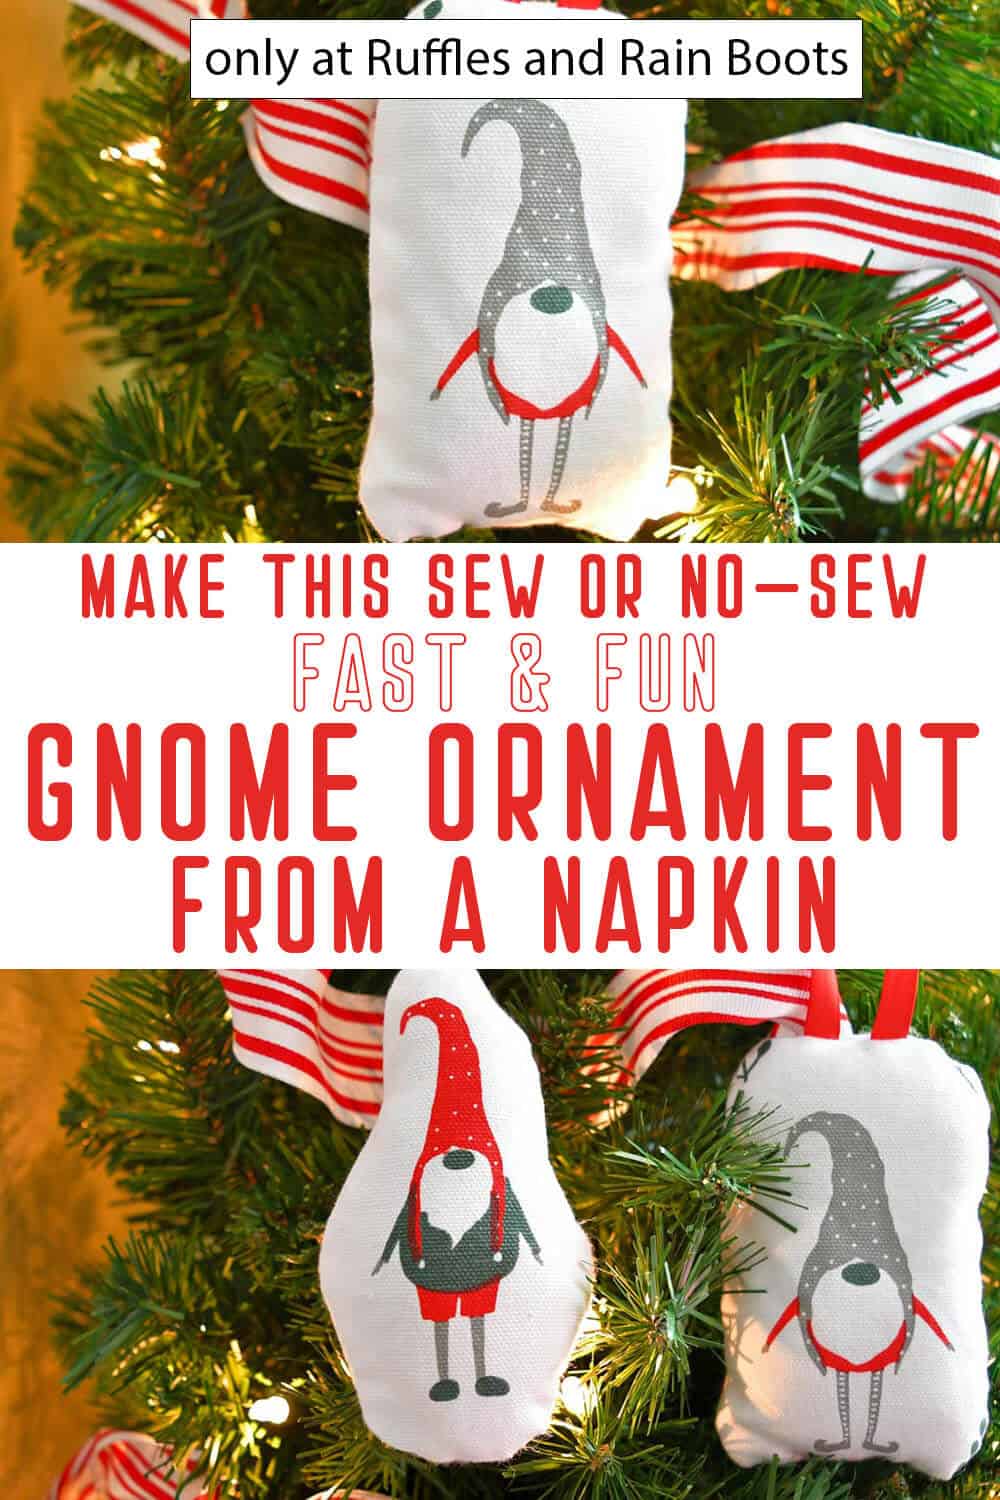
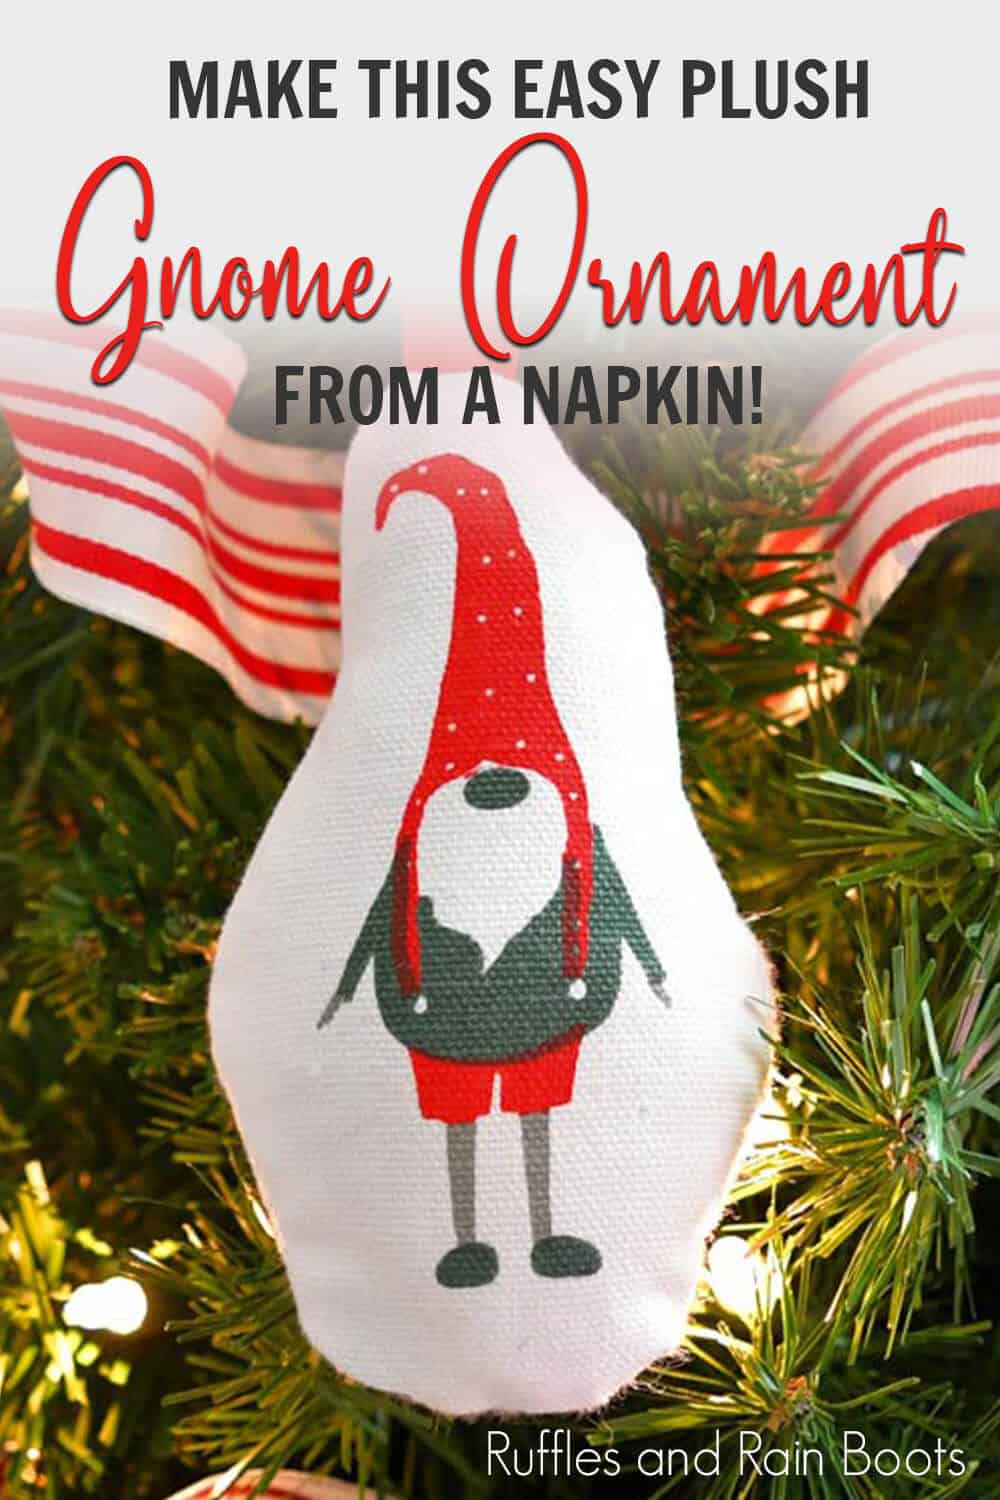
Dimensional Christmas Gnome Ornaments from Napkins are Holiday Genius!
A beautifully printed napkin and an idea makes these Christmas gnome ornaments from napkins a fantastic gnome craft idea!

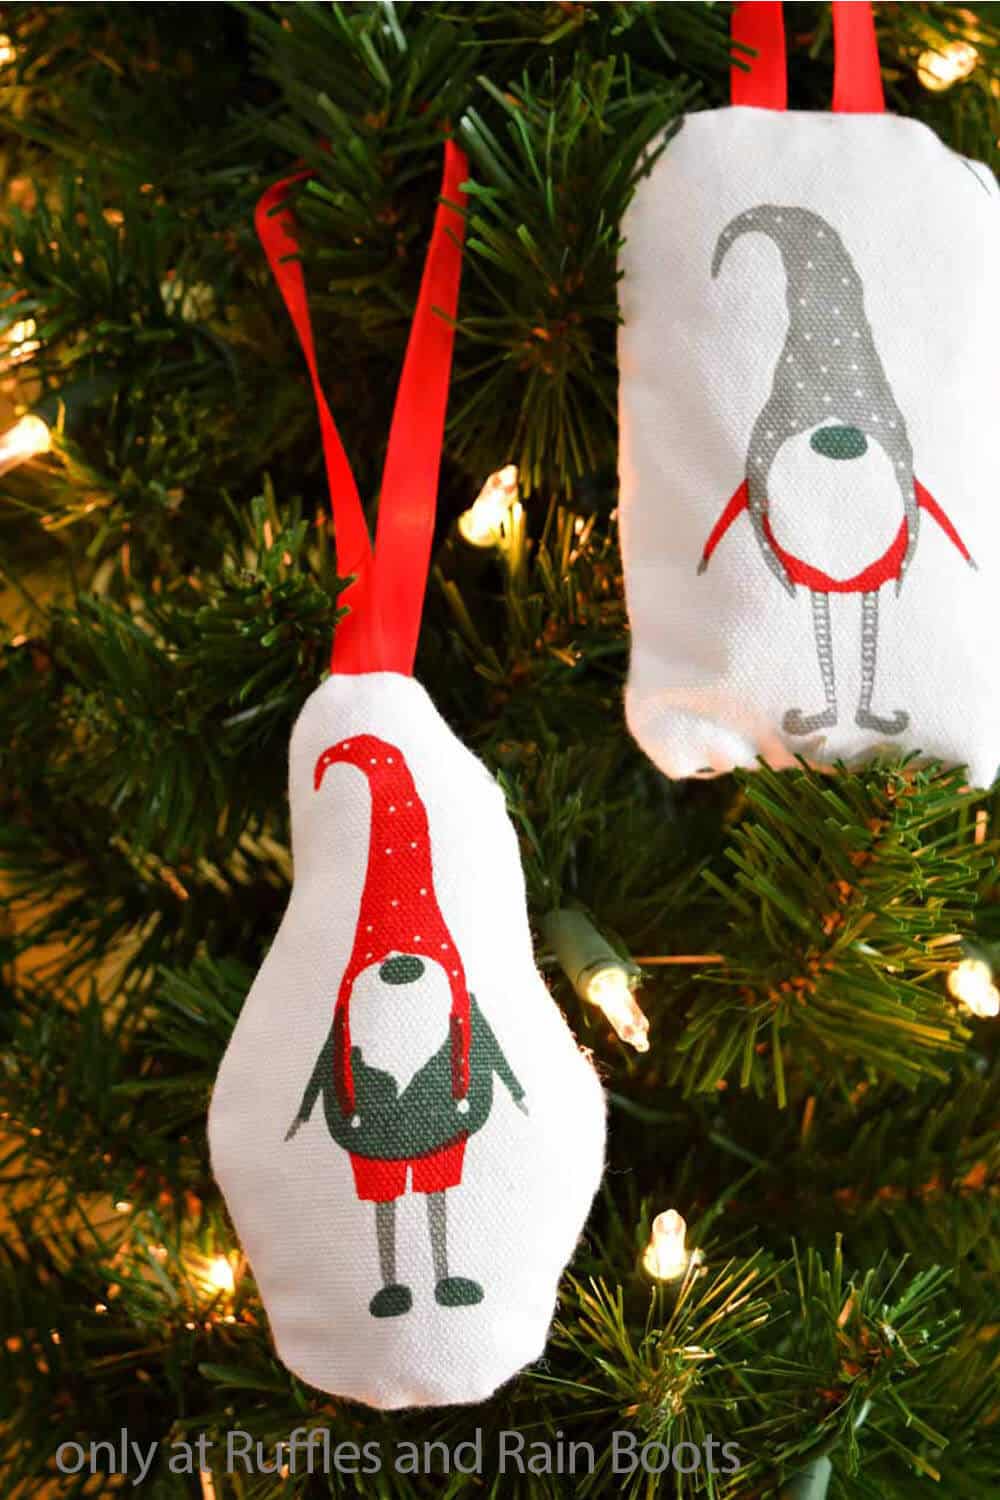
Christmas Gnome Ornaments from Napkins
Here at Ruffles and Rain Boots, I love the traditional gnome ornaments that I’ve made, but I also love those plush ornaments I made too. I wanted to combine those ideas and came up with this fun way to make dimensional Christmas gnome ornaments from napkins.
RELATED READING: DIY SCANDINAVIAN CHRISTMAS GNOME PATTERN
Such a simple way to take a printed fabric and turn it into an heirloom piece that the kid loves, I love, and is going to look so cute on my Christmas tree. Grab your scissors and let’s get started.
No Time to Make This Now? Pin it for Later
You’re busy, I get it. Pin this to your favorite Christmas crafts board on Pinterest and it’ll be here when you’re ready.
As an Amazon Associate, I can earn from qualifying purchases.
Tips to Make Christmas Ornaments from Napkins
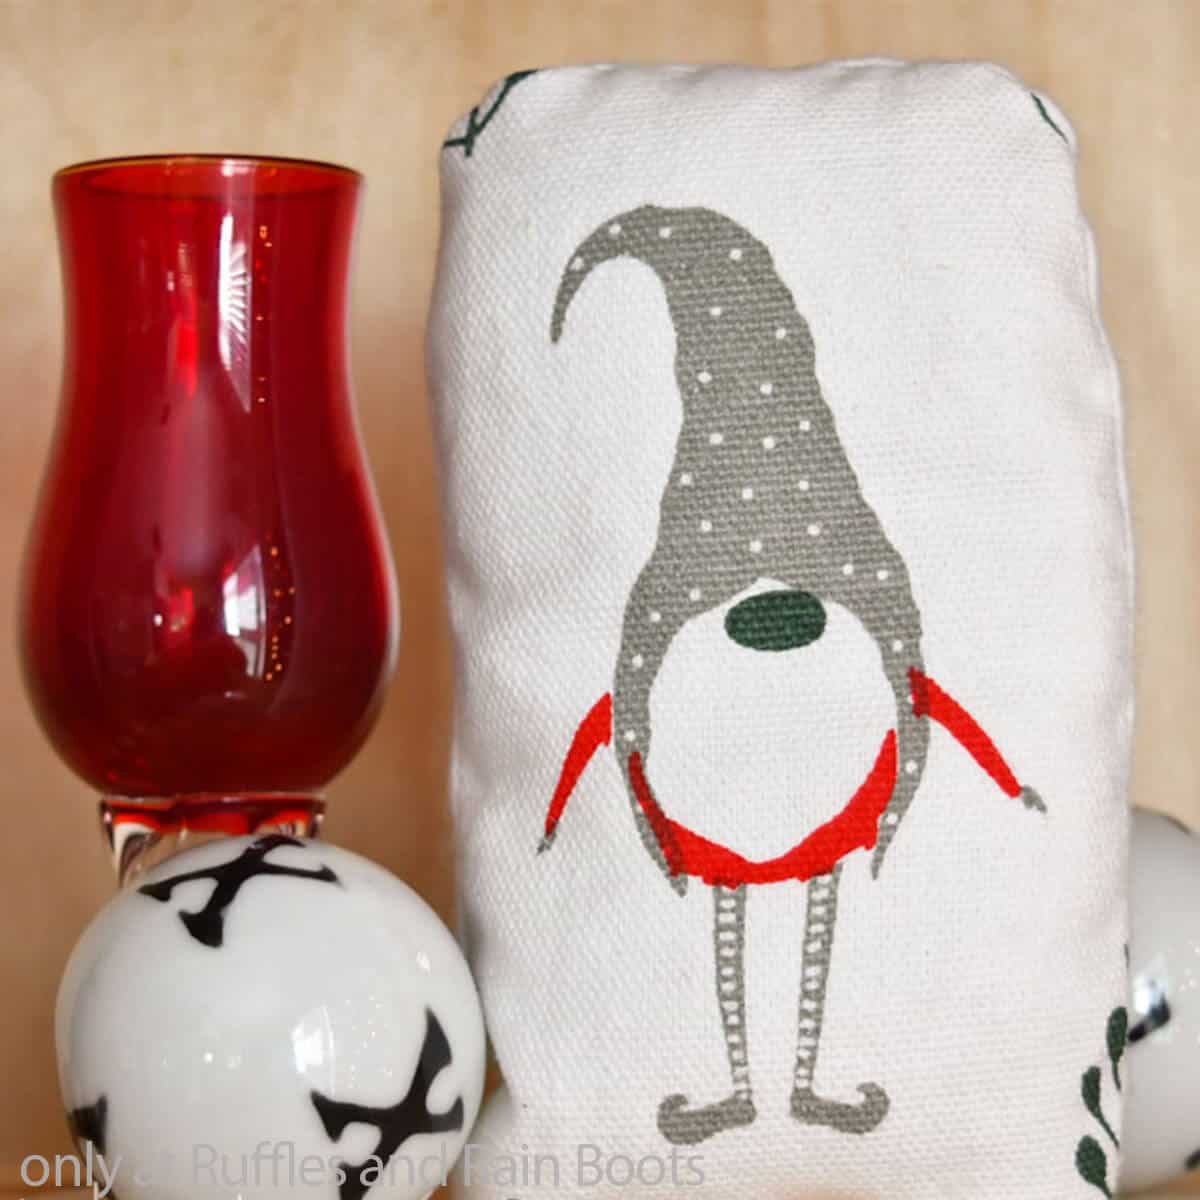
- Start by picking out your napkins. I used these adorable cotton gnome napkins that were just too precious. Any cloth patterned napkin will work, though. Just keep in mind that the pattern you want to highlight needs to be large enough to make a good sized ornament, but that’s totally up to your tastes.
- If you love this idea, but you don’t want to make Christmas ornaments, I have some other ideas that you could make using this same method:
- Gift Tags
- Tiered Tray Pillows
- Garland
- I wrote the tutorial and showed in my video tutorial how to make this particular craft via sewing. But if you would prefer to make these without sewing (I know I prefer that sometimes just on a whim), this is one of those crafts where you can absolutely swap out for Heat-n-Bond or even hot glue to make this. One key thing to note, though, if you choose to go this way, take care not to iron too close to your hems or your adhesive will release and your project spoiled.
How Do I Make Christmas Gnome Ornaments from Napkins?
I’m so glad you asked. Below is our written tutorial. If you’re making a Christmas crafts playlist on YouTube, here is our Christmas gnome ornaments from napkins video tutorial.
Christmas Ornaments from Napkins

I love making gnome ornaments and this tutorial to make Christmas ornaments from napkins is so versatile - you can make so many different fun ornaments so fast!
Materials
- Napkins
- White Flannel, optional
- Cardstock or Paper (for template)
- 1/4 to 1/2-inch Ribbon (or other hanger material)
- Poly-Fill
Tools
- Hot Glue Gun and Glue, optional
- Sewing Machine, optional
- Pencil or Fabric Marker
- Iron
- Spray Bottle of Water
- Lighter
- Pinking Shears, optional
- Needle and Thread
Instructions
- Make a small template from the paper or cardstock that is about 5 1/2-inches tall by 3 5/8-inches wide with rounded corners, if you are planning to make more than one ornament. That way you just have some consistency. Alternatively, you can just measure and mark the area to cut out around your chosen figure on the napkin, adding about 1-inch to the outside of the figure to allow for the hemline and stuffing.
- Using the template or the markings, whichever you chose to do, cut out the gnome figure from the napkin. To make this faster, when cutting out multiple shapes from the napkin, you could use the template, pinned to the napkin, then cut out with a rotary cutter.

- Pin the cut out gnome to the white flannel and cut out the flannel using the gnome cutout as your guide, making the backing. Make sure to trim away any excess so your hemlines are as neat and sharp as can be.
- Repeat cutting out as many gnomes and backing as desired.
- Place all of your cutouts and backing pieces face-up on an iron-safe surface and spritz them with a little water before ironing them flat to remove any wrinkles.
- Cut a length of ribbon for your hanger, about 4-5 inches for an ornament will typically work, but if you are making your ornaments into gift tags or something else, you may want to adjust that length. Lightly singe the ends of the ribbon to keep them from unravelling.
- Fold the ribbon hanger piece in half and lay it on top of the backing piece with the loop inside the backing piece (do not twist it), with the ends sticking out the top edge, taking care to position them up where the head of the gnome will be so that the gnome hangs right side up when the project is complete. Place the gnome cutout face-down on top of the backing piece with the ribbon layered between them.

- Pin the two ends of the ribbon in place, then pin the edges of the fabric pieces together. Additionally, mark a space of 1 1/2 to 2 inches wide on the bottom of your piece to leave open in order to turn the piece right side out when you're done sewing.
- Sew along the edge of the piece, leaving a hem allowance of 1/4- to 1/8-inch, depending on your comfort level.
- Trim the curved edges of your piece with the pinking shears (or just cutting triangles out along the way, taking care not to cut through your seam. Then turn the piece right-side out, taking care to work out all of the seams to make sure they are turned out nicely.
- Make sure your seams are flat and the edge of the open area is tucked inside nicely, the iron the piece, to make all of the seams nice and crisp.
- Fill your ornament with Poly-Fill, then sew the open section closed with your needle and thread. Trim the loose end of thread and hang your new lovely gnome ornaments!


Notes
For more fun gnome ornament tutorials, visit Ruffles and Rain Boots!
Recommended Products
As an Amazon Associate and member of other affiliate programs, I earn from qualifying purchases.

More Gnome Crafts You Might Like
- Easy Felt Gnome Wine Bottle Toppers – Super fast to make and they make the perfect hostess gift idea!
- Needle Felting Gnome Wool Painting – For a simple and unique craft that you just can’t beat – it’s fast and REALLY FUN!
- Gift Bag Gnomes for Surprise Gift Packaging – Want to do some gnome-gifting this year? Such a simple idea you’ll love making!
Please Save This to Pinterest
Your shares are how this site grows and I am sincerely grateful. Know a friend who’d like this? Please share it on Facebook or save it to your favorite gnome crafts board on Pinterest.
Meet the Creator
Hi there, I’m Sarah Nenni-Daher. I’m a crafty gal and always have at least 14 projects going at once. I am a crafter, designer, DIYer, and pattern maker. I share my creations here and in the Ruffles and Rain Boots® Shop.
Here at Ruffles and Rain Boots®, you’ll find DIY gnomes, crafts, gifts, cupcakes, laser crafts, and so much more. I love sharing video tutorials over on YouTube and chatting with other crafters in my Facebook groups. We’d love to have you!