The Spookiest No-Sew Ghost Gnome Pattern You Can Make in Minutes!
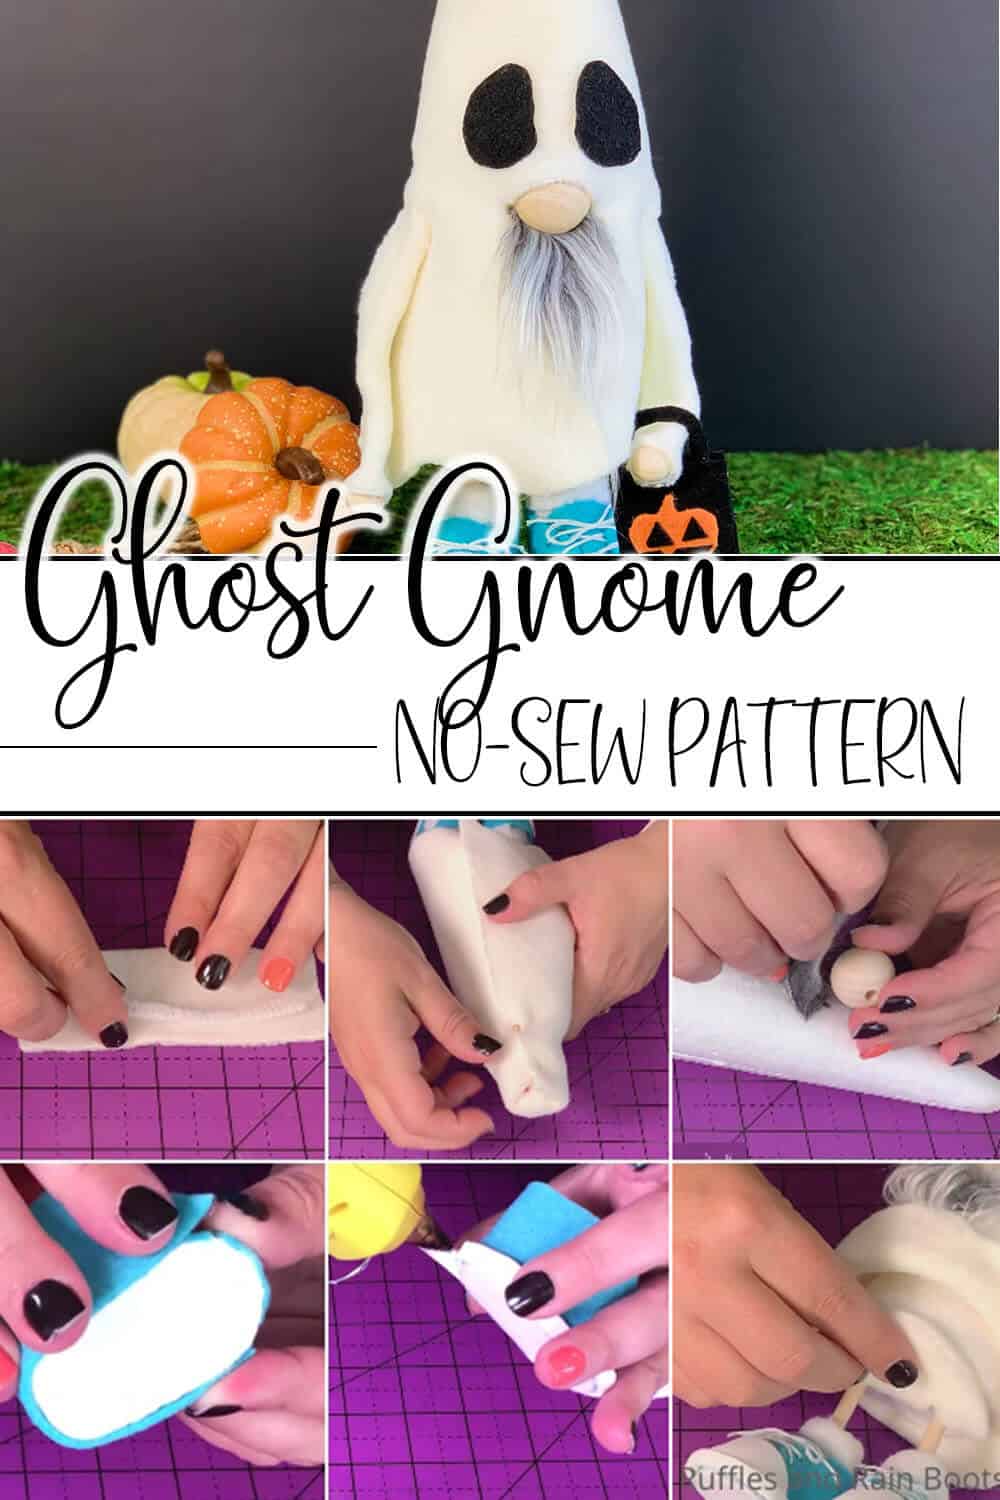
I’ve been working behind the scenes to make the spookiest no-sew ghost gnome pattern for halloween this year. It’s fun, fast, and so boo-tiful!

No-Sew Ghost Gnome Pattern
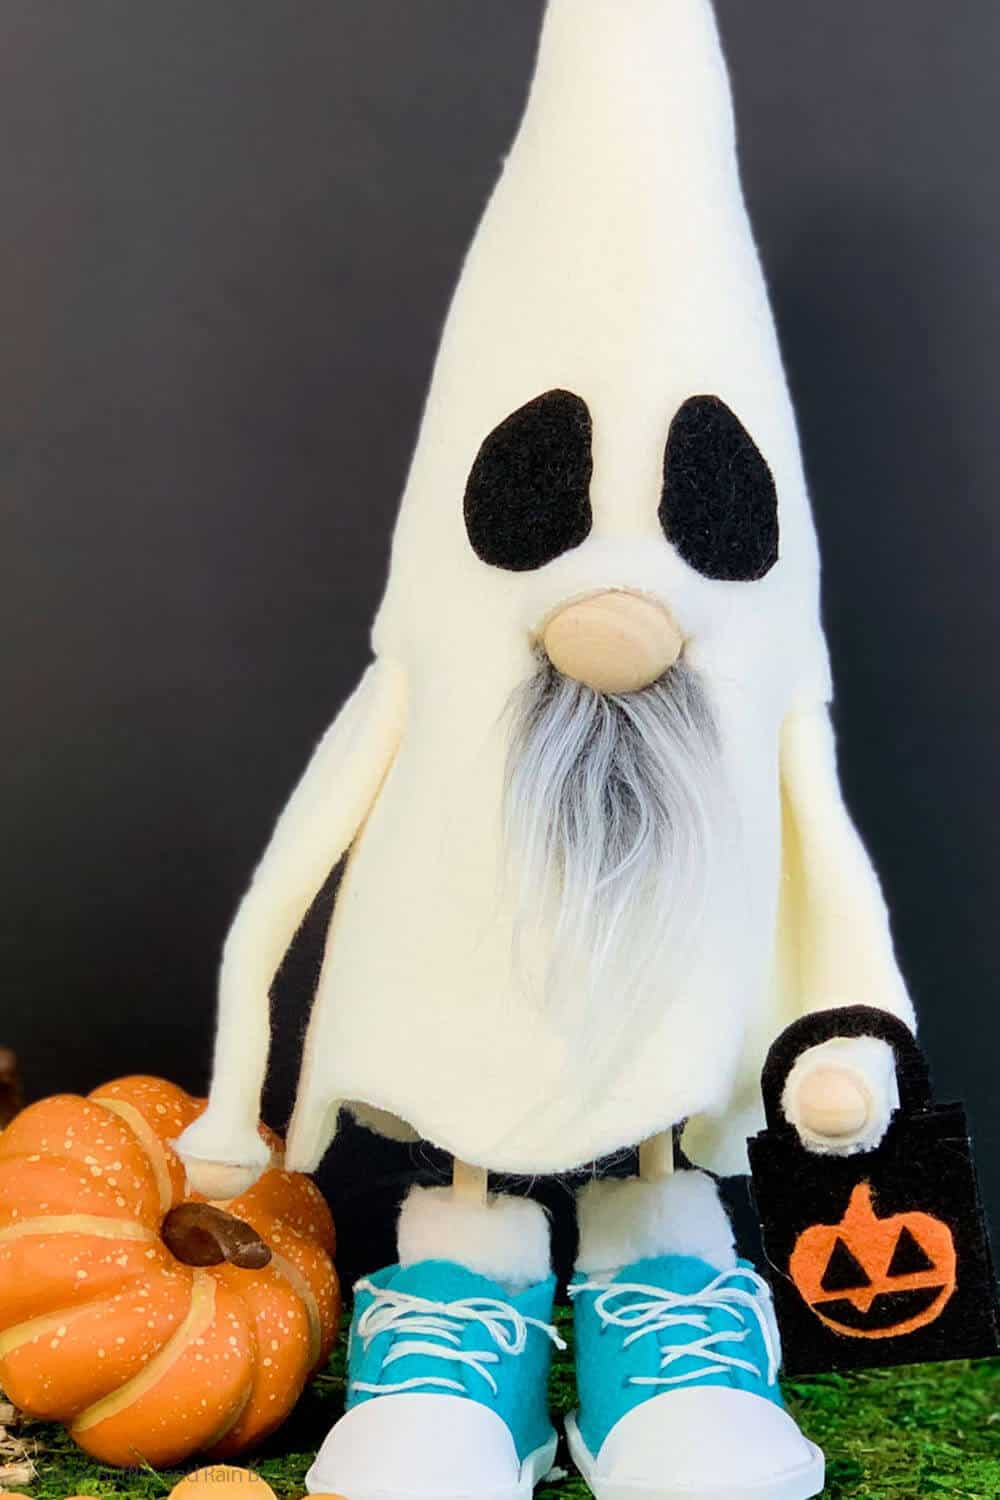
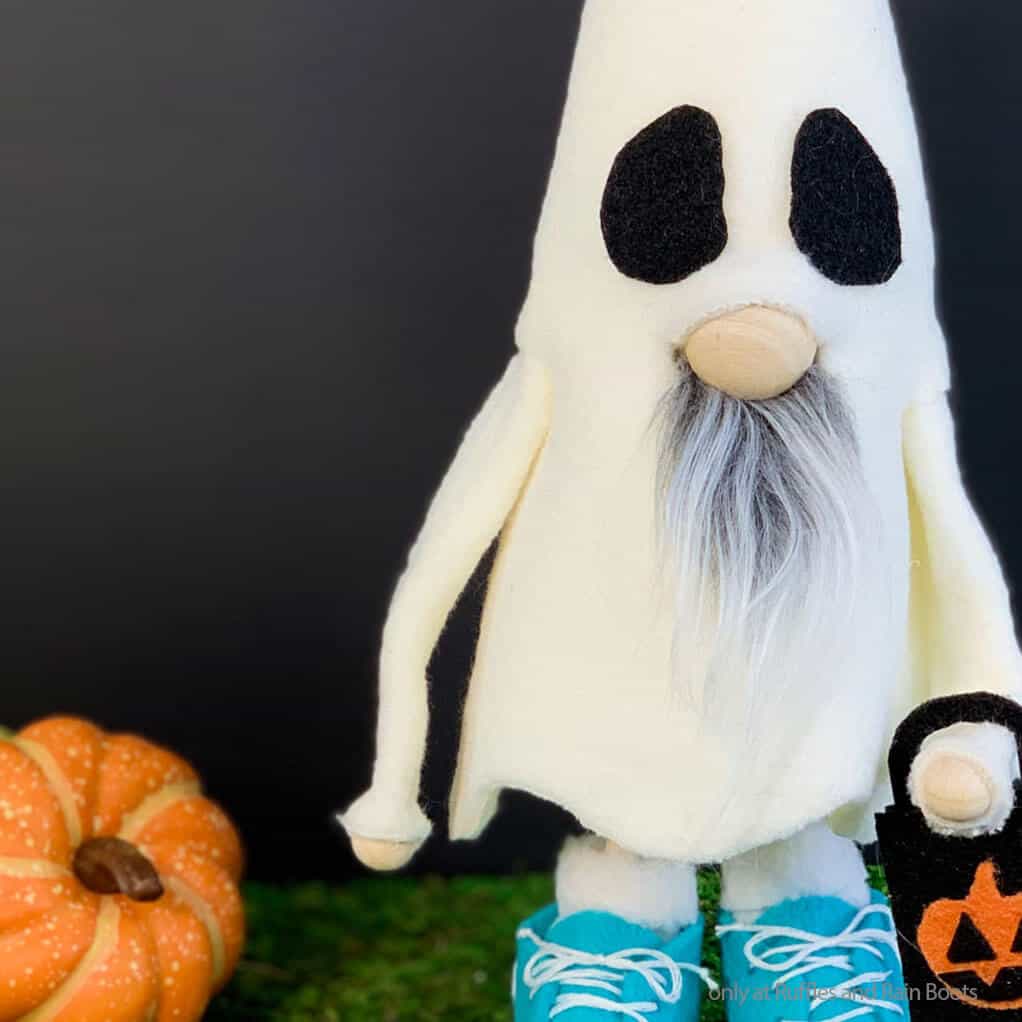
Here at Ruffles and Rain Boots, we have been hard at work stepping-up our halloween gnome game this year. Working on spooky, fun and fantastic DIY tomte that are so over the top cool was the goal. One of my proudest accomplishments so far is so simple, it’s crazy. This adorable no-sew ghost gnome.
RELATED READING: NO SEW WITCH GNOME PATTERN
No way could I go for a minute longer without sharing this obnoxiously cute trick-or-treat gnome. He’s just so perfect and even better than I imagined. If you’re ready to make this insanely easy gnome, let’s get started.
Get Secret Gnomes, Tips, & Freebies Delivered!
What is the best pattern to use when you don’t want to sew? Do you know the secrets to a properly-proportioned gnome? Do you know where to get the best-priced fur?
Get all of this (and exclusive content just for you) delivered right to your inbox with the gnome-making series, free of charge. Sign up to get the once-weekly newsletter (and a jaw-dropping special offer)!

No Time to Make This Now? Pin it for Later
You’re busy, I get it. Pin this to your favorite DIY gnome patterns board on Pinterest and it’ll be here for when you’re ready.

As an Amazon Associate, I can earn from qualifying purchases.
Tips to Make This No-Sew Gnome Ghost
- Start by grabbing the no-sew ghost gnome pattern here (which is bundled with the mummy gnome…eep!). Or, if you want to cut the fabric pieces using your Cricut, you can grab the no-sew ghost gnome pattern and SVG set here. Either works, it’s just the difference of being able to use your cutting machine to make your cuts or scissors.
- Find about 1/3 of a yard of nice, thick fleece fabric. Trust me. You want something that’s going to have body, that won’t be see-through and has a little stretch. Plus, making this a no-sew pattern is pretty easy to do when you’re using a fabric that won’t fray.
- This no-sew gnome pattern is based on a 7-inch styrofoam cone as the base. Cones are so fun to make gnomes based on. It’s like a perfectly sized pre-filled body shape you can just wrap and decorate!
- This is such an easy and fun gnome pattern, you’re going to feel like “that’s it?!” But it is. And it’s that fast. I love it.
Get the Gnome Pattern
Click below to add this fun pattern to your cart. So many gnomes can be made with this!

How Do I Make this No-Sew Ghost Gnome Pattern?
I’m so glad you asked. Below is our written tutorial. If you’re making a how to make gnomes playlist on YouTube, here is our ghost gnome video tutorial.
No-Sew Ghost Gnome
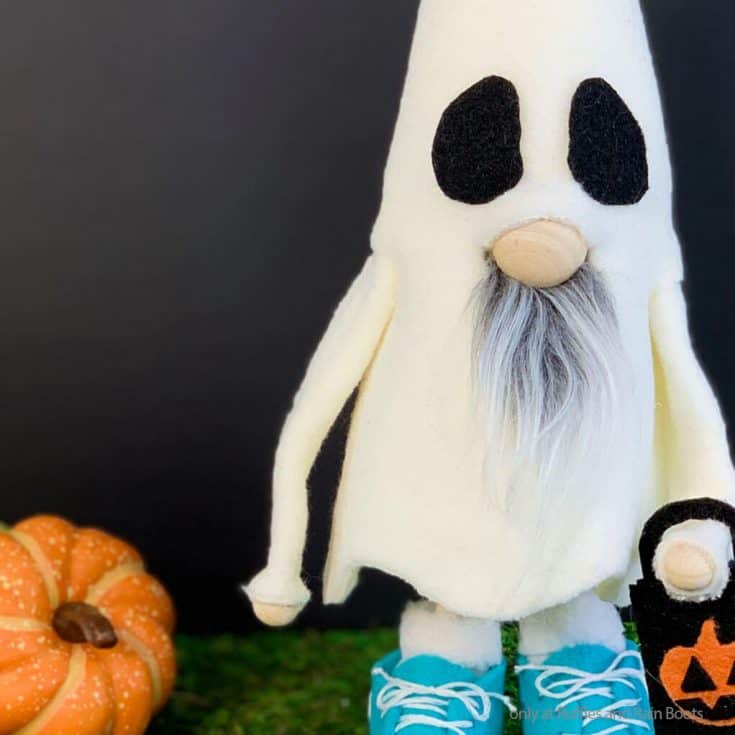
You're not going to find a more fun and easy ghost gnome pattern. This no-sew ghost gnome is so fast and simple, I can't get over it.
Materials
For the Ghost Gnome
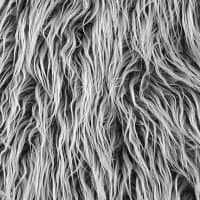
- Scrap of Mongolian Fur
- 1/3 yard of Thick White Fleece
- 1 7-inch Foam Cone
- Chennille Wire or Floral Wire
- Black Felt or Scraps
- 2 - 1/4 inch Balls or Beads for Hands
- 1 - 3/4 inch Ball or Bead for Nose
For the Shoes
- Scraps Blue Felt
- Scraps White Fleece
- White Embroidery Thread
- Scraps White Sock Material
- Scraps White Felt
- Small Portion of White Foam Core Board
- Small Rocks or Other Weights
- 2 - 4 1/4-inch long 1/4-inch thick Dowels
Tools
- Hot Glue Gun & Glue
- (note: hot glue sticks for fabric do exist and should be used, if possible)
- Sharp Scissors or Rotary Cutter
- Razor Blade or Exacto Knife
- Pencil or Fabric Marker
- Pins
- Embroidery Needle
Instructions
- Cut out the pattern shapes for the gnome body, two arms and base from the white fleece fabric. Cut out two eyes from the black felt.
- Place a piece of chenille wire in the center of an arm shape, fold the arm shape in half around the wire and hot glue in place.
- Attach one of the hand-sized wood beads to the end of the arm.
- Wrap the body piece of felt around the cone, folding over the top and pinning it in place on the top and down the back seam.
- Mark on the fleece where you want the arms and nose to be located, then remove the fleece from the cone.
- Cut the holes for the nose and arms in the fleece.
- Cut a small "u" shape of the Mongolian fur by flipping it over and cutting the backing only.
- Hot glue the nose and beard into the marked location on the cone.
- Tuck the fleece back onto the cone and pull the nose and beard through the hole.
- Tuck the arms up into the holes made in the fleece and hot glue in place inside the fleece, not gluing to the cone, just the fleece.
- Join the seams of the body piece on the back of the gnome, keeping the top of the body tucked inside.
- Cut out all of the shoe shapes from the materials chosen.
- Hot glue the tongue shape to the sole shape, keeping the tabs on the sole piece.
- Attach the sides and back piece of the shoe to the sole of the shoe, making sure it's centered.
- Glue the toe of the shoe onto the front of the sole, over the tongue piece, again making sure that the tabs are on the sole side of the shoe.
- Thread the embroidery needle and lace the shoe.
- Cut a piece of white craft foam about 1/4 inch wide and long enough to wrap around the edge of the sole of the shoe, then hot glue it in place.
- Cut the dowel to 4 1/4 inches long and hot glue to the place where an ankle would be inside a shoe. Fill the shoe with the rocks.
- Roll the sock piece and hot glue it in place, then turn the cuff and slide it onto the dowel and hot glue it in place.
- Insert the dowel legs into the bottom of the cone and hot glue them in place.
- Cut the base piece in half, making cut-out tabs for the dowels and hot glue the two base pieces in place.
- Glue on the eyes of the ghost and enjoy!
Notes
For more fun gnome patterns and tutorials, visit Ruffles and Rain Boots!
Recommended Products
As an Amazon Associate and member of other affiliate programs, I earn from qualifying purchases.
More Halloween Gnome Tutorials You Might Like
- Pirate Gnome – There’s nothing like having a peg-leg pirate with a tricone hat and a hook. All I can say is “winner of the gnome halloween costume party.”
- Halloween Gnome Garland – All the fun little halloween monsters all in one place, literally hanging out and having a great and spooky time.
- EEK! and BOO! Sock Gnome Duo – One of my favorite all-time halloween gnomes because they’re quick, fun and really adorable! Plus there is a free SVG set. Eek!
Please Save This to Pinterest
Your shares are how this site grows and I am sincerely grateful. Know a friend who’d like this? Please share it on Facebook or save it to your favorite halloween DIY ideas board on Pinterest.
