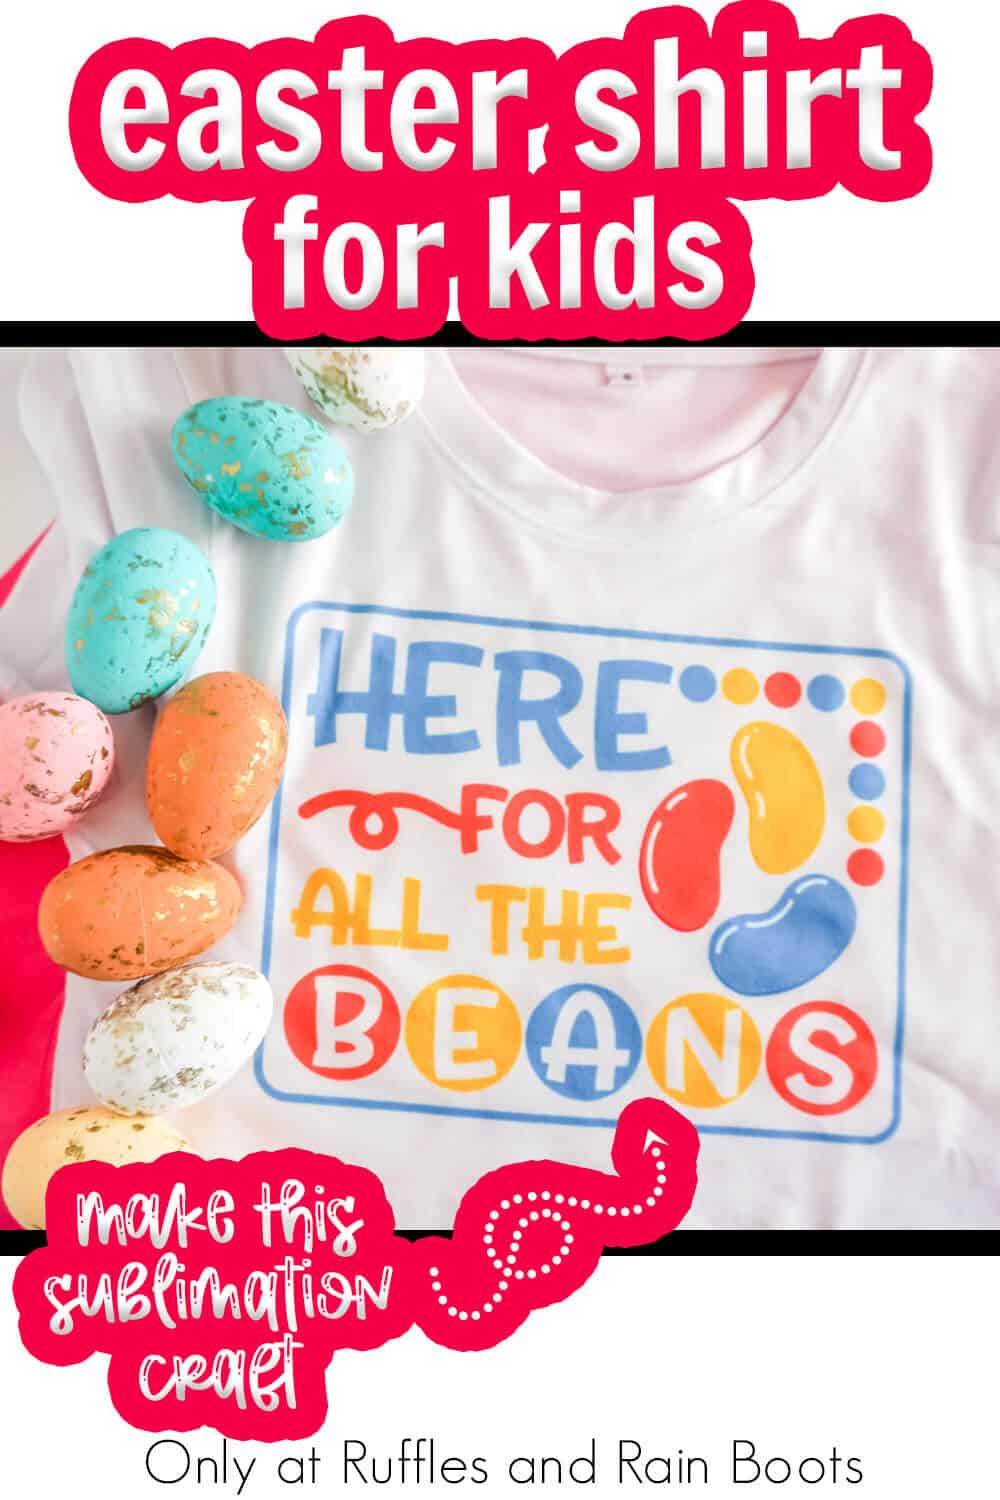
Make this Adorable Easter Shirt for Kids with Sublimation in Minutes!
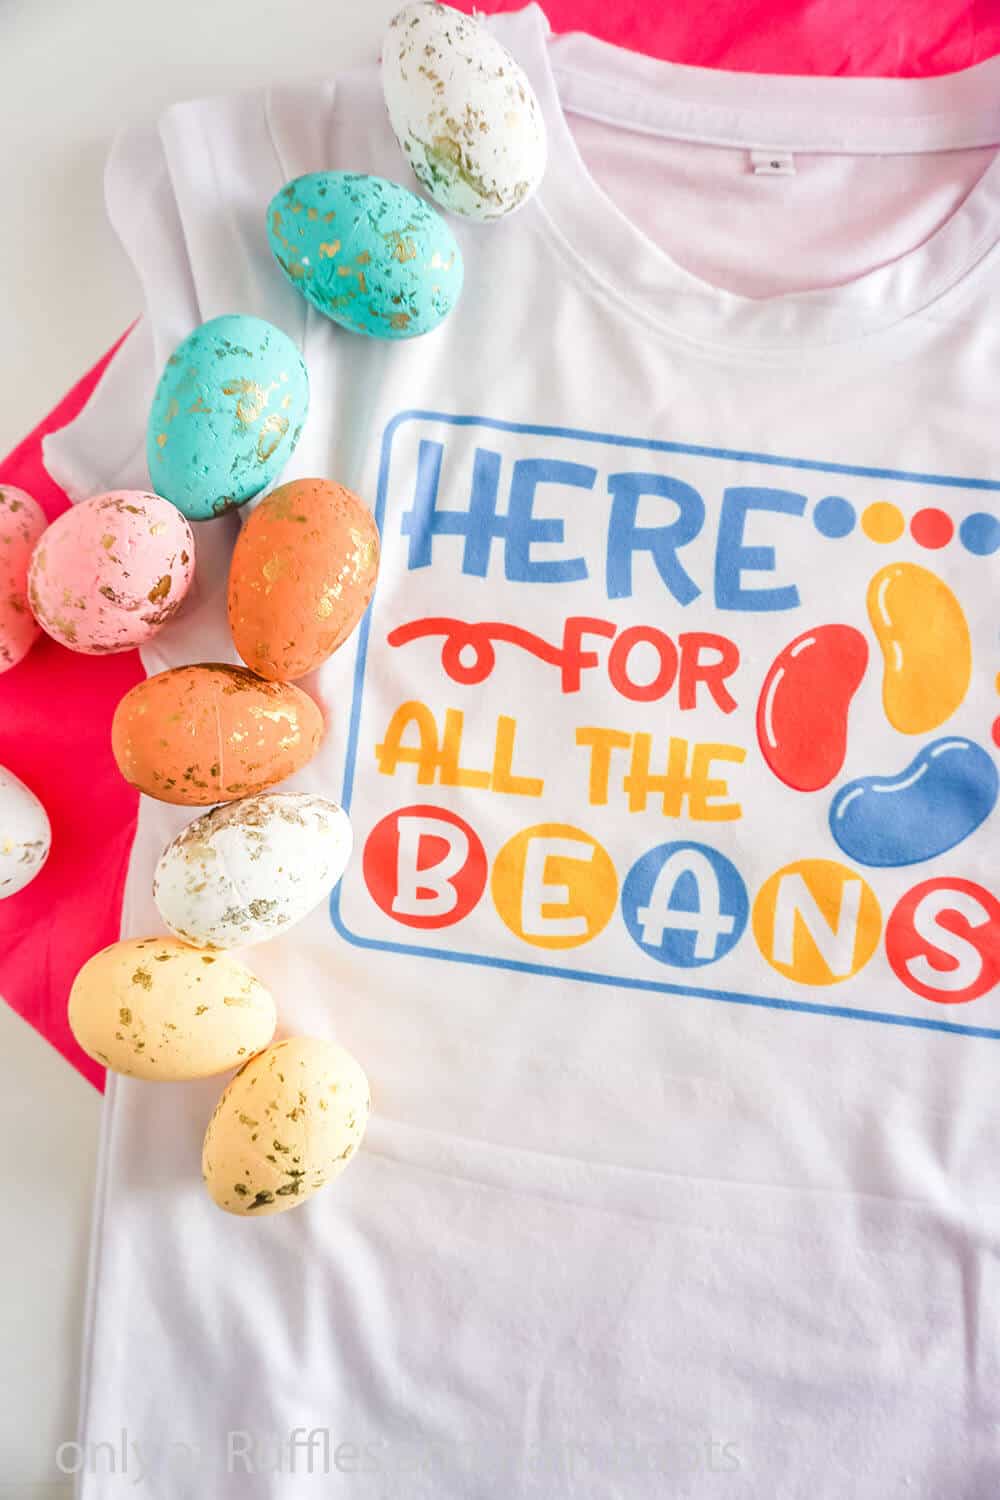
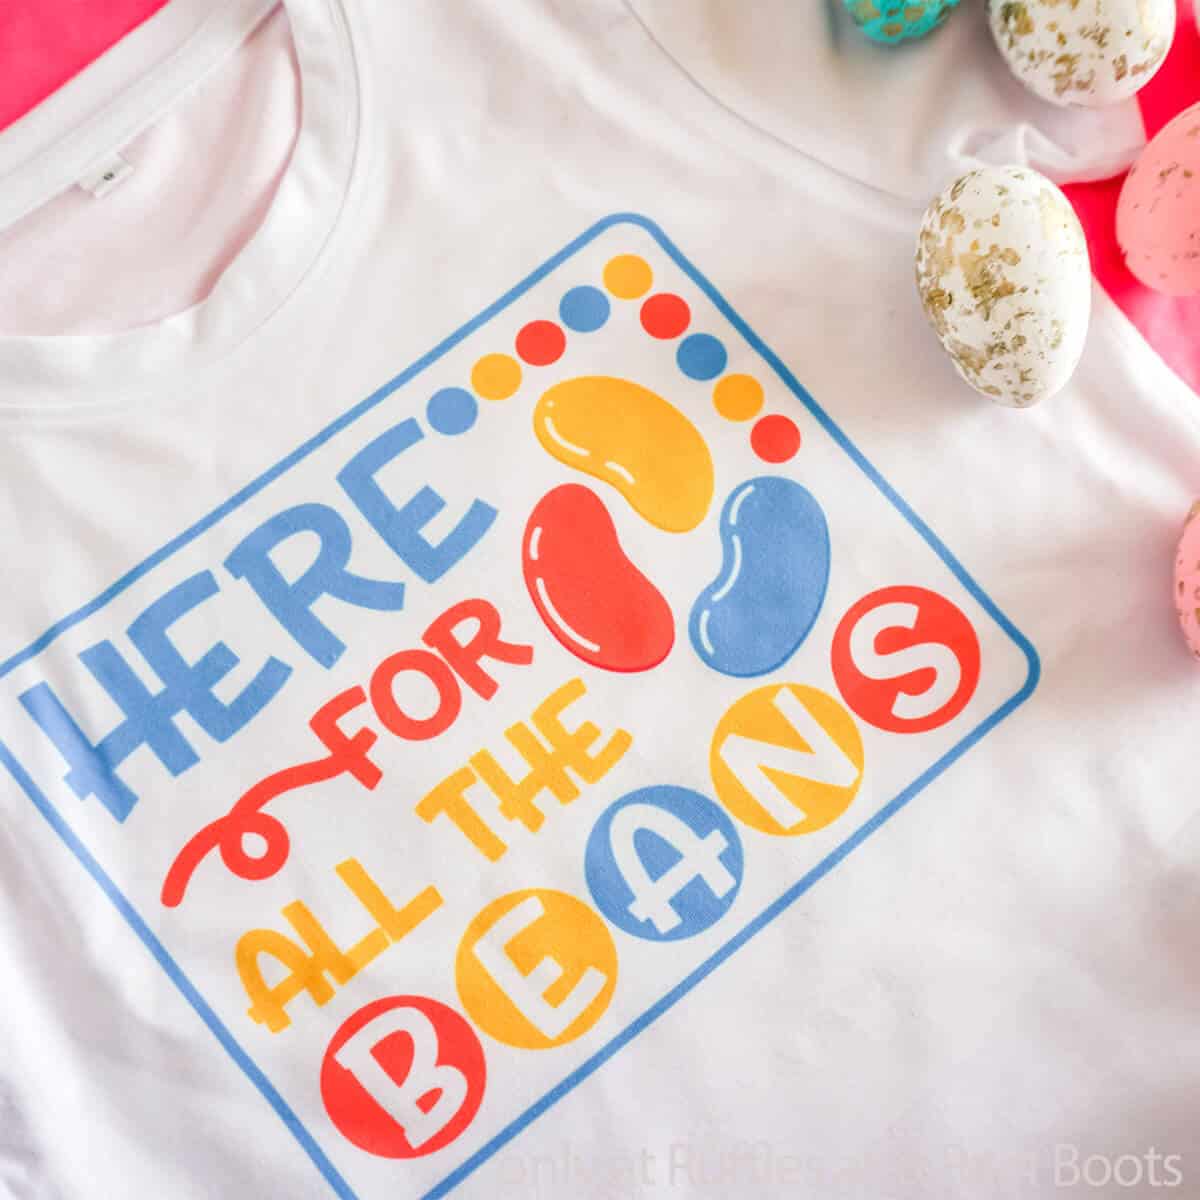
I made this Here for All the Beans Easter shirt for kids with sublimation and I’m absolutely in love with the fun design, shirt and the kid’s happy too!
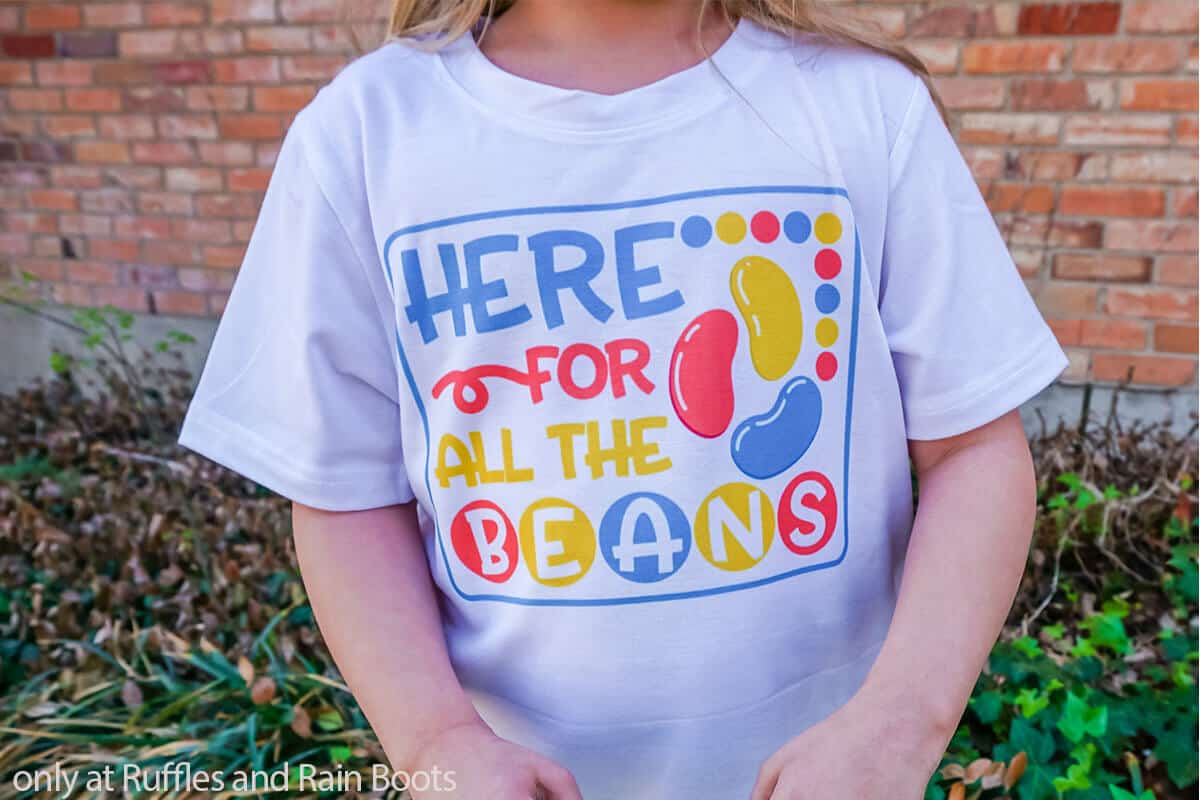
Easter Shirt for Kids
Here at Ruffles and Rain Boots, we have the BEST time making gifts for the kiddo. Nothing tickles me more than being able to make something for her that she’s going to love. And once I figured out how to use sublimation to make t-shirts, that opened a whole new world for me and the kiddo – she’s got all the design ideas!
RELATED READING: EASTER GNOME GARDEN FLAG SUBLIMATION PROJECT
So, I took one, ran with it and added some text to go with her jelly beans. She couldn’t have been more pleased and having made a shirt she’ll love, I couldn’t have been more happy either. If you’re ready to learn how to make a sublimation shirt for kids, let’s get started.
Get Exclusive Free SVGs, Discounts, and More!
I’m giving away free SVG files to help you create for friends, family, and your home. Get all of these (and more) along with the weekly newsletter.
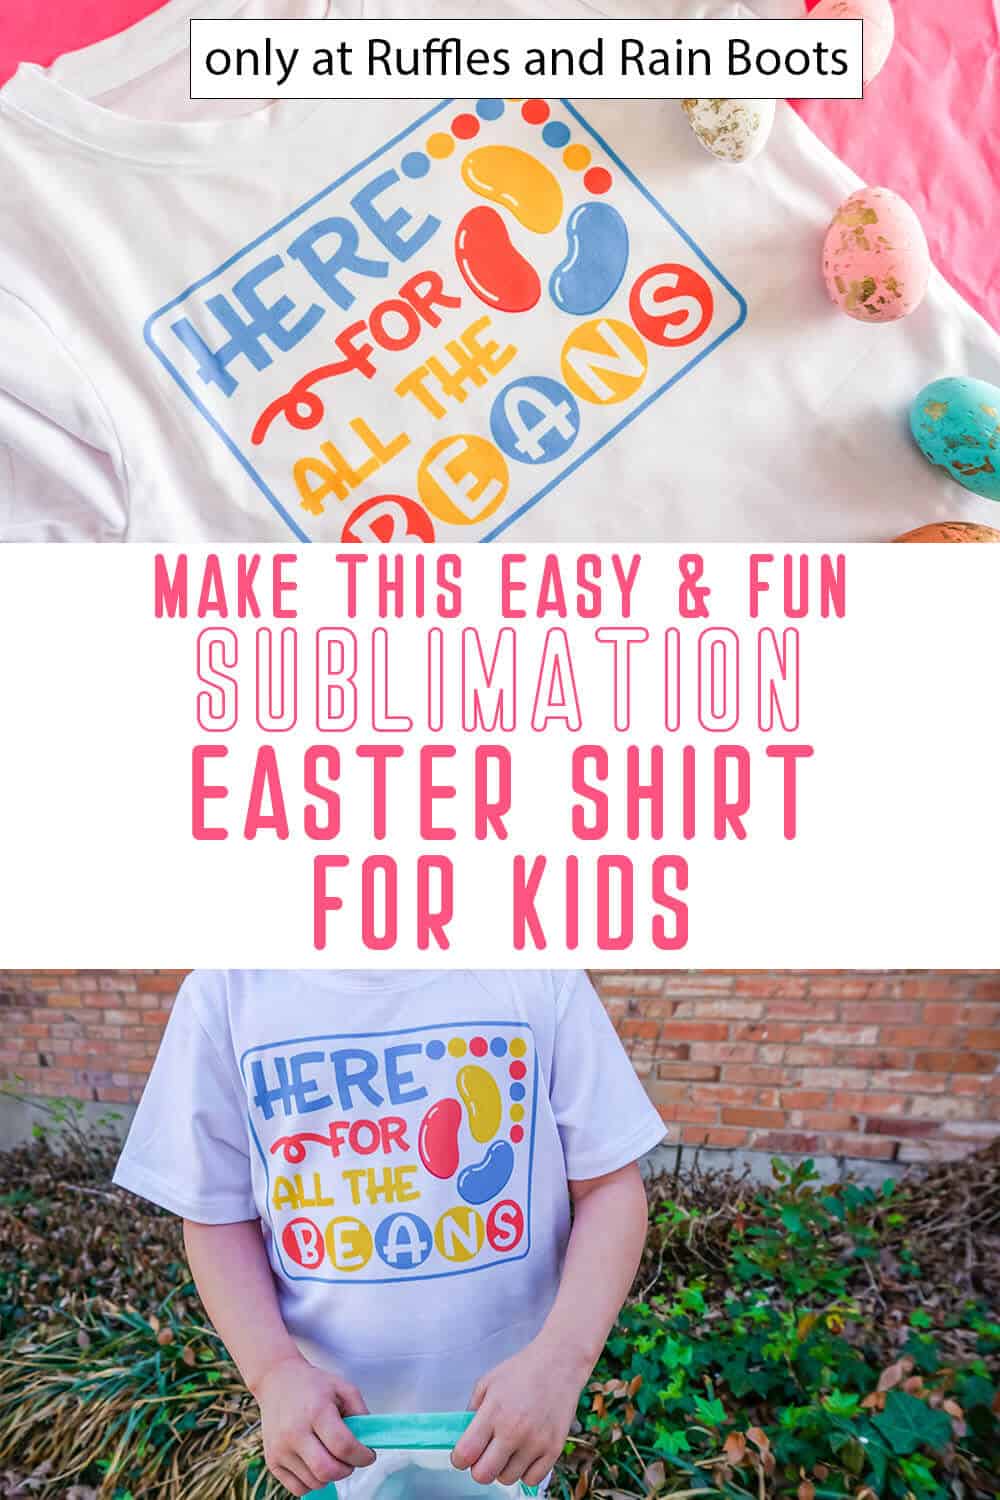
No Time to Make This Now? Pin it for Later
You’re busy, I get it. Pin this to your favorite easy Cricut crafts board on Pinterest and it’ll be here when you’re ready.
As an Amazon Associate, I can earn from qualifying purchases.
Tips to Make This Here for all the Beans Shirt
- Click here to grab the here for all the beans jelly bean sublimation design file set. I am in LOVE with how this turned out. It’s just perfect for sublimation.
- Speaking of being perfect for sublimation, the file set is not JUST for sublimation. You can also use this same design with vinyl or print-and-cut some printable vinyl, if you would rather go that route. This file is versatile and comes with all the file types you might need.
- One thing I would highly recommend is using full-size heat press, instead of an Easy Press Mini. The Mini is great and I love it, but the deal is, the surface area is really small. With the bigger surface area, it will take a lot ;ess time pressing the design and will have a more consistent result.
How Do I Make this Easter Shirt for Kids?
I’m so glad you asked. Below is our written tutorial.
How to Make a Sublimation Shirt for Kids
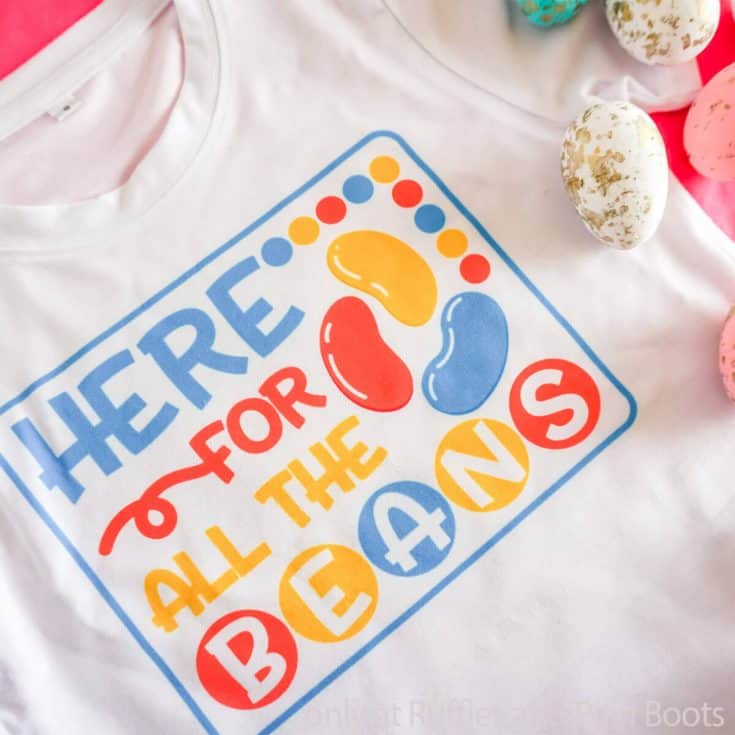
Such a super fast craft, I love making sublimation shirts and this Easter shirt for kids is perfect for a sublimation craft!
Materials
Tools
- Cricut Design Space
- Cricut EasyPress (I used a Mini, but an EasyPress 2 would work nicely too)
- Sublimation-Ready Printer
- Butcher Paper
- Heat-Safe Tape
Instructions
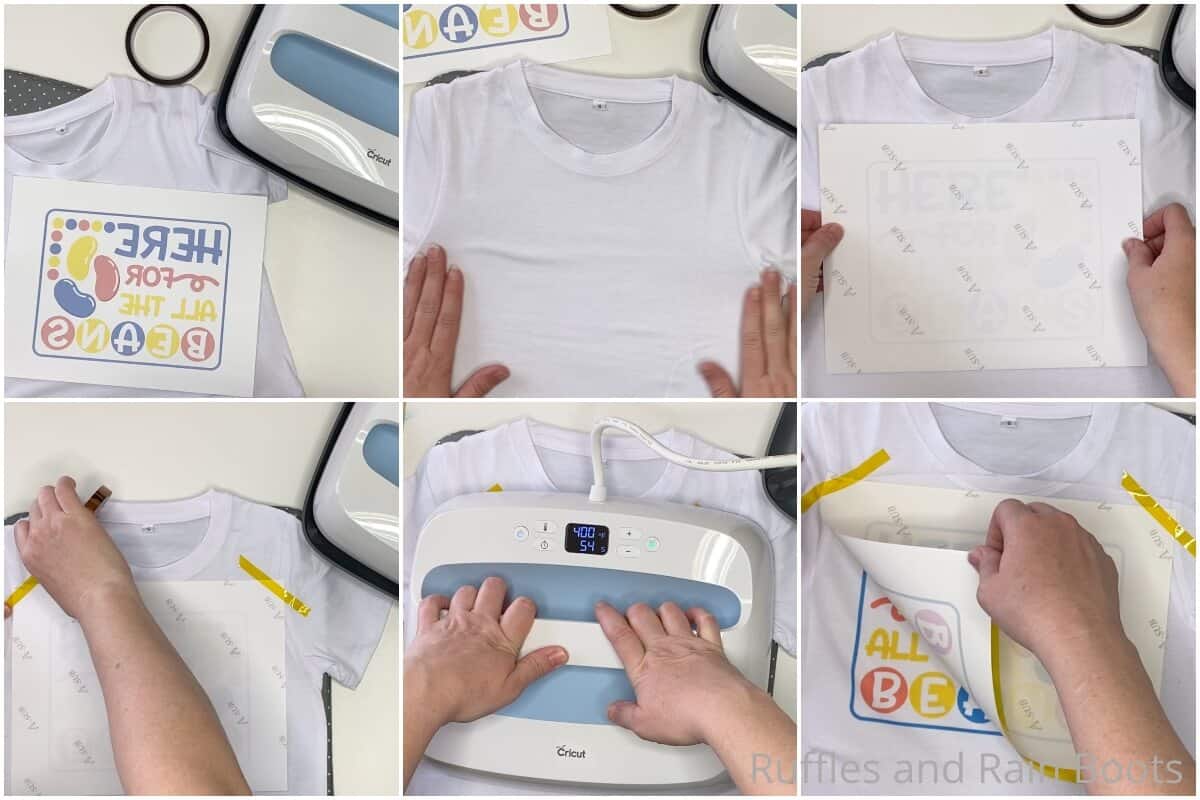
- Start by ironing your t-shirt to remove any folds or creases that might be in the way of your design. I also recommend that you use a lint roller on the shirt to remove any debris, particularly if the shirt has been laundered or worn before you start because this will affect your design, if there is lint or anything in the way of the design adhering.
- Download the Here for All the Beans Easter cut file set then upload the SVG to Cricut Design Space.
- Darken each of the colors of the Here for All the Beans Easter design, as desired. Select the entire design and, using the toolbar at the top of the screen, mark the design as a print-then-cut project. Keep in mind that the project will not need to be cut, just printed, so you do not have to have to use a Cricut cutting machine to complete this project. If you're doing this as a sublimation craft, you can even just print straight from your photo previewer without even opening Cricut Design Space, but I find this to be easier.
- Resize the design to be as large as you would like it to be. I measured the kiddo's chest (not the shirt laying on a table) and estimated that I could make the design about 8 inches wide to fit nicely on the shirt.
- Select "Make It". Then follow the prompts to mirror the Easter design (do not forget to mirror it - this is critical and I ruined 2 valentines shirts while I was learning this year), then print the design on sublimation printer using your sublimation-ready printer.
- Once printed, lay the t-shirt blank on your pressing surface. I also placed a sheet of cardboard inside the shirt to protect the back of the shirt from any accidental ink bleed-through. You can do this as well, or you can use a sheet of butcher paper.
- Place the Here for All the Beans print face-down on the t-shirt and position the design where you want it to ultimately be. Use the heat-safe tape to secure the paper in place so that it will not shift around while you're pressing.
- Completely cover the print with a sheet of butcher paper to protect your heat press from any accidental ink bleed-through onto your heat press. Using your EasyPress, heat the design through the butcher paper for the amount of time and heat as noted by your ink and/or paper (for me this was 400-degrees for about 60-seconds). Be sure to apply heat to every portion of the design, taking the time to ensure the entire design is sublimated onto the shirt.
- Remove the butcher paper, heat-safe tape, and the printer paper and discard. You can wear the shirt immediately or launder it, the choice is yours!
Notes
For more easy Easter crafts, visit Ruffles and Rain Boots!
Recommended Products
As an Amazon Associate and member of other affiliate programs, I earn from qualifying purchases.
More Easy Easter Crafts You Might Like
- No-Sew Bunny Gnome – One of my favorite easy Easter crafts, this DIY gnome is so fluffy and squishy – and his wittle ears are bendy. Cute.
- Farmhouse Carrot Wreath – Quick and fun, you can make this easy farmhouse carrot wreath in minutes with supplies all found at the Dollar Tree.
- Clay Pot Carrot for Easter – I love making crafts with terra cotta pots and this fun carrot is so adorable and fun, it’s perfect for gifts or decor!
Please Save This to Pinterest
Your shares are how this site grows and I am sincerely grateful. Know a friend who’d like this? Please share it on Facebook or save it to your favorite easy Easter crafts board on Pinterest.
