
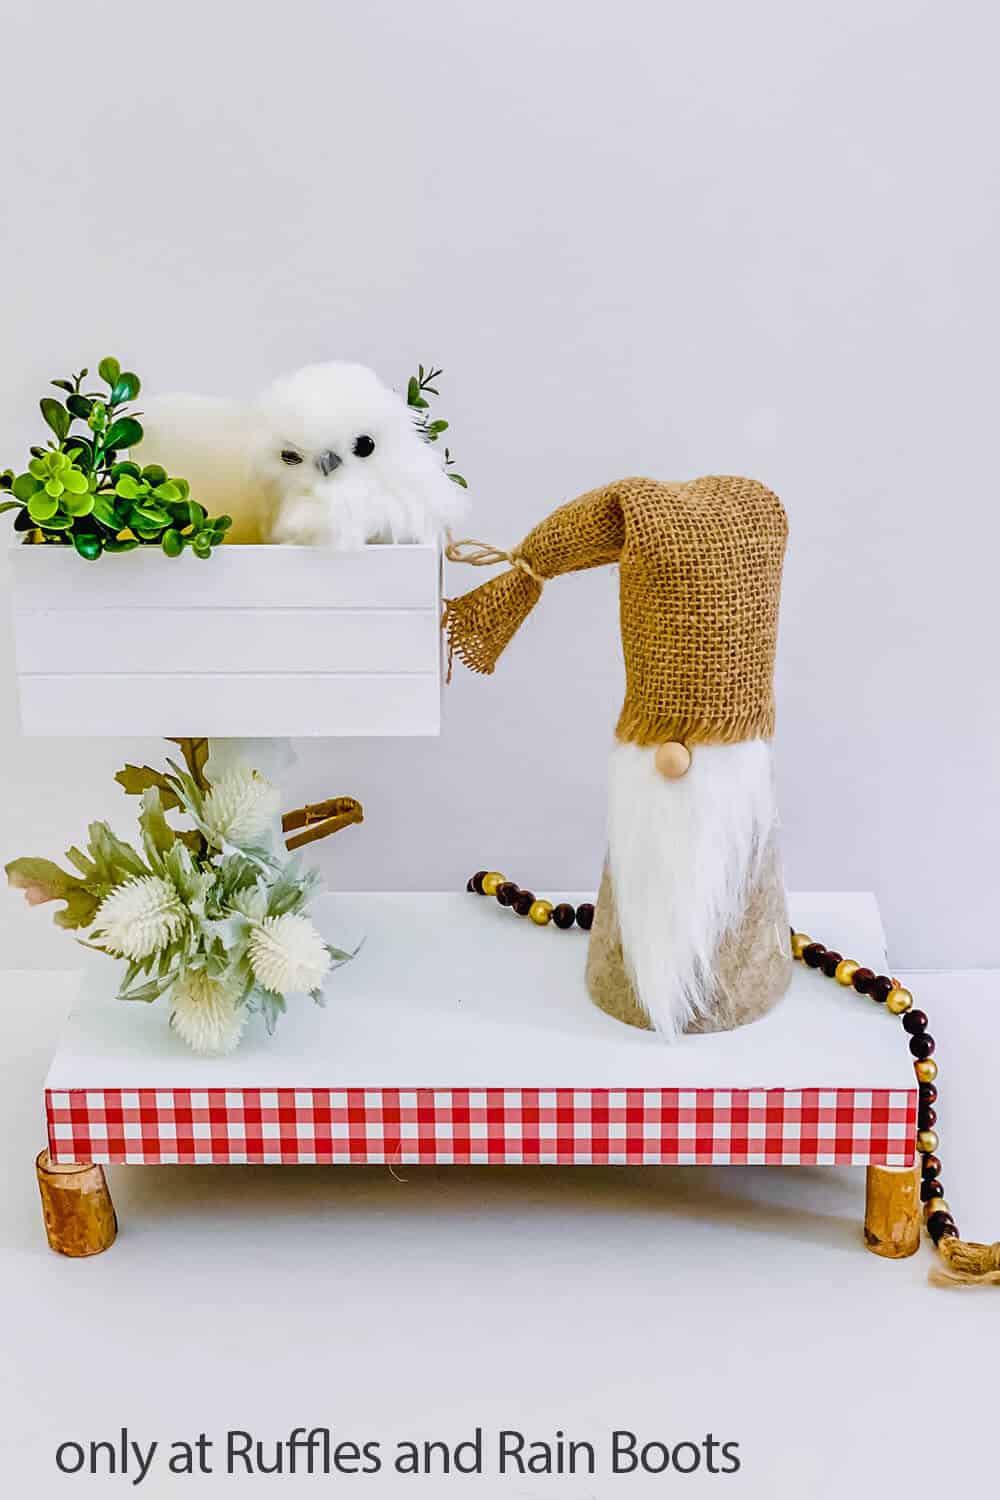
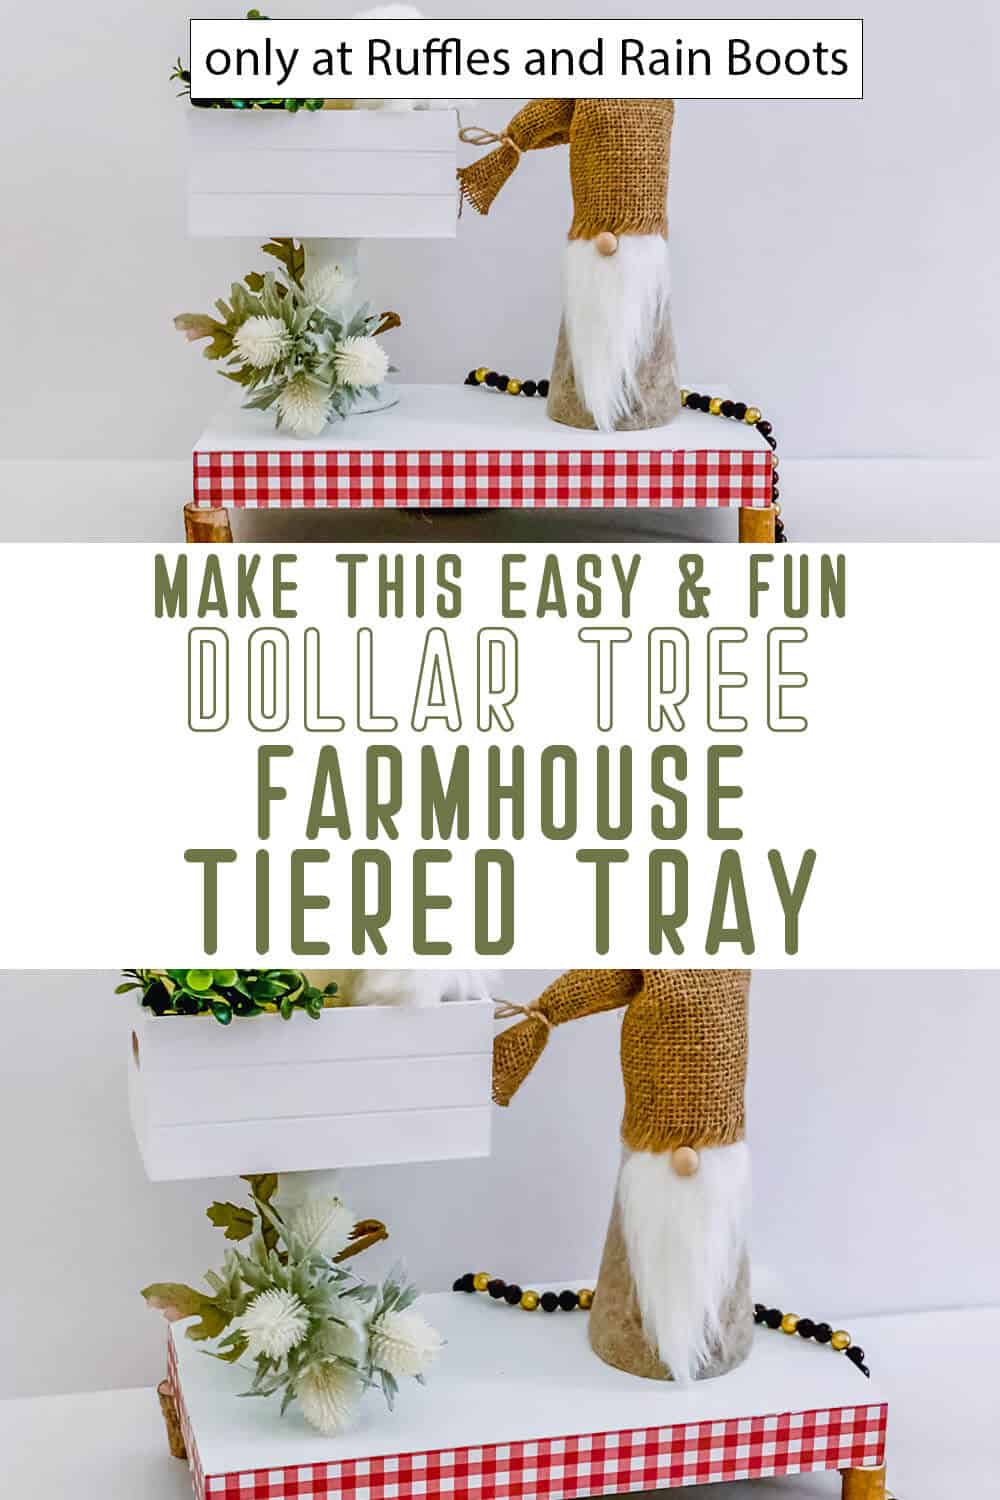
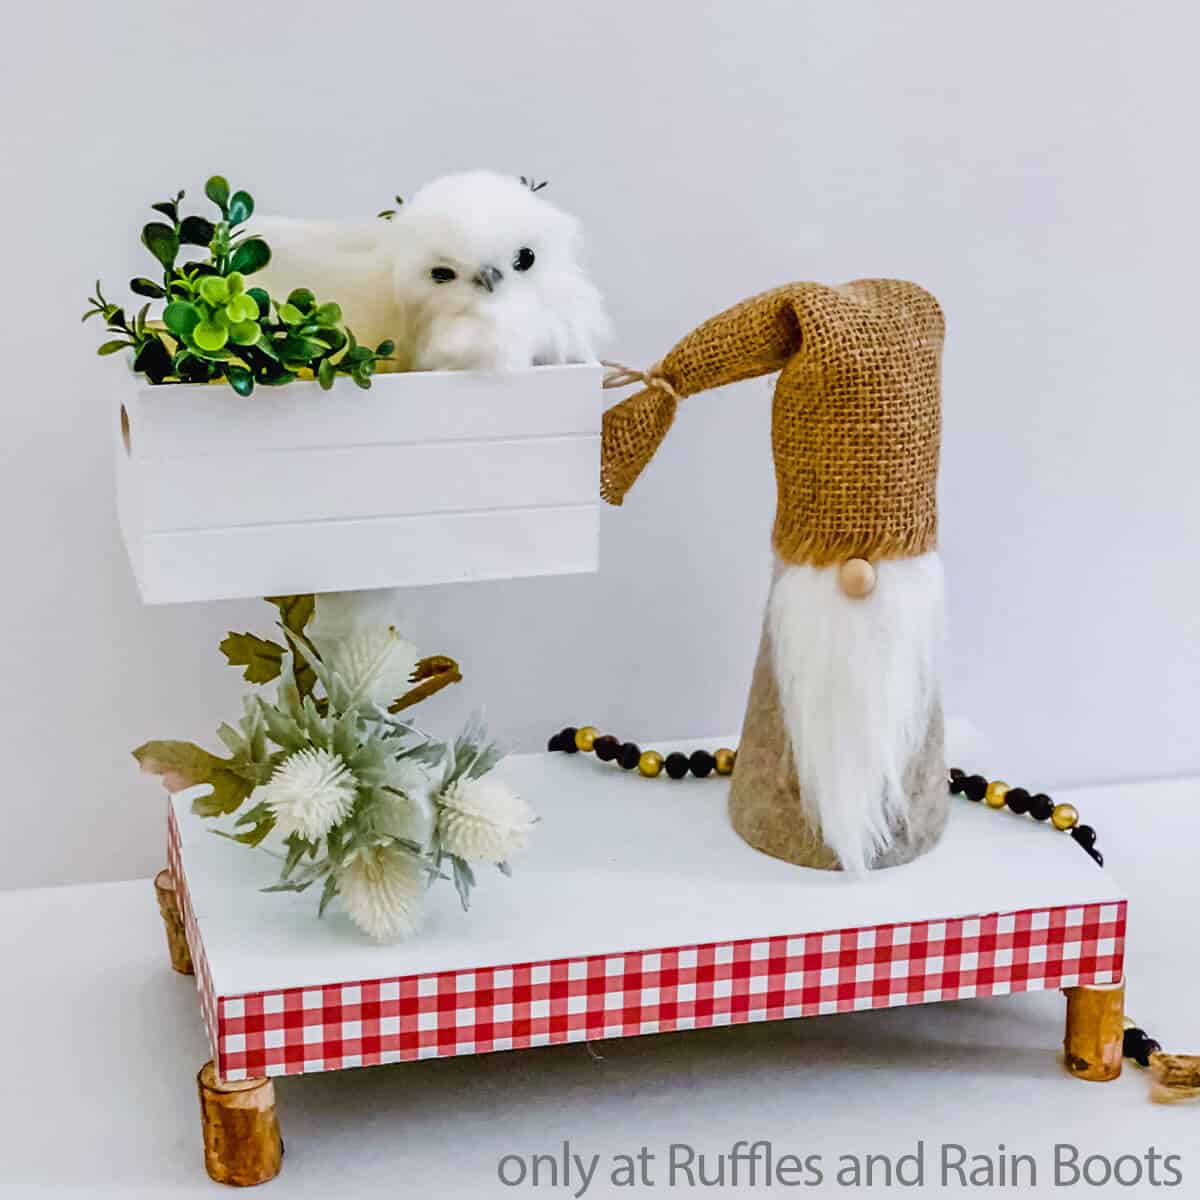
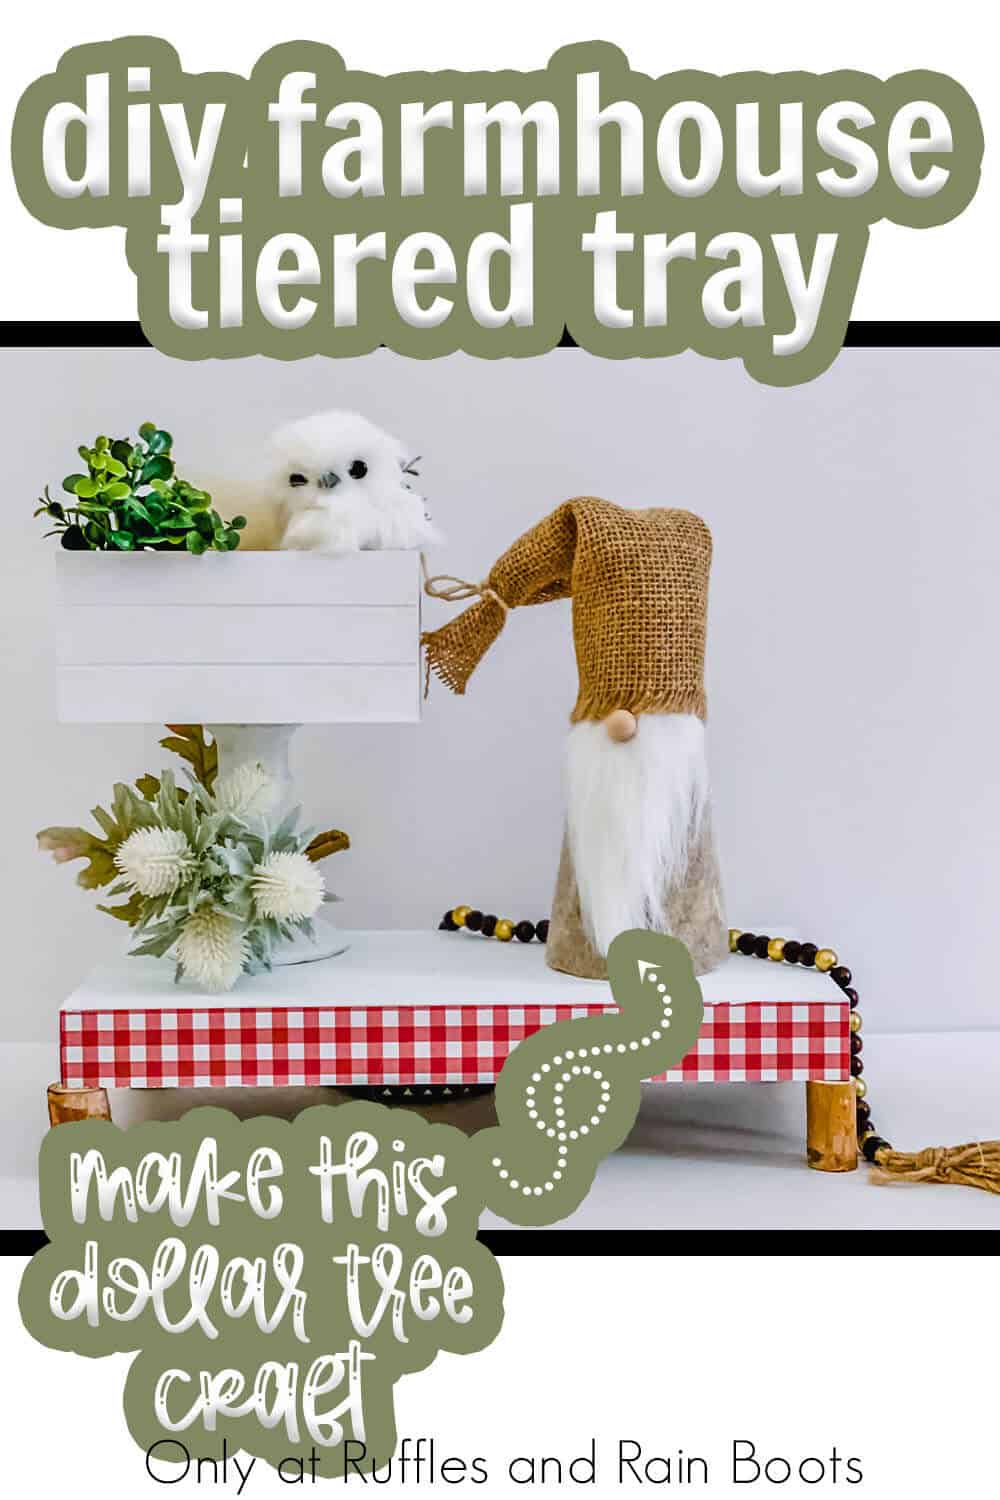
This Quick Dollar Tree Offset Farmhouse Tiered Tray is Easy & Fast!
I wanted something different to display my gnomes, add a little height and character to my decor, so I made this offset farmhouse tiered tray!
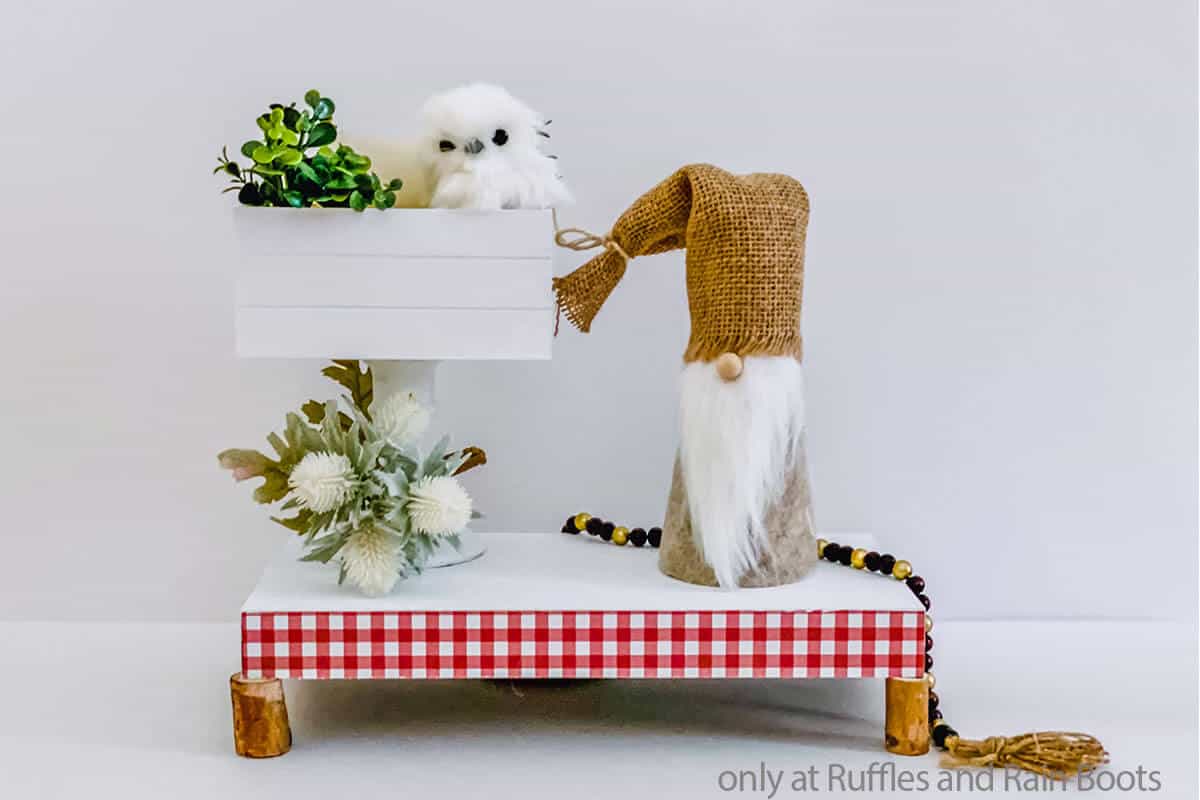
Offset Farmhouse Tiered Tray
Here at Ruffles and Rain Boots, we are always trying to find fast and easy ways to add to the farmhouse decor in the house. I mean, changing things up is so fun and I just get tired of looking at the same thing all the time. So, I took down my round tiered tray and came up with this fun offset farmhouse tiered tray as an alternative.
RELATED READING: EASY TRADITIONAL DIY FARMHOUSE TIERED TRAY
Simple and cute, this farmhouse tray is just different enough from my normal tray that I can’t help but love it. And, I was able to make it form all Dollar Tree materials! If you’re ready to make a fun offset tiered tray, let’s get started.
No Time to Make This Now? Pin it for Later
You’re busy, I get it. Pin this to your favorite Dollar Tree crafts board on Pinterest and it’ll be here when you’re ready.
As an Amazon Associate, I can earn from qualifying purchases.
Tips to Make A Dollar Tree Farmhouse Tiered Tray
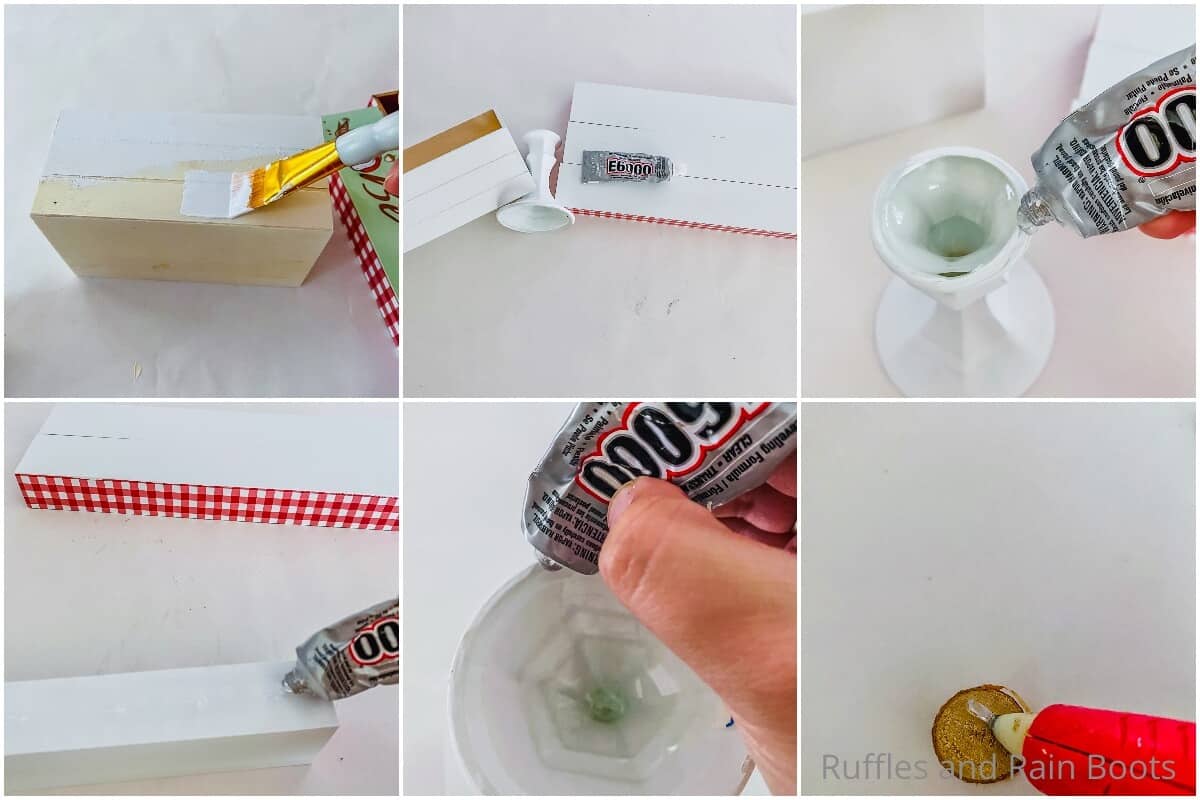
- Because you never know what’s going to go into your top tray and how much pressure that joint line between the parts might face, I recommend using glue a little sturdier than your typical hot glue. I like to use E6000 glue like this, even though it takes longer to dry, just to add a bit more hold.
- I love making crafts with Dollar Tree supplies, but if you run into trouble finding the the little wood craft at the dollar store, you can grab a similar one here. It’s not exactly the same, but it’s close enough that you’ll still love the way it looks.
- Personally, I love a good gnome on my farmhouse tiered tray. I just grabbed the nearest gnome on my shelf to add to my tiered tray for the photos, but when I get it all set up in my entryway, I am going to make a couple kissing gnomes to add to the top tier!
How Do I Make this Offset Farmhouse Tiered Tray?
I’m so glad you asked. Below is our written tutorial.
Offset Farmhouse Tiered Tray

Making this easy offset farmhouse tiered tray was a quick project with supplies all from the Dollar Tree. Perfect for adding a little character to my farmhouse decor, too!
Materials
- 1 4-inch Unfinished Mini-Crate
- 3 2x10-inch Wood Signs
- 4 1-inch Wood Cutoffs
- Candle Holder
Tools
- E6000 Glue
- White Chalk Paint
- Paintbrush
Instructions
- Start by painting the wood crate, candle holder and front face of all three wood signs with the white paint. Allow the paint to dry completely and add a second coat for full coverage, if necessary.
- Glue the three wood signs together side-by-side along their long sides. Allow the glue to dry completely.
- Glue the candle holder to the bottom of the center of the crate. Allow the glue to dry completely.
- Glue a wood cutoff to the bottom corner of the glued-together signs, giving the tray a finished look. Allow the glue to dry completely.
- Position the candle holder to one side of the tray, about 3 inches from the left edge. Glue the candle holder in place. Allow the glue to dry completely. Then decorate and enjoy!

Notes
For more fun farmhouse crafts, visit Ruffles and Rain Boots!
More Farmhouse Tray Tutorials You Might Like
- Buffalo Check Painted Tray – I love how easy it turned out to be to learn how to paint buffalo check pattern! It’s so quick and makes for a super fun tray!
- Single Tier Stand for Gnomes – If you love a great stand for a gnome, but you want something much smaller, make this easy single-tiered tray!
- Easy DIY Tiered Tray Filler – For fun tiered tray fillers, you just have to grab a few supplies to really make your decorations pop!
Please Save This to Pinterest
Your shares are how this site grows and I am sincerely grateful. Know a friend who’d like this? Please share it on Facebook or save it to your favorite farmhouse crafts board on Pinterest.
Meet the Creator
Hi there, I’m Sarah Nenni-Daher. I’m a crafty gal and always have at least 14 projects going at once. I am a crafter, designer, DIYer, and pattern maker. I share my creations here and in the Ruffles and Rain Boots® Shop.
Here at Ruffles and Rain Boots®, you’ll find DIY gnomes, crafts, gifts, cupcakes, laser crafts, and so much more. I love sharing video tutorials over on YouTube and chatting with other crafters in my Facebook groups. We’d love to have you!