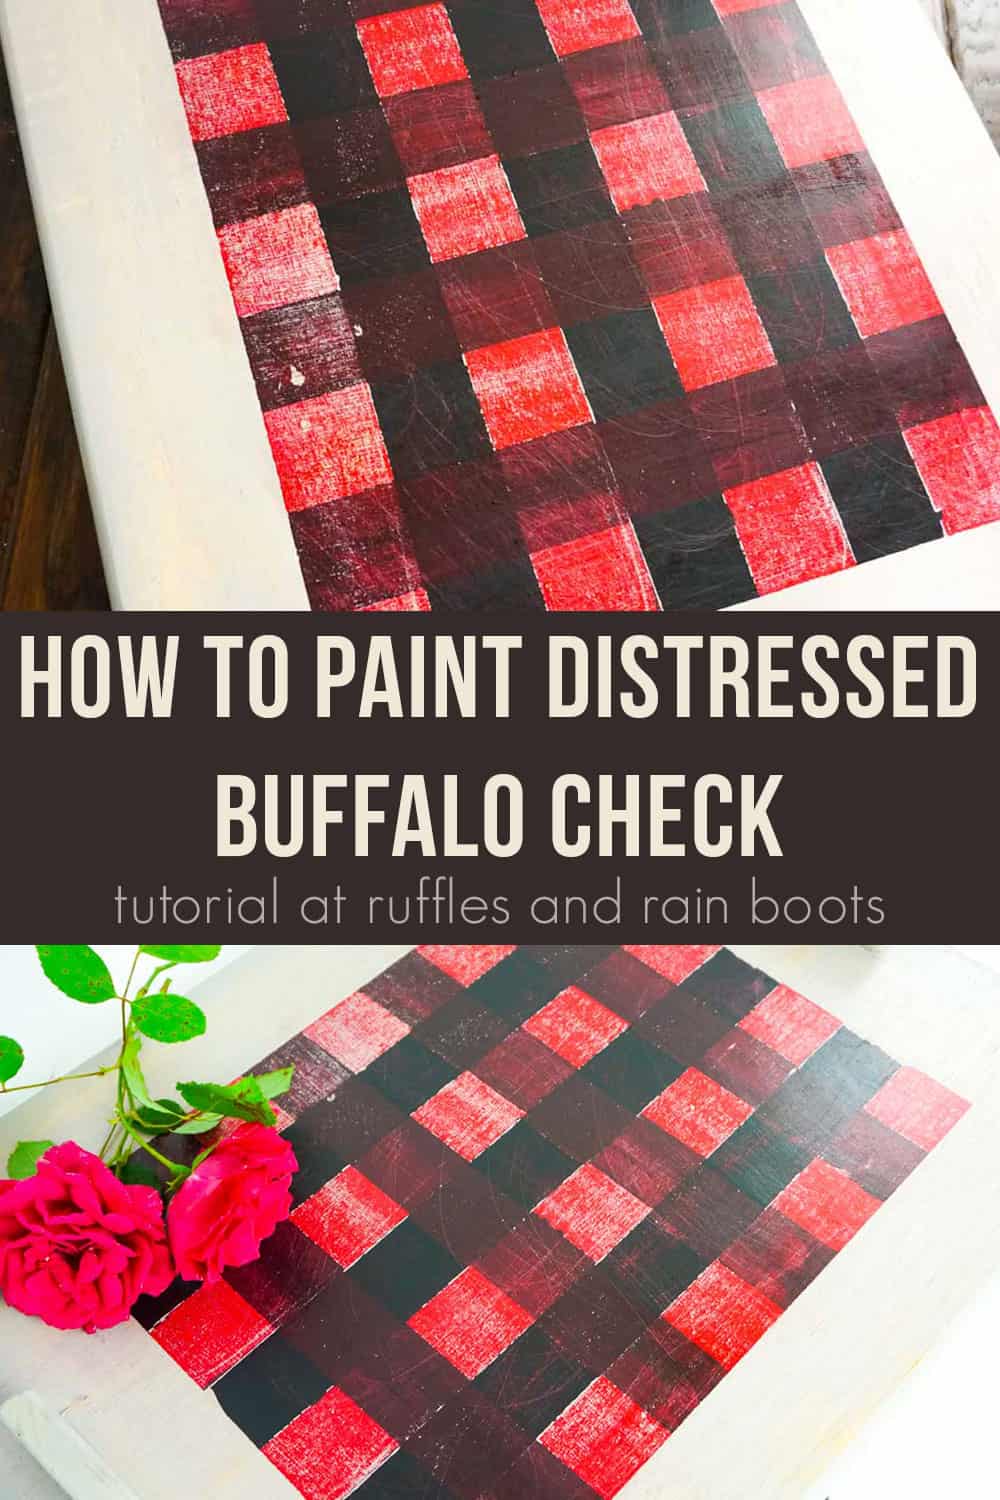
Make a Rustic, Weathered Buffalo Check Painted Tray
I adore this easy buffalo check painted tray I made. If I’d know how to paint distressed buffalo check before, I would have made a million fun things–now it’s time to make!
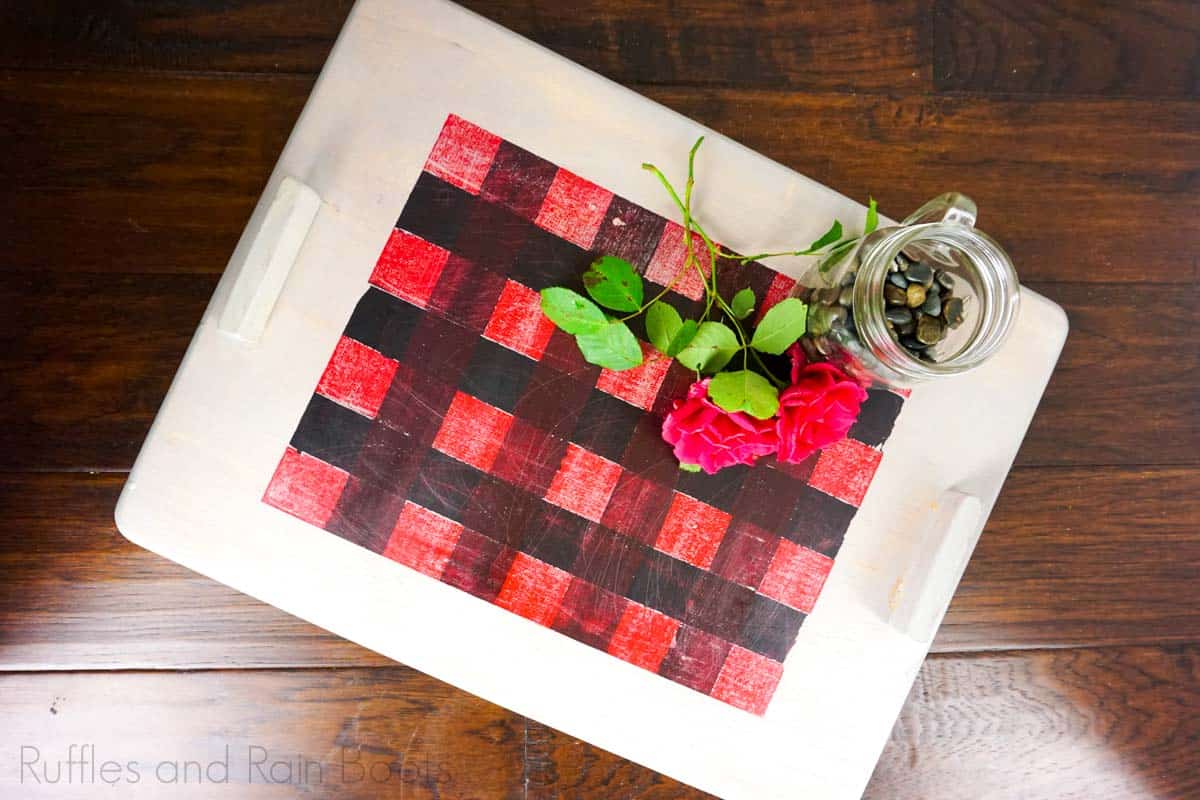
Buffalo Check Painted Tray for Christmas
Here at Ruffles and Rain Boots, we are a little in love with buffalo check this year for holiday decorating. First there was the gnome-sweet-gnome porch sign, then there was the christmas gnome with two beards and now it’s this awesome upcycled buffalo check painted tray.
RELATED READING: CARVED CHRISTMAS SERVING TRAY UPCYCLE PROJECT
Seriously, don’t let this project intimidate you, it’s easier than it looks to figure out how to paint distressed buffalo check. If you’re ready to make a fun farmhouse Christmas craft for your holiday decor, let’s get started.
No Time to Make This Now? Pin it for Later
You’re busy, I get it. Pin this to your favorite farmhouse Christmas crafts board on Pinterest and it’ll be here for when you’re ready.
Tips to learn how to Paint Distressed buffalo check
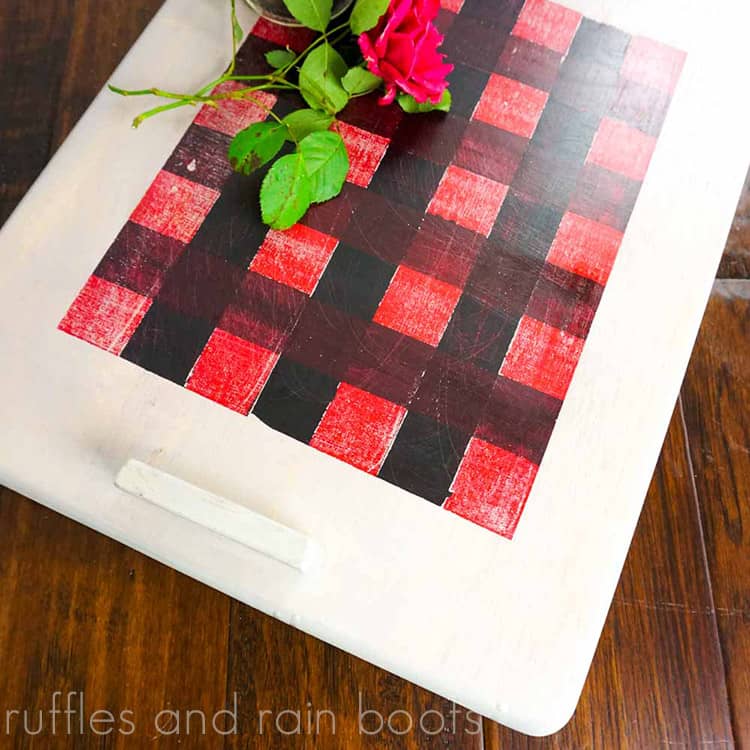
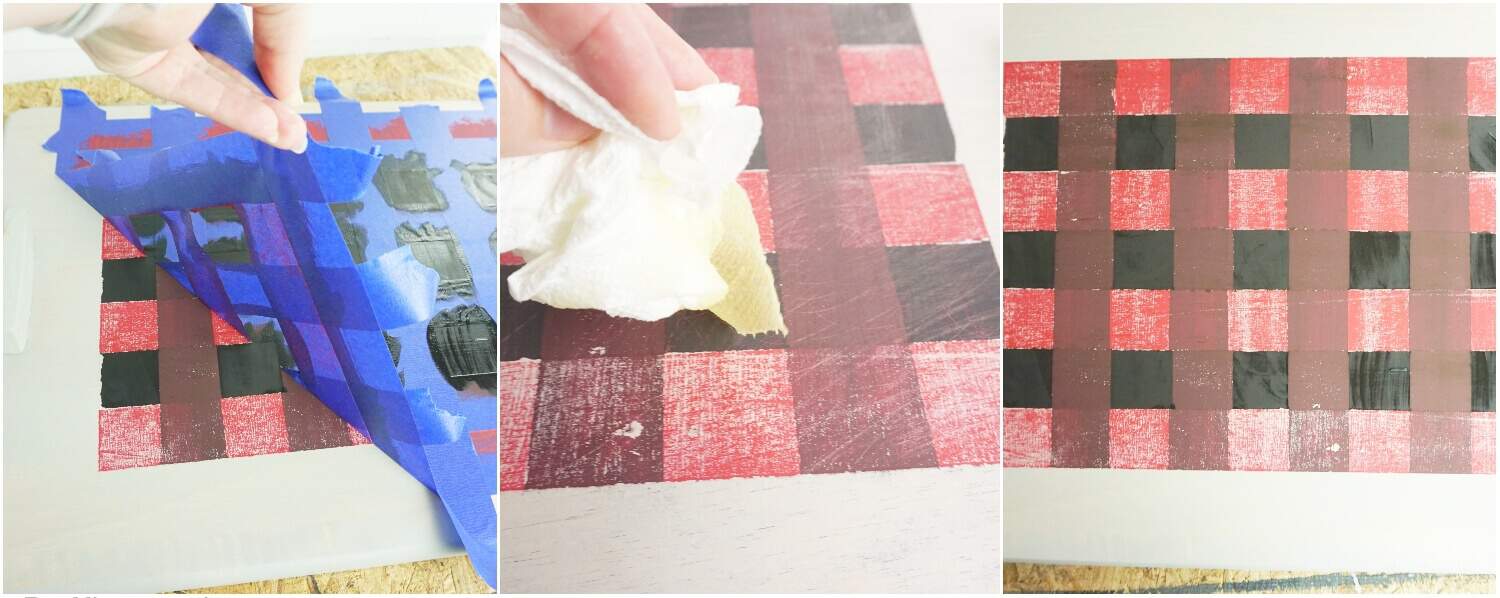
- If you’re looking for that cool distressed look, don’t wait until the paint has fully cured. Rather than waiting overnight or 24-hours for the paint to dry fully, just wait 3-4 hours. That will leave enough paint on the tray to show the color, but will pull enough off to make it look distressed.
- When you’re gluing on your handles for your buffalo check painted tray for Christmas, be sure to think about how you plan to use this tray. If you plan to carry anything on it that has any weight, you should probably drop a couple of screws into the handles from the back. If not, you’re good with the hot glue. Just know to not use the handles if heavy stuff does make its way onto your tray.
- If you really love this idea, but don’t want a serving tray, you could always stand it up on it’s side and put a pretty SVG on it!
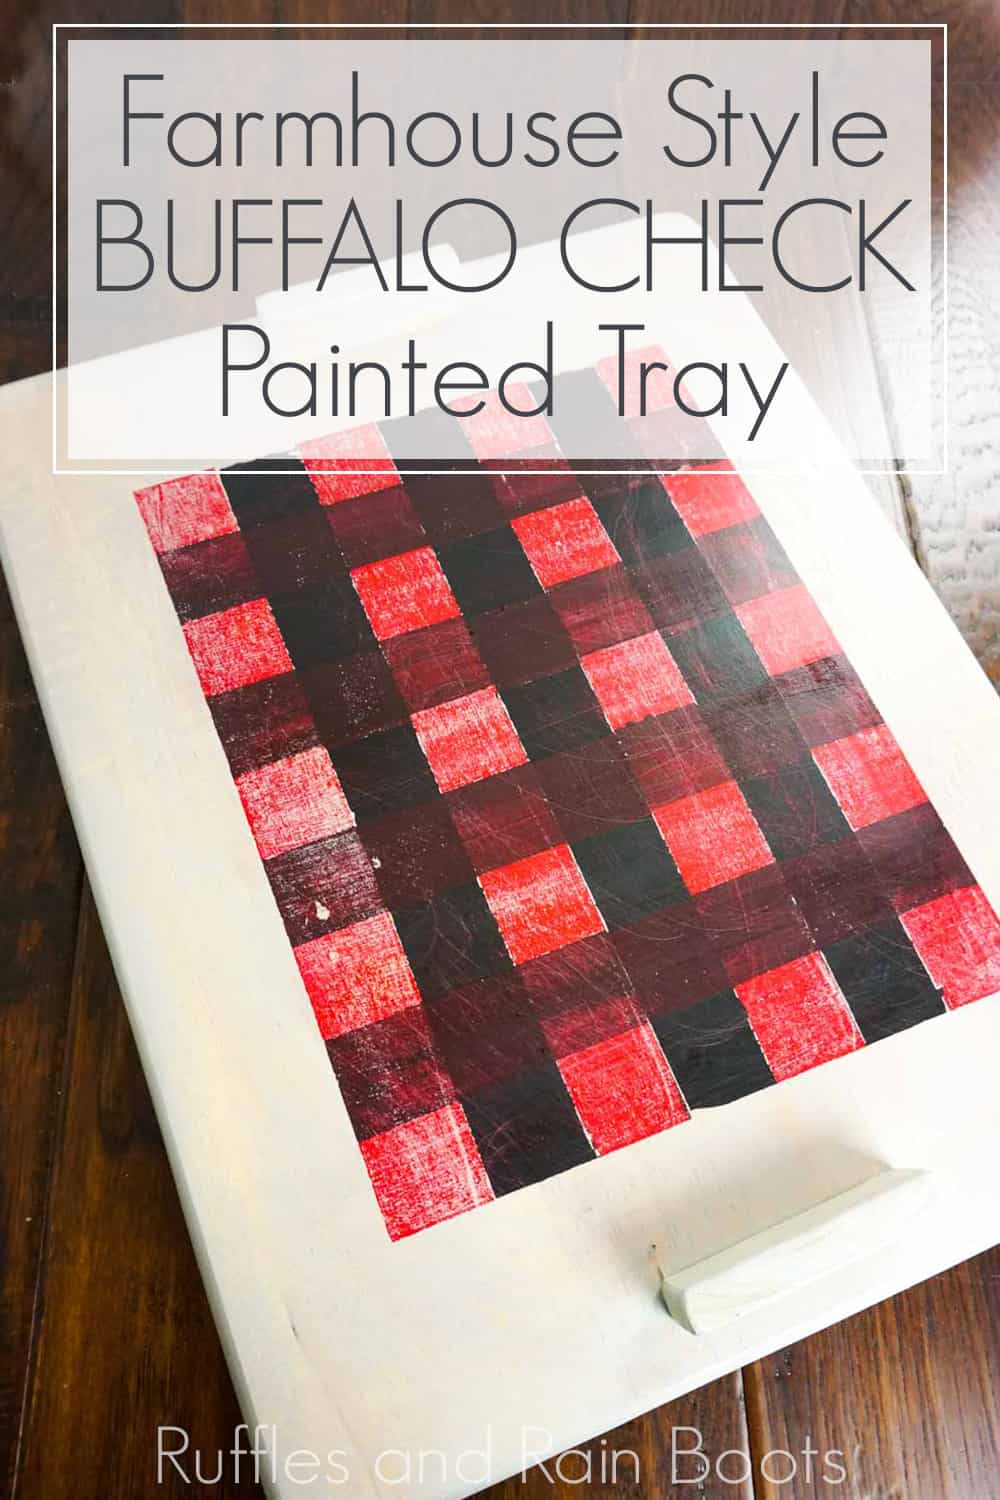
How Do I Make this Buffalo Check Painted Tray for Christmas?
I’m so glad you asked. Below is our written tutorial.
Buffalo Check Painted Tray

I adore this easy buffalo check painted tray I made. If I'd know how to paint distressed buffalo check before, I would have made a million fun things--now it's time to make!
Materials
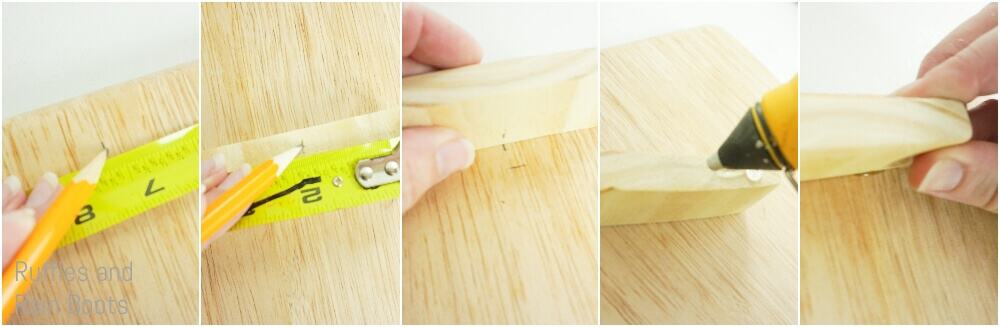
- 1 Cutting Board (I found one at a thrift store)
- 2 Scrap Wood Pieces 4-inches long by 2 inches tall.
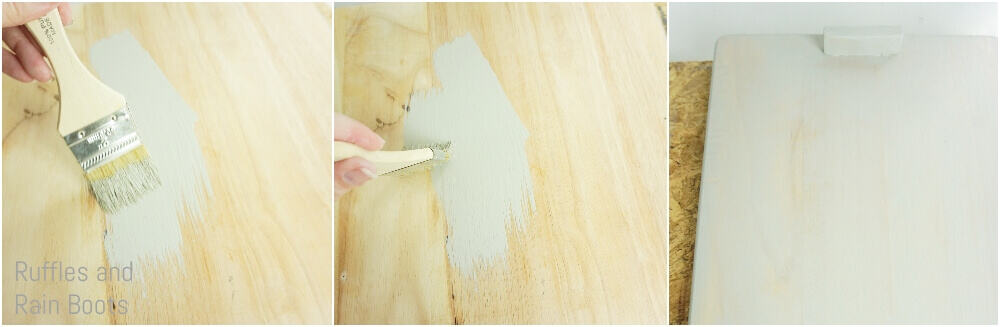
- Grey Wood Stain
- Wipe-on Polyurethane to Seal Serving Tray
- Red Craft Paint
- Black Craft Paint
Tools
- Hot Glue Gun
- Hot Glue Sticks
- Paintbrush
- Sand Paper
- Painter’s Tape
Instructions
- Lightly sand cutting board to remove any stains or cut marks.
- Hot glue the scrap wood pieces, sitting on their sides onto the serving tray on either side, centered and about 2-inches from the edge.

- Paint the backside of the serving tray with the grey stain. Allow this to dry fully.
- Paint the front side of the serving tray with the grey stain. Allow this to dry fully.
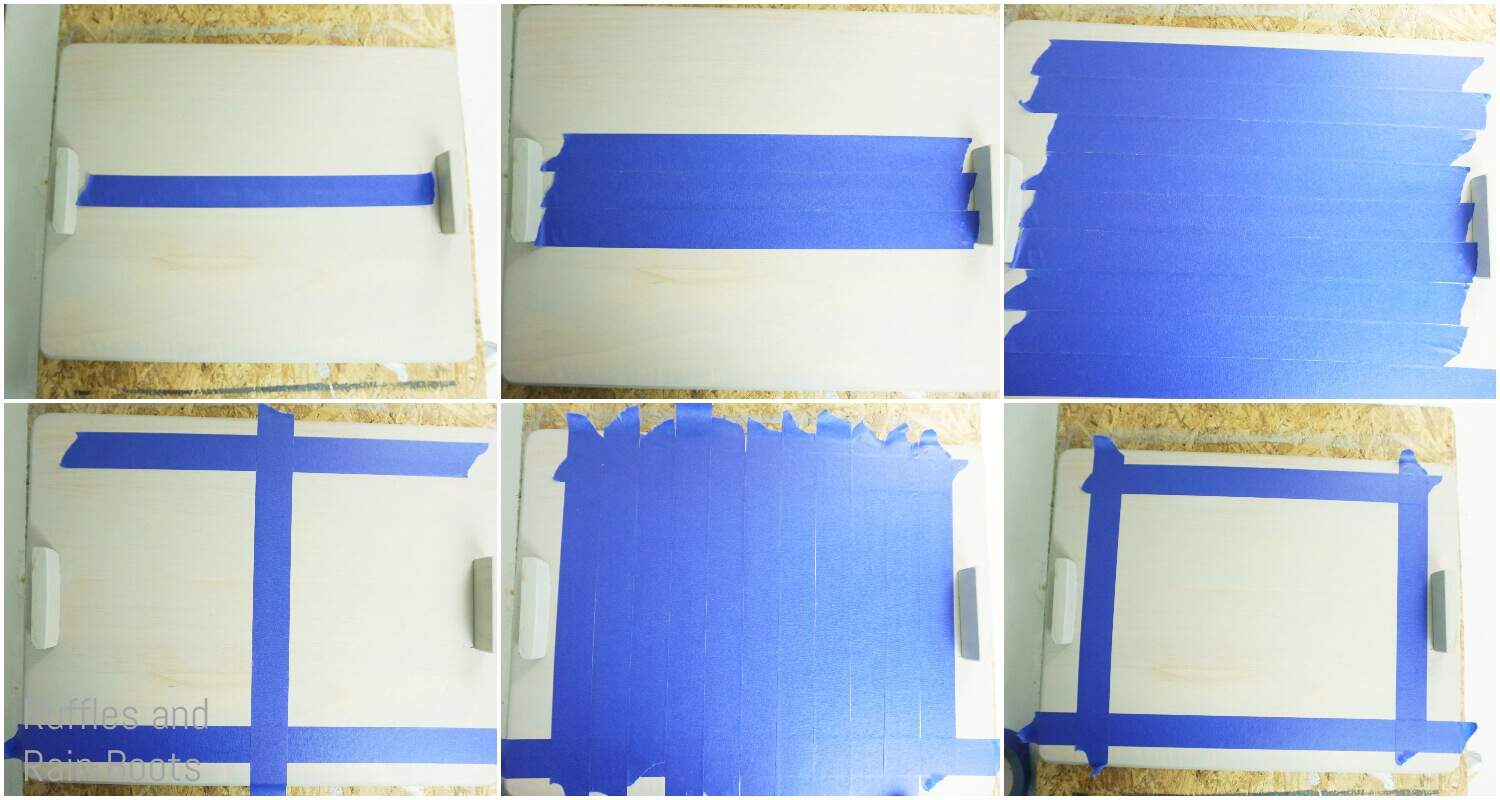
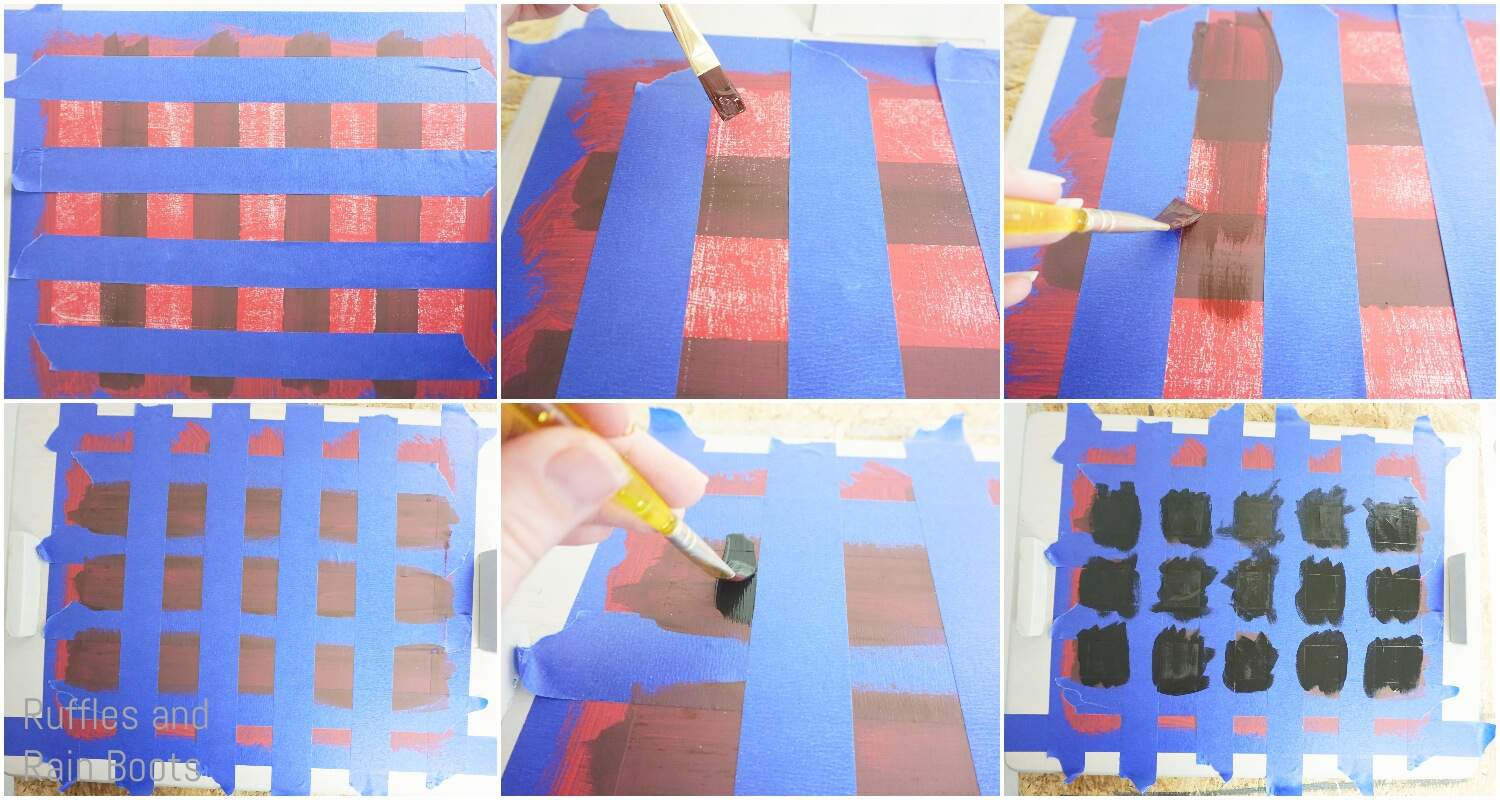
- Place a piece of painter’s tape in the center of the serving tray.
- Place a piece of tape on either side of this tape piece, adding tape on either side, lining them up straight, across the width of the serving tray, as far out as you want the buffalo check pattern to be.
- Remove all of the tape in the center, leaving just the two outside pieces of tape in place.
- Turn the serving tray once and repeat steps 5, 6, and 7 above with tape running perpendicular to the tape you just did. You should be left with a taped-off square in the center of your serving tray where you plan to put the buffalo check pattern.

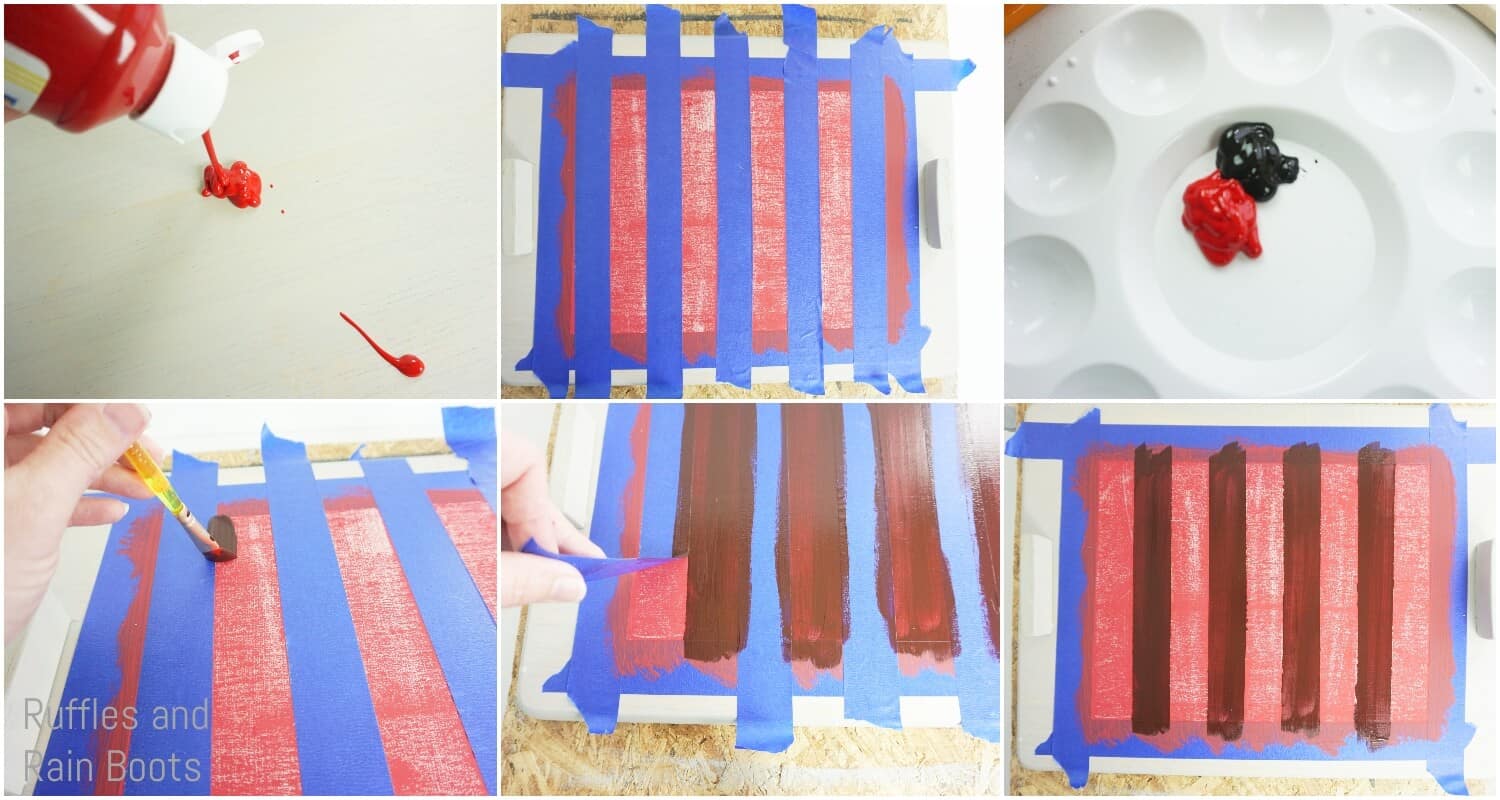
- Paint the taped-off square red. Allow this to fully dry.
- Working from one side of your taped off area, place tape all the way across your taped-off area, lining up the tape straight.
- Remove every-other piece of tape.
- Mix ⅓ black and ⅔ red paint.
- Using this mixed paint, paint the taped-off stripes on your serving tray. Allow to dry fully.
- Remove tape.
- Turn the serving tray once.
- Working from one side of your taped off area, place tape all the way across your taped-off area, lining up the tape straight.
- Remove every-other piece of tape.
- With your mixed paint, paint the taped-off stripes on your serving tray. Allow to dry fully.
- DO NOT REMOVE TAPE.
- Turn the serving tray once.
- Working from one side of your taped off area, place tape all the way across your taped-off area, lining up the tape straight.
- Remove every-other piece of tape.
- With your straight-black paint, paint the taped-off stripes on your serving tray. Allow to dry fully.
- Remove ALL tape, even along the edges.
- Sand lightly to make it look worn.
- Seal with the wipe-on polyurethane.

- Enjoy!
Notes
For more fun farmhouse Christmas crafts, visit Ruffles and Rain Boots.
Creativity, Delivered
Would you like inspiration delivered right to you each week? Sign up for the once-weekly Ruffles and Rain Boots newsletter and you’ll get that and more! Get access to the exclusive libraries full of free SVGs, hand lettering practice, and so much more.
More Farmhouse Christmas Crafts You Might Like
- Farmhouse Rock Nativity – Make your own nativity with these easy farmhouse-style painted rocks!
- Farmhouse Tiered Tray – Decorate this with a couple of Christmas items and BAM! You have an amazing decoration to go with your buffalo check serving tray!
- Home is Where You Are Farmhouse SVG – If you want to make a beautiful sign with this free SVG, well, it’s perfect for putting right there with your other farmhouse decor.
Please Save This to Pinterest
Your shares are how this site grows and I am sincerely grateful. Know a friend who’d like this? Please share it on Facebook or save it to your favorite farmhouse Christmas crafts board on Pinterest.