No-Sew Snow White Minnie Ears
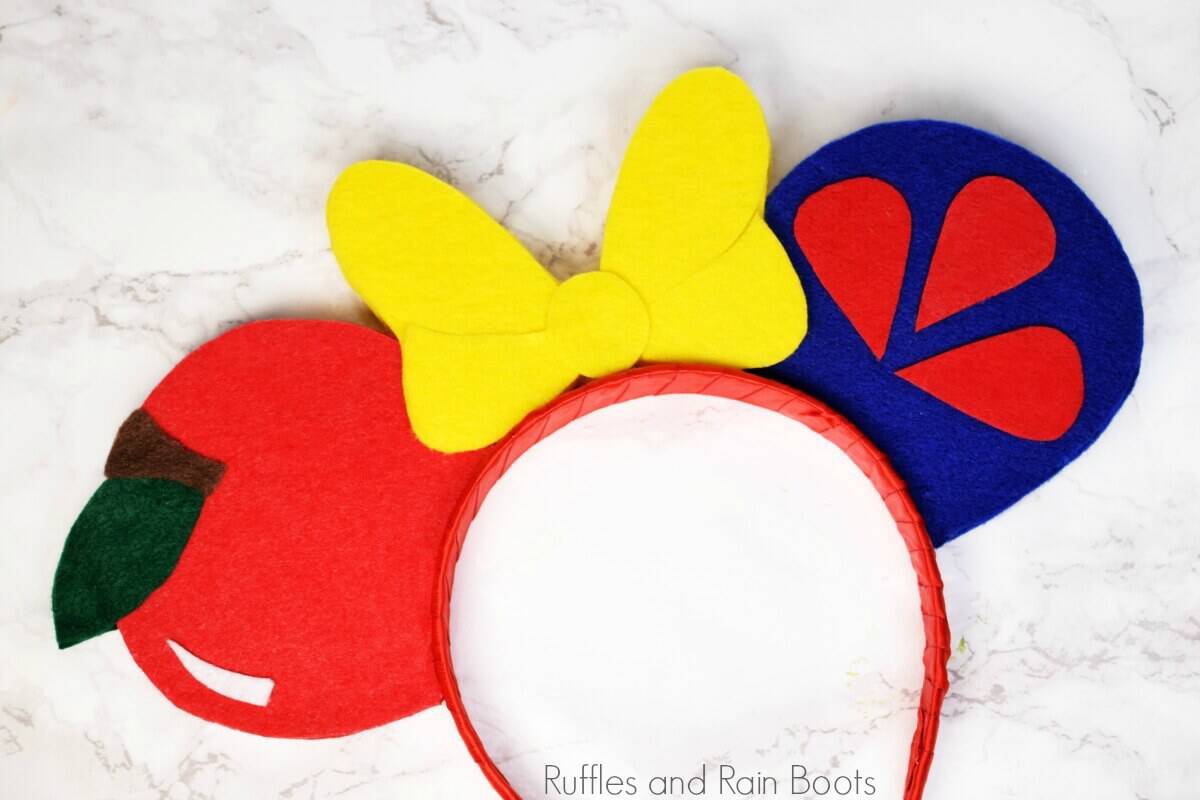
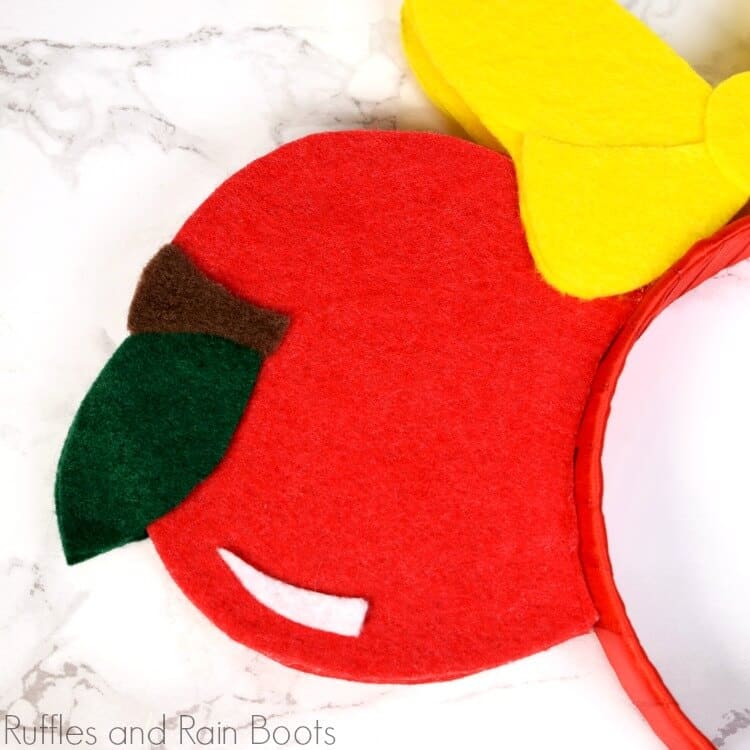
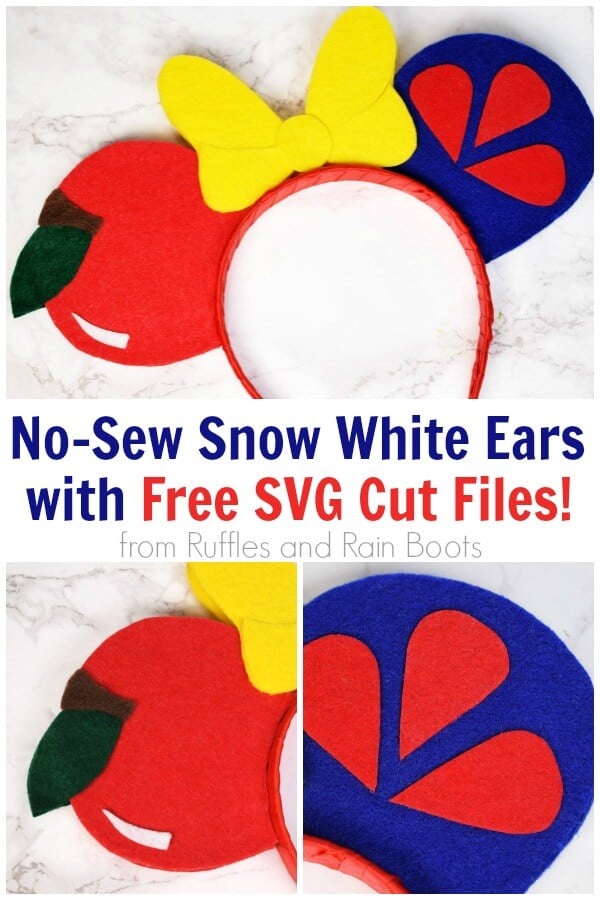
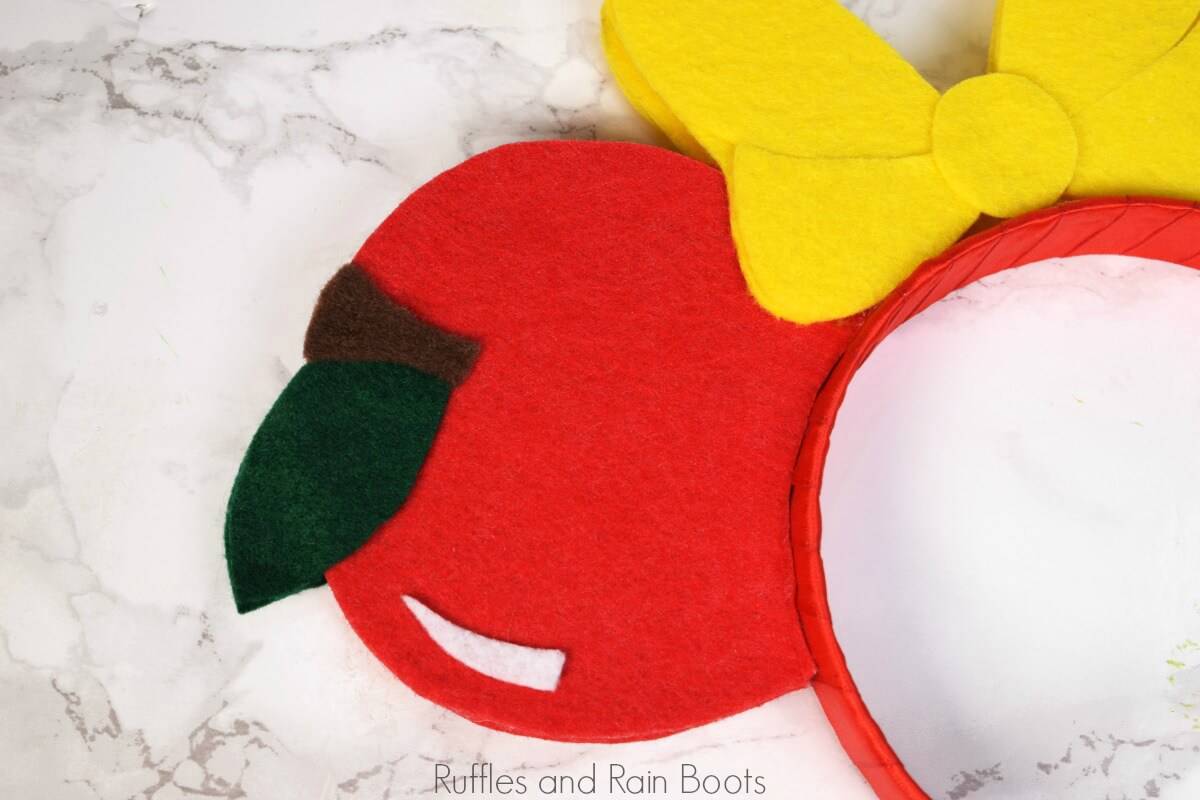
These Snow White Minnie ears are going to draw the oohs and ahhs. Click to get the free templates and Disney SVG files to get started.
What You'll Find On This Page
Snow White Minnie Ears Tutorial
Here at Ruffles and Rain Boots, we love crafting for Disney. From our popular princess costume DIYs to our fun Disney family movie nights, we sure do love that mouse and his friends.
These Snow White Minnie ears are going to impress everyone. They are easy to make and use basic craft supplies – like, seriously basic! First, let’s decide how you’re going to make them. My requirements for ears are:
- lightweight – I’m making these for my daughter and I and some park ears are just too heavy for her.
- water-resistant – Yes, it rains at Disney (the horror) and the felt helps absorb some of the moisture.
- easy – I am making quite a few of these for ourselves and family and I didn’t want to spend years on them.
- no-sew – Although I know how to sew and will likely share a few sewn ears with you, I have a lot of requests for no-sew items (like this mermaid costume).
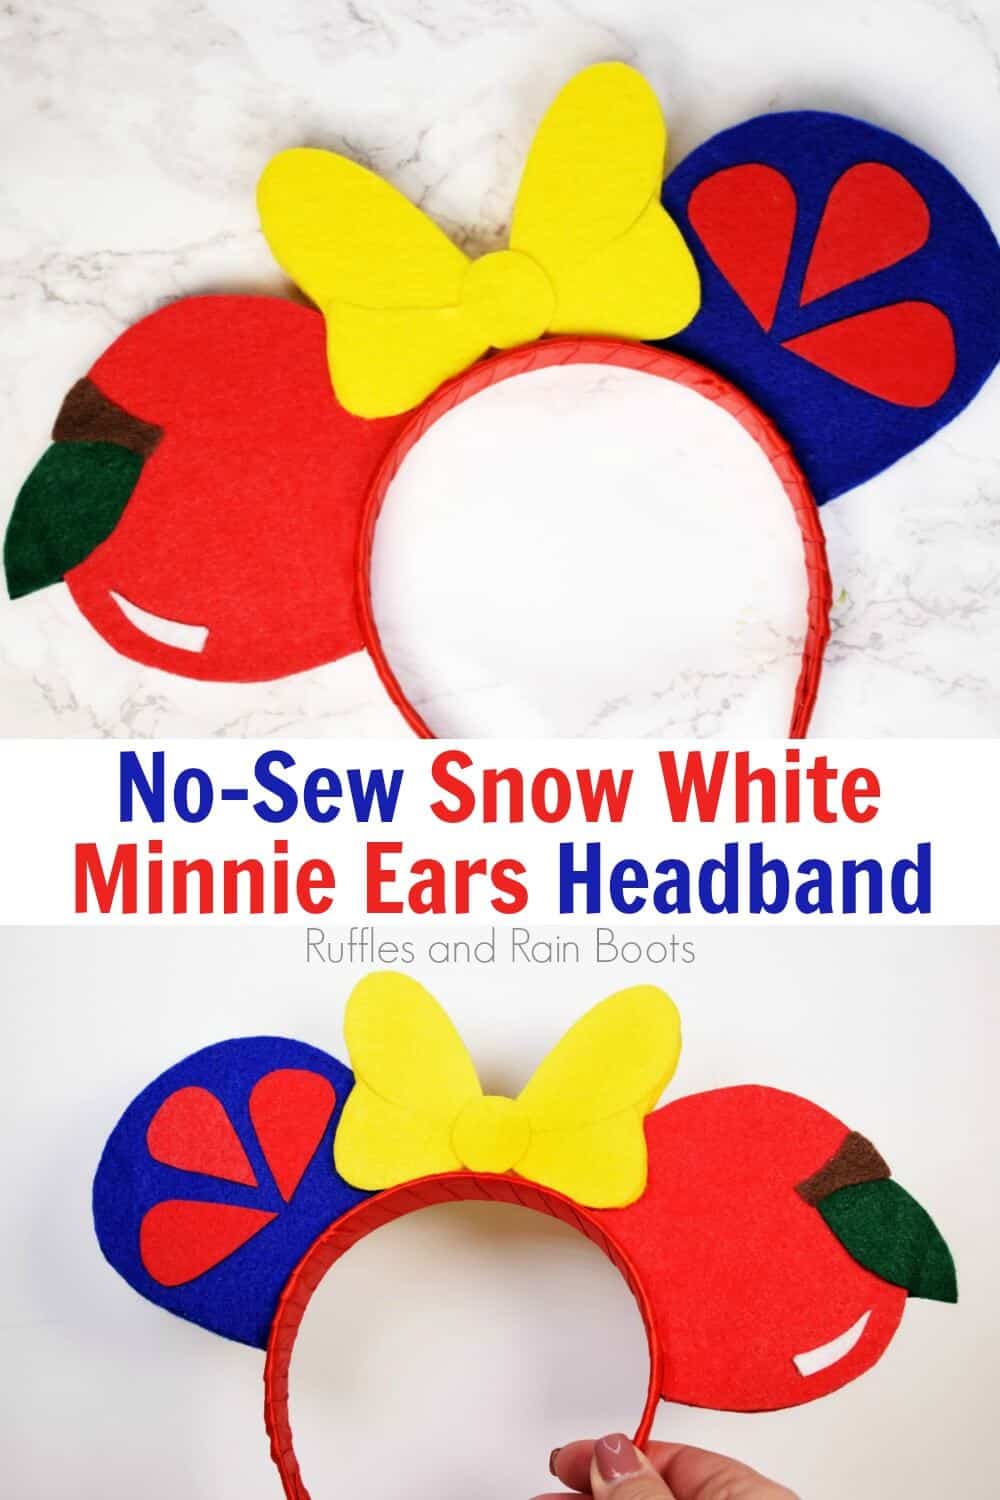
Can’t Make These Fun DIY Mickey Ears? Pin This for Later!
Planning a trip to Disney and accumulating ideas for DIY Mickey ears? Pin this to your Disney Pinterest board and come back to it later.
This tutorial contains partner links which means I could earn from qualifying purchases. See our full disclosure policy.
How to Make Snow White Mickey Ears
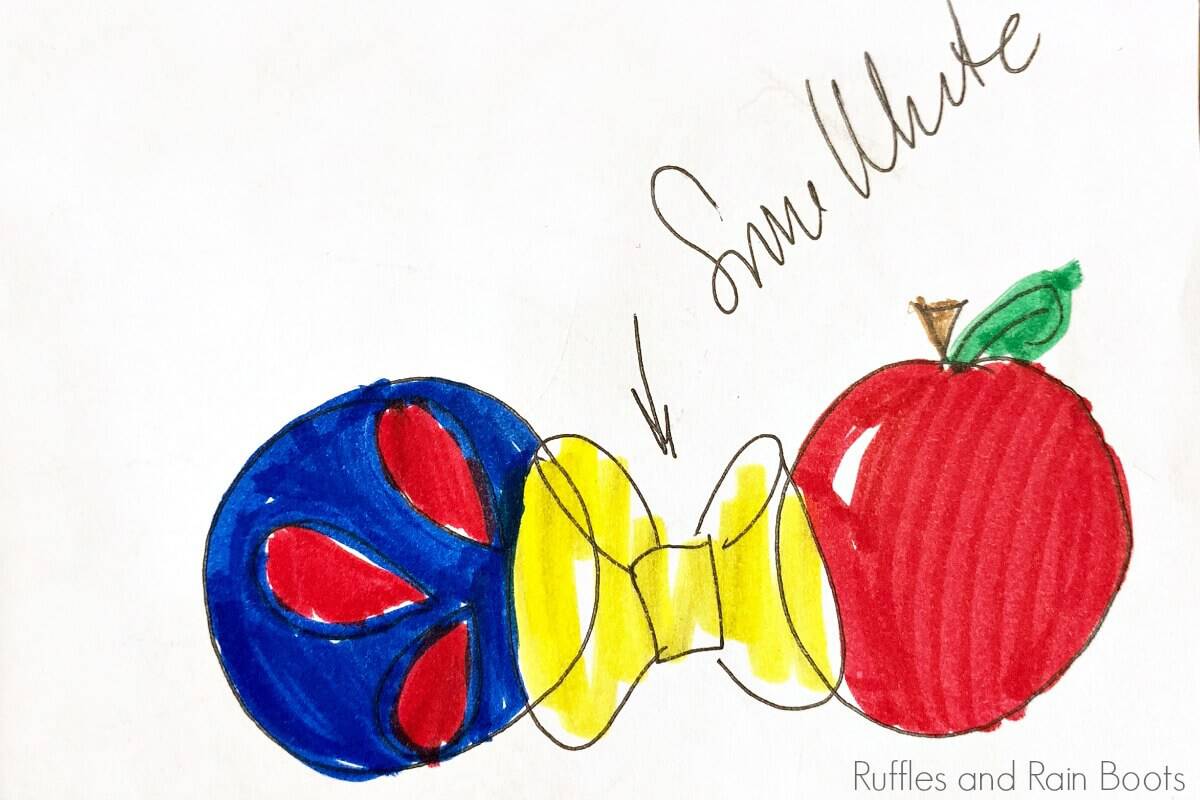
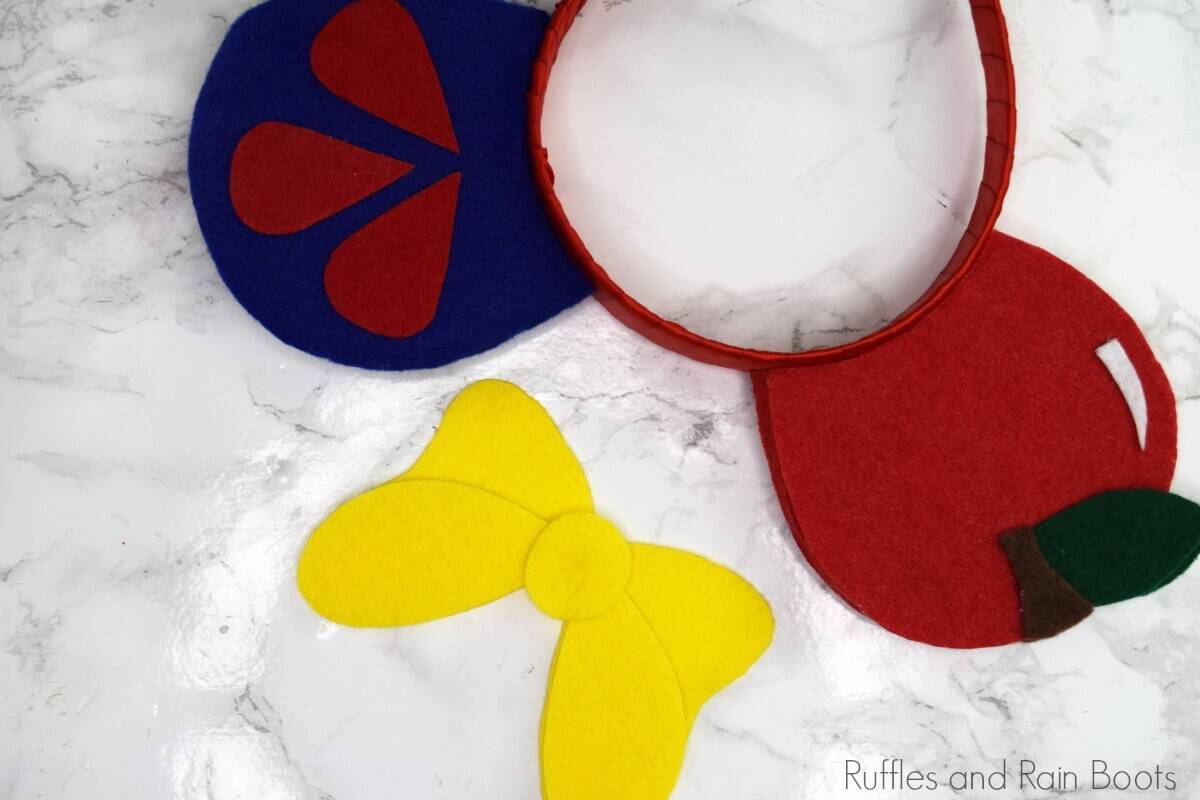
I draw each and every design, albeit a quick sketch with the use of my daughter’s Crayolas. Below is how I envisioned this Snow White ears headband and I think I was able to hit the mark.
TERMS OF USE
The digital files were created by me, Sarah Nenni-Daher, and are to be used for PERSONAL USE ONLY. Copyright is strictly enforced through the use of infraction agents.
Cricut, Silhouette, and Cutting Machine Users
If you have a Cricut or Silhouette machine which cuts felt (or bonded felt), this is going to take you no more than about 30 minutes from start to finish. It’s a super fast Cricut Disney craft. Scroll to the tutorial and download the free files. Size the ears (as a group) in the software to match your base and cut BUT do not cut the background as you’ll need to size that for the foam core ears you cut.
I have included Snow White SVG files but have also shared the EPS, DXF, and PNG files for use with machines other than Cricut.
For Those Without Cutting Machines (Hand Cut)
But what if you don’t have a Cricut or Silhouette machine and can’t use the Disney cut files? Don’t worry, I’ve got you covered! Download the PNG files into a program (Word, Pages, PowerPoint, etc.) and size them down to your ears. Just like above, do not cut the background pieces until you’ve cut your foam core ears.
That’s it. Easy peasy, lemon squeezy.
Tips for Making a Snow White Minnie Mouse Headband
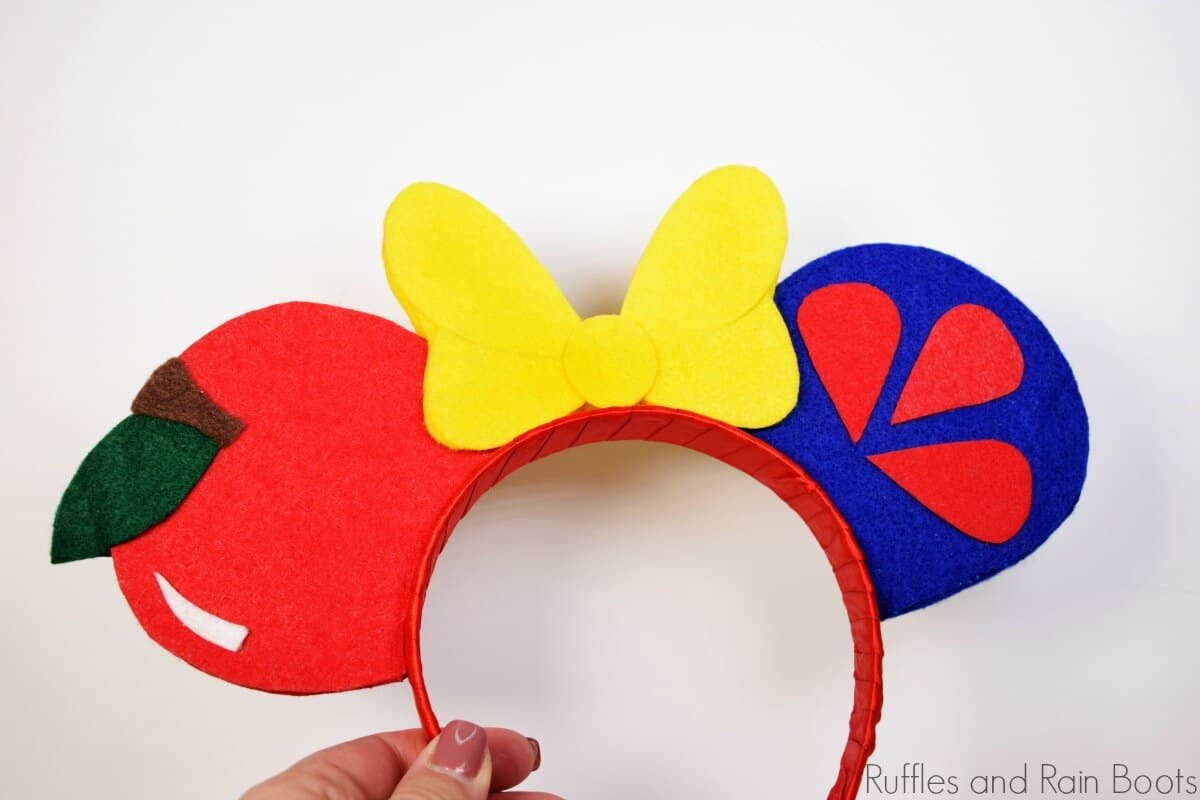
I’ve now made 5 of these Mickey or Minnie Mouse ear headbands with this method, and I need to share with you what I’ve learned. It was a LOT of trial and error to figure out what worked best with this style.
- The directions below might seem intense, but watch the full video – it’s really easy to make these. I can make a set in about 30-minutes after the felt pieces are cut.
- If you want to save time, start with premade ears. It reduces hands-on time but they won’t be as sturdy.
- Make a template for your headband. When I changed headbands, I had to adjust the curve of the bottom. See the video to see exactly how to get this right every time.
- Go slow when cutting the foam core. It’s best to use a razor blade or craft knife, not scissors – they won’t be as accurate because it will bend the foam core.
Snow White Minnie Ears Video Tutorial
You might be asking, “So how do I make a Snow White Minnie ears headband? Below are written instructions but I do think the video will help when you’re ready for assembly. If you’re creating a playlist of DIY Mickey ears on YouTube, here is our Snow White Minnie ears video tutorial.
How to Make Snow White Minnie Ears from Felt
Before we get started, download the free templates (found in the supplies list below). As this is one of the more simple designs, I’ve made it available to everyone. If you want to make Lilo and Scrump, Angel and Stitch, or some of the others, you’ll need to be a member of our Exclusive Library to get them.
Think about joining up for our newsletter to get access to all the Mickey ear templates. I send a weekly email, sharing the fun crafts and activities we do here at Ruffles and Rain Boots.
Snow White Minnie Ears

This adorable Snow White Minnie ears headband is a fun addition to any Disney adventure. Download the free template and you can start your DIY Mickey ears collection today.
Materials
- full sheets of craft felt in red, blue, and yellow
- scraps of felt in green, brown, and white
- foam core board
- 1-inch plastic headband and ribbon or fabric to wrap (or a fabric headband)
- Snow White Minnie ears template (click here)
Tools
- glue gun and hot glue sticks
- razor blade or craft knife
- scissors
- pencil
- a 4-inch circular item to trace (or a compass)
Instructions
- No matter if you're using a machine or cutting by hand, cut a narrow strip (just wider than the width of your foam core) along the long side of the felt. This is the border for your ears. Do this for each color ear and do this first so you don't forget as you'll need almost the entire length of the felt.
- Download the free Snow White Minnie ears template but do not start cutting. You will first cut the foam core ears and size the template to them.
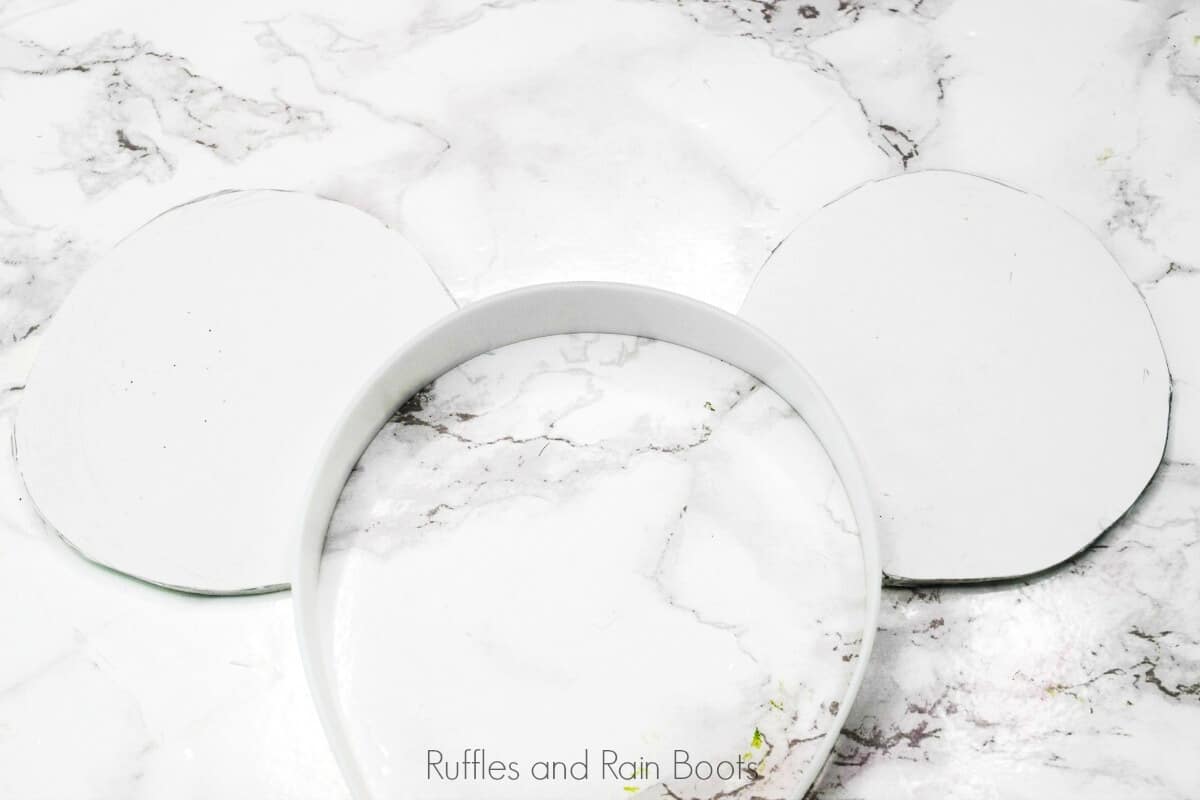
- Cut out the foam core ears. Please see the video because this is hard to explain. Place your headband on the edge of the foam core.
Measure 3-inches from the bottom of the headband and trace the curve above this point on either side. Trace a 4-inch bowl or use a compass to create a 4-inch circle which overlaps the edge of the curves along the top of the headband.
Cut out the piece which resembles a cookie with a bite taken out. DO NOT glue to the headband, but make sure they line up well with your arc.
- Cut templates for all felt pieces (apple, sleeves, and bow) or use your cutting machine to cut all pieces. Note: Use YOUR ears to cut out the background, as everyone's cutouts will be different.
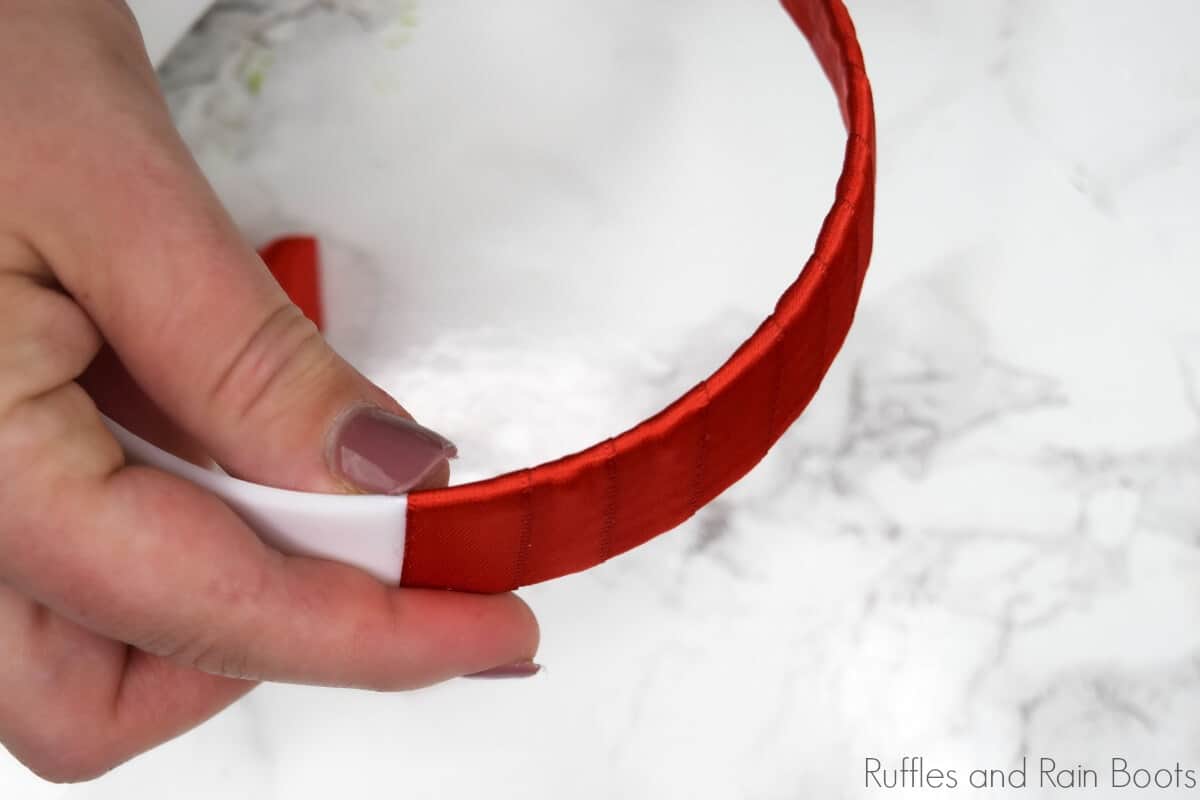
- If you're using a plastic headband as I do, wrap the headband in ribbon or cover in fabric (see video).
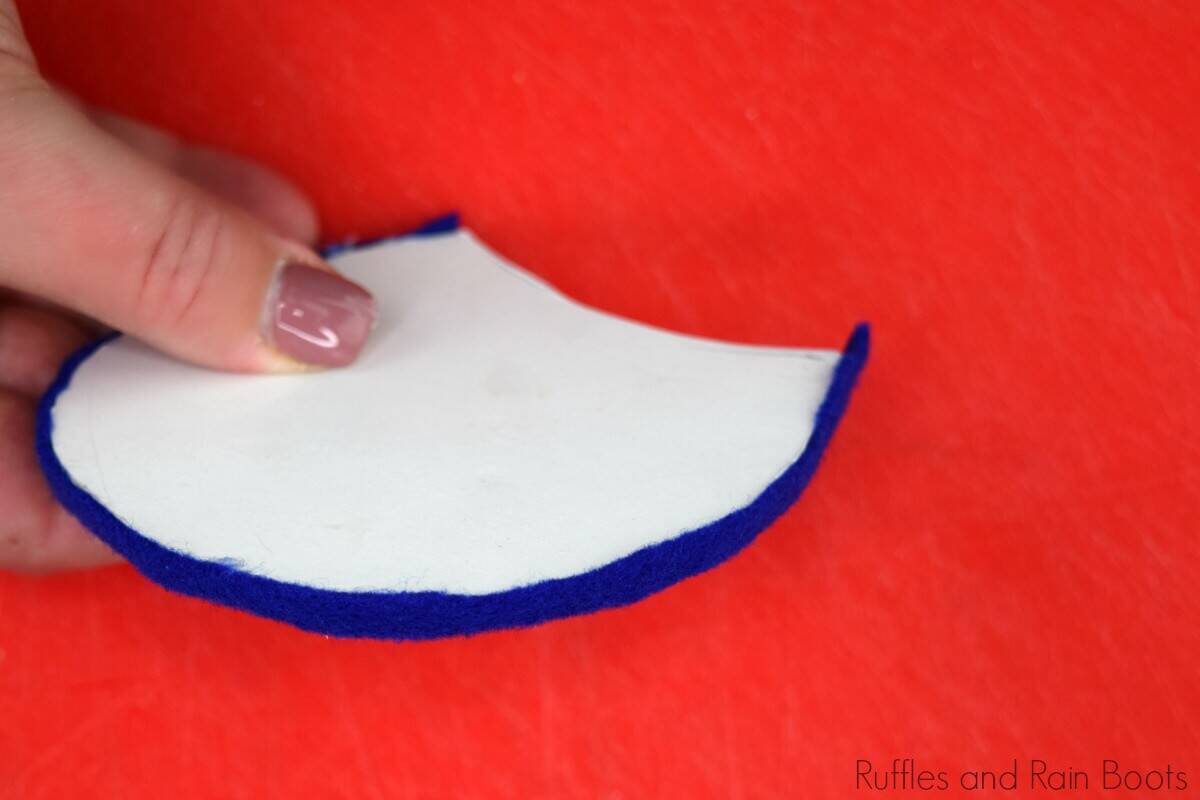
- Glue the border (the thin, narrow piece of felt) to the foam core ears. Let the hot glue set.
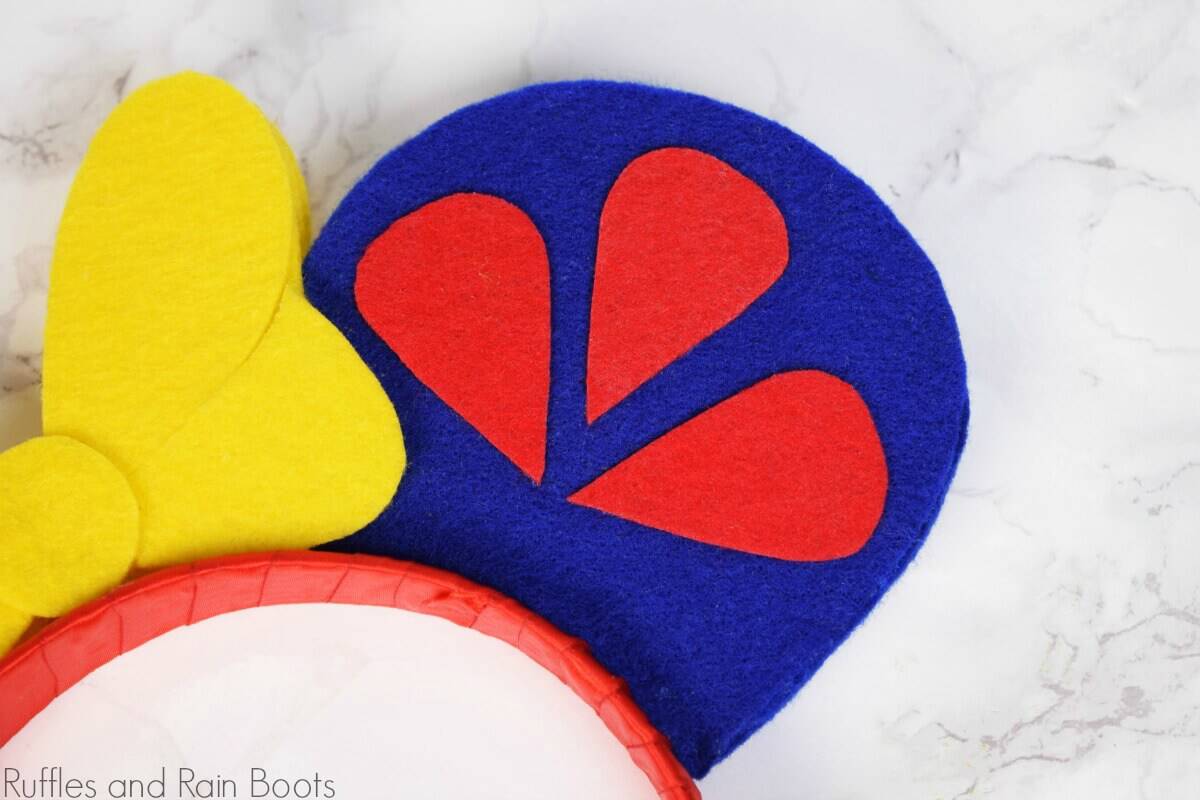
- Start assembling your Snow White Minnie ears by attaching the sleeve pieces to the felt (not glued onto the foam core yet). Glue on the top pieces to the bow and hold off on the center and bottom until the entire headband is assembled and glued on.
.
- Place a thin line of glue on the bottom of your assembled ears. DO NOT use more than shown in the video or it will leak out and not look as clean. Press the ears into position, taking care to place them in the center of the headband's width. Hold in place until the glue dries (15-20 seconds).
- Glue the bottom of the bow onto each side of the front of the ears. Once in place, glue on the bottom pieces and the center circle.
Your Snow White Minnie headband is done!
Notes
For tips and a video tutorial, visit:
https://rufflesandrainboots.com/snow-white-minnie-mouse-ears/
More Disney Crafts You Might Like
Here at Ruffles and Rain Boots, we love to make fun crafts to go along with our favorite characters. Check out a few of our favorites:
- Free Disney SVG Files on Ruffles and Rain Boots – If you like Disney, check these out.
- Dumbo Mickey Mouse Ears – Do This Craft with the Kids (Easy Mickey Mouse Ears)
- Disney Dress Up Costumes – From Anna and Elsa to Mermaids and Beyond!
- Moana’s Girl Scout Cookie Samoa Popcorn – A Treat to Please All Palates
Please Save This to Pinterest
Your shares are how this site grows and I am sincerely grateful. Share this with your friends on Facebook or save to your favorite Disney board on Pinterest.

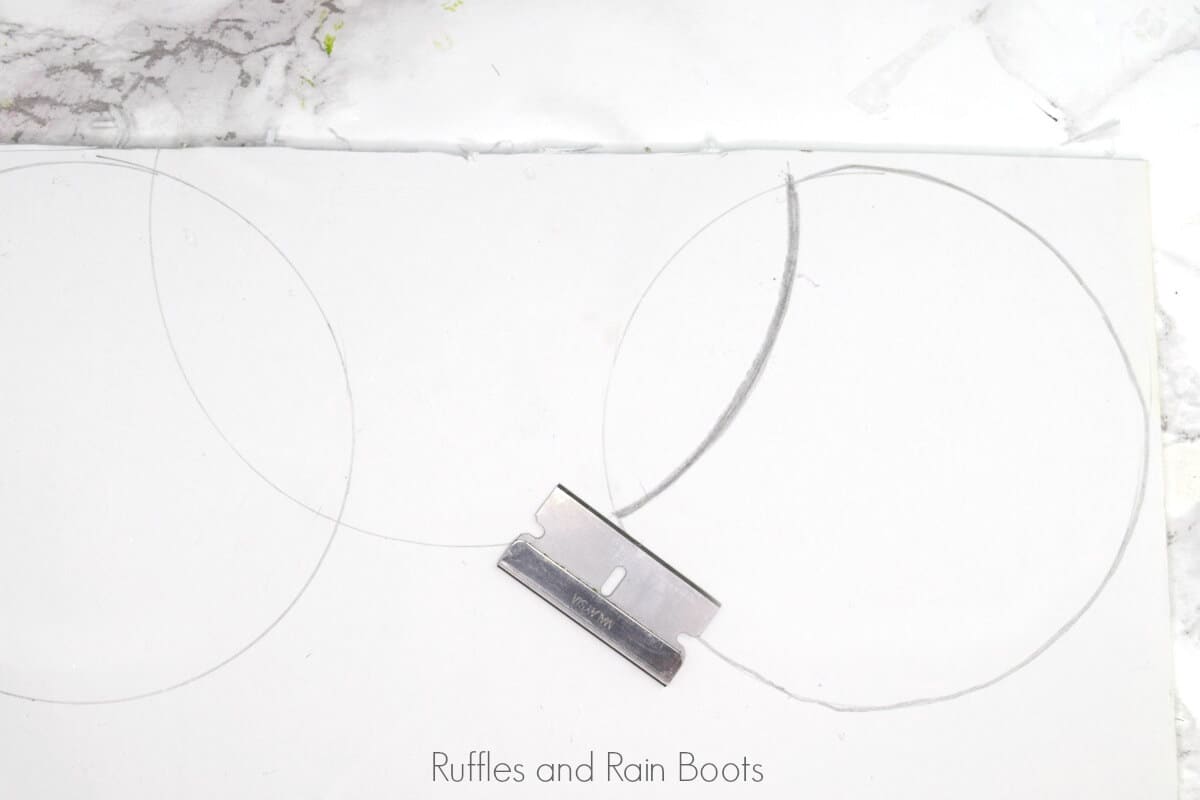 Measure 3-inches from the bottom of the headband and trace the curve above this point on either side. Trace a 4-inch bowl or use a compass to create a 4-inch circle which overlaps the edge of the curves along the top of the headband.
 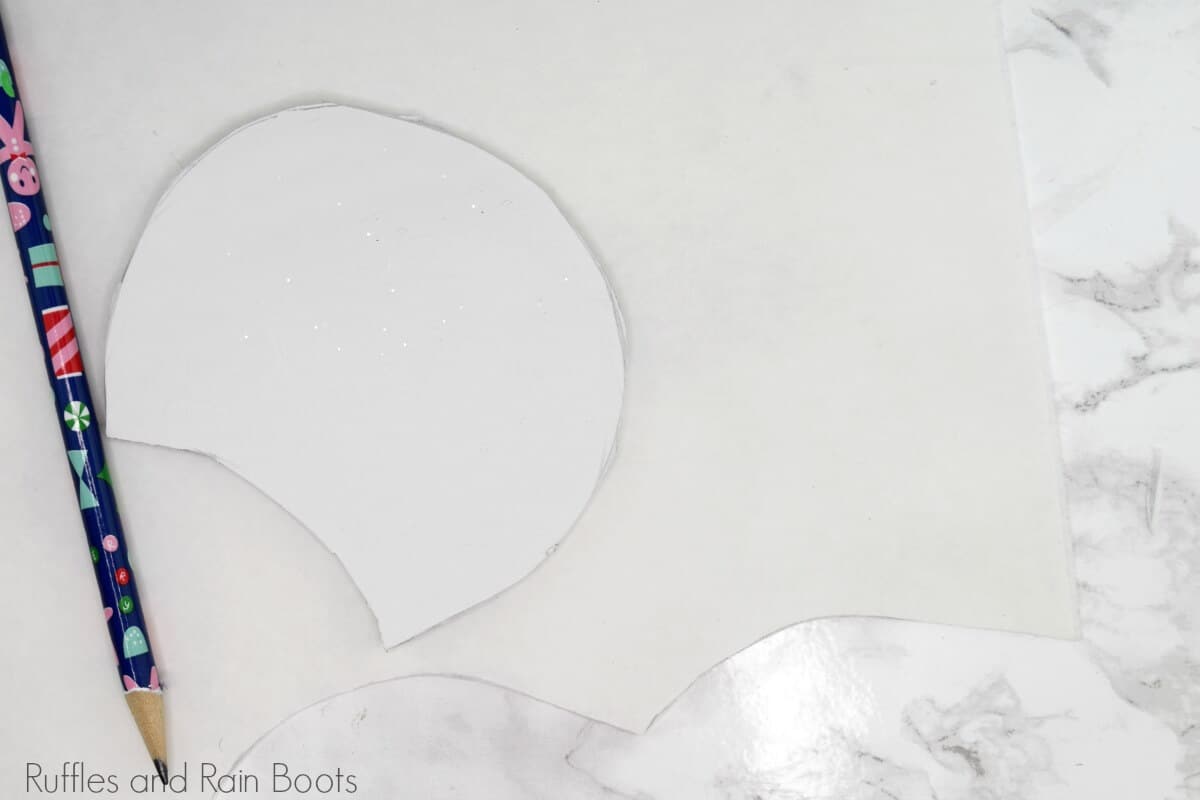 Cut out the piece which resembles a cookie with a bite taken out. DO NOT glue to the headband, but make sure they line up well with your arc.
 .
. 
 Your Snow White Minnie headband is done!