No Sew Carrot Gnomes for Easter
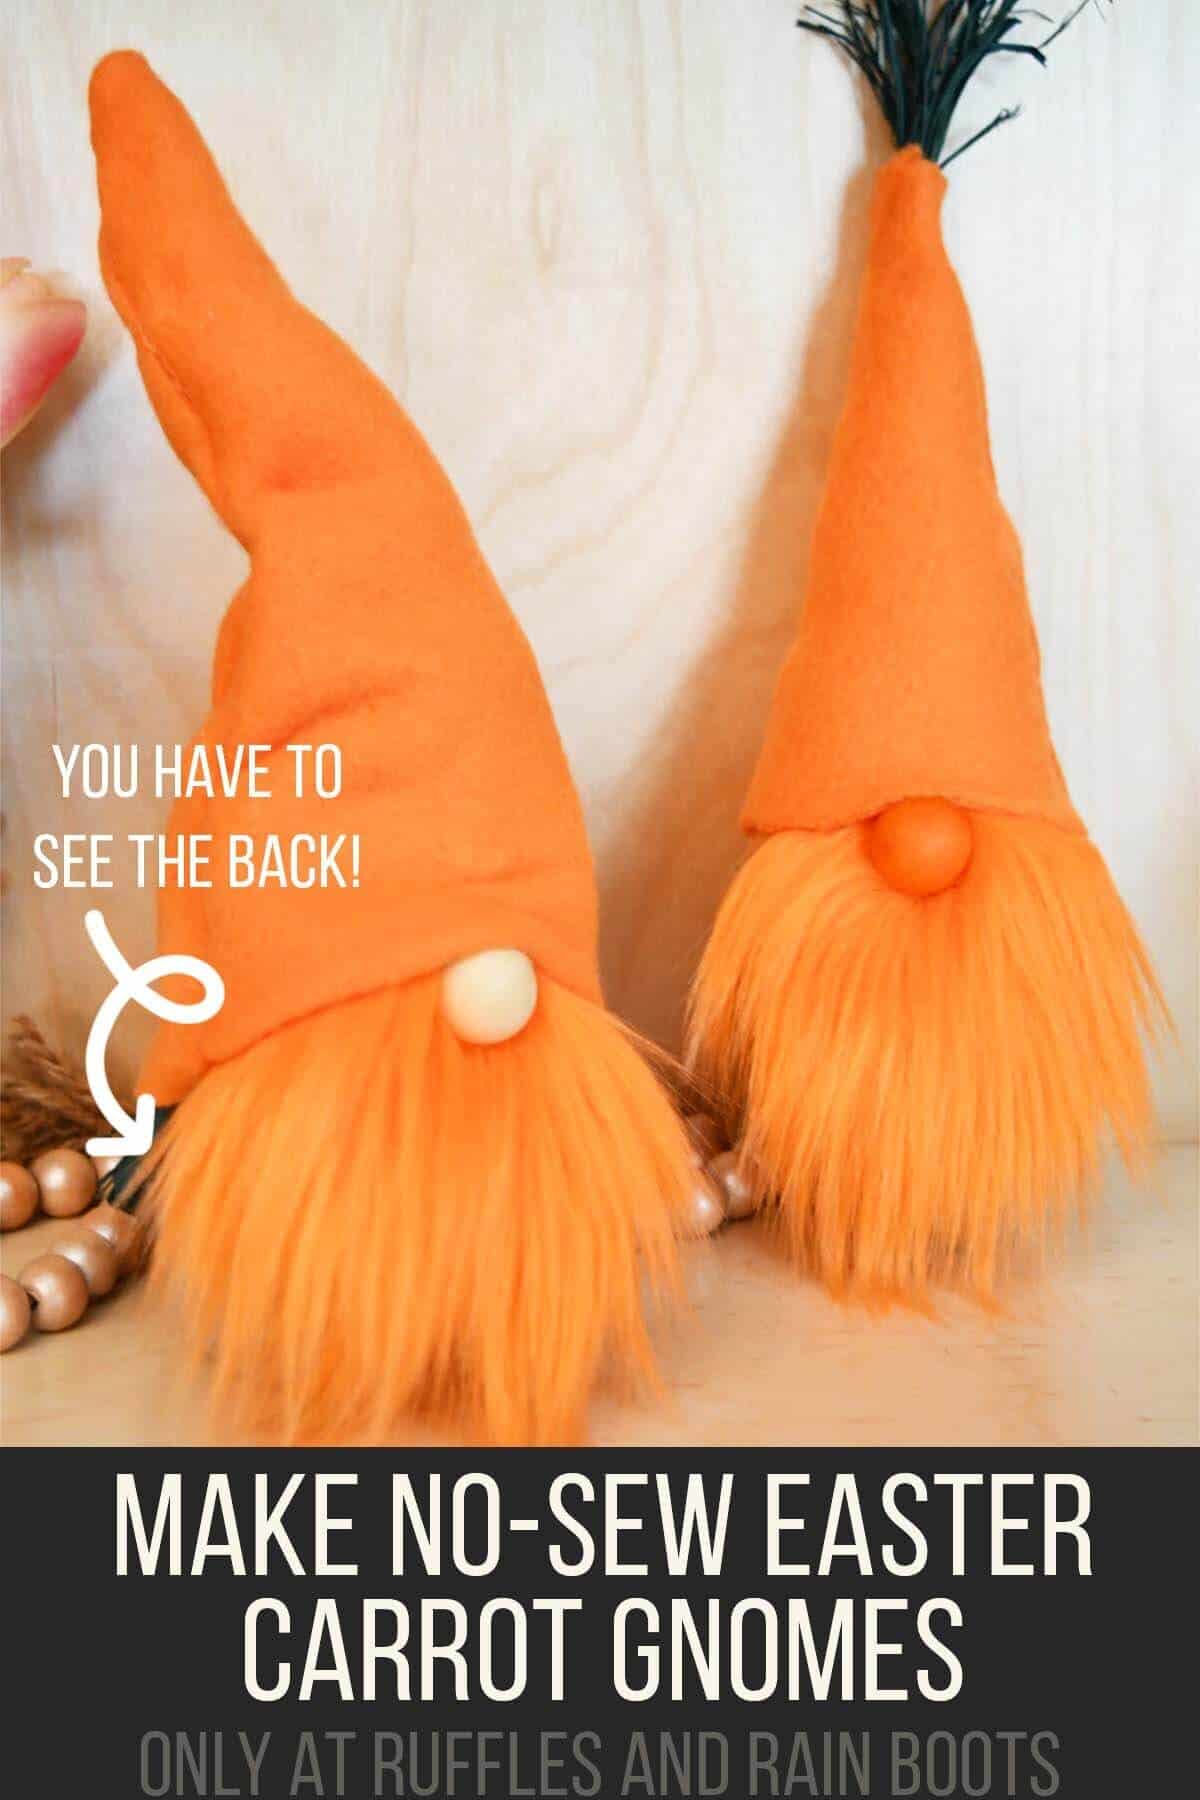
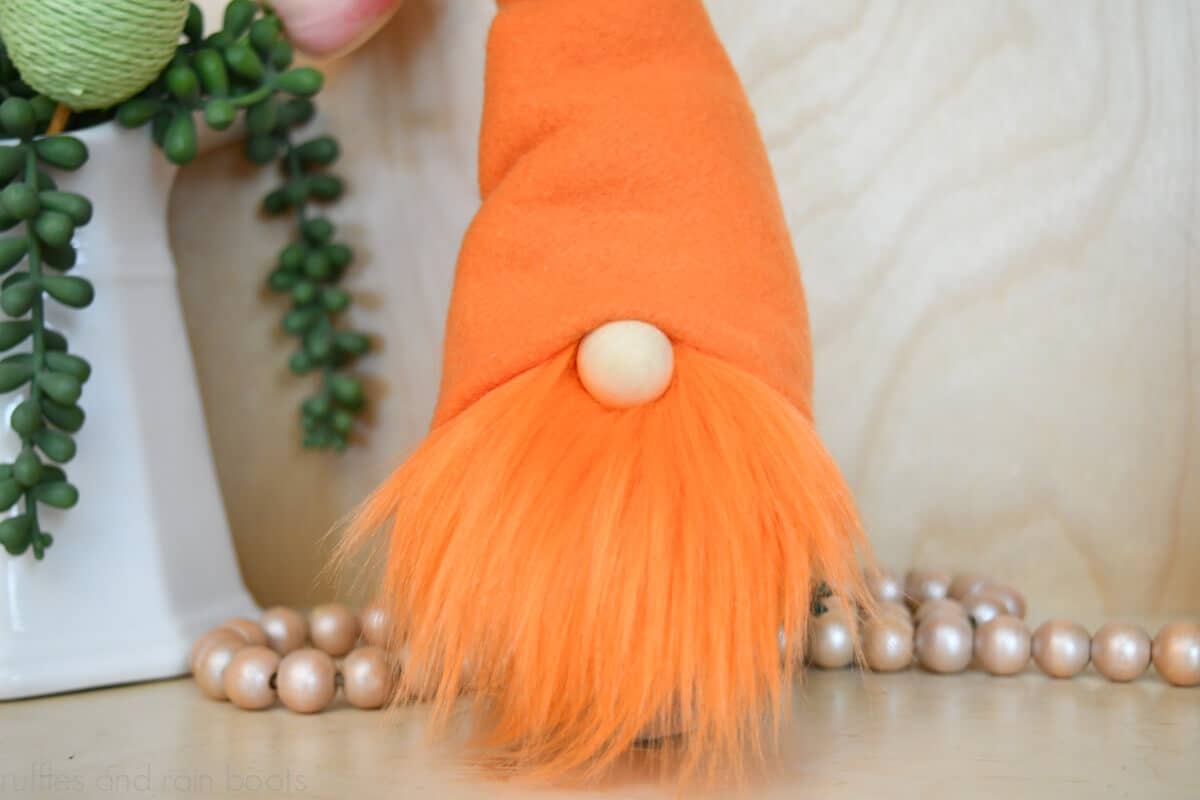
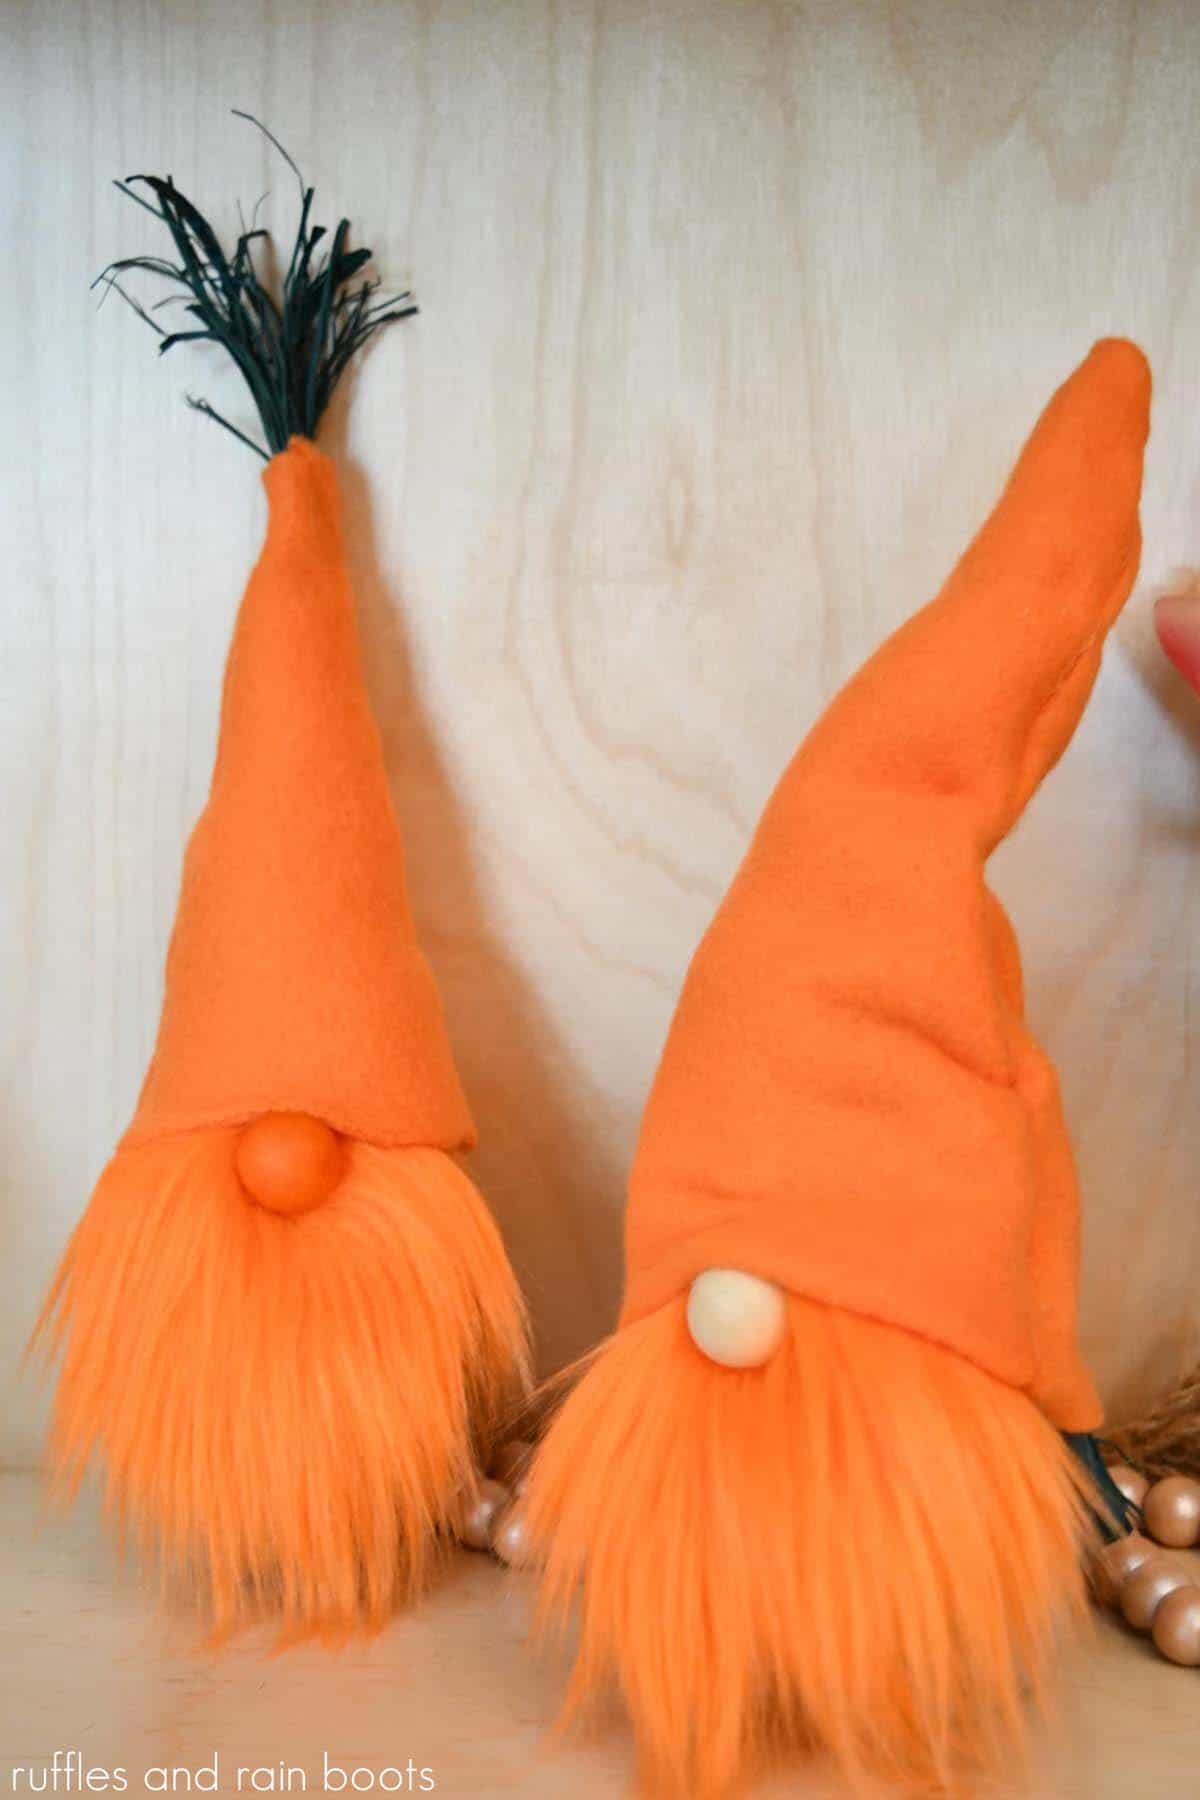
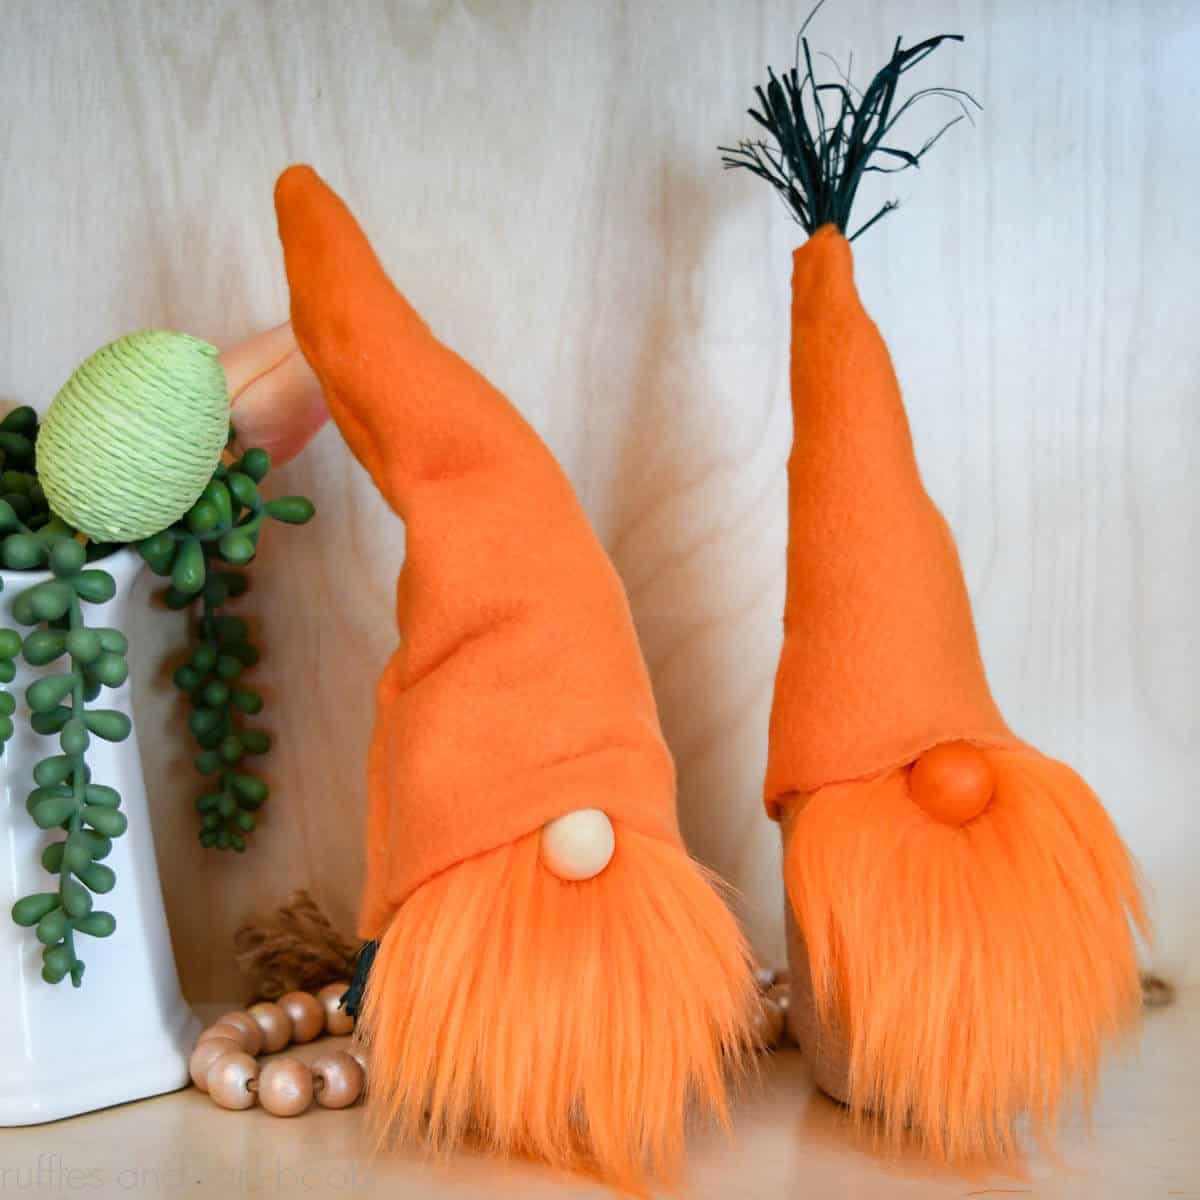
I’ve had some requests for my take on carrot gnomes for Easter displays and tiered trays, so today I’m sharing two of them styled differently using the same pattern. Browse through this quick DIY gnome craft and let me know what you think.
For these spring gnomes, you’ll need to gather up a hot glue gun (no sewing required), fur, fleece, and a couple of basic gnome making supplies. Let’s get started.
RELATED READING: Spring Gnomes Inspiration on Ruffles and Rain Boots
What You'll Find On This Page
Carrot Gnome DIY: Two Styles
Here at Ruffles and Rain Boots, there isn’t a week which goes by where I’m not making gnomes. Recently, I asked my newsletter friends (you should totally become one) what they would like to see and Lorraine had some specific details for a carrot gnome. It was very detailed, friends, and I thought… why not?
Get Secret Gnomes, Tips, & Freebies Delivered!
What is the best pattern to use when you don’t want to sew? Do you know the secrets to a properly-proportioned gnome? Do you know where to get the best-priced fur?
Get all of this (and exclusive content just for you) delivered right to your inbox with the gnome-making series, free of charge. Sign up to get the once-weekly newsletter (and a jaw-dropping special offer)!

So I gathered up most of my supplies from the craft room, purchased a bit of green raffia, and then set to work creating these cuties. I’m using the no-sew tucked gnome pattern to make both, and will detail how to get the two different looks with the same cuts.
No Time to Make These Now? Save or Share for Later
If you need to gather supplies or wait closer to the season, save this to an Easter crafts pin board or share it on Facebook. Both will help you easily find it again later to get started.
As an Amazon Associate, I could earn from qualifying purchases. There could be affiliate links within this article.
Tips to Read Before You Get Started
- This Scandinavian gnome pattern was designed for fleece and felt. Cotton will not have the give needed for the body’s base piece to expand, so please do not use that.
- The gnome hat on this style is two pieces and the detail tip glue gun allows for a sewn-like seam. Watch the video to see how.
- You can create arms (they are included in the pattern) for the gnomes to hold a sign, accessory, or anything else you can think of.
- For this pattern to work, do not go light on the weight. The gnome body must be filled (and the bump out, too) so that it has stability.
- Green raffia can be purchased at craft stores, the Dollar Tree, or on Amazon and can even be used in place of the faux fur for the gnome beard.
- Fleece colors I used were orange (seriously orange) and taupe, but if you have a dark green fleece on hand, that would be great for a body.
- I used pipe cleaners to get the fun bends in the hat, but if you have floral wire it will work, as well. Just be sure to roll down the top and bottom edges so it doesn’t poke through the fabric.
- You can make this design with a sock gnome style body if you want to use up what you have on hand. Be sure to add enough weight for stability, and consider adding a jar lid, wood round, or doubled-up cardboard at the bottom before weight and fill.
RELATED READING: The Most Popular Gnome Sewing Pattern Can Also be Hot Glued!
How to Assemble the No Sew Gnome Pattern into a Carrot
Below is the written and printable tutorial for these fun cuties. If you are a visual learner or are creating a playlist, watch the full-length, detail-filled DIY Carrot Gnome tutorial here on YouTube. While you’re there, be sure to subscribe (we have a lot of fun).
DIY No Sew Carrot Gnomes for Easter
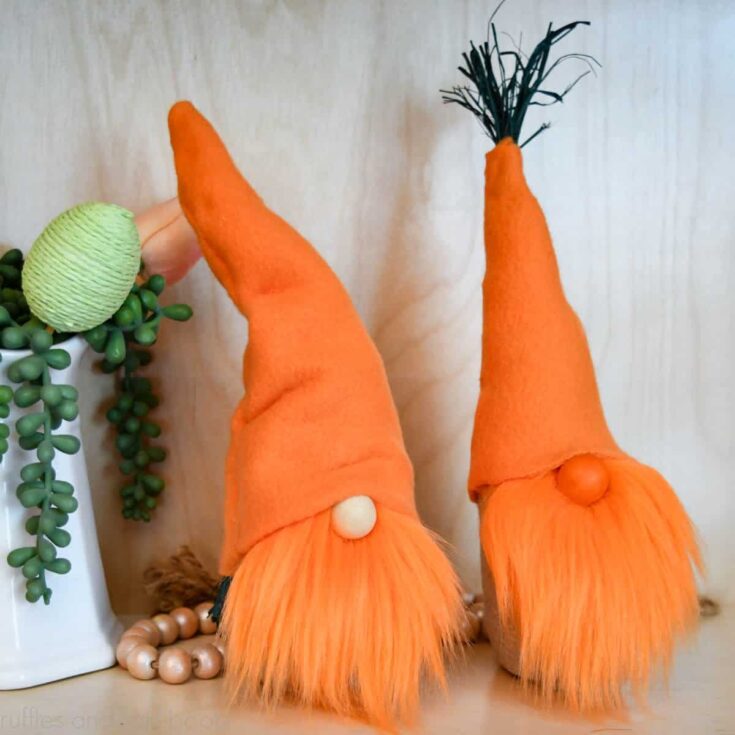
These adorable spring cuties are made to look like carrot gnomes to be tucked into your trays or holiday displays. Grab your hot glue gun and let's get started.
Materials
- Tucked Gnome Pattern
- Fleece in Orange Fleece in Tan or Beige
- Faux Fur in Orange
- Green Raffia
- 3/4 Inch Wood Ball
- Poly Fill
- Poly Pellets
- Optional, 2 pipe cleaners
Tools
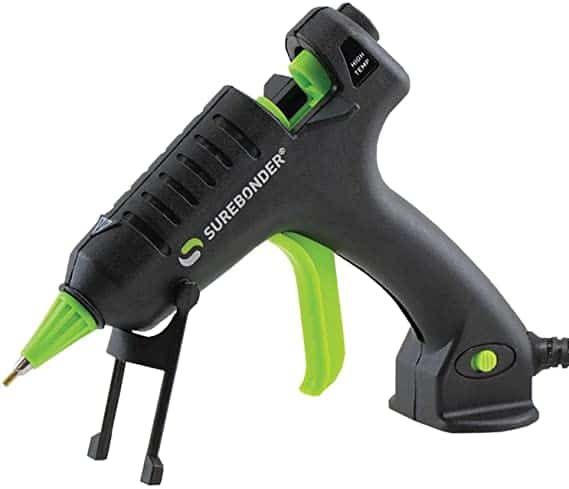
- Hot Glue Gun and Glue Sticks
- Scissors
- Exacto Knife
- Optional, funnel
Instructions
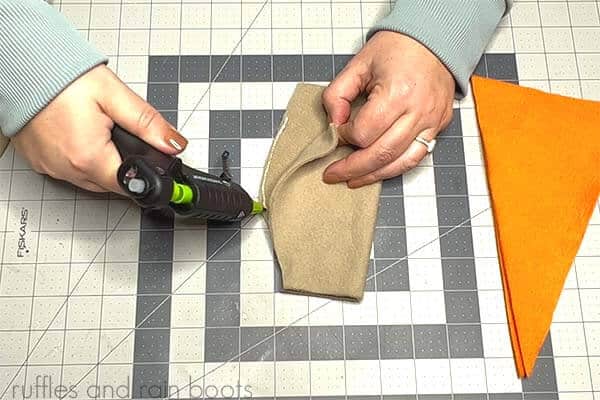
- Cut the pattern pieces for the hat and body using orange fleece for the hat and beige for the body. Follow the pattern directions and glue the body on the long edge, right sides together. Let set and glue the bottom tab per the pattern or video instruction. If this is your first time creating the tucked gnome body, please watch the video. Set aside and let dry.
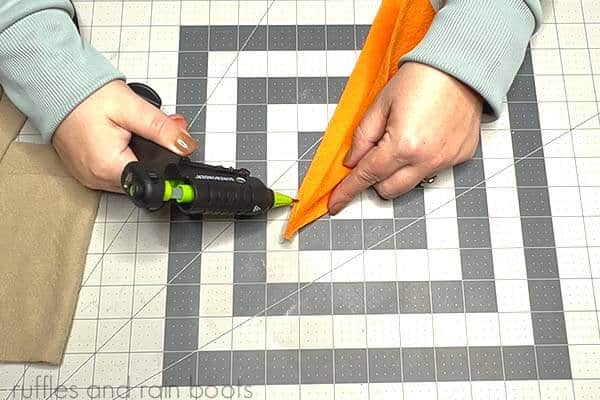
- Glue the right sides of the hat together, lining up the tip first and securing each side all the way down. Set aside and let dry.
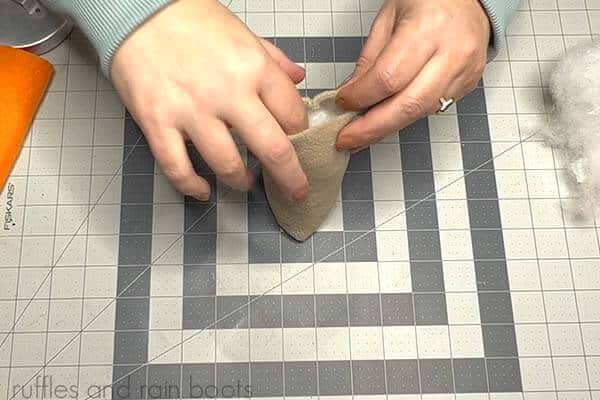
- Turn the body right sides out, checking the seams. Add 3/4 cup to 1 cup of poly pellets (weight) into the body of the gnome, taking care to pop out the area of the pattern to fit more. Fill the remainder of the body with poly fill so that it bounces back to the original shape when squeezed.
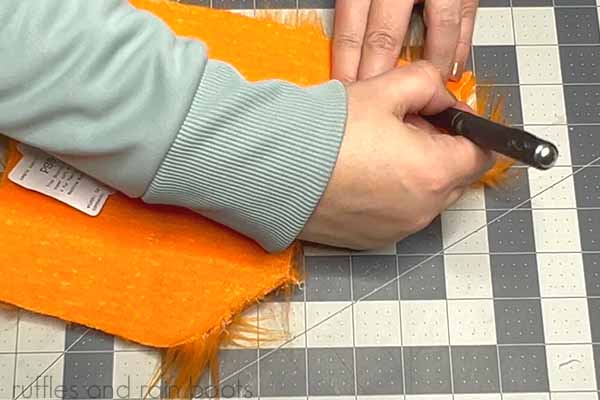
- Turn the hat right sides out, poke out the top, and check all seams. Cut the faux fur beard to your liking (my beard's width was half the body and cut in a U-shape).
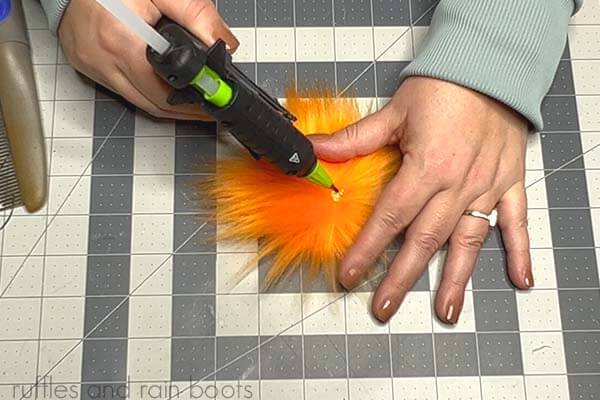
- Split the fur to the fabric backing, add glue, and press the wood ball into the beard for the nose.
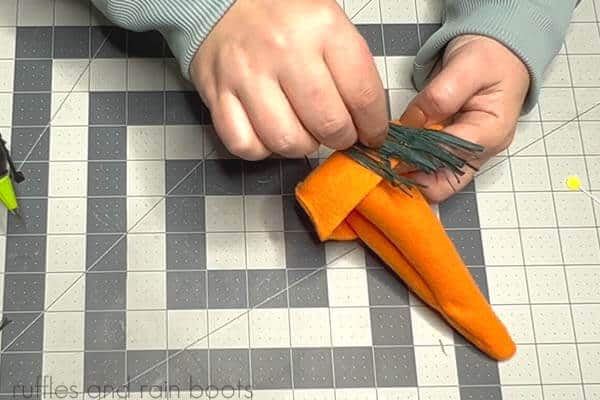
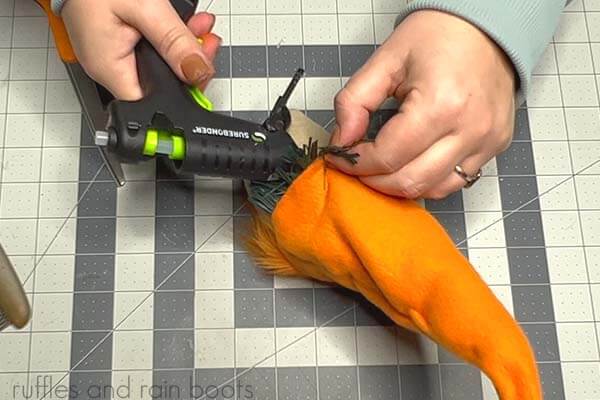
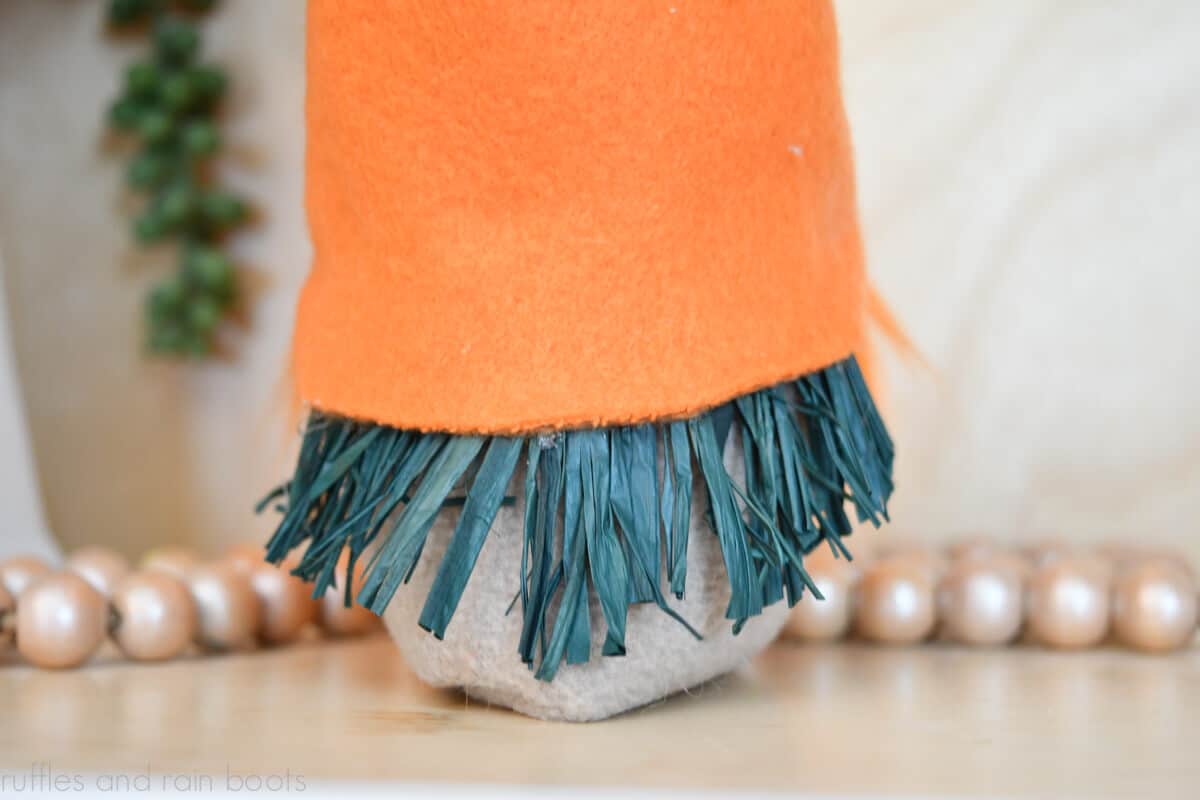
- Add raffia cuts to the back inside of the hat and trim and doubled up pipe cleaners twisted and glued on the inside seam for a bendable hat.
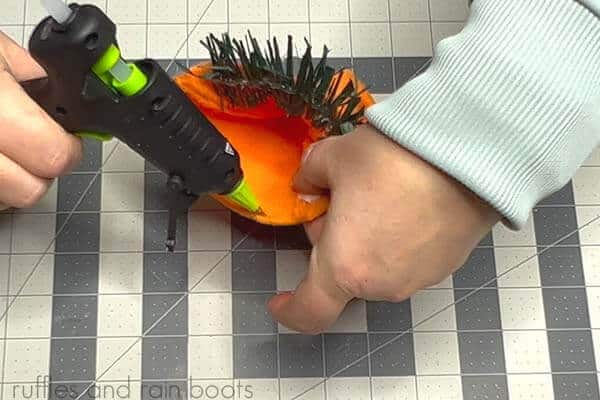
- Glue the beard and nose onto the front of the body over the seam side. Fold up the front of the hat’s bottom seam about 1/4 of an inch for a finished edge in front and glue to the nose.
- Glue down the back and sides of the hat to the body.
Notes
- Beginners should use fleece because the stretch of the fabric will make it come together easily.
- Use a detail tip hot glue for sewn-like seams.
- Create an alternative beard using raffia, green moss, yarn or other faux fur colors.
- To create the other style gnome, add raffia to the top of the hat before gluing the two pieces together (point it down and into the hat). Cut off the bottom 2 inches of the hat pieces and assemble as normal.
- Read through all the tips in the article before you get started.
Recommended Products
As an Amazon Associate and member of other affiliate programs, I earn from qualifying purchases.
More Spring and Easter Gnomes You Might Like
- Easter Gnomes to Make – These popular gnomes for Easter will get you creating with inspiration, techniques, and gnome patterns.
- DIY Bunny Gnomes – These are no-sew or sewing pattern gnomes made with fleece. The pattern comes with all you see here (and so much more).
- Floral Gnome – This guy is literally covered in blooms and he’s absolutely adorable. A lot of readers make, sell, and gift these around Mother’s Day.
- Pot Head Gnomes – The gnomes with flower pots as hats started a HUGE trend in the Etsy and maker community. Have you made one yet?
Please Save or Share This Fun Craft
Your shares are how this site grows and I am sincerely grateful. Please save this holiday gnome to a spring pin board or share it with a crafty group on Facebook.
