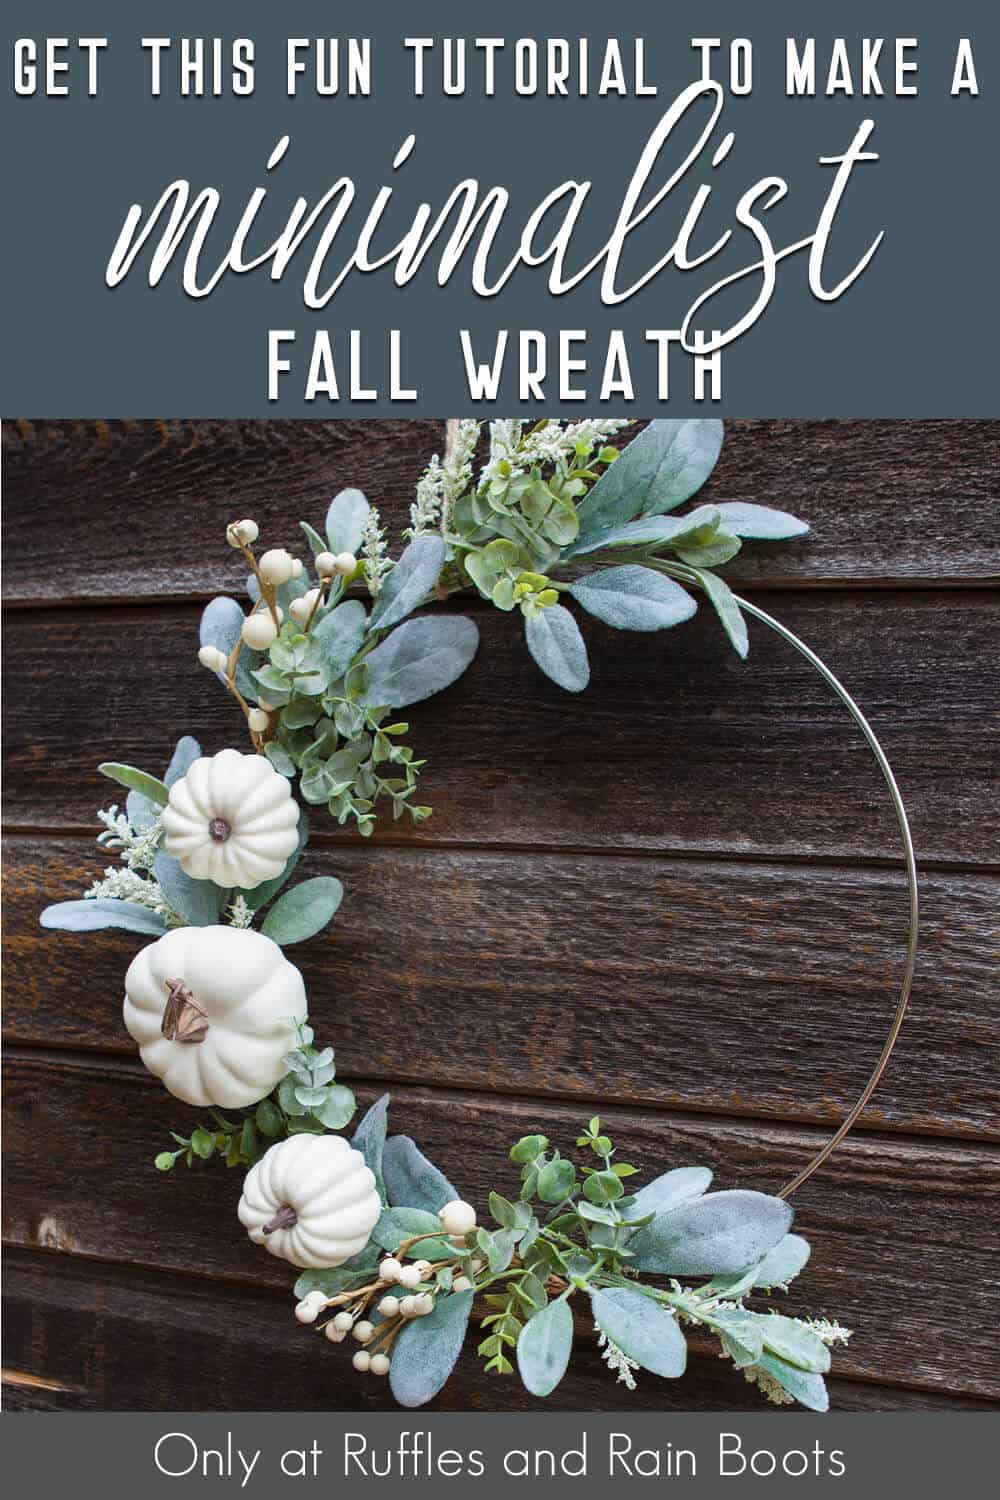
I Love This Minimalist Fall Wreath a Beautiful Modern Fall Craft!
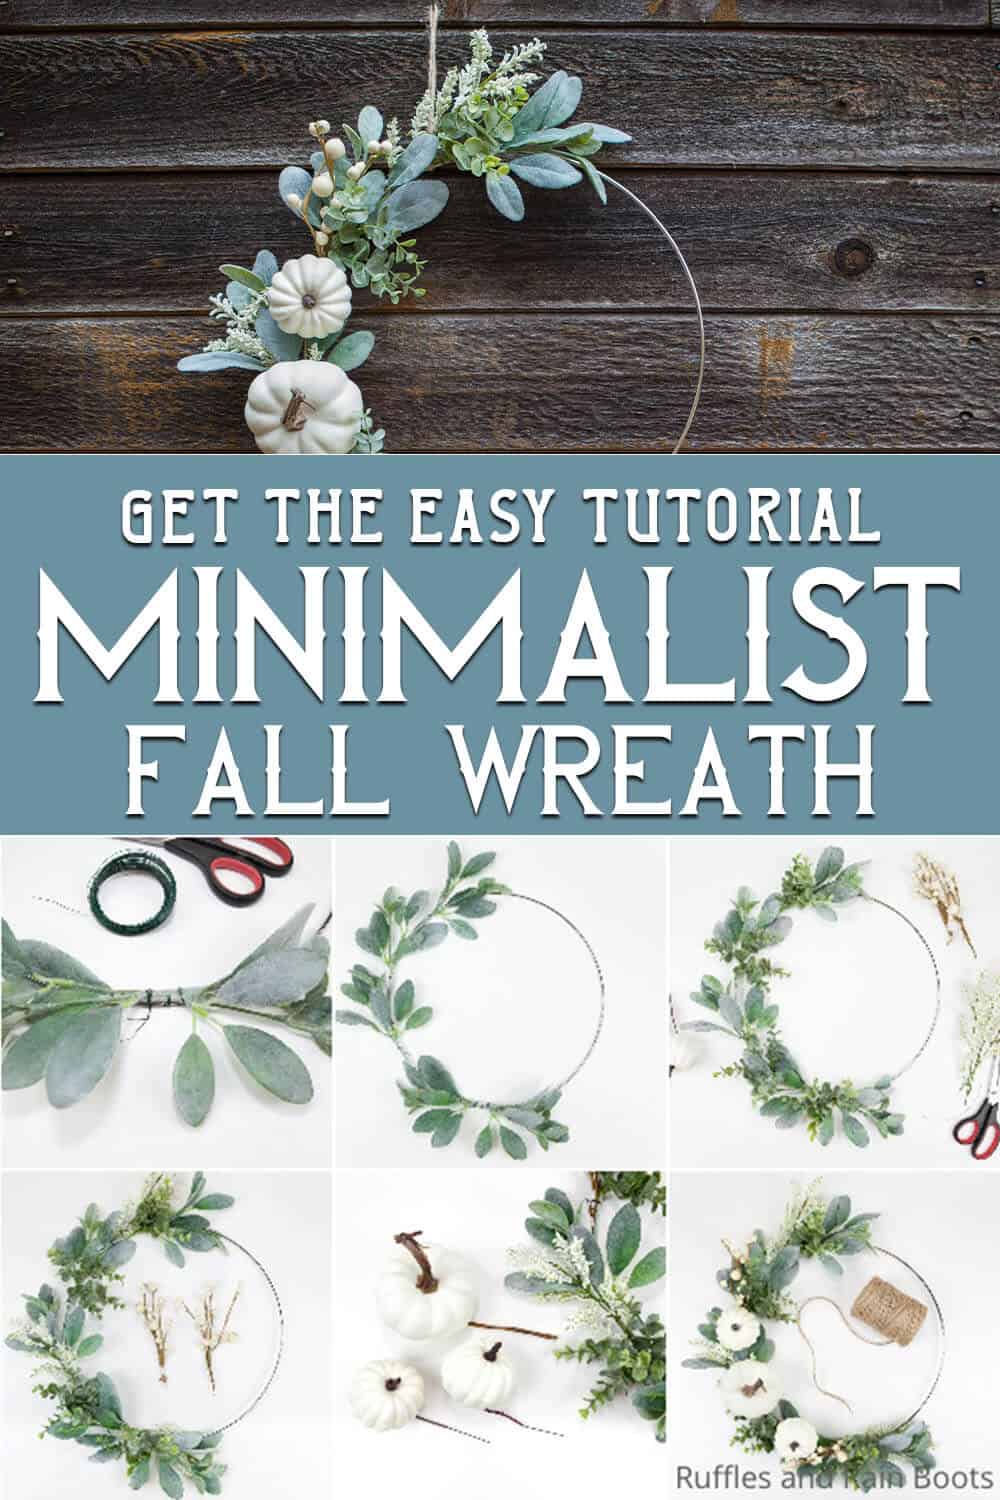
When you have a moment of inspiration, you just have to make and this minimalist fall wreath was the modern fall craft I craved to create!
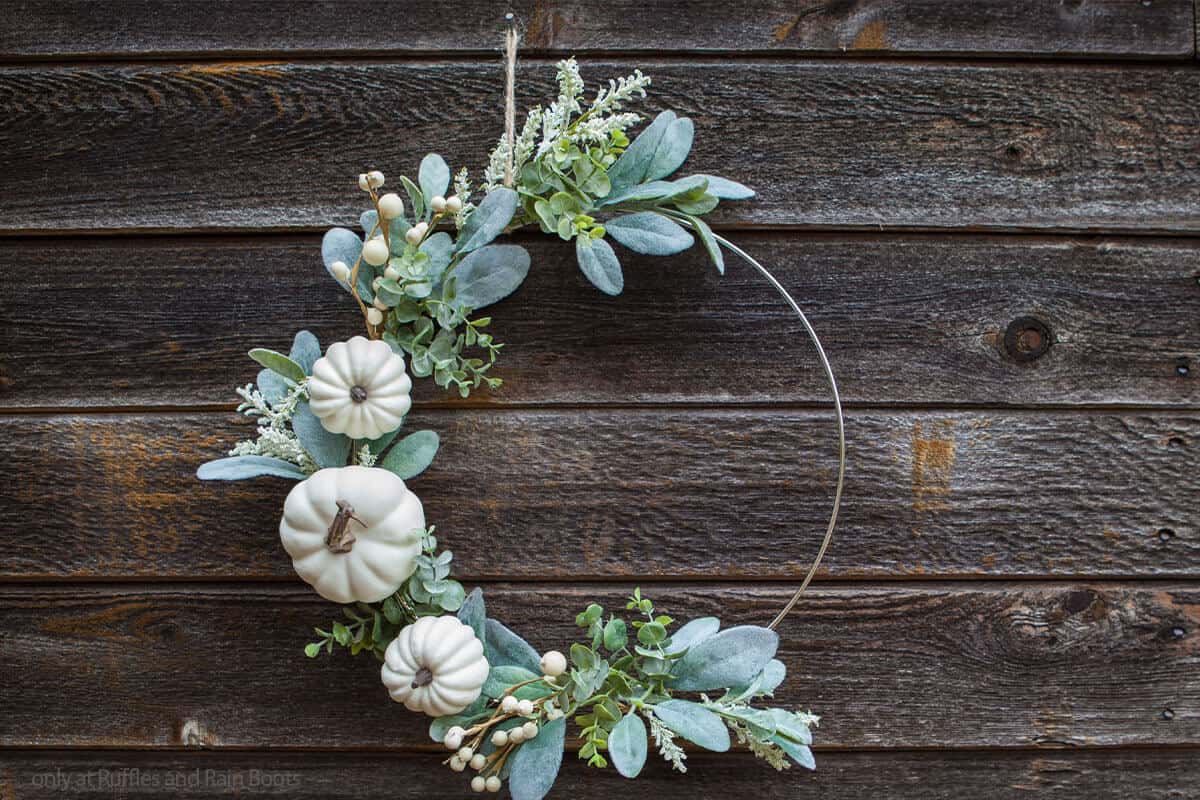
Minimalist Fall Wreath
Here at Ruffles and Rain Boots, we really enjoy a good crafting for crafting’s sake. I didn’t particularly have a desperate need for a wreath on the wall in my dining room, but if I had to be honest, what I needed was some time to focus on something just for me. And when I found some frosted lambs ear and a metal ring, the rest is history!
RELATED READING: VINTAGE FALL FARM TRUCK CUT FILE SET FOR CRICUT OR SILHOUETTE
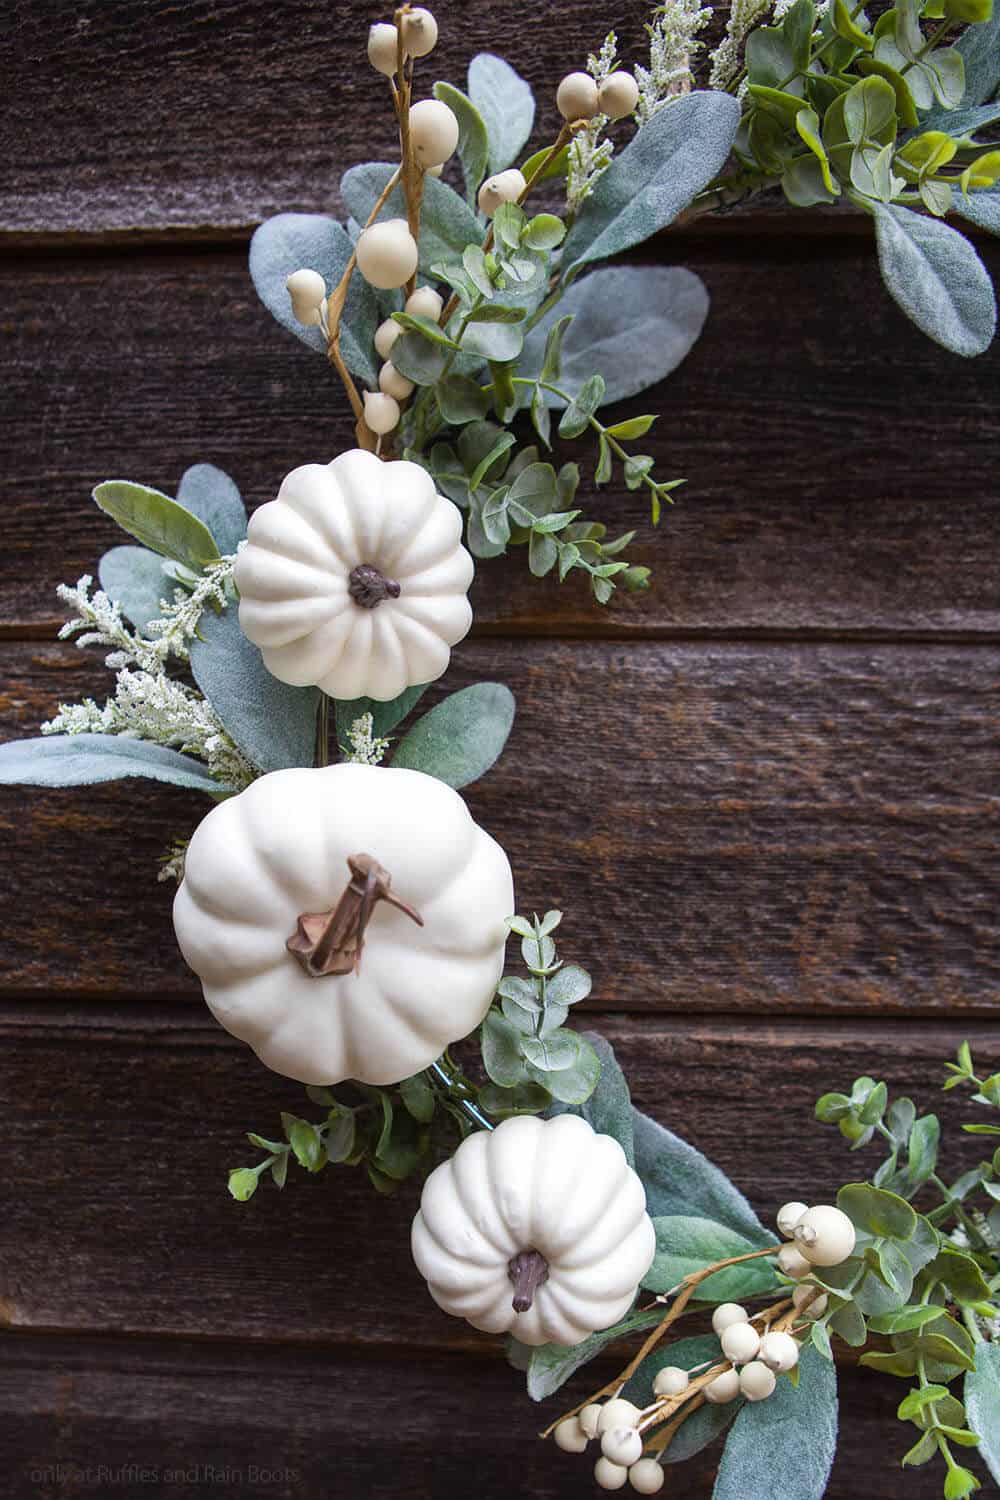
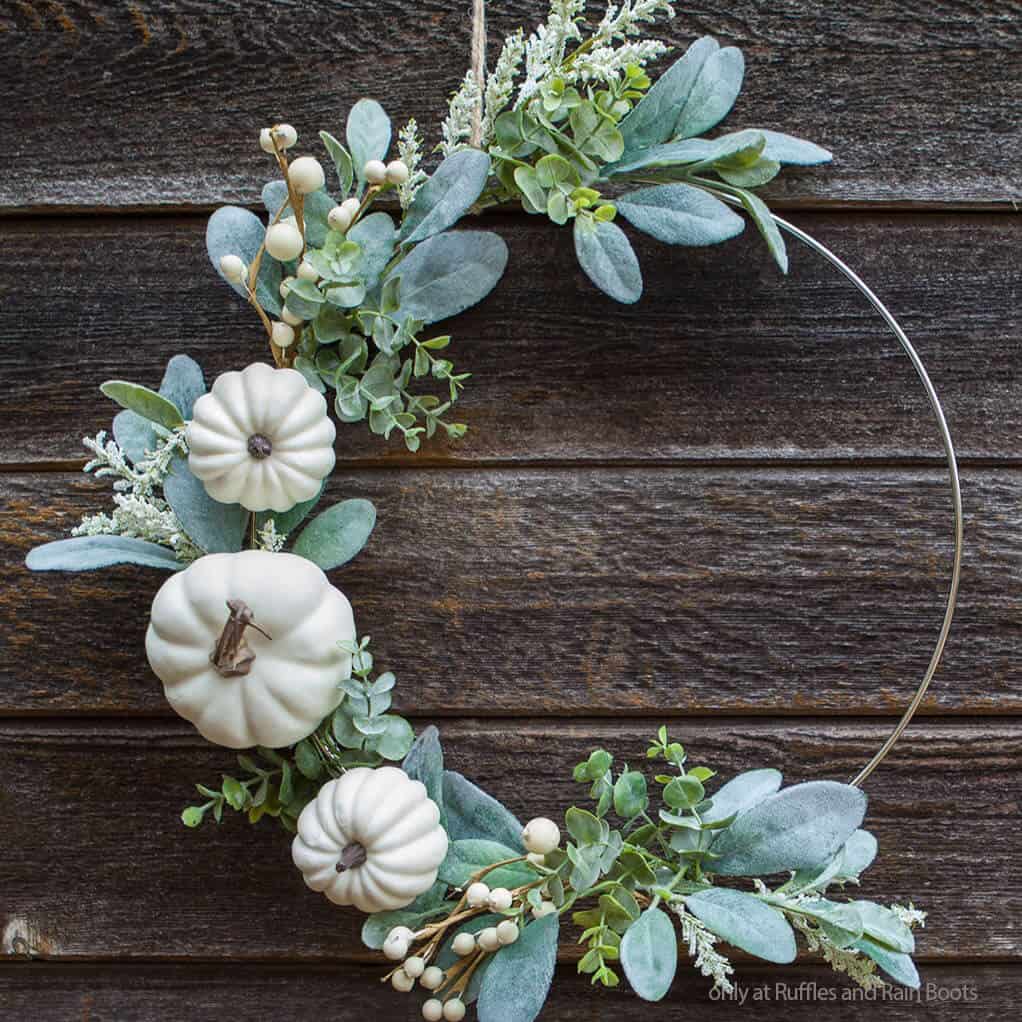
One of the things I love best about this beautiful modern wreath for fall is the sheer lightness of it. Almost like it’s floating on air. So perfect, I kind of want to make mini wreaths for my kitchen cabinets. If you’re ready to make a fun fall wreath, let’s get started.
No Time to Make This Now? Pin it for Later
You’re busy, I get it. Pin this to your favorite DIY wreaths board on Pinterest and it’ll be here for when you’re ready.
As an Amazon Associate, I can earn from qualifying purchases.
Tips to Make This Modern Fall Craft
- Whenever I run across flocked lambs ear, you know, the thick and rounded leaves with the bit of frosting. Oh, I just get so inspired for some reason. You can make so many awesome things from it! Not the least of which is this awesome minimalist fall wreath.
- I based this wreath on a 14-inch metal floral hoop like this one. That way I had plenty of room to add all the cute little pumpkins and flocked lambs ear I wanted.
- And, about those adorable pumpkins. I feel like those are just the star of the show on this fun modern fall craft. I grabbed these perfectly sized little 4-inch white craft pumpkins.
How Do I Make this Minimalist Fall Wreath?
I’m so glad you asked. Below is our written tutorial.
Minimalist Fall Wreath
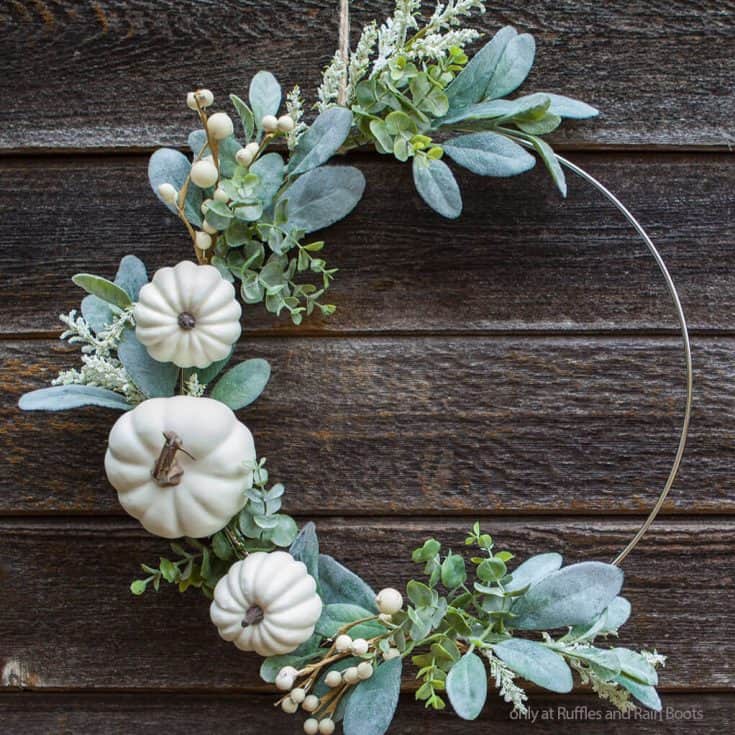
It's too much fun to make modern fall crafts because they're so quick and light looking. And this minimalist fall wreath is no different!
Materials
- 14-inch Floral Ring
- 1 Cream & Brown Berry Pick
- 1 Cream Astilbe Bush Pick
- 2 Eucalyptus Picks
- 4 Flocked Lambs Ear Picks
- 3-5 White Mini Craft Pumpkins (about 4-inch in size)
- Floral Wire
- 12” piece of Jute String
Tools
- Scissors
- Wire Cutters
Instructions
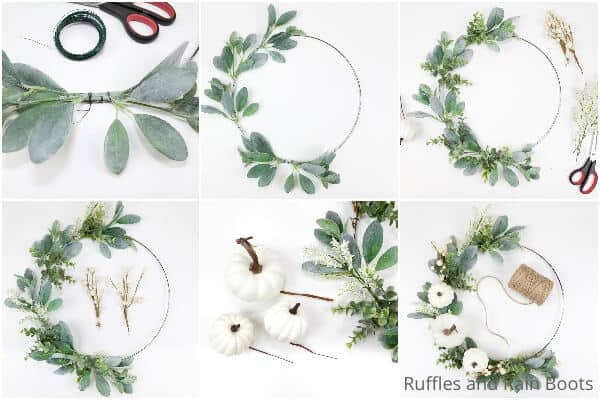
- Start by placing the four lambs ear picks on top of the floral ring to gauge your spacing. Three of the lambs ear picks will face upward (like they're growing upward toward the sun). The fourth lambs ear pick, on the bottom of my wreath was placed going the opposite direction (like it was growing sideways).
- Attach one of the lambs ear picks to the floral ring by wrapping floral wire around the pick's stem in at least two places, wrapping it at least 2-3 times. Clip the floral wire off the roll and twist the ends together to hold the wire snug. Repeat with the remaining lambs ear picks, overlapping them to hide the stems.
- Using the wire cutters, clip off some of the branches of the eucalyptus picks. My wreath used five sprigs, but you can certainly add more for a fuller wreath. Attach the eucalyptus branches with the floral wire between the lambs ear, using it to fill in any bare spaces.
- Repeat separating branches from the astilbe bush pick, attaching a sprig near the top, one near the middle and another at the bottom.
- Finally, pull apart the cream & brown berry pick to make two sprigs. Attach one toward the bottom of the arrangement and the other about 1/3 down from the top.
- Bend each of the pumpkin stems in such a way so the pumpkins can sit on the wreath squarely when they are attached. If one of your pumpkins is larger, attach that one first, using the floral wire. Follow that up by attaching the smaller pumpkins on each side of the bigger one.
- Add a loop of jute string to hang wreath. To keep your wreath upright and the pumpkins on one side without sliding to the bottom, tie the rope to the top, then thread one end of the rope under one of the leaves, wrapping the rope around stems and the floral ring. Bring that end around until even with the other end and tie the knot tightly around the wreath. .
- Trim any excess rope, floral stems or floral wire and enjoy!
Notes
For more fun modern fall crafts, visit Ruffles and Rain Boots!
Recommended Products
As an Amazon Associate and member of other affiliate programs, I earn from qualifying purchases.
More Fall Crafts You Might Like
- Wooden Pumpkin Craft for Fall – I love this fun little wood pumpkin craft. It’s too cute not to make and the metallic shine is oh so perfect!
- Fall Wreath from a Bundt Pan – Talk about the most fun fall craft, this upcycling of a thrift store find into a fun wreath is what I needed to give my porch a little bling.
- Pumpkin Mason Jar Craft – One of my favorite all-time crafts, I pulled these out the other day to decorate a fall tiered tray and it’s so much fun, I made some others for a friend!
Please Save This to Pinterest
Your shares are how this site grows and I am sincerely grateful. Know a friend who’d like this? Please share it on Facebook or save it to your favorite fall crafts board on Pinterest.
