
Dollar Tree Mini Mushroom Gnome
This mini mushroom gnome is made in just a few minutes using a staple from the dollar store. A little polymer clay, a bit of fur, and he’s ready!
Follow the quick written or video tutorial to put together this adorable guy that has taken all the gnome groups by storm. Psst: there’s a surprise, too.

RELATED READING: Easy Fabric Mushroom Gnome (Glue or Sew DIY)
What You'll Find On This Page
Mini Mushroom Gnome
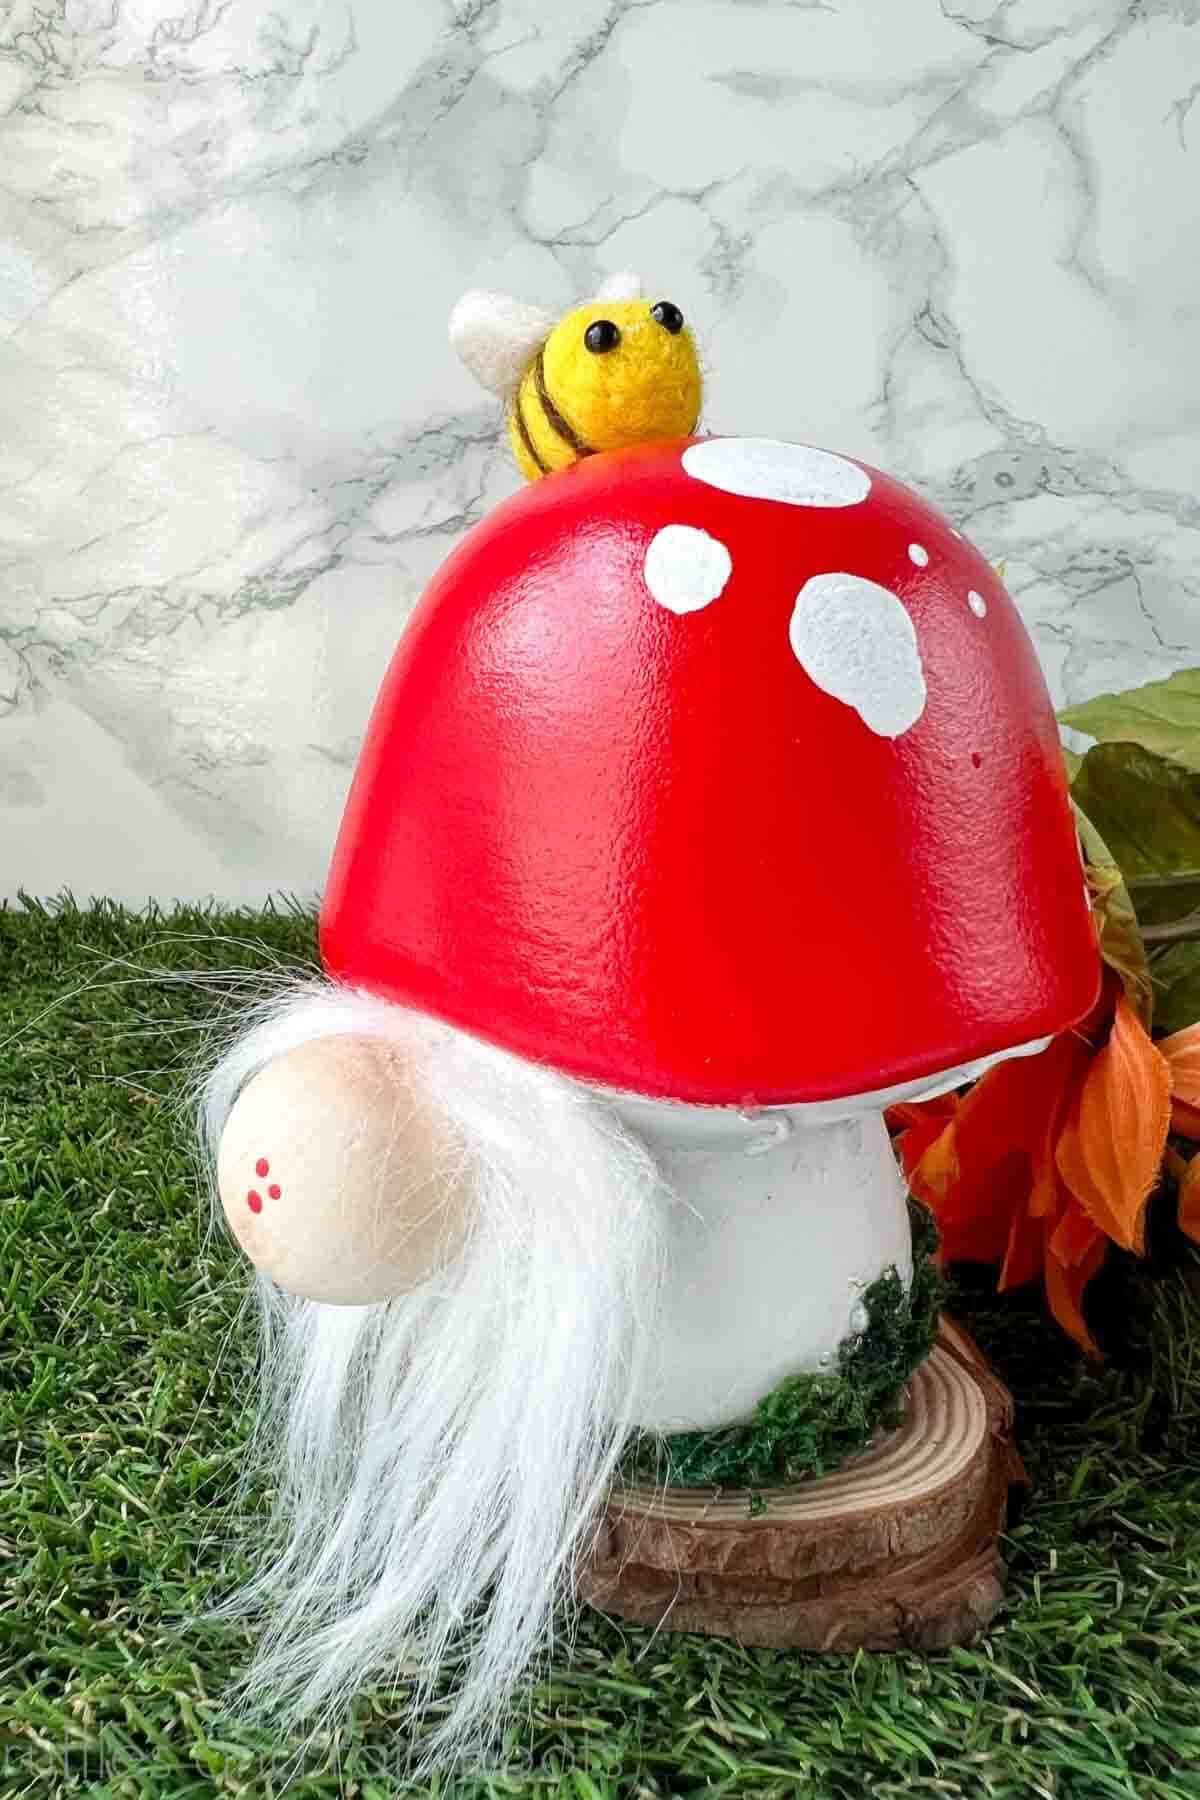
Here at Ruffles and Rain Boots, we scour the dollar stores for craft ideas, blanks, and supplies. Recently, I created this little forest gnome from one of the Spring mushrooms from the Dollar Tree and couldn’t help but snicker.
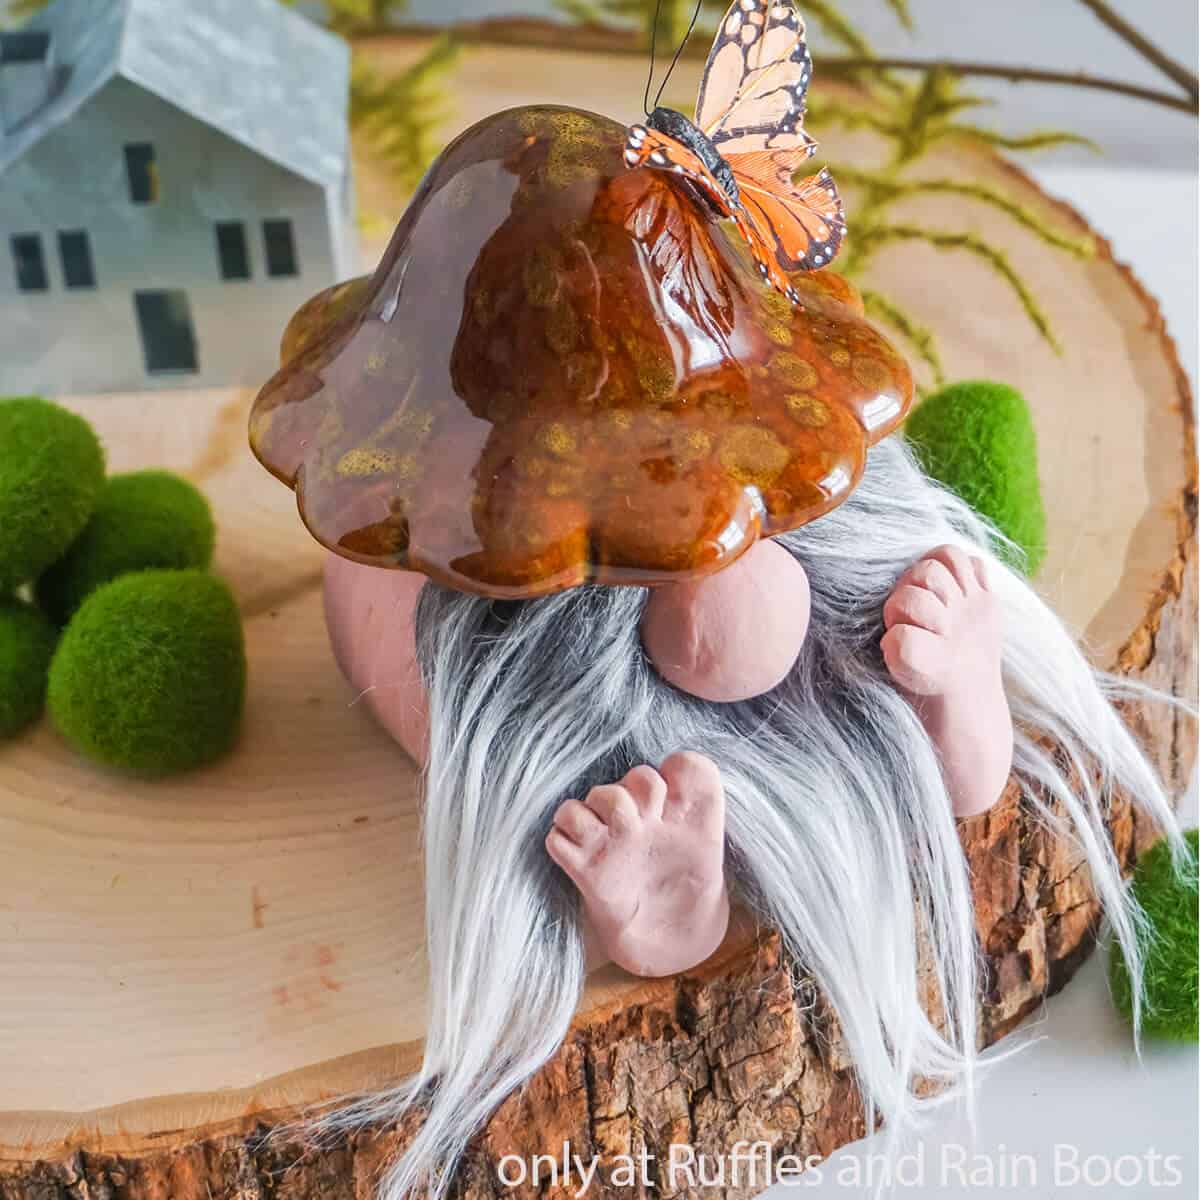
He’s the most… naked gnome I’ve ever made and, frankly, he looks like he’s enjoying it. If you’re ready to make a little gnome mushroom who revels in his connection with nature, let’s get started.
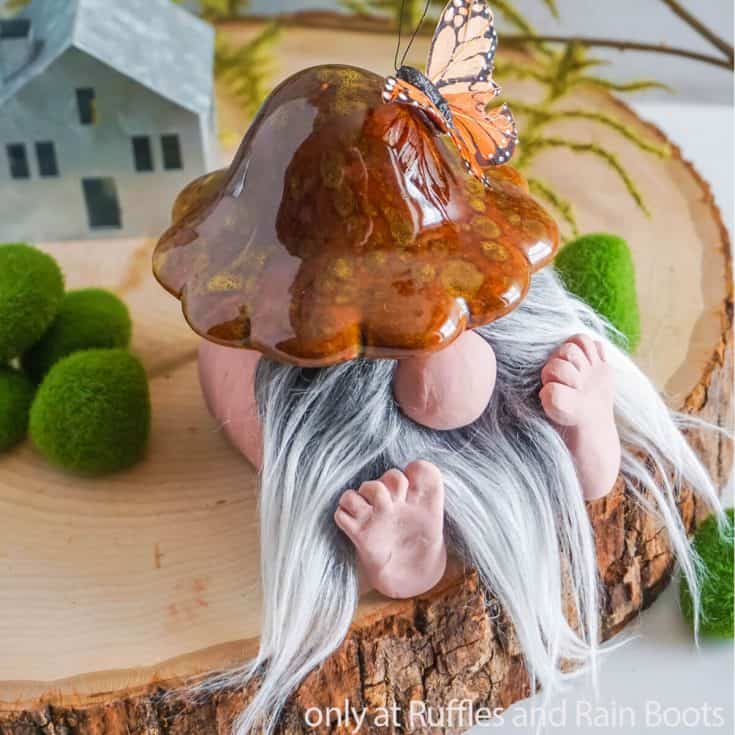
And just so you’re forewarned: I added a bit of a surprise (it’s G-rated) under the beard. It’s an option gnome DIY, but it’s pretty funny on the off-chance someone looks.
RELATED READING: Mushroom Cap Gnome – This Is SO Popular!

No Time to Make Dollar Tree Mushroom Gnome Now? Save or Share It
If you’re gathering ideas or need to check your craft supplies, use the sharing buttons to make this easy to find when you’re ready to begin. Save this to your favorite gnome ideas pin board or share it with a crafty group on Facebook.

As an Amazon Associate, I can earn from qualifying purchases. There could be affiliate links within this article.
DIY Ceramic Mushroom (The Easy Version)
If you want to use a ceramic blank to make a cute mini mushroom gnome, it’s SO easy. Paint (using a sponge) to get a really cool texture on the edges of the mushroom. Add hot glue “gills,” a wood ball for a nose, a moss brim along the bottom, and create a beard.
And if you’re a visual learner, I created a simple ceramic mushroom gnome video tutorial here. It’s less involved than the polymer clay version below and is a great use of a craft store staple.
Tips to Make a Gnome Mushroom
- Start with one of the little ceramic gnomes from the Dollar Tree. I’ve also shared a craft store mushroom (all white) above. Keep your eye out all year long – they show up in Spring and Fall.
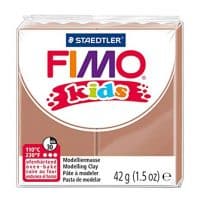
- I like to work with soft polymer clay like this, so it doesn’t tire my hands out. It makes it easy to sculpt fine lines like the back-end split and the mushroom stalk texture into the clay.
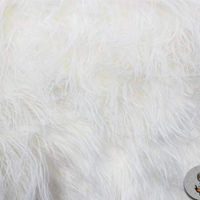
- If you have never worked with faux fur, check out my quick video on how to cut faux fur to get it explained in detail. Basically, you only cut the fabric backing, so cut it with an X-Acto knife from the back side.
- Additions like butterflies or bees are perfect for these cuties, but so is a green moss. You can add it between the toes, on the mushroom cap, or along the bottom as I show above.
How to Make This Ceramic Mushroom Gnome DIY
Below is the written tutorial. If you’re a visual learner, watch the mini mushroom gnome video tutorial. You can see how easily the little feet are formed – even if you’re new to polymer clay!
Mini Mushroom Gnome
This adorable mini mushroom gnome is too cute and a really fun project for beginners. With a Dollar Tree mushroom, a bit of fur, and some polymer clay, this Spring gnome comes together easily. Create a nose, a bottom, and even little feet with clay - the full gnome video tutorial shows you how to make everything. If you need a Spring decoration, add some craft moss or a butterfly to match your home decor.
Materials
- 1 Mini Ceramic Mushroom
- Polymer Clay in Beige and Dark Green
- Small Amount of Mongolian Fur
- 1 Orange Feather Butterfly
Tools
- Paintbrush
- Hot Glue Gun & Glue
- Craft Knife or Razor Blade
- Oven
Instructions
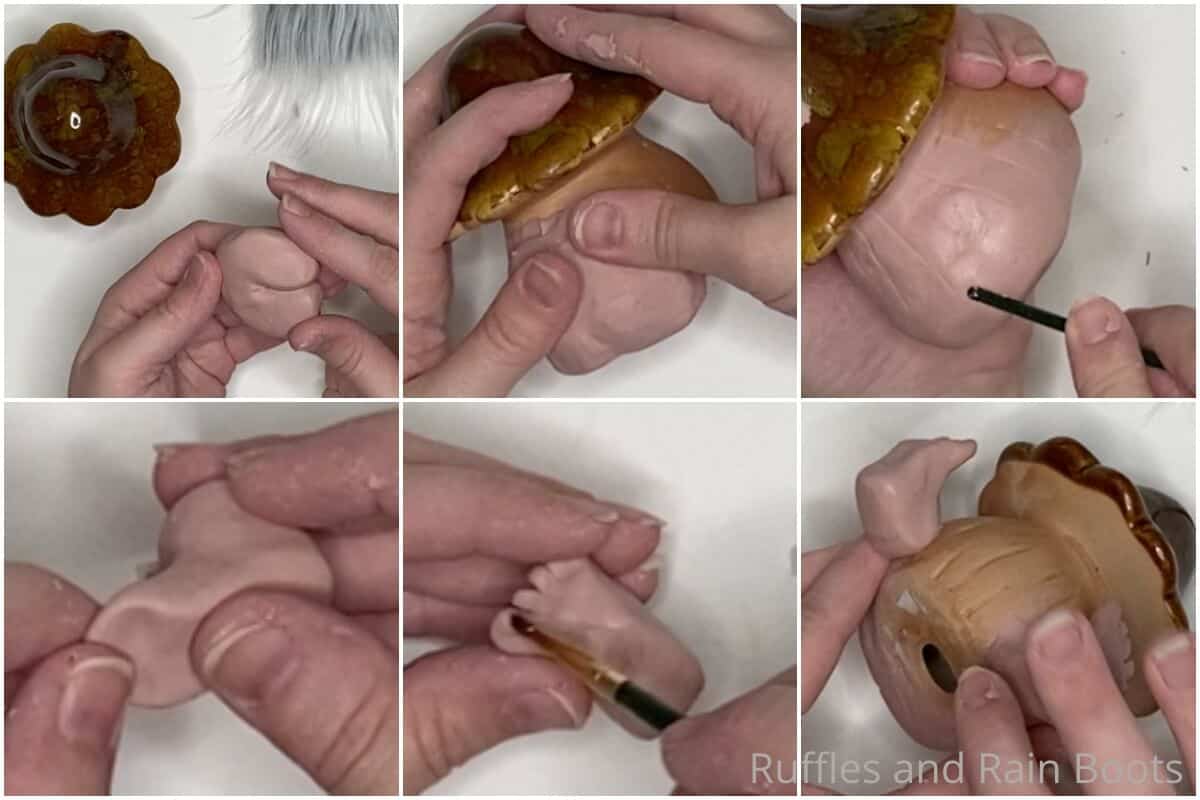
- Work a half-quarter-sized ball of beige polymer clay into a neat ball, then cut it in half with the craft knife to make a nose. Set aside.
- Work a 2 tbsp portion of beige clay into a large 1/2-inch thick round about 2-inches wide. I formed this into a rough bottom shape (large "u" shape smashed together in the center) just to see if I liked the general butt shape.
- Press this thick round of clay to one side of the ceramic gnome. Mold the top 1/4-inch and each 1/8-inch of the remaining three sides into a smooth transition with the side of the mushroom. If the general shape of the gnome butt doesn't stick out enough for you, add more polymer clay and smooth the edges together neatly.
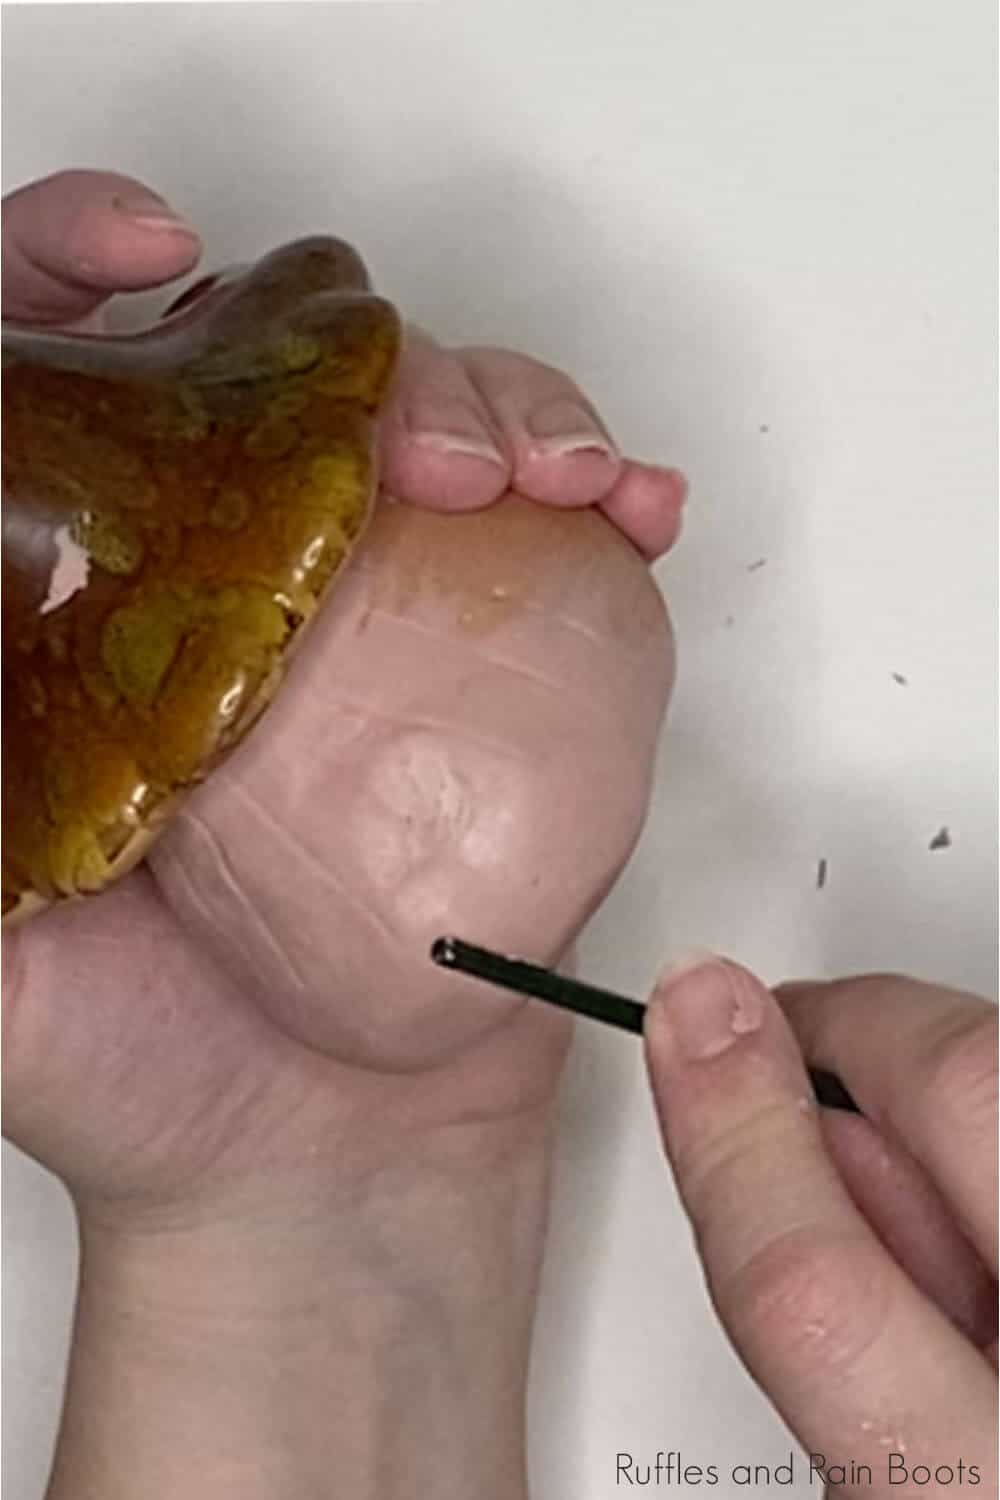
- Use the non-brush end of the paintbrush to add light vertical lines along the buttocks and back to make a matching texture to the ceramic mushroom. Use the brush end of the paintbrush to brush the clay clean. I have also heard that alcohol can be used on the paintbrush to make the clay even smoother.

- Work the non-brush end of your paintbrush into the center of the mound in a 1/8-inch deep trench to make a butt-crack. Use the brush end of the paintbrush to brush the clay clean. I have also heard that alcohol can be used on the paintbrush to make the clay even smoother.
- Using two equal sized portions about the size of two quarter, form an "L" shape with a cylinder on one stick of the "L" and the other stick of the "L" shape into a rounded-over rectangle about 1-inch long, longer and thicker on one end (slightly) than the other.
- Make the cylinder into a a little ankle bump-out and round the bend in the "L" shape into a heel by rolling the smaller end of the rectangle a little on one side and pulling it outward on the other.
- With your craft knife, cut 5 slots into the toe side of the foot, about 1/4 inch into the foot shape to form the toes. Using your finger, or paintbrush, or a flat-sided tool, round over the edges of each toe. Ensure you like the size of your gnome foot then repeat to make the second foot.
- Attach the legs to the bottom of the mushroom about 1-inch apart, on the opposite side from the butt. Smooth the ankle-clay into the ceramic mushroom body to join the two pieces.

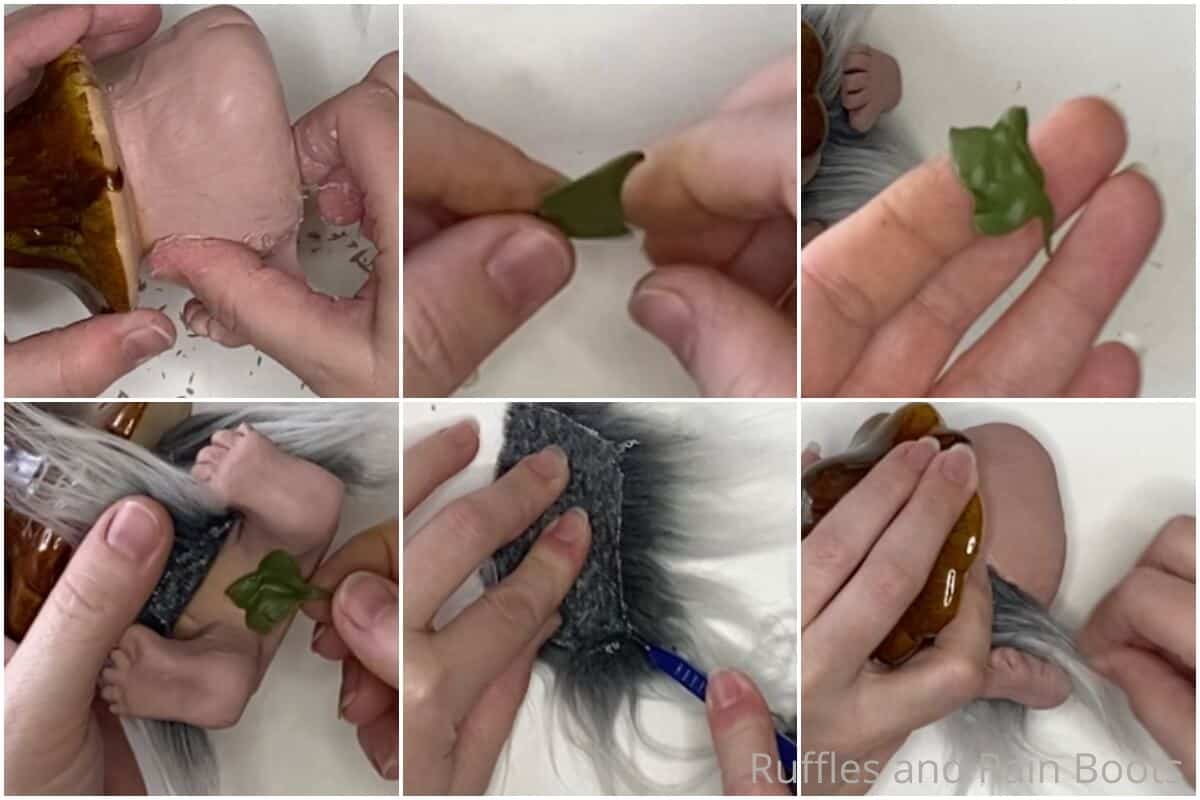
- Add more polymer clay in thin sheets around the entirety of the ceramic mushroom, working it into the ceramic on the sides and front of the gnome, smoothing it down to make the texture all similar. Use the non-brush end of the paintbrush to add light vertical lines along the sides and front to make a matching texture to the ceramic mushroom. Use the brush end of the paintbrush to brush the clay clean. I have also heard that alcohol can be used on the paintbrush to make the clay even smoother.
- Make the fig leaf by tearing off a super small, dime-sized piece of dark green clay and mashing it between your fingers to make a very thin, roughly triangle-shape. Add texture by bending the two sides of the triangle down and pulling the center of the bottom of the triangle out and pinching it to be a stem. Place this fig leaf neatly between the legs.
- Based on the package directions, bake your assembled gnome and the nose you set aside in the first step.
- Allow the gnome to cool completely, then cut out the beard shape, about 1-inches tall by 2-inches wide from the faux fur by turning the fur over and cutting only the fabric with the craft knife. Hot glue the beard to the body just under the mushroom cap, splitting the fur to let the feet poke out.
- Hot glue the nose in place just under the mushroom, by splitting the faux fur at the top of the beard between where the feet poke out, and gluing the nose to the fabric backing of the fur.
- Hot glue the butterfly to the top of the gnome, off-center and just off the tip. Then pop this gnome in a tiered tray and enjoy!
Notes
For more fun gnome crafts, visit Ruffles and Rain Boots!
Recommended Products
As an Amazon Associate and member of other affiliate programs, I earn from qualifying purchases.

More DIY Gnomes You Might Like
- Scandinavian Farmhouse Gnome – He’s squishy, beautiful and he’s super easy to make. This easy gnome pattern has two methods – sewn and no-sew!
- Mini Farmhouse Kissing Gnomes – Tackle making mini gnomes that kiss all day long because they’re just so cute – they can’t keep their hands off each other!
- Elegant Bee Gnome Pattern – Buzzing into your life, this is one of the most beautiful gnomes I’ve made and he’s stung me with a desire for more!
Please Save or Share This Fun Gnome Craft Idea
Your shares are how this site grows and I am sincerely grateful. Please share this on Facebook or save it to your favorite DIY crafts pin board.

Meet the Creator
Hi there, I’m Sarah Nenni-Daher. I’m a crafty gal and always have at least 14 projects going at once. I am a crafter, designer, DIYer, and pattern maker. I share my creations here and in the Ruffles and Rain Boots® Shop.
Here at Ruffles and Rain Boots®, you’ll find DIY gnomes, crafts, gifts, cupcakes, laser crafts, and so much more. I love sharing video tutorials over on YouTube and chatting with other crafters in my Facebook groups. We’d love to have you!