
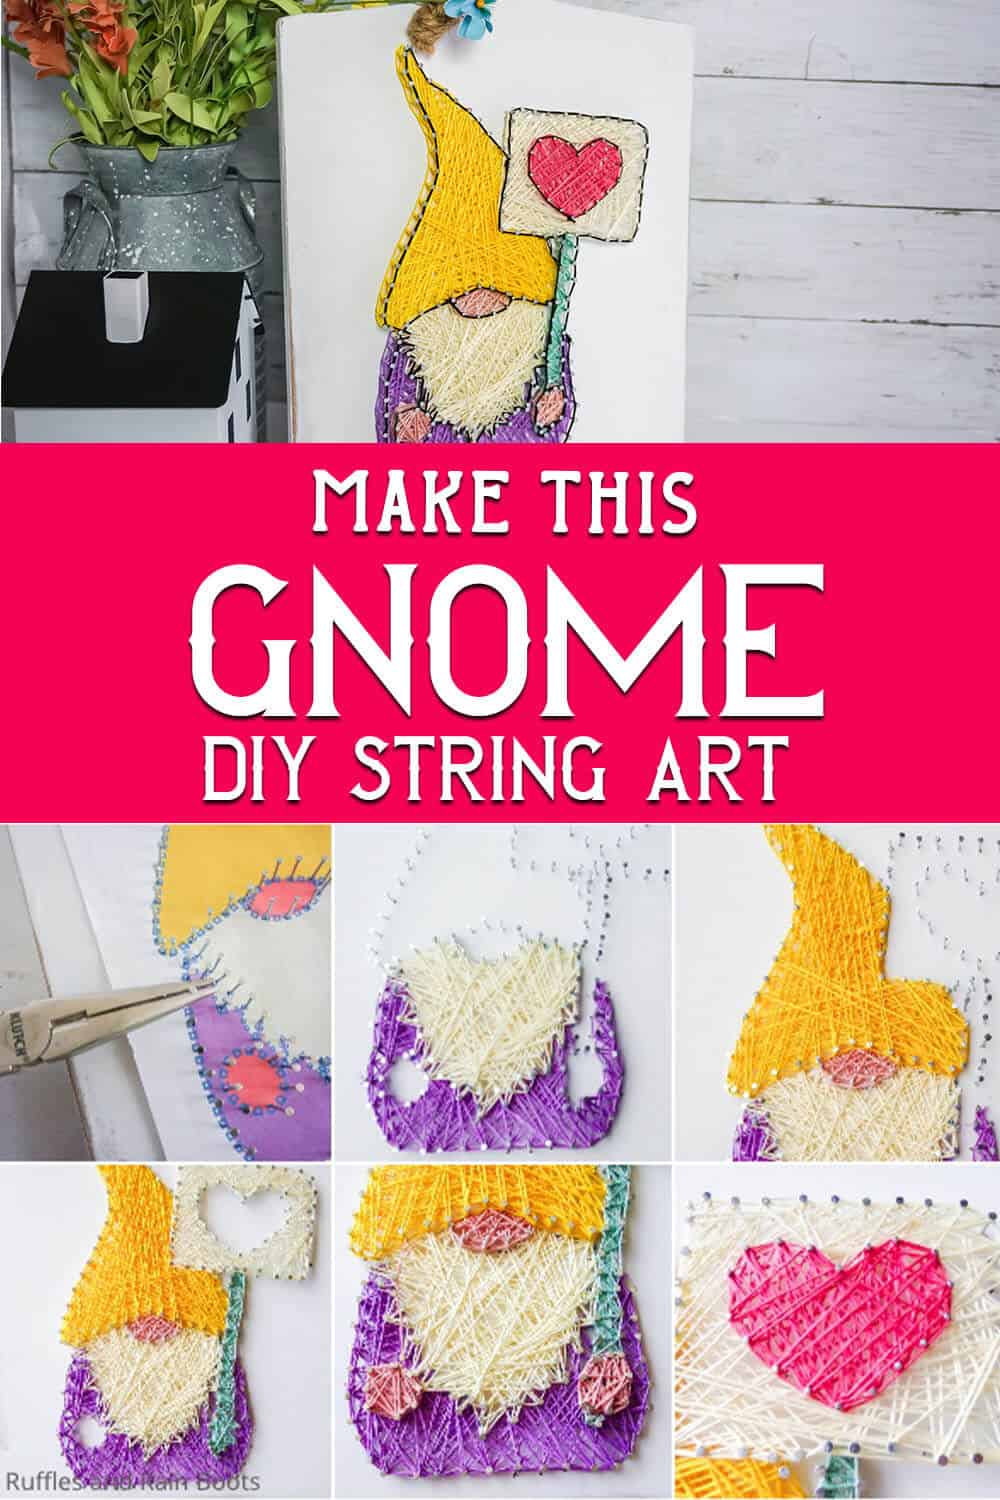
This Epic Gnome String Art is So Simple and Fun!
This fun farmhouse DIY craft is really easy. With the free template, this gnome string art came together so fast and looks so adorable!
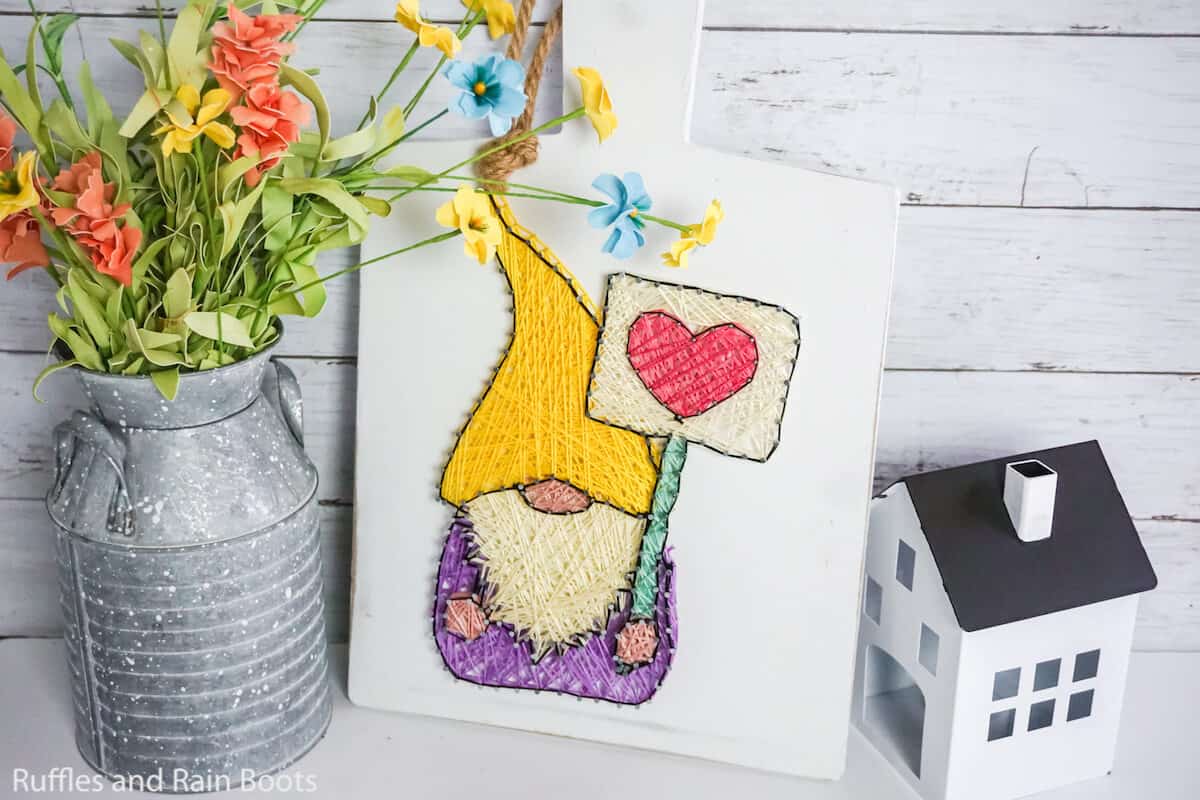
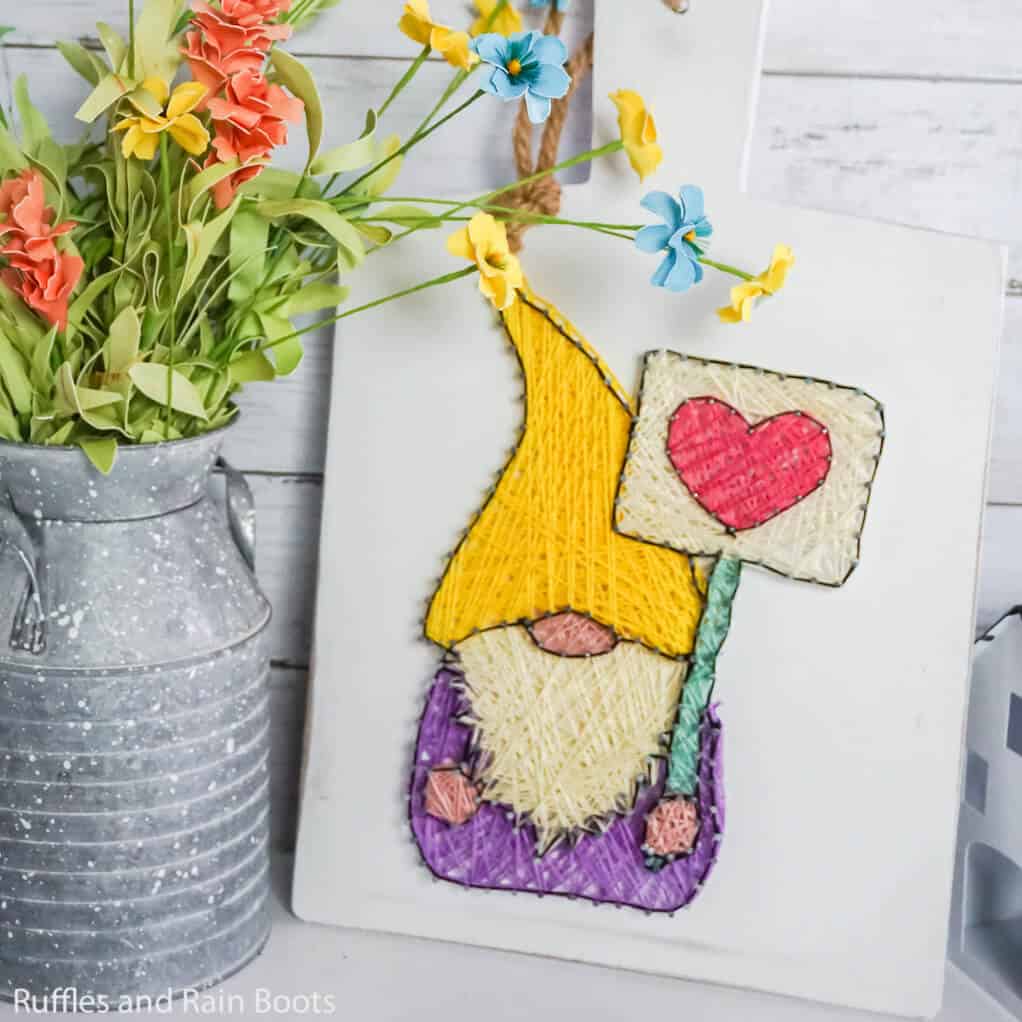
Gnome String Art
Here at Ruffles and Rain Boots, we love gnomes. And when my daughter wanted to try string art, what could be more perfect than putting together a whimsical little cutie like this?
RELATED READING: COZY GNOME PATTERN
If you like string art, be sure to check out the Baby Yoda string art we did, too. It was a fun afternoon for everyone. If you’re ready to make your very own little string art gnome, let’s get started.

No Time to Make This Now? Pin it for Later
You’re busy, I get it. Pin this to your favorite easy farmhouse DIYs board on Pinterest and it’ll be here for when you’re ready.
As an Amazon Associate, I can earn from qualifying purchases.
Tips to Make String Art Gnome
- Start by grabbing the free printable gnome string art template. It has markings for each nail, though you can certainly use fewer nails than I did. Just remember that more nails will make for a more dense stringing, so by reducing the nails, it will create more gaps in the completed image.
- When I initially set out to do this gnome string art, I tried to use a thin wood because, for some reason, I thought it would be easier to nail. While that was definitely true, unfortunately the thin wood actually broke between each of the nails. Moral of the story – choose a solid wood, at least 1/4-inch thick.
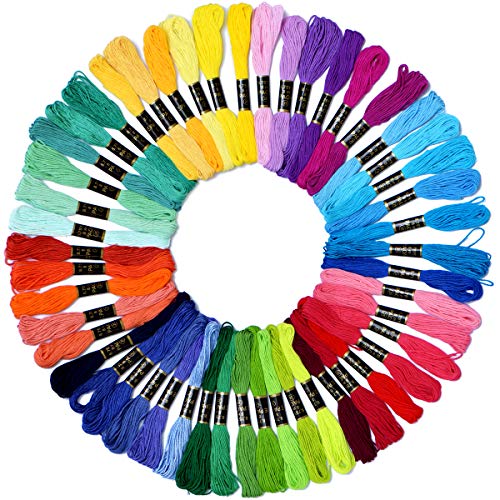
- I have learned it’s significantly cheaper to buy your embroidery thread in sets, like these.
- I recommend choosing to use a solid background for your gnome string art. It could be any color, really, just make sure that it looks good with the colors you select for your gnome’s shirt and hat. The white was right for me with the yellows and purples, so I used a white chalk paint for my wood.
How Do I Make this Gnome String Art?
I’m so glad you asked. Below is our written tutorial.
Gnome String Art
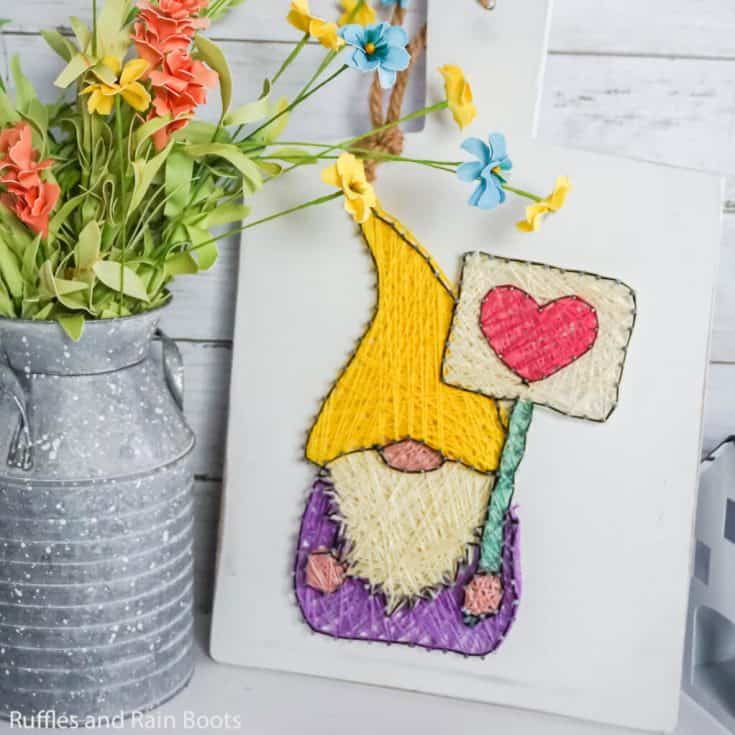
This easy gnome string art is so simple and fun to make--you'll be hanging it on the wall in no time. It's perfect for the entryway, bathroom or wherever!
Materials
- 1 14x14 inch Wood Blank (I used a cutting board style)
- 2-3 Bright Yellow Embroidery Thread Skeins
- 2-3 Off-White Embroidery Thread Skeins
- 1-2 Purple Embroidery Thread Skeins
- 1 Black Embroidery Thread Skein
- 1 Light Peach Embroidery Thread Skein
- 1 Bright Pink Embroidery Thread Skein
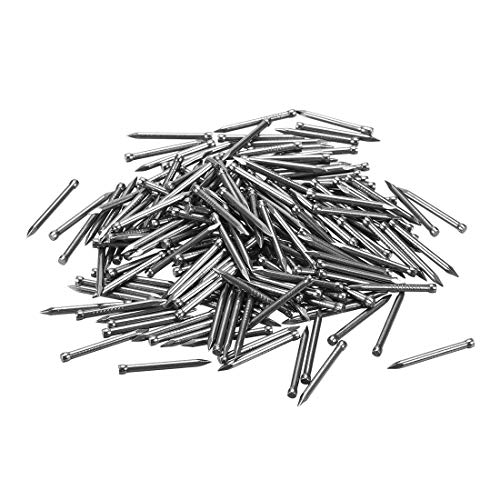
- 30-40 Finishing Nails
- Printable Template
Tools
- Hammer
- Painter's Tape
Instructions
- Start by printing the template, then taping it to the wood square with the gnome centered as best as possible.
- Place nails, hammering them into to the wood about halfway, in each of the designated spots on the template. Then remove the template from the wood.
- Tie one end of the purple embroidery thread to one of the nails lining the body of the gnome, then start wrapping the purple thread around each of the nails, working across the body, excluding the beard and hands, criss-crossing your threads and building a layer of string in the whole body area. Once you have covered the whole body, tie the end of the purple embroidery thread off to a nail.
- Repeat stringing in the following order: each of the hands individually, beard, nose, hat, stick, white of sign, heart of sign, then add a black outline around each of the elements, to make the whole thing stand out more.


Notes
For more fun farmhouse craft ideas, visit Ruffles and Rain Boots!
Recommended Products
As an Amazon Associate and member of other affiliate programs, I earn from qualifying purchases.
More Easy Farmhouse DIY Ideas You Might Like
- Farmhouse Tray Riser – This is the most fun way to bring some height into your farmhouse staging! Simple, easy and super cheap.
- Easy DIY Farmhouse Bead Ideas – No farmhouse entryway is complete without a set of farmhouse beads to really bring in the season and a pop of color.
- Simple Farmhouse Sock Gnomes with Boots – Now, I love a good string art, but a cute DIY gnome? That’s really my game!
Please Save This to Pinterest
Your shares are how this site grows and I am sincerely grateful. Know a friend who’d like this? Please share it on Facebook or save it to your favorite easy farmhouse DIY ideas board on Pinterest.

Meet the Creator
Hi there, I’m Sarah Nenni-Daher. I’m a crafty gal and always have at least 14 projects going at once. I am a crafter, designer, DIYer, and pattern maker. I share my creations here and in the Ruffles and Rain Boots® Shop.
Here at Ruffles and Rain Boots®, you’ll find DIY gnomes, crafts, gifts, cupcakes, laser crafts, and so much more. I love sharing video tutorials over on YouTube and chatting with other crafters in my Facebook groups. We’d love to have you!