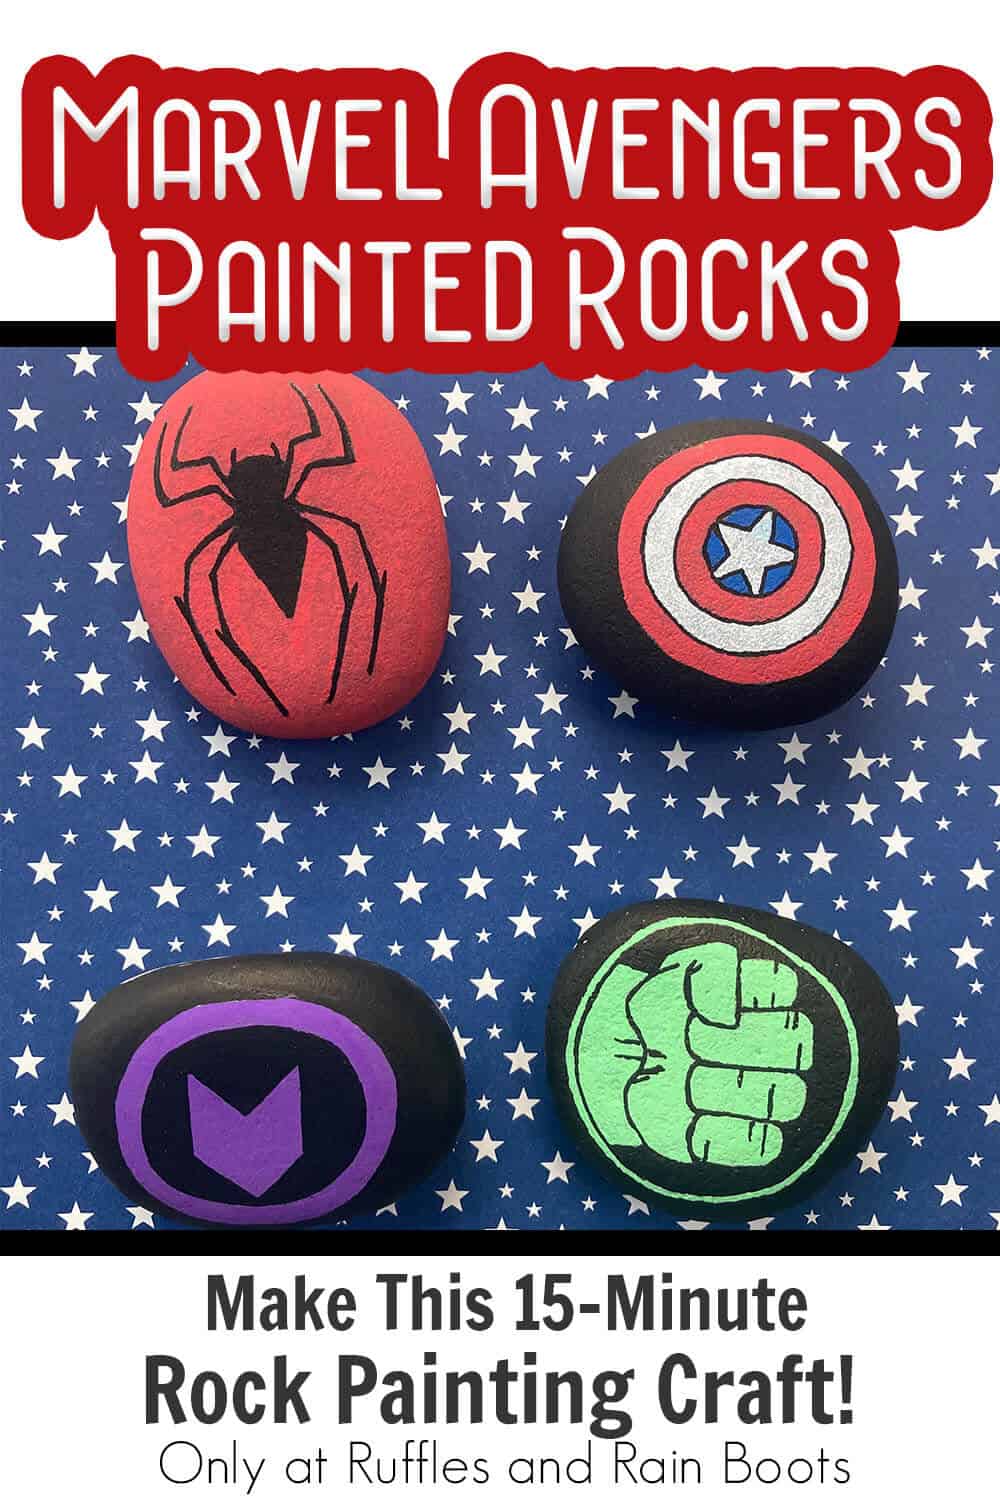
These Marvel Avengers Painted Rocks are Fun Super Hero Painted Rocks
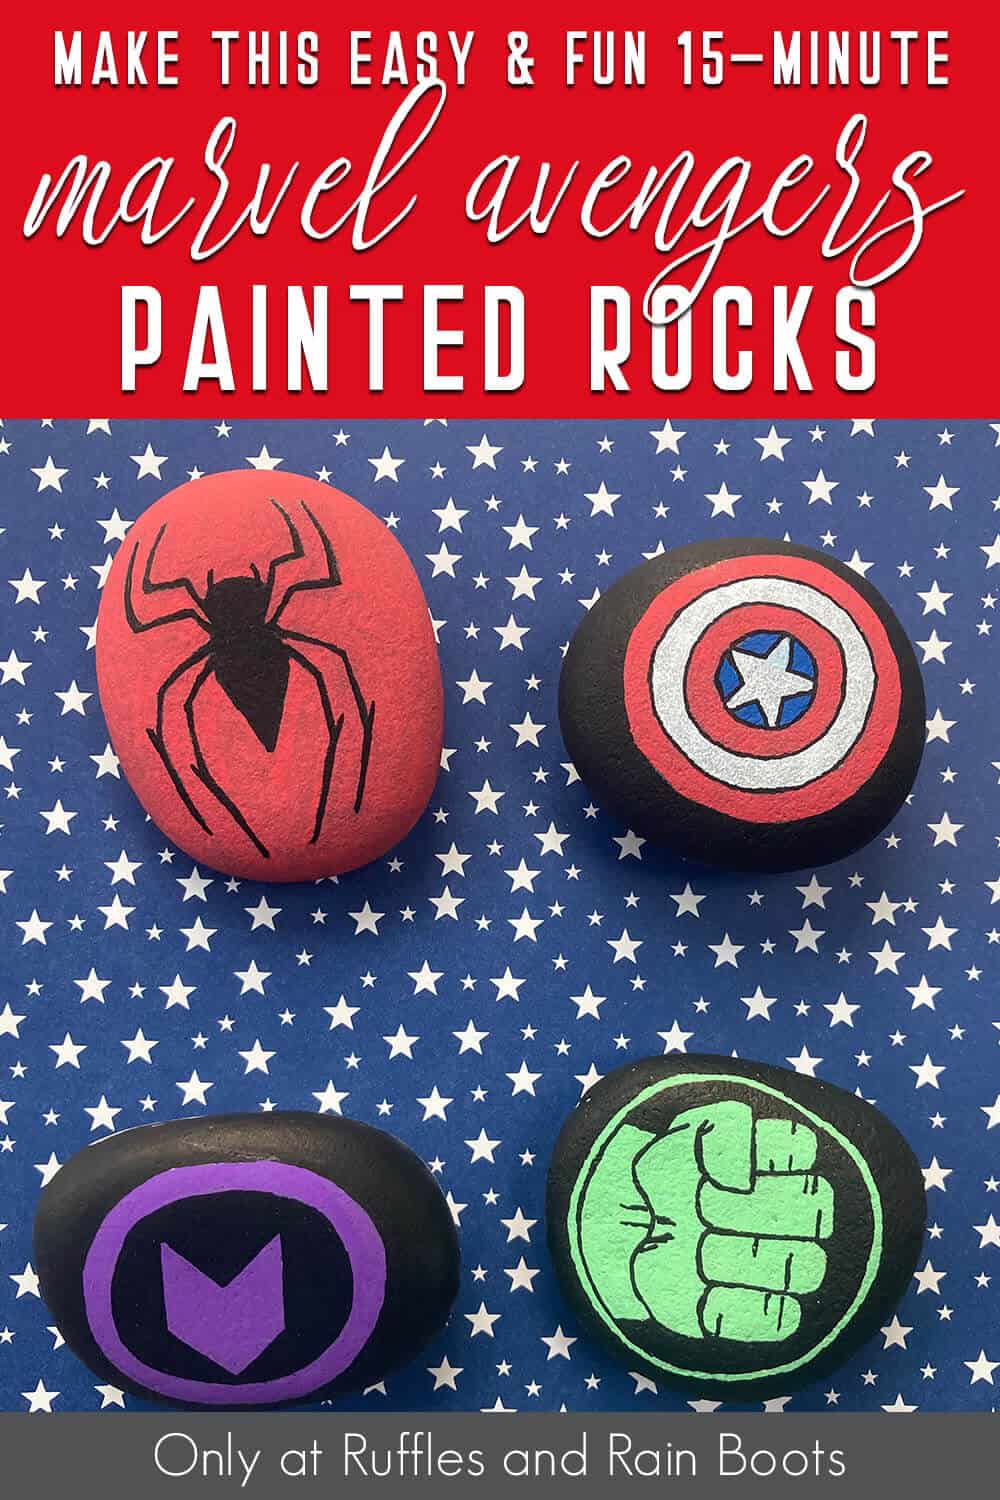
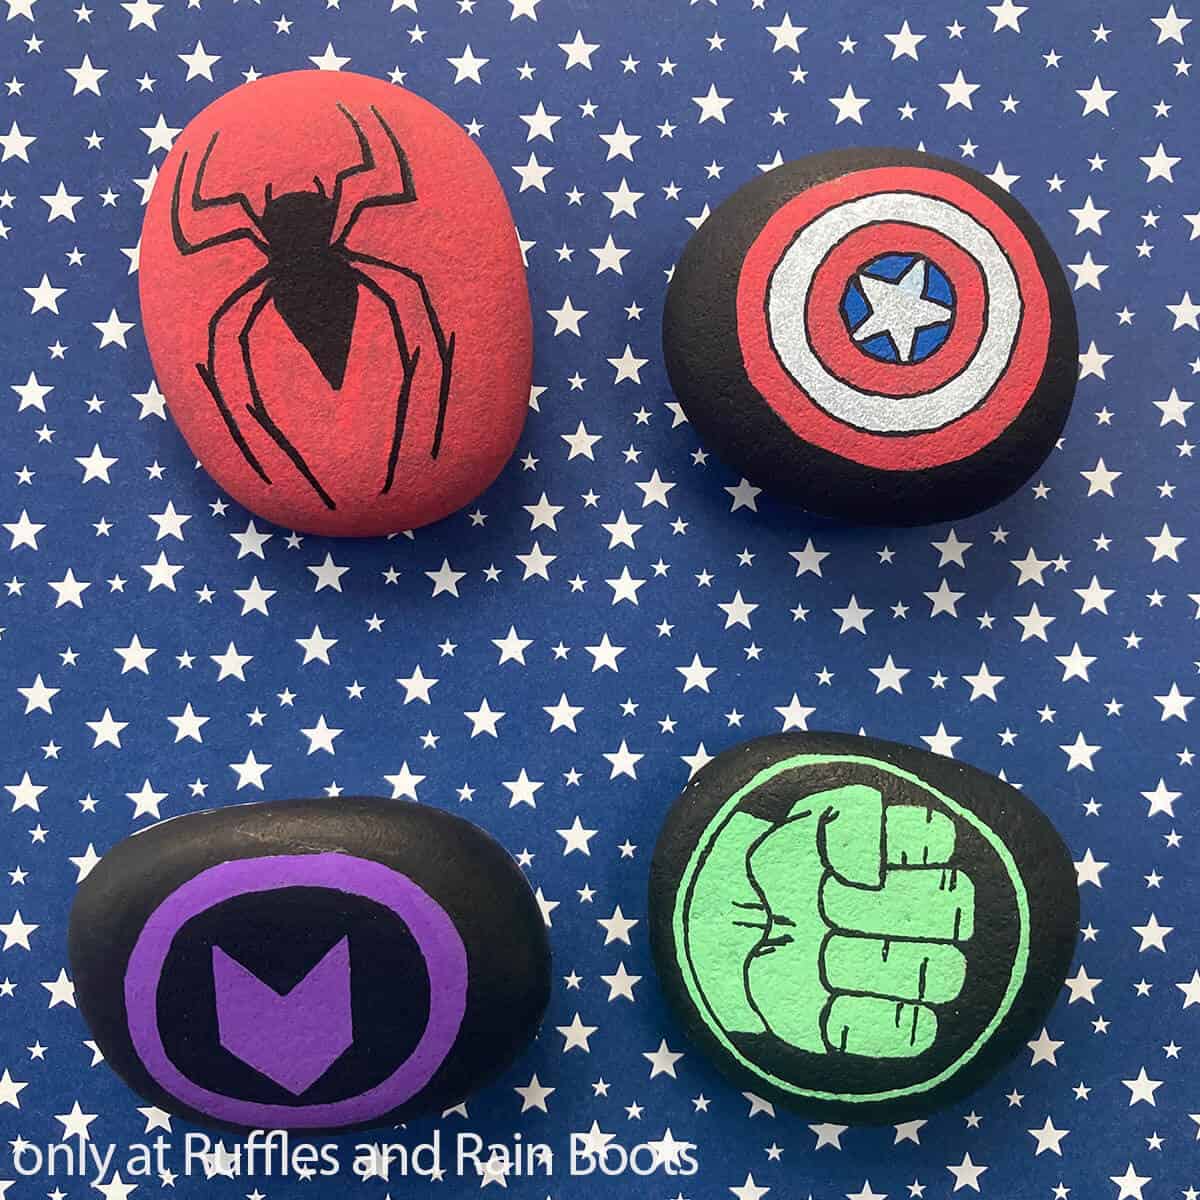
The kiddo asked, so we made these fun Marvel Avengers painted rocks over the holiday break, bringing a favorite movie to life with just a few paint brush swipes!
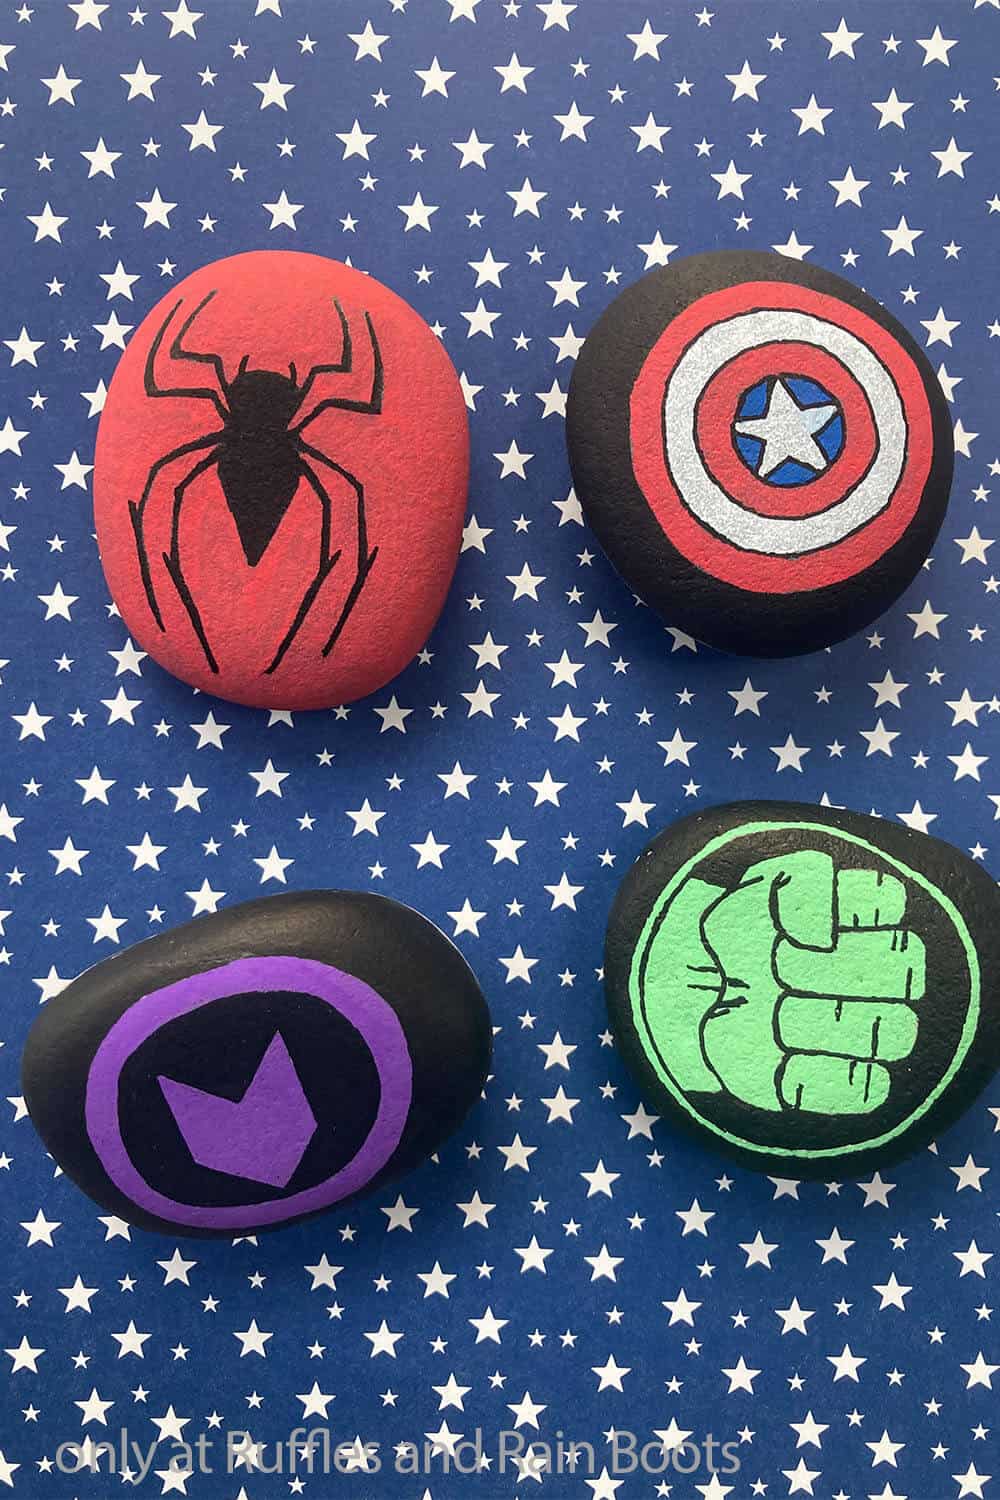
Marvel Avengers Painted Rocks
Here at Ruffles and Rain Boots, we adore making painted rocks with the kiddo. Whether she’s making a handful for her friends, we’re making story rocks, or we’re just crafting together, that’s a time I really enjoy. Plus, painting rocks is fun. So, when she asked for a set of Marvel Avengers painted rocks to go with one of her favorite movies, we had to do it.
RELATED READING: HOW TO PAINT HARRY POTTER KINDNESS STONES
We got all of her favorites in before we found something else to occupy us (lunch) and I would say we did a pretty good job making these easy super hero painted rocks in just a few minutes. If you’re ready to learn how to paint Avengers painted rocks, let’s get started.
No Time to Make This Now? Pin it for Later
You’re busy, I get it. Pin this to your favorite rock painting ideas board on Pinterest and it’ll be here when you’re ready.
As an Amazon Associate, I can earn from qualifying purchases.
Tips to Make Super Hero Painted Rocks
- Of course you can find rocks outside but, be sure not to take any from protected natural areas – look to your own yard, where you know the owner won’t get peeved. If you run into trouble finding the best rocks, you can always grab some awesome rocks ready for painting here, a local hardware store’s garden center, or even at a local landscaping company. Sometimes you can even get them by the bucket-full. However, I do not recommend getting your rocks from your typical craft stores because they often have a coating on them that will keep the paint from sticking.
- Before you start, make sure your rocks are nice and clean and also dry. You need them to be bone-dry before the paint will stick in most situations. While you’re waiting for your rock to dry completely, you can lightly sketch your design onto the rock with a pencil. It helps me a lot to guide my drawings on rocks.
- Acrylic paint works best for me, but you can also use paint pens/markers like these here, artist pens, gelly roll pens, markers, highlighters, etc. Some of these methods will require a second coat to get a nice, bright color, but all of them will work.
- Take a few minutes to seal your rocks after painting them. Whether it’s a spray sealant or a craft sealant like Mod Podge, sealing them is going to have the fantastic effect of keeping your rock art from washing off in the rain or fading in your kitchen, depending on what you plan to do with your painted rocks.
How Do I Make this Marvel Avengers Painted Rocks?
I’m so glad you asked. Below is our written tutorial.
Marvel Avengers Painted Rocks
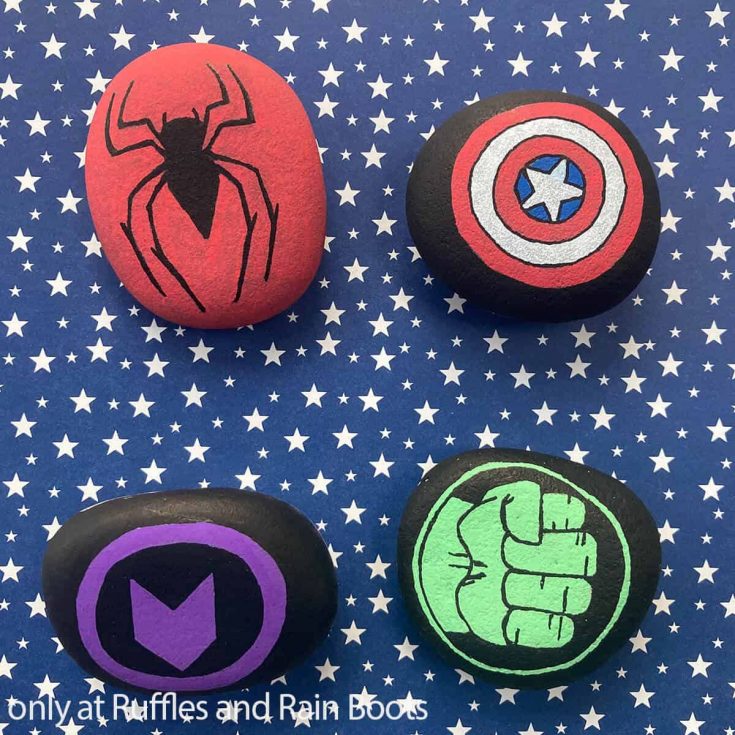
In no time at all, you can have four fun variations on Marvel Avengers painted rocks, ready for your kids to drop off at friend's houses, at school or just to play with. I love this craft so much - and it's perfect for crafting together with the kiddo!
Materials
- Rocks
- Acrylic Paint in Red, Blue, Black, Green and Purple
- Sealant
Tools
- Pencil with eraser]
- Paint Pens or Paint brushes
Instructions
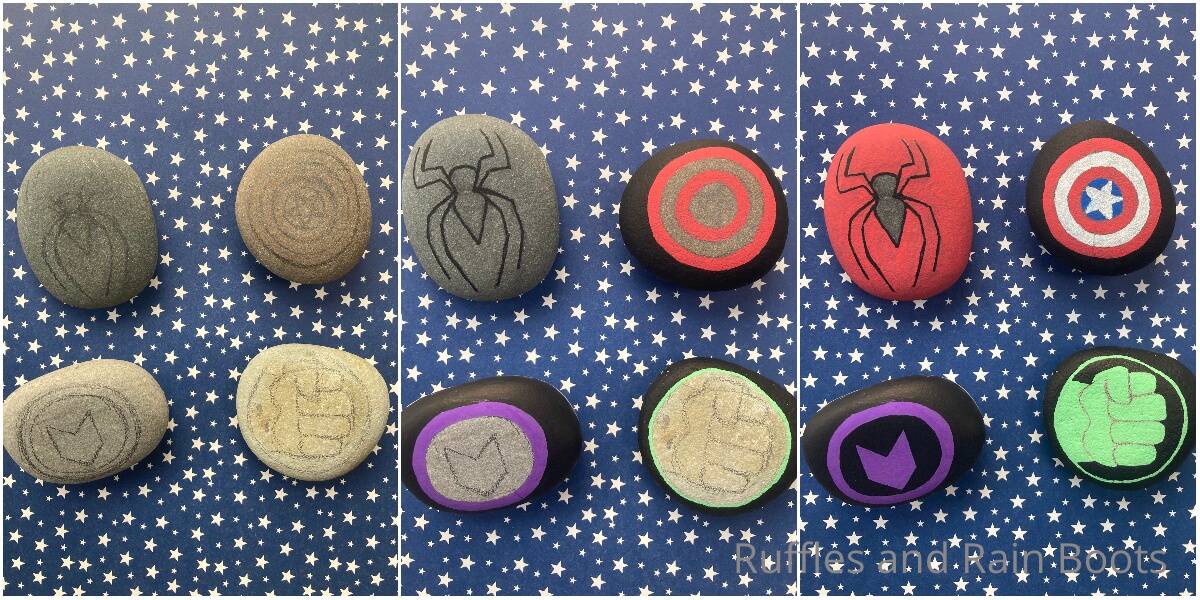
- To Make the Captain America painted rock: Draw a star in the center of your rock, surrounded by raw a circle around the star, just outside the points of the star. Draw three more circles around the center circle, about 1/4-inch apart and evenly spaced from each other.
- In the space outside of the final circle, fill the area in with black paint. Allow this paint to dry completely.
- Fill in the final circle with red paint, leave the next circle un-painted (for right now, we'll take care of this in a minute). Paint the next circle, red, just outside the circle surrounding the star.
- Paint the star white. Allow the paint to dry completely.
- Paint the space between the star and the circle surrounding it blue. Paint the ring between the two red circles with white paint. Allow this paint to dry completely.
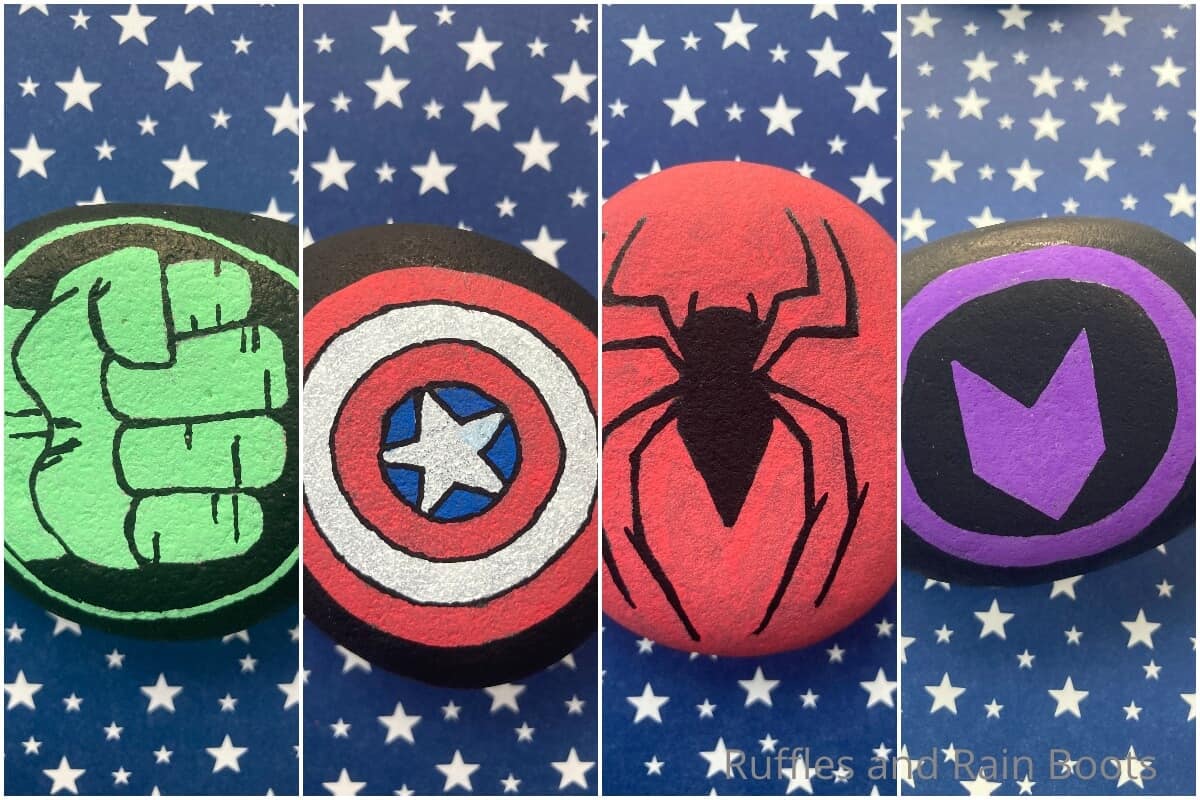
- Outline each of the circles and the star with black paint, if desired. Allow this paint to dry completely, then seal the rock with sealant and allow that to dry completely.
- To make the Hawkeye painted rock, draw a large circle around the perimeter of your rock, then draw a smaller circle about 1/4-inch inside of the first circle. In the middle of your two circles, draw the Hawkeye chevron symbol (the kind of two parallelograms mashed together to form a point at one end and an inverted point at the other).
- In the space outside of the final circle, fill the area in with black paint. Allow this paint to dry completely.
- Paint the space between the two sketched circles with purple paint. Then paint the Hawkeye symbol with purple paint as well. Allow this paint to dry completely.
- Paint the space surrounding the Hawkeye symbol inside the purple circle with black paint. Allow the paint to dry completely, then seal the rock with sealant and allow that to dry completely.
To make the Spiderman painted rock, draw a general outline of a spider - very rough, we'll prefect the legs when we paint. - Outline the spider shape in black paint. Allow that paint to dry completely.
- Paint the area around the spider shape with red paint, then allow that paint to dry completely.
- Paint in the body of the spider with black paint then add little antenna, detail the legs and adding any hairs on the legs, as desired. Allow this coat of paint to dry completely, then seal the rock with sealant and allow that to dry completely.
- To make the Hulk painted rock, draw a large circle around the perimeter of your rock, then draw a smaller circle about 1/8-inch inside of the first circle.
- Inside the middle of the circle, draw the a large clenched fist. I broke it down for myself like this: an oval in the center of the larger outlined circle, adding bumps on the right side for 4 fingers. Then adjusting the bottom into a wavy line on the left side of the hand to show the join of the hand and wrist. Over the top of the pointer finger (the one on top of the hand), I draw a perpendicular line across it to be the top of the thumb, then made another line just to the left of that with a curve to be the other side of the thumb. This just needs to be rough - painting it is going to help with the roughness.
- In the space outside of the outer circle, fill the area in with black paint. Allow this paint to dry completely.
- Fill in the circle with green paint, then paint the clenched fist green, leaving spaces for the join of the wrist and hand, knuckles and other features so they're easy to outline in black later. Allow this paint to dry completely.
- Paint space around the fist black. Allow this paint to dry completely.
- Outline each of the other features (the knuckles, join of the fist and wrist, etc.) with black paint. Allow this paint to dry completely, then seal the rock with sealant and allow that to dry completely.
Notes
For more great rock painting tutorials, visit Ruffles and Rain Boots!
Recommended Products
As an Amazon Associate and member of other affiliate programs, I earn from qualifying purchases.
More Rock painting Tutorials You Might Like
- Three Ways to Draw and Paint Fox Painted Rocks – I love these little foxes and they’re so akin to Rocket, I might have to modify their look sometime soon…
- How to Make Your Own Rocks – I loved making my own rocks for this quick tutorial – fast, fun and really easy!
- Easy Baby Yoda Rock Painting Tutorial – Painting a Baby Yoda rock is the best and most fun way to bring your love of the Mandalorian’s Child to your rock painting fun!
Please Save This to Pinterest
Your shares are how this site grows and I am sincerely grateful. Know a friend who’d like this? Please share it on Facebook or save it to your favorite easy craft ideas board on Pinterest.
