
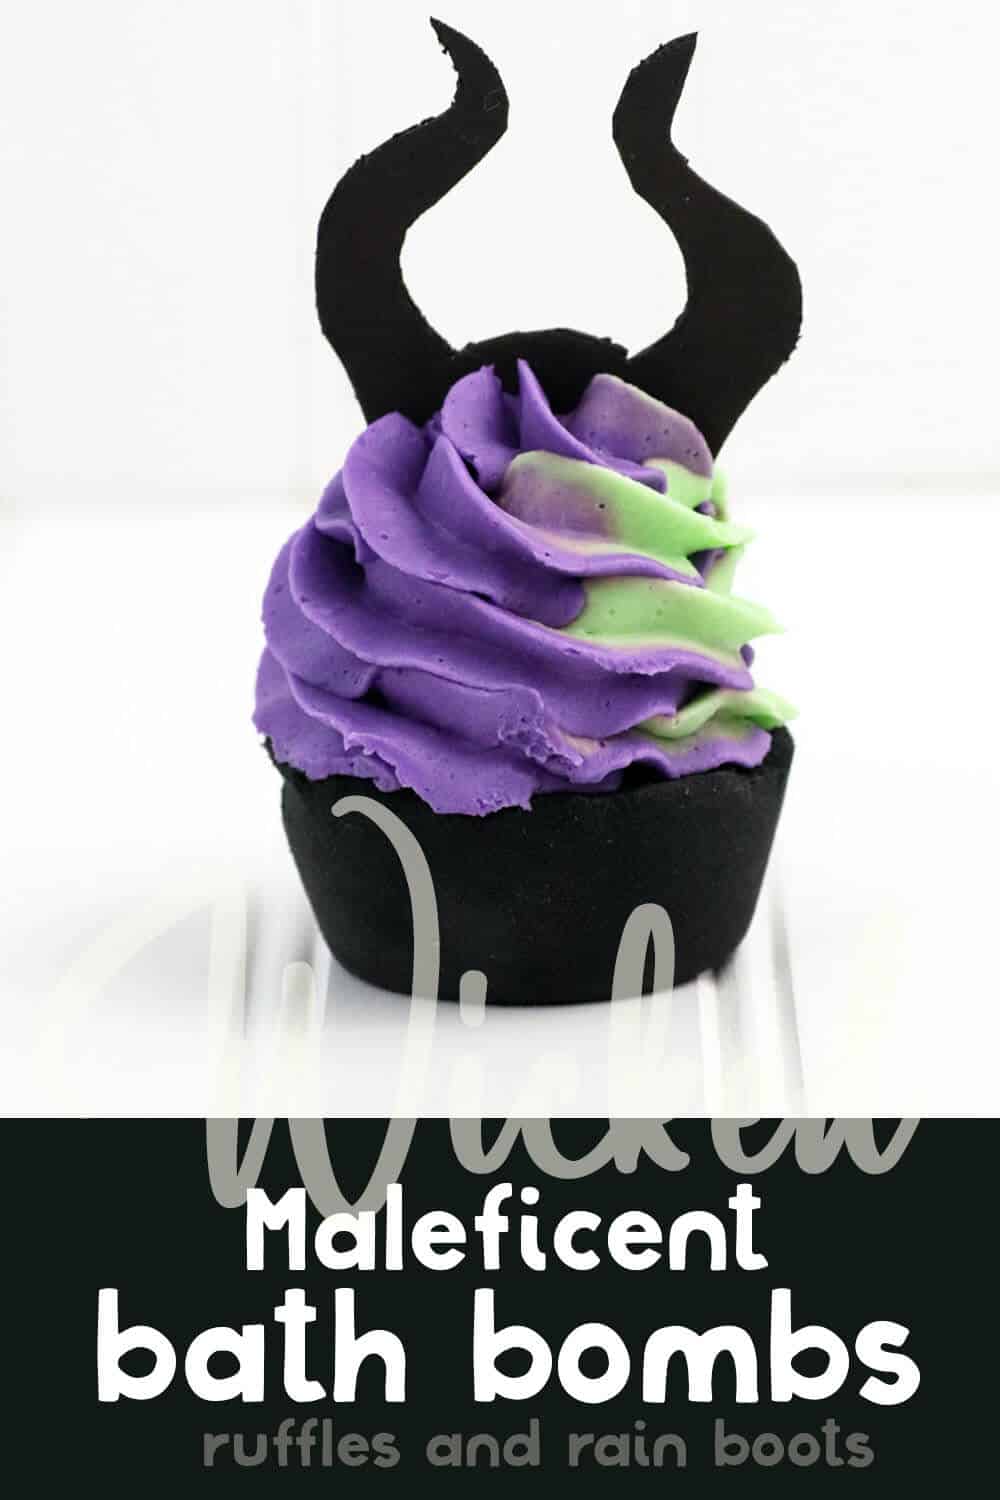
Wickedly Awesome Maleficent Bath Bombs
I love how wickedly awesome these Maleficent bath bombs turned out. They’re just so–so evilly beautiful, I kind of don’t want to use them–but I will because I’m naughty! LOL!
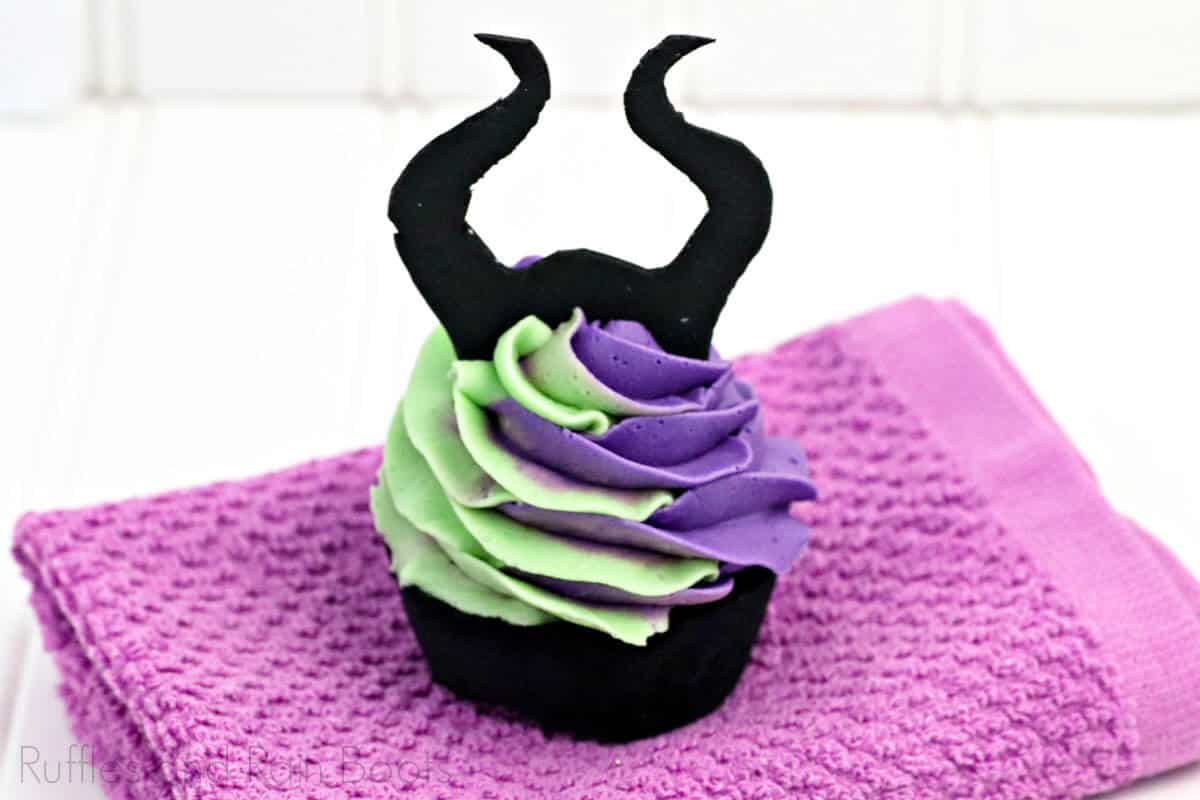
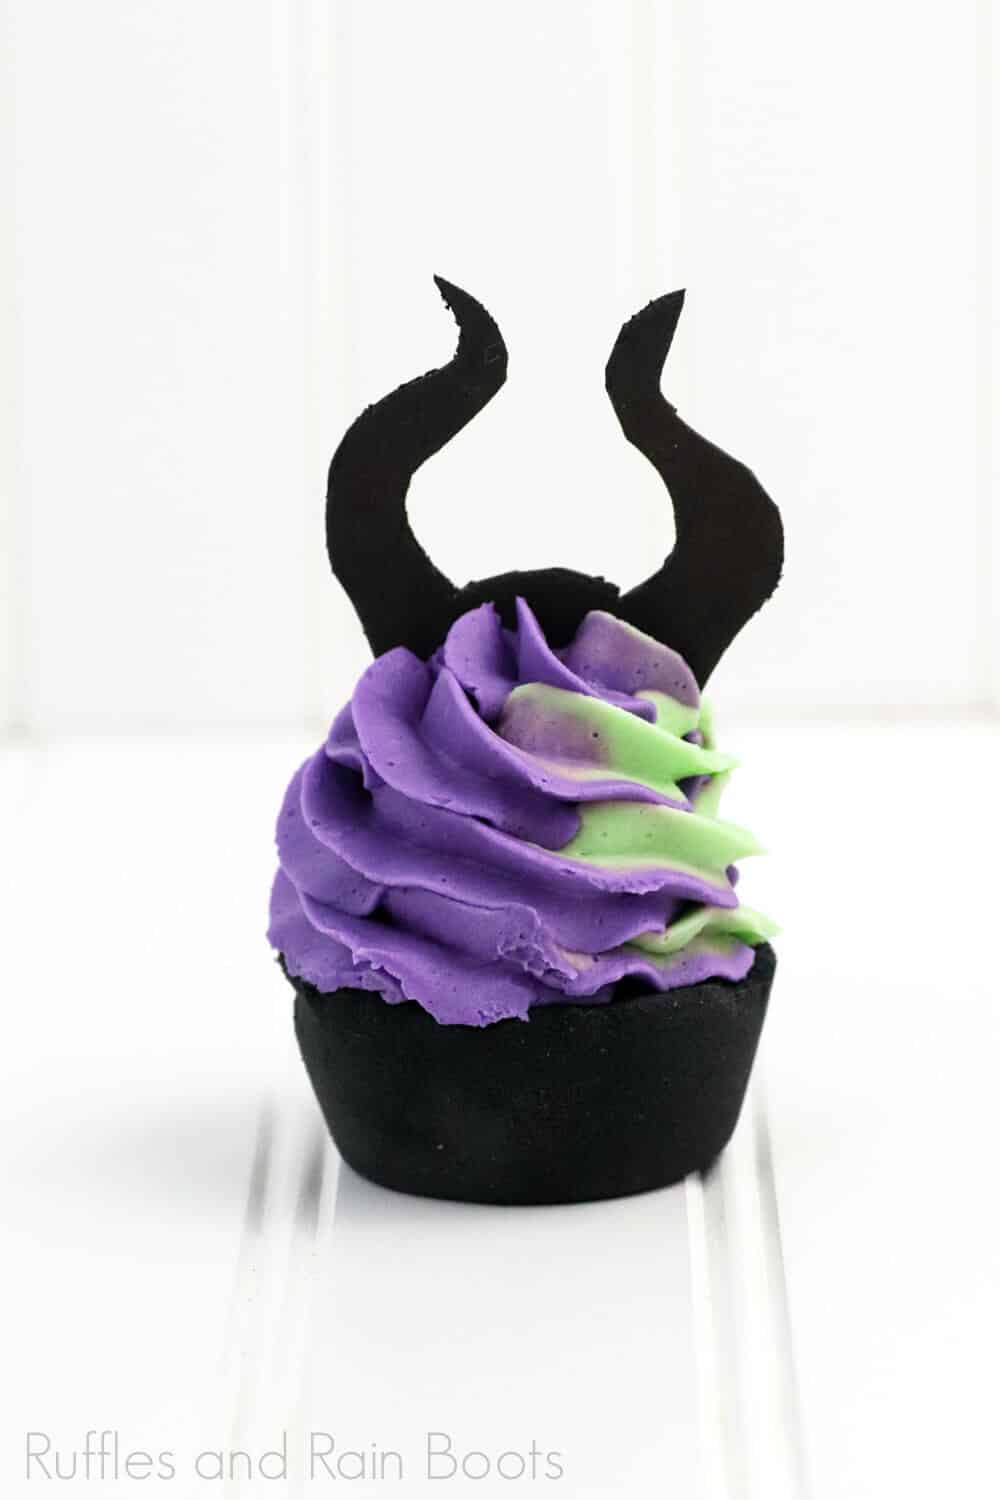
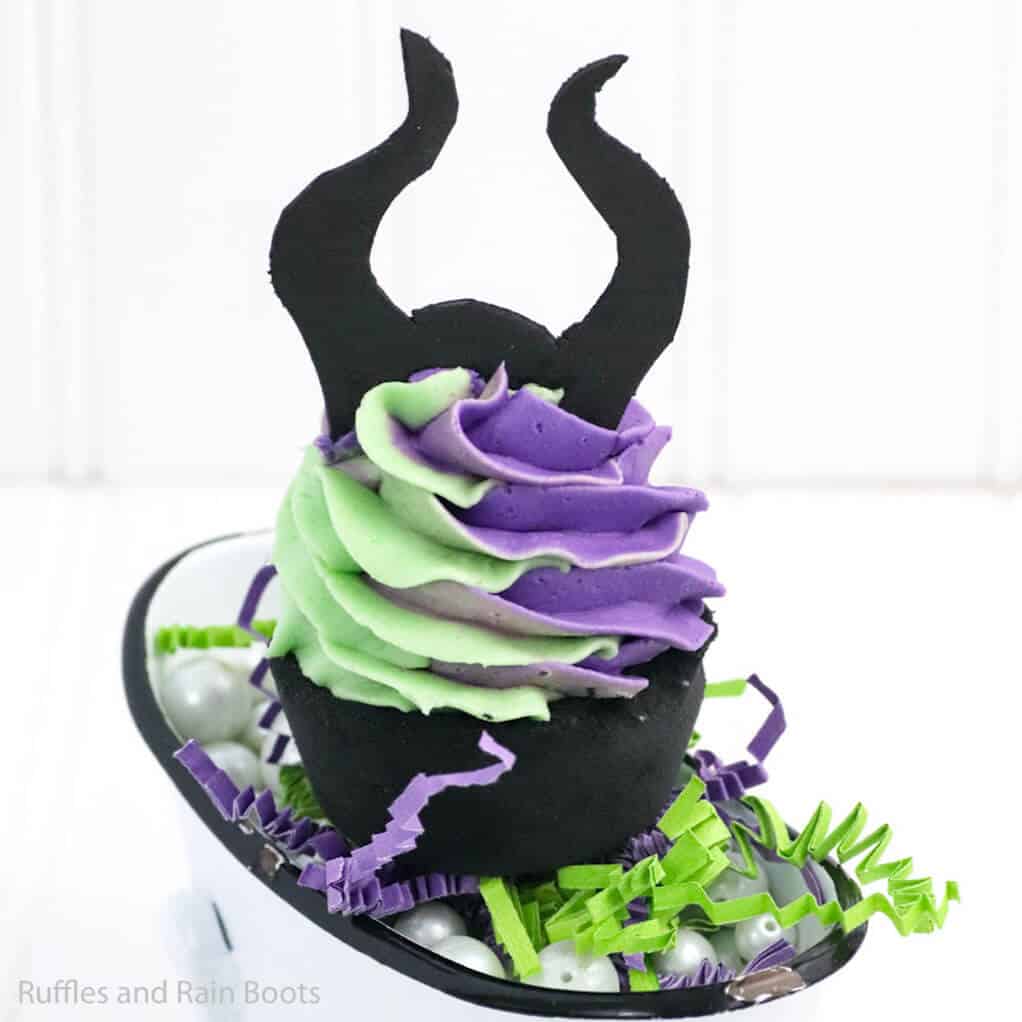
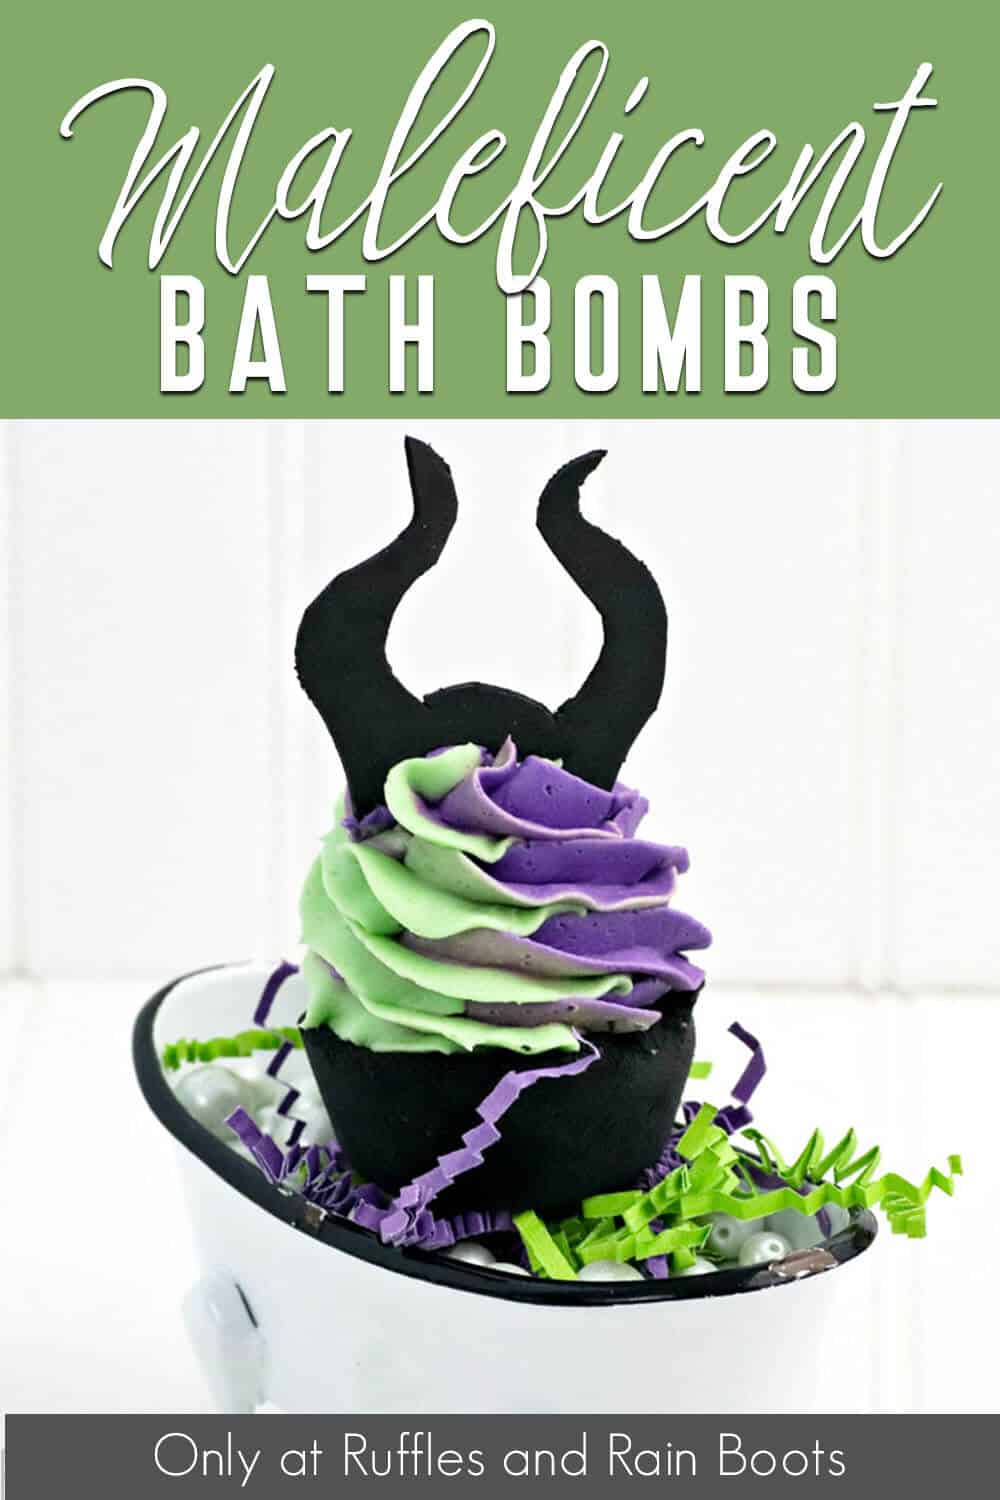
Maleficent Bath Bombs
Here at Ruffles and Rain Boots, we love love love our evil fairy and her absurdly wicked ways. Seriously, if I had to pick a baddie to be my dark-side spirit animal, Maleficent would be her. Seriously fun. And when the kiddo suggested some villain-themed bath bombs for “when you have a bad day” (I love that kid), well, of course I thought immediately about making Maleficent bath bombs.
RELATED READING: DIY NO FAIL BATH BOMBS AND SHOWER FIZZIES FOR DAYS!
Wickedly easy to make these cupcake bath bombs have such an amazing character and cool twist to them, I almost don’t want to use them. But I will–because they’re easy and I can just make more. If you’re ready to make a cupcake bath bomb you’re going to love to hate (or is it hate to love?), well, let’s get started.
No Time to Make This Now? Pin it for Later
You’re busy, I get it. Pin this to your favorite self-care ideas board on Pinterest and it’ll be here for when you’re ready.
As an Amazon Associate, I can earn from qualifying purchases.
Tips to Make Cupcake Bath Bombs
- Allow your Maleficent bath bombs to dry fully before using them, they’ll be fizzier. That means no making them the night before you’re ready to gift them. I recommend letting them dry for at least 24 hours (more if you’re in a humid environment). That said, you can make these 3 months ahead of time and they’ll be just fine.
- Feel free to put as much fragrance oil and colorant into these Maleficent bath bombs as you’d like. I mean, they’re your bath fizzies. But whatever you do, don’t use food coloring–that will color your skin and the bathtub and they’ll all require scrubbing afterward–which is eeeevil. So, stick with soap colorant or mica powders, it’s easier to clean up.
- There is an ingredient which is optional, Polysorbate 80. The purpose of this emulsifier is to limit the oils and butters from pooling at the top of the water, as well as to reduce mica from adhering to the walls of the tub.
- This lush bath bomb (well, lush-inspired) is a bath bomb mixture made of essential oil, citric acid, polysorbate 80, and a little bit of water (with some other ingredients), all mixed together in a large bowl. That’s seriously all there is to it. So, if you’re having trouble getting one to hold it’s shape, its likely because it’s not wet enough. Add a little water and try again. But if you’re still having trouble, see this article on trouble-shooting bath bombs and shower fizzies to find out your options to remake them.
- Store your cupcake bath bombs in an airtight container until you’re ready to give them. The moisture in the air can make it less fizzy when the time comes to pop it in the bath. One thing I like to do is store my bath bombs in a pretty air-tight container like an apothecary jar. Not only is this great for keeping the bath bombs ready-to-use, but it’s a really cute packaging!
How Do I Make this Maleficent Bath Bombs?
I’m so glad you asked. Below is our written tutorial.
Maleficent Bath Bombs

This is the easiest recipe to make cupcake bath bombs. But not only that, these are Maleficent bath bombs--a wicked way to squash a bad day.
Materials
Bath Bombs
- 2 cups baking soda
- 1 cup citric acid
- ½ cup cornstarch
- 1/4 cup white Kaolin clay
- 2/3 cup coconut oil
- 1/4 cup cocoa butter
- 2 teaspoons polysorbate 80, optional
- 10-20 drops basil essential oil
- 3-4 tablespoons activated charcoal
Whipped Soap Frosting
- 3/4 cup whipped soap base
- 1 tablespoon glycerin
- 1 teaspoon polysorbate 80
- 1 tablespoon corn starch
- 1/4 cup clear or white melt and pour soap base
- 1 teaspoon each of green and purple colorant
- Thin black foam
Tools
- Standard silicone muffin tin
- Spray bottle filled with rubbing alcohol
- 1 large mixing bowl
- Piping kit
- 1 large mixing bowl
- 2 small bowls
- Hand mixer
- Scissors or X-acto knife
- No. 2 pencil
Instructions
- In a large mixing bowl, whisk together the baking soda, citric acid, cornstarch and kaolin clay. [Kaolin clay in bath bombs helps to give them more stability when you get them out of the mold.]
- To bind the dry ingredients together, add in 2/3 cup of the coconut oil.
- Add the polysorbate 80. This material helps the coconut oil disperse more evenly in your bath water, it also keeps the mica from sticking to the side of the tub. Which is totally worth it.
- Melt and add the cocoa butter. Add the basil essential oil. Mix well. You may need to use your hands to break down any lumps and make sure everything is mixed in. The mixture is perfect when it holds together when you press it into your hands and feels like wet sand.
- Add in 2-4 tablespoons of the activated charcoal depending on how dark you'd like it. Just keep in mind, when you add more charcoal, add 1-2 tablespoons of additional coconut oil or it will be too dry)
- Fill each cavity of the muffin mold with the bath bomb mixture until packed firmly. Allow to dry a minimum of 24 hours. If these are not 100% dry, they will break when you take them out.
- Mix tother whipped soap base, glycerin and polysorbate 80 to mixing bowl.
- Fold in cornstarch.
- Melt the soap base in the microwave 30-second intervals, stirring after each interval until fully melted. Allow the soap to cool for about a minute. Mix in melted melt and pour soap base and fold in cornstarch, mixing until the mixture forms peaks. If your frosting is not stiff enough, add a bit more cornstarch and mix in.
- Separate whipped soap into two small bowls. Add purple colorant to one bowl and green colorant to the other bowl.
- Add purple color frosting to one small piping bag and the green to another. Place large piping tip into a large piping bag. Insert the two small bags into the large bag.
- Pipe the frosting onto your cupcake bombs. Allow soap to harden for about 36 hours. But before it dries, you might want to make some horns...
- Draw horns on the foam and cut them out with the exacto knife.
- Place horns into frosting and enjoy!
Notes
For more fun cupcake bath bomb tutorials, visit Ruffles and Rain Boots!
More Easy DIY Bath Ideas You Might Like
- Rapunzel Bath Bombs – For a fun tangled-time in the tub, I like to make a batch of these Rapunzel bath bombs–because it’s fun!
- Snow White Bath Bombs – The original Disney princess bath bomb that’s sure to please any Disney fan!
- Princess Anna Bath Bombs – These two-colored bath fizzies are a favorite around here.
Please Save This to Pinterest
Your shares are how this site grows and I am sincerely grateful. Know a friend who’d like this? Please share it on Facebook or save it to your favorite easy DIY bath ideas board on Pinterest.
Meet the Creator
Hi there, I’m Sarah Nenni-Daher. I’m a crafty gal and always have at least 14 projects going at once. I am a crafter, designer, DIYer, and pattern maker. I share my creations here and in the Ruffles and Rain Boots® Shop.
Here at Ruffles and Rain Boots®, you’ll find DIY gnomes, crafts, gifts, cupcakes, laser crafts, and so much more. I love sharing video tutorials over on YouTube and chatting with other crafters in my Facebook groups. We’d love to have you!