
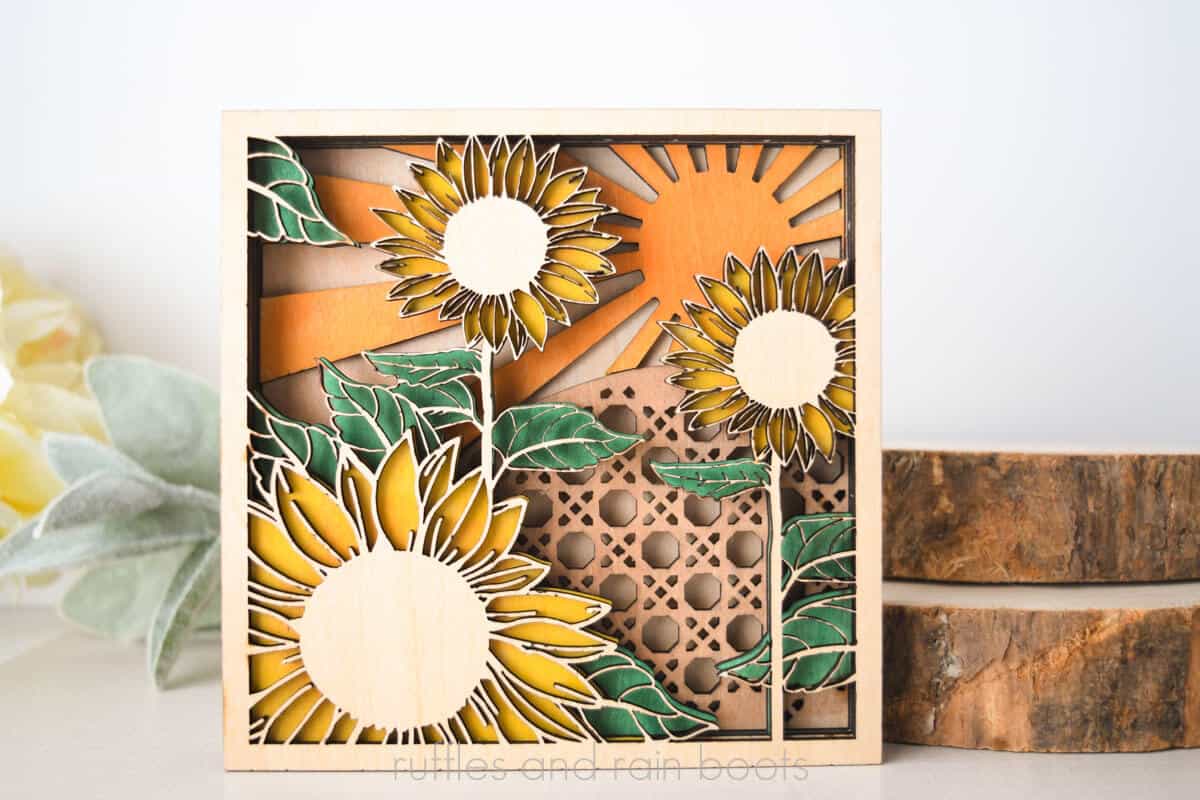
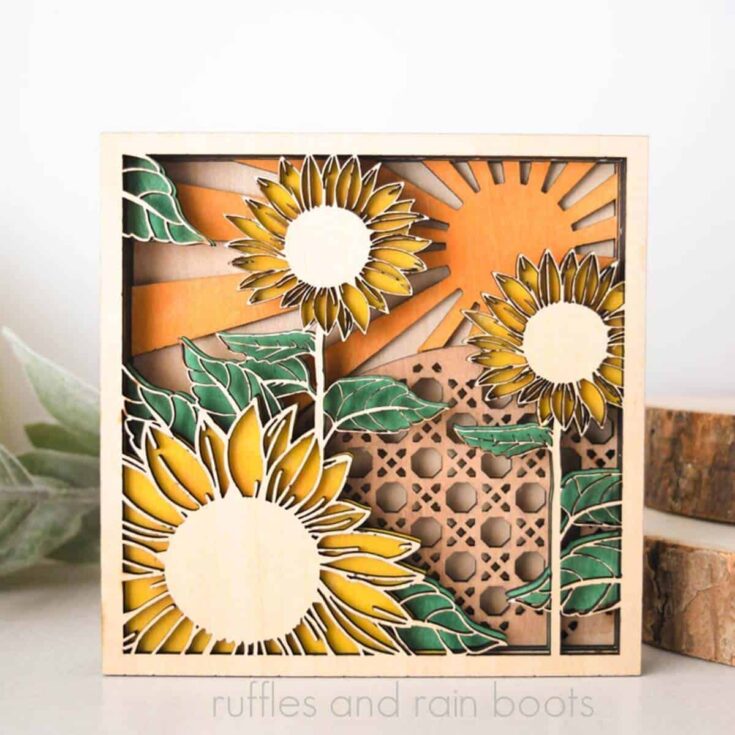
Laser Layered Sunflower Shelf Sitter
This inexpensive layered sunflower shelf sitter is a perfect laser project for beginners. It combines multiple cuts to form a beautiful piece!
Use any diode or CO2 laser to create wall decor, shelf sitters, and even custom work with the layers. Download the sunflower SVG and read through or watch the video tutorial to create your own.
RELATED READING: xTool M1 Ultra Review – Is It A Good Buy for a Crafter?
As an Amazon Associate, I could earn from qualifying purchases. There could be affiliate links within this article.
What You'll Find On This Page
Sunflower Laser Cut Craft to Make and Sell
Here at Ruffles and Rain Boots, I’ve been creating a lot of products to see what I can sell in my area. While I work with many lasers (I’ll put a summary below), I used the xTool P2 CO2 laser for this project because it was already on.
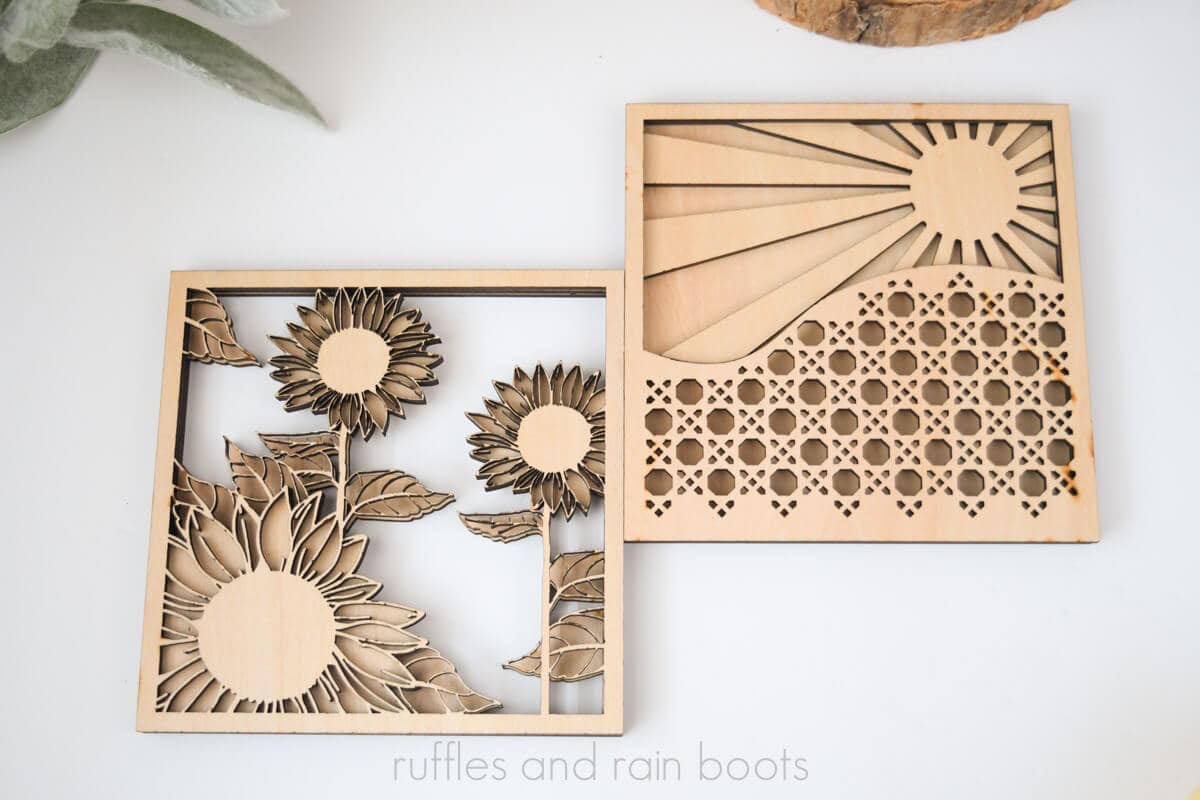
You can use ANY diode or CO2 laser cutter for this laser craft to make and sell, as we’re working with a thin wood. I created two sizes for this project: 12 inches and 5.5 inches. I do not recommend reducing the file below 5 and 1/2 inches, as I have tested it and the outline can break.
RELATED READING: Learn How to Cut Mirror Acrylic (and Project Ideas)
Ways to Use The Laser Cut Sunflower Digital Download
When working with multi-layer projects like this, you have quite a few ways to use it. If you create laser products to sell, I recommend trying a few to see what works in your business. It can be wall art, a shelf sitter, or be used in parts to create a custom piece.
To make this into sunflower wall art, stick with 12 inches or go larger. You will need to add a hanger on the pack piece or duplicate the back piece cut and add a keyhole to accomodate for a hook or nail.
To create a shelf sitter, select all layers and resize to anywhere between 6 to 8 inches. Be sure to use at least 5 layers (7 included) so that this will stand up well on it’s own without having to be propped against anything.
If you want to make this but can’t get started right now, save or share this page. It will make it easy to find when you’re ready to begin.

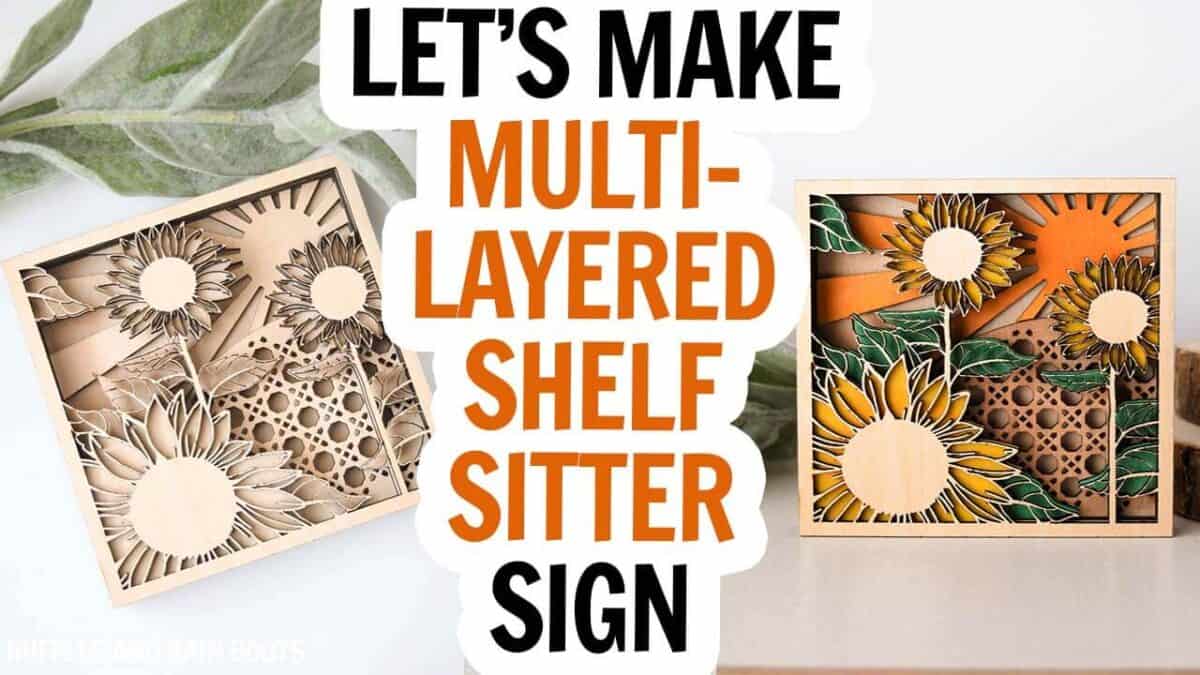
Layered Sunflower Shelf Sitter Video Tutorial
If you’re a visual learner like I am, be sure to watch the layered sunflower laser cut shelf sitter video tutorial. It will walk you through the file set up, painting, and assembly process.
In the video, I’ll also share some tips about painting and assembly to make things easier. While you’re there, be sure to subscribe – we have a lot of fun.
Materials You’ll Need
Below are the items I used but be sure to check your stash to see what you can use up. I do recommend sealing the wood after painting or staining – any brush or spray on sealant will work.
- xTool P2 (or other laser)
- Inline Fan (recommended, optional)
- Sunflower Layered Shelf Sitter Bundle digital download
- 3mm basswood plywood
- acrylic paint and water (optional, see unpainted version below)
- spray sealant
- wood glue and super glue
image of unpainted
How to Make This Sunflower Shelf Sitter SVG
Load, Size, and Process the Cut
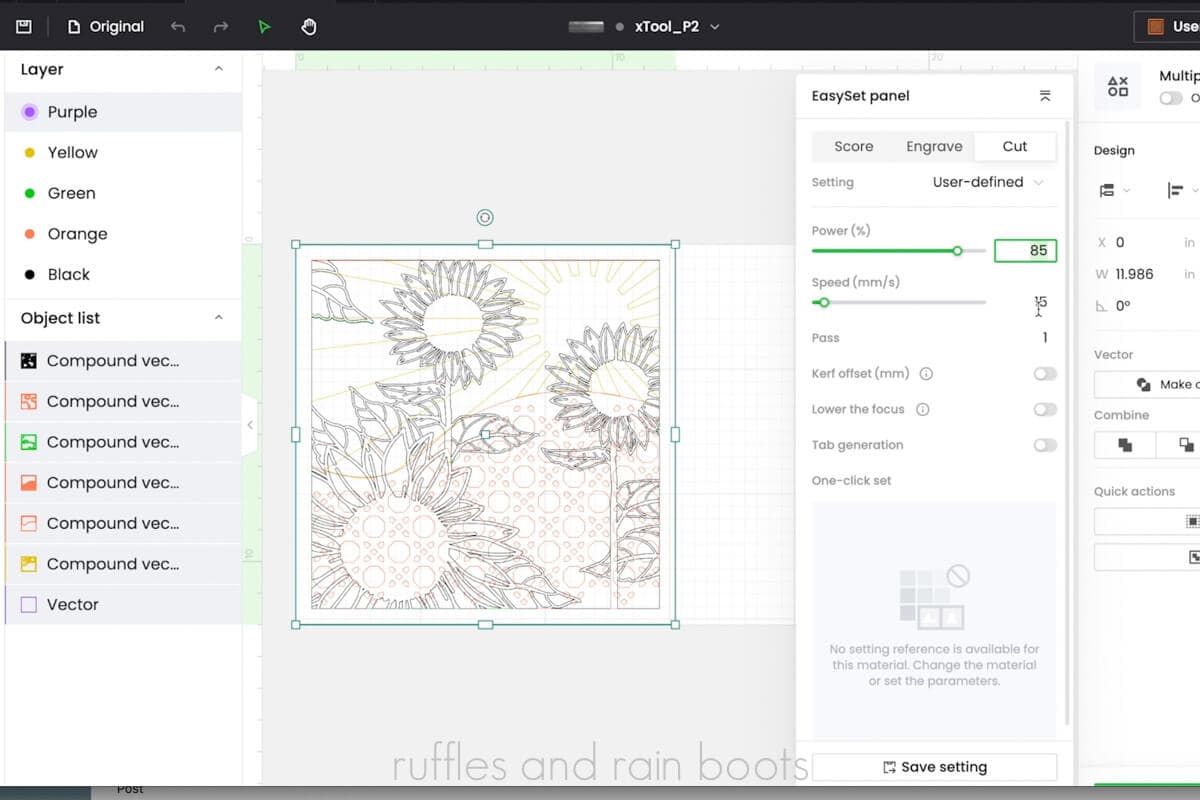
First, load the SVG into your laser software or open the included XCS file if using an xTool laser. Take note of sizing. If you skipped reading the bits above, do not reduce the file size below 5.5 inches, as the outline layer gets too fragile.
Highlight all of the layers and enter cut settings. Mine were 85 and 15 because I was painting, however, if you want to leave the natural wood, I recommend using laser safe paper masking to reduce most of the post-cut work. The outline layer can be fragile.
Next, load the material, set the thickness (or distance), mark the area, if needed. Select which layers to cut and process them.
Remove the layers and use a dry cloth to clean up any char. I only did the outside edges.
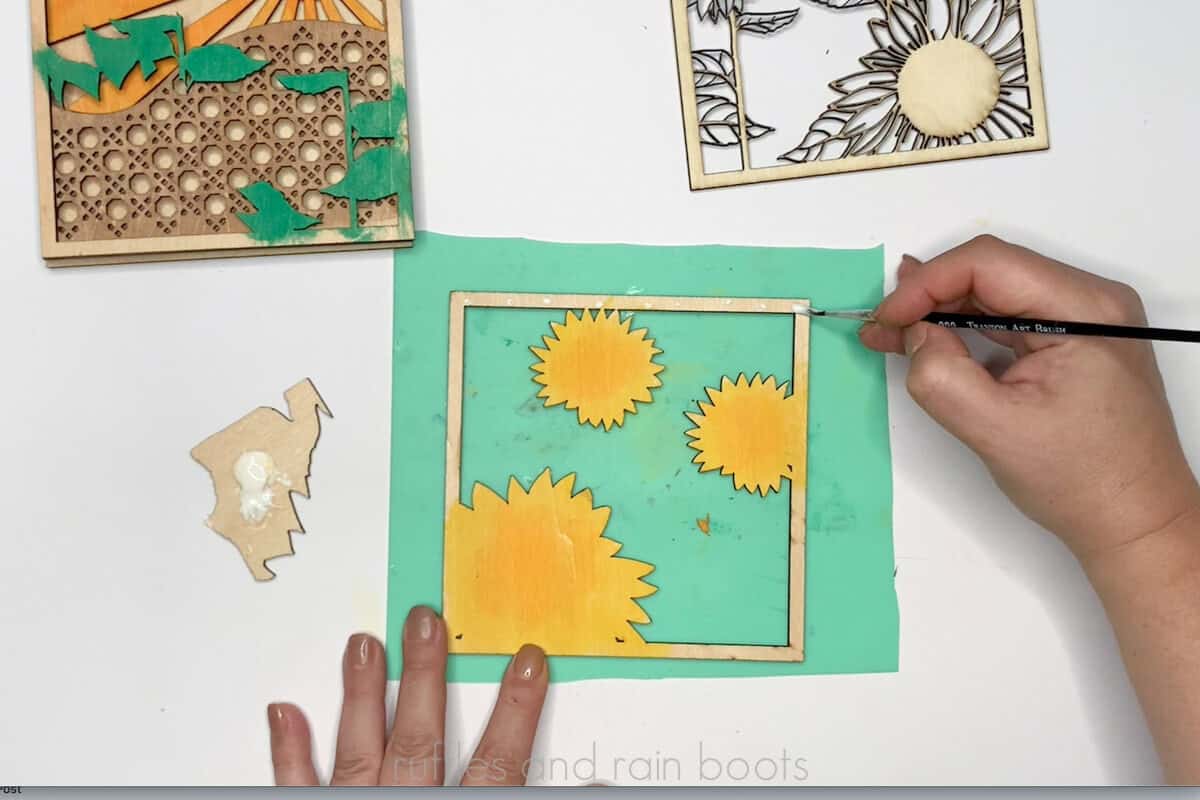
Paint and Seal the Layers
Using watered down acrylic paint, I used a paper towel to add color to each of my layers. It dries very quickly and you can add fades and ombré styles easily.
Use a spray (or wipe on) sealant to protect the wood and paint.

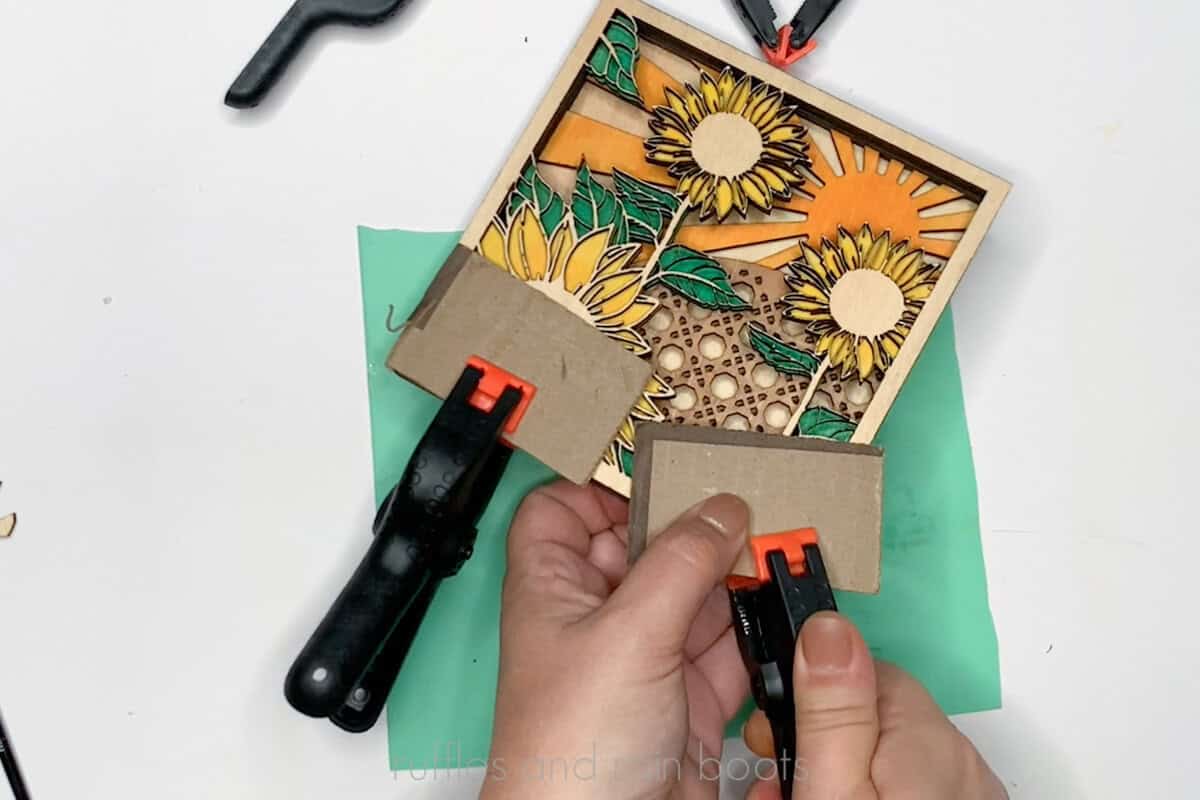
Assemble the Shelf Sitter Layers
As a tip, start from the top and work in batches. This will help you to create a squared edge and get everything in the right order.
Using wood and super glue, alternate small dots on the outer edges and anything which overlaps. No glue is technically needed on the layers aside from the outside edge.
Complete sets of layers, clamping in between and clearing any glue which might seep out on the edges.
Once all layer sets have been prepped, glue the sets together. Ensure everything is square and clamp to secure and set the glue.
More Laser Projects You Might Like
- DIY Highland Cow Laser Project – Any diode or CO2 laser can make this fun laser craft with a free highland cow SVG.
- Beginner Laser Project: Funny Wine Bottle Tags – This project combines engraving and cutting to produce some fun gift tags from inexpensive wood.
- Laser Cut Sun Catcher Tutorial – Whether you want to watch or read, this free sun catcher tutorial is going to turn out gorgeous!
Please Save or Share This Beginner Laser Project Idea
Your shares are how this site grows and I am sincerely grateful. Please share this sunflower laser craft DIY to a laser projects pin board or share it with a laser group on Facebook.

Laser Cut Layered Sunflower Shelf Sitter
Use inexpensive plywood to create an unfinished wood or painted wood sunflower scene. Learn painting techniques to lightly color so it's ready to assemble faster and the right glue to put the project together.
Materials
- Sunflower Layered Shelf Sitter Bundle digital download
- 3mm basswood plywood
- acrylic paint and water (optional, see unpainted version below)
- spray sealant
- wood glue
- super glue
Tools
- xTool P2, S1, M1, or M1 Ultra (or other diode or CO2 laser)
- inline fan, optional
- paintbrush
- cloth for cleaning
Instructions
Load, Size, and Process the Cut
Load the SVG or open the included XCS file. Adjust sizing, however, do not reduce the file size below 5.5 inches, as the outline layer gets too fragile.
Highlight all of the layers and enter cut settings. Mine were 85 and 15.
Load the material, set the thickness (or distance), and mark the area, if needed. Select which layers to cut and process them.
Remove the layers and use a dry cloth to clean up any char. I only did the outside edges.
Paint and Seal the Layers
Using watered down acrylic paint, add color to each layers.
Use a spray (or wipe on) sealant to protect the wood and paint.
Assemble the Shelf Sitter Layers
Using wood and super glue, alternate small dots on the outer edges and anything which overlaps. Clamp sets.
Once all layer sets have been prepped, glue the sets together. Ensure everything is square and clamp to secure and set the glue.
Stand up on the edge.
Notes
Note: to create a hanging version, add another backing layer (bottom layer) and cut a keyhole for a nail or add a hanger to the uncut back piece.
Meet the Creator
Hi there, I’m Sarah Nenni-Daher. I’m a crafty gal and always have at least 14 projects going at once. I am a crafter, designer, DIYer, and pattern maker. I share my creations here and in the Ruffles and Rain Boots® Shop.
Here at Ruffles and Rain Boots®, you’ll find DIY gnomes, crafts, gifts, cupcakes, laser crafts, and so much more. I love sharing video tutorials over on YouTube and chatting with other crafters in my Facebook groups. We’d love to have you!