
The xTool S1 Pin-Point Positioning™
The xTool S1 Pin-Point Positioning™ will make you look so good (even if you’re a beginner)! Look through some of the projects and techniques below to get an idea of why this is my most-recommended laser.
If you are new to laser cutting and engraving, you might wonder if all of the software is the same. It is, most definitely, not and that is a really good thing for those of us with xTool lasers.

RELATED READING: xTool S1 Review and Project Inspiration
What You'll Find On This Page
Laser Cutting and Engraving Accuracy
Here at Ruffles and Rain Boots, I’ve been learning how to create with both diode and CO2 lasers for nearly a year now. And while I use all of them, I can safely say I like each for different reasons. The desktop lasers I have are:
I own three types of lasers right now: CO2, diode, and fiber (infrared). Below are summaries of each and suggestions on materials. If you have questions, please ask! Not all lasers are right for those looking to start a business or side hustle. If that’s you, choose the P2 or the S1.
- xTool P Series – A fully-enclosed CO2 laser, perfect for cutting acrylic and wood. This is an unrestricted laser when it comes to acrylic, wood, slate, etc. and it’s my top choice.
- xTool S1 – The option I have is a 40 watt diode laser which cuts some acrylic, wood and does amazing engravings. This laser has some acrylic restrictions (no clear, mirror, translucent; primarily opaque) but powers through wood.
- xTool M1 ULTRA – The updated version of the ground-breaking xTool M1 shows up to the party with a printer (can print on wood), a laser, a set of blades, foil, and embossing, as well as a pen tool. Great for crafters!
- xTool F2 – This dual laser is portable! It’s the best-selling, landmark setting laser that contains a diode and an infrared laser. It’s perfect to take to shows, markets, and events.
- WeCreat Vista – This is a fun tool to have if you’d like to work primarily with tumblers or wood. The patented FlipLaser design turns the laser head 90 degrees, allowing you a great tumbler engraving experience.
If you’ve joined our Laser Crafts Facebook group, it’s no secret that the xTool S1 is my recommendation for 85% of those new to lasers. Why? The xTool S1 accuracy and ease of use is unmatched. There is no human error, meaning I can’t mess it up! Friends, I even mentioned to xTool that I wish this technology was on ALL my lasers.
If you want to dive in but are at work (I get it) or the kids need a snack, save or share this. Use the sharing buttons to save it on a laser project pin board or share it to Facebook. Either way, this will be easy to find when you’re ready to take a look.
As an Amazon Associate, I could earn from qualifying purchases. There could be affiliate links within this article.
RELATED READING: How to Make Best-Selling Laser Cut Sun Catchers
What is the xTool S1?
The S1 is a diode laser cutter and engraver and comes in a variety of wattage and laser head modules. It is a desktop, fully-enclosed laser with an INTERCHANGEABLE laser head. While that’s pretty amazing, another jaw-dropping bit of innovation is the software.
The xTool S1’s Pin-Point Positioning™ algorithm allows us to place items with more accuracy than cameras provide.
There is no reliance on cameras and the human eye. And the laser technology really comes in handy when you’re working with small items like jewelry, memorial or irreplaceable items for custom work, and even when working in batches. As I mentioned, I really do think this is one of the best lasers on the market.
For more information on this machine, read my xTool S1 review or check out the specs for the laser.
Big Ideas – Generous Working Bed
Before we get into the details of Pin-Point Positioning™ and the accuracy of the software, I want to make certain to highlight that this is NOT only a laser for small projects. This laser cutting and engraver has a large working area and bed. It was able to produce this multiple layer, mixed material door sign that measures 11.5 inches!
I’ll share this project tutorial soon (be sure to subscribe to the YouTube channel), but know that all you need to do is order the right materials. The machine will do the rest.
I can fit materials within the machine that even fit my bigger laser (12×19) and can process on slats, a honeycomb, or a baseplate. And because I have the 40 watt laser module, I can process acrylic, MDF, and so many more materials.

RELATED READING: DIY Layered Wood Shelf Sitter Laser Cut Design (It’s So Beautiful)
Circular Positioning – Hard Projects Made Simple
One of my favorite parts of the software and algorithmic innovation has been the multiple Pin-Point Positioning™ methods and marking capabilities. I find myself using the circular positioning quite often and wanted to highlight how easy it is to use.
Multiple marking types include square / rectangle, circular, line, and polygonal. This allows us to use ALL of the material, including scraps that would otherwise be wasted.
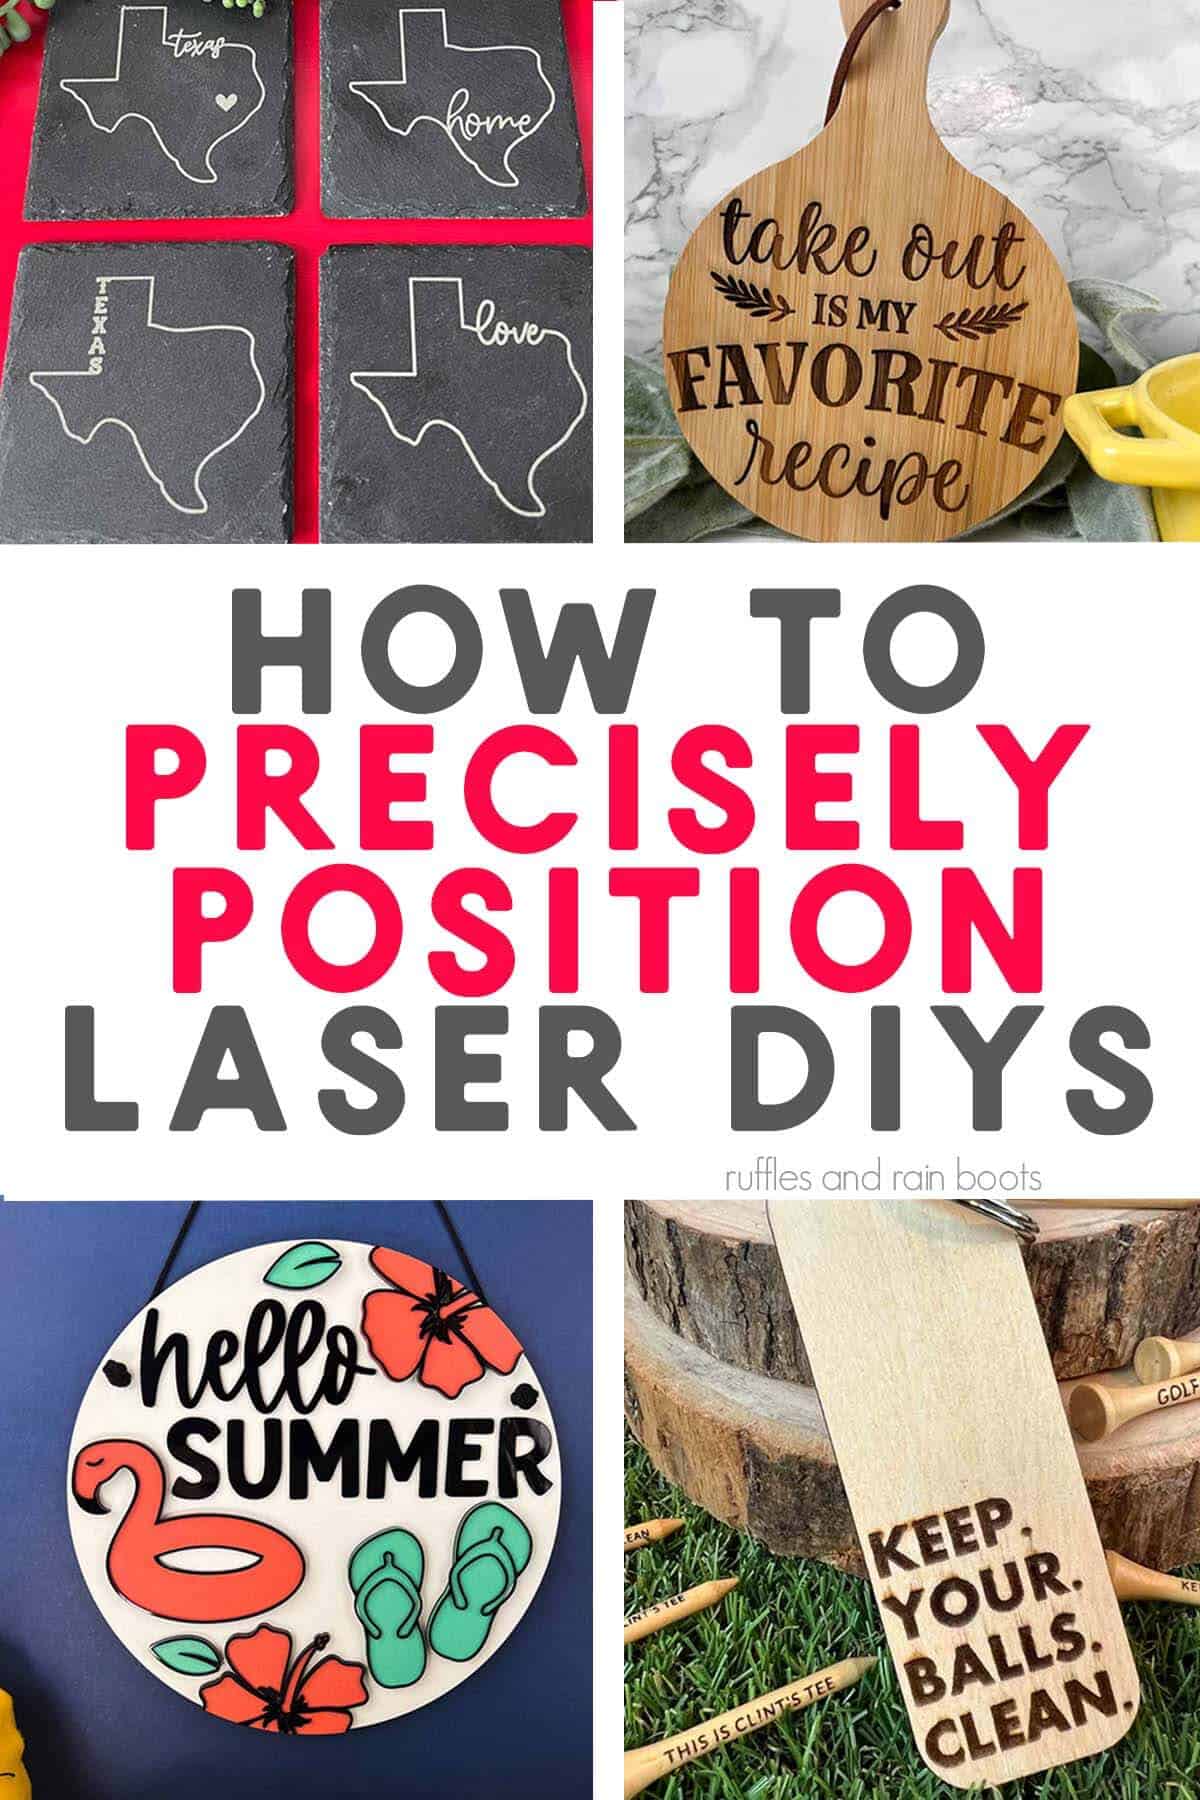
I bought four of these miniature charcuterie boards and I’m a beginner at laser engraving. Because of the handle and their overall round shape, getting placement correct was so important or the project would be ruined. I decided to use one of my SVG designs that wasn’t circular to challenge myself and show you how easy it is to get this right.
First, I positioned the board inside the machine and measured like normal. I chose the circular positioning option from the “Marking” menu and placed three points as instructed. The algorithm built the circle and all I had to do was drag the design inside and use the snapping feature to get it perfectly centered. In 20-ish minutes, I had this engraved piece ready for gifting!

Pin-Point Positioning™ for TINY Objects
One of the most asked questions I get is if it can really engrave well on tiny items. If you’re investigating this machine, you might have seen others engrave pencils – yes, that works and it works so well. The use of a jig makes it easy to place the pencils and the engraving without a camera or any human error.
I really don’t need 100 engraved pencils. And while I have made pendants and other jewelry already, I want to show you something you might not have already seen. When Jeff wanted me to make a custom golf gift set for a friend, the xTool S1 was my go to laser engraver and cutter for the project.
First, the machine engraved and then cut the pieces for the golf tee holder. I picked up the golf tee holder file here, and while I made minor adjustments (the number of golf tee slots), the file is well-made and laser-ready.
Next, I created some text, used the pin point system to line up the crosshair on each, and the gift set was done. This was a fun way to combine a standard, easy laser project with a small amount of custom work (makes a good profit-focused item for selling). And yes, my husband chose those sayings…

Batch Marking and Processing – Can I Really Do Multiples without A Jig?
Using a jig is a very common process in laser cutting and there will always be a place for it. However, the Pin-Point Positioning™ system and algorithm set up means that you do not have to just a jig when creating multiple projects at once or batch processing.
The ability to batch process material without creating a jig saves me time and money.
I am trying a new supplier for slate coasters (just off Amazon, but it always makes me nervous), so I created a test just for these coasters. Then, I sized the images (my Texas set of SVG files I created) and put the laser to work.
First, I laid out four square coasters for a full set (one of each design). Then, I measured the distance to the the first coaster. You can get the full, detailed tutorial on how to engrave slate coasters here.
Next, I created four separate marking areas to tell the system where my coasters were. Finally, I dragged each image into a square and processed them. In about 30 minutes, I had this full set of bright, slate coasters ready to wrapped up and sold. NOTE: xTool’s default settings will run a bit faster than that but my laser burns a little different and I slowed the speed to 220 vs their 240). Please run a material test to determine your best settings.

Detailed Laser Cuts with Precision
Another project that I’d like to highlight are the ever-so-popular standing letters, customized with peek-a-boo detailing. I show you how to make this exact project using the XCS software in this layered laser cut letter video tutorial.
This project is quite a few layers and I was able to use the marking algorithm to use all of the material as efficiently as possible. You can see that even the tiny blossom cutouts were cut through easily, even with the entire material sheet being processed at once. My machine doesn’t lag when cutting full sheets.

More Laser Crafts and Free Laser Cut Files You Might Like
- Highland Cow Door Sign – This is taking off like crazy because it’s absolutely adorable (and you can make it on any laser, no matter the wattage). And the adorable highland cow SVG is free.
- Clear Acrylic Craft for Diode Lasers – If you have a diode laser, you can still use clear acrylic in your crafting. This popular laser cut project idea for Christmas is the easiest way you can turn it into profit.
- xTool S1 Acrylic Tips – You CAN cut acrylic with the S1 (a diode laser). Here’s how.
Please Save or Share This In-Depth Look at the xTool S1
Your shares are how this site grows and I am sincerely grateful. Please save this to a DIY laser craft pin board or share it with a laser cutting and engraving group on Facebook.

Meet the Creator
Hi there, I’m Sarah Nenni-Daher. I’m a crafty gal and always have at least 14 projects going at once. I am a crafter, designer, DIYer, and pattern maker. I share my creations here and in the Ruffles and Rain Boots® Shop.
Here at Ruffles and Rain Boots®, you’ll find DIY gnomes, crafts, gifts, cupcakes, laser crafts, and so much more. I love sharing video tutorials over on YouTube and chatting with other crafters in my Facebook groups. We’d love to have you!