
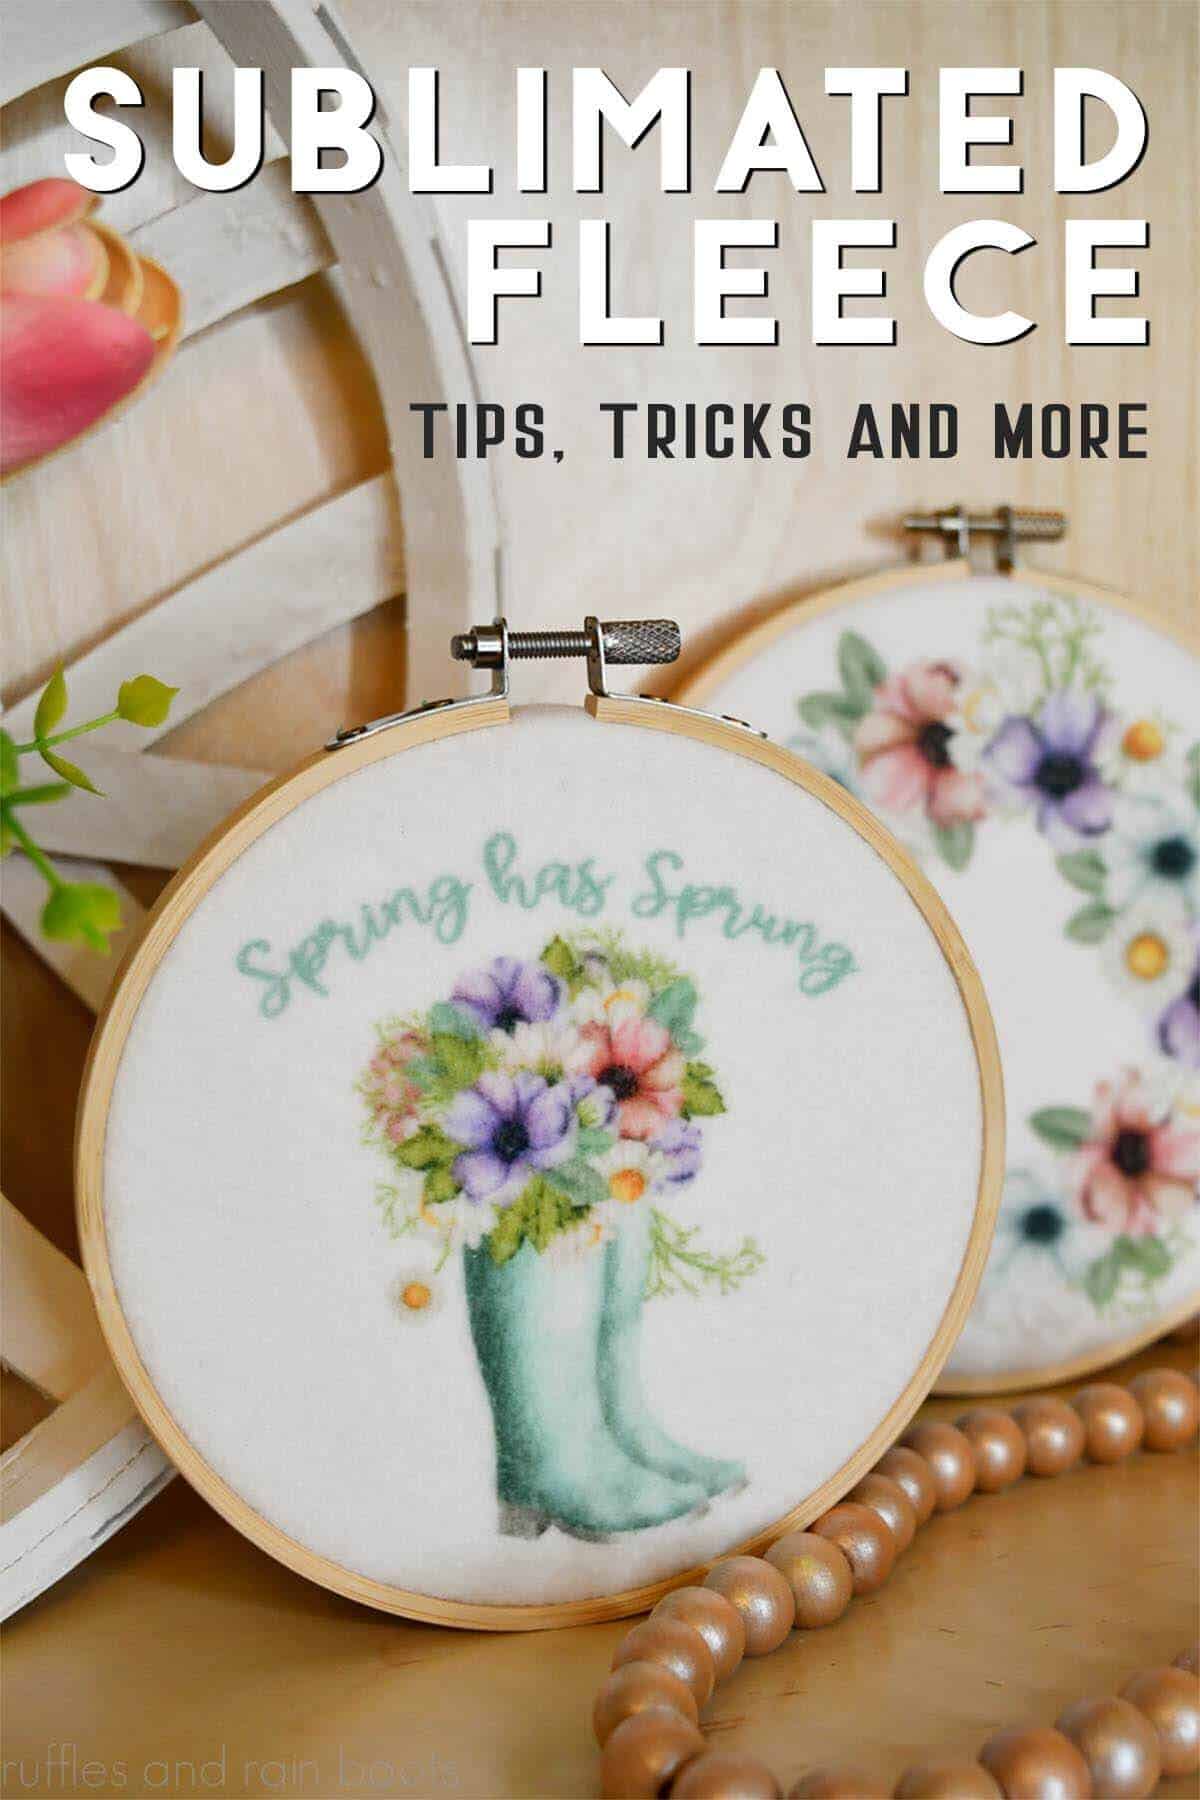
How to Sublimate on Fleece with Detailed Text and Designs
Today’s tutorial is how to sublimate on fleece while keeping small letters and intricate details legible. You will see the exact time, temperature, and process I use to make letters as small as one-quarter of an inch easy to read!
For this process, you will need a transfer or a sublimation printing set up, a heat press, and a few staples used in the sublimating process. I’ll share what the process is and how to set yourself up for success.
What You'll Find On This Page
How to Make Your Own Fabric Patterns and Decor
Here at Ruffles and Rain Boots, I’m always trying new craft mediums because I love to get a new hobby each year. Nearly two years ago, I started sublimation and there is no hope for me: I absolutely LOVE it!
Initially, I became interested in sublimation because I wanted to make my own fleece fabric for some special gnomes or use a fleece baby blanket for the same task. There wasn’t as much information out there as there is now, but I became obsessed with learning everything I could. And then, in true Sarah fashion, I dove in head first.
RELATED READING: How to Make a T-Shirt with Sublimation
Find This Incredibly Helpful? Want to Save it for Later?
If you want to keep this as a reference or share it with others, save this to a DIY crafts pin board or share it on Facebook. It will make it easier to find when you need it and it really helps me out.
As an Amazon Associate, I could earn from qualifying purchases. There could be affiliate links within this article.
What is Sublimation?
Sublimation is the process of heating and transferring a special ink designed to stick to polymers. This is stuff like polyester fabric, items coasted in a poly substrate, and other ‘blanks’ treated and prepared for the process.
In a nutshell, the special ink is printed onto a special paper, heated, and becomes a gas. Pressure is used to control the transfer of that gas to the substrate.
Sublimation has exploded in popularity because, unlike vinyl, the process mimics printing directly onto fabric, tumblers, hats, keychains and so much more. There is no cracking or peeling like with vinyl (heat transfer or permanent) and it’s relatively simple (and fast) to make anything you can think up.
The only downside to dye sublimation, in my opinion, is that the less poly-intense the blank, the less vibrant the colors. For example, if a 65/35% polyester-cotton blend shirt is used, the colors will look vintage or faded when compared to a 100% polyester shirt. There are tricks for that, but let’s stick to fleece.
What Do You Need for Sublimation?
First, let me start by saying you can PURCHASE designs ready to press. I tried a few Etsy sellers and will list their shops below. This means that you can contact one of these shops, provide them the artwork (or choose from their designs), and have them use their printer, paper, and sublimation ink.
What I’m saying is: don’t let this list stop you from trying this craft. If you have a heat press, you can try it!
What Sublimation Printer Should I Use?
For most of my readers and viewers, this is a hobby or something you’re going to use in a small business as an additional item / revenue stream. I have the Epson EcoTank 2760 and 3760, but there are SO many printers you can find at Costco, Walmart, and other large stores to use for a couple hundred dollars.
If you want a wide format convertible printer, the Eco-Tank ET-15000 is a wonderful option. The price is about $600 (not on sale) and it’s pretty hard to find right now with the explosion in popularity of printing sublimation transfers at home.
What Sublimation Ink Should I Use?
For as many brands who make sublimation ink, you’ll find thousands of fans of it and thousands who think it’s the worst thing ever. :) I use Cosmos Ink. It was recommended to me by three different crafter friends and I love how vibrant my colors are. Oh, and their group on Facebook is SO helpful!
I order it directly from Cosmos and it is currently not available on sites like Amazon. If you need an ink which is available through Amazon, Hippoo comes recommended by many YouTubers, however, please remember that they are most often provided the material by the brand.
What Sublimation Paper Should I Use?
I’ve been doing this for just over a year and will say that I don’t see a ton of difference when using different paper, but I do see a difference when using different weights. My current favorite is the A-Sub 125g paper because it holds a lot of ink.
One tip for using any paper is to print the design and let it fully dry. I like to print at night and set it out for pressing in the morning, however, you can warm it under a press by hovering the press plate OVER the image (do not let it touch).
What Heat Press Do I Need for Sublimation?
Technically, any heat press will work as long as it gets to the recommended temperature and has a fairly consistent plate temp. In this tutorial, I am using the Cricut Easy Press 9×9 and it works wonderfully but a clam shell, swing arm style heat press, or even hat presses work, too.
Sublimation works through a process of heating the special ink and controlling that transfer through pressure. This means you should use a press you don’t have to move around over the design. I prefer to set the press on top of the design and do not touch it until the timer goes off. This helps to prevent ghosting (the process of an image shifting and becoming unclear in the sublimation process).
Other Items Needed for Sublimation
You will need a good lint roller (I buy them by the mini case from Amazon), butcher paper (NOT wax paper), and a pressing mat to protect your surface. In the video tutorial, I will show you examples of why protecting your surface and press is so very important.
In order for a design to stay in place, especially on fabrics like fleece, thermal (heat resistant) tape and / or an adhesive spray is recommended. I have and use both of them. The spray I have is from Conde here.
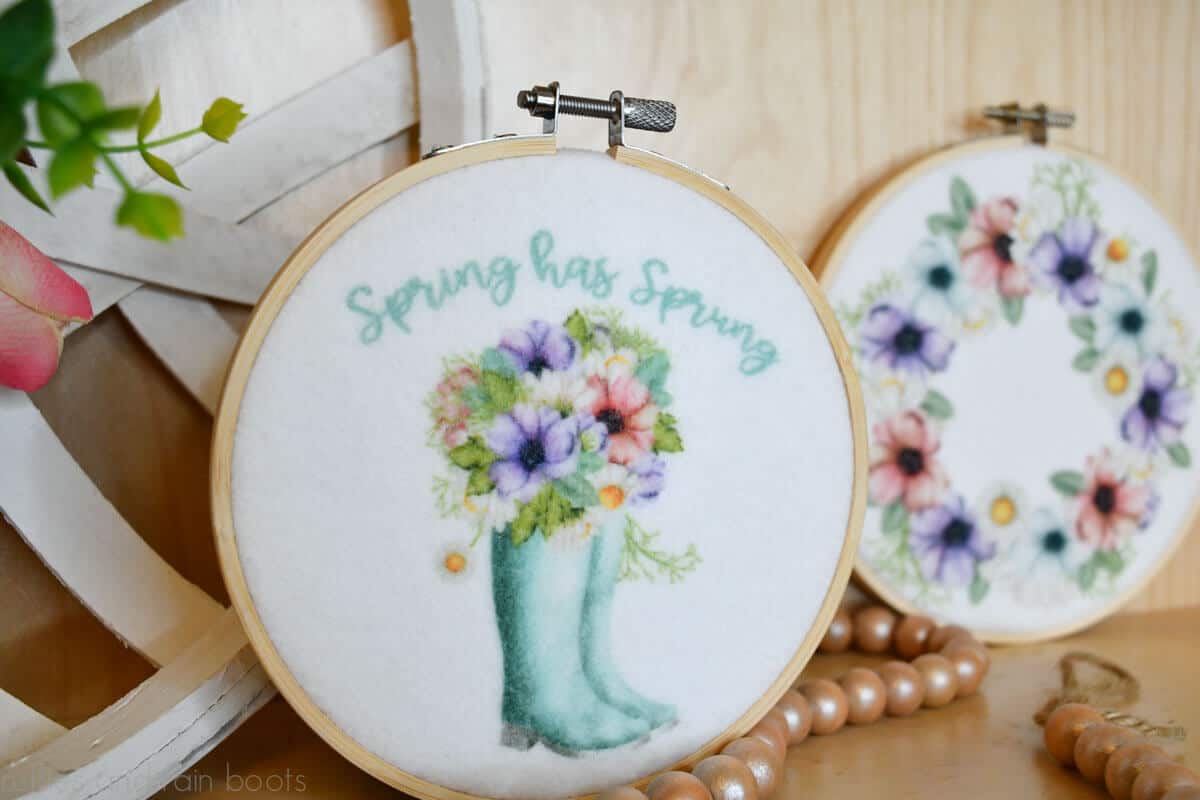
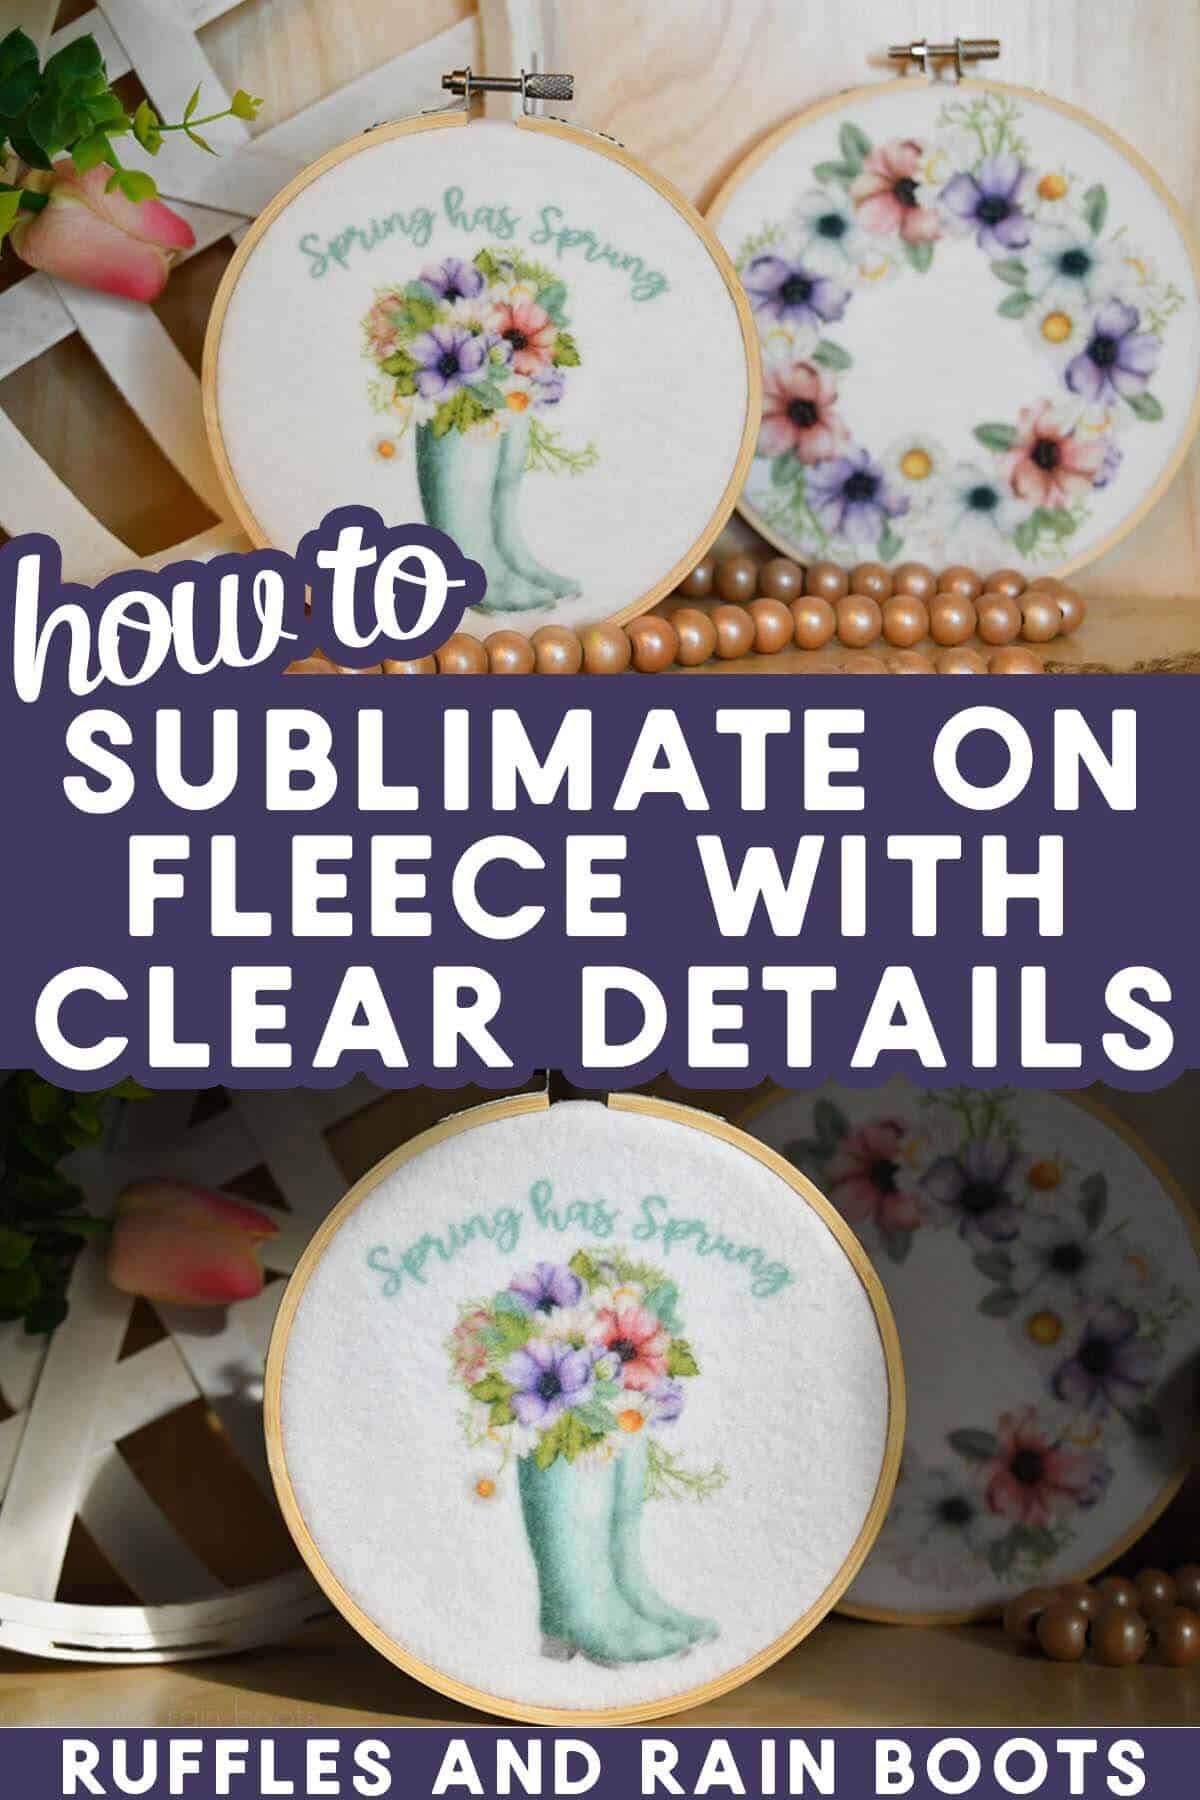
How to Get Great Detail with Sublimated Fleece
I know it seems impossible, but you can get amazing detail when sublimating on fleece. These letters are about 1/4 of an inch tall (the tall S’s are just under half an inch). Below is the written and printable tutorial, however, if you’re a visual person watch the how to sublimate on fleece video tutorial on YouTube.
A few reminders before you begin:
- tape or spray the design securely
- place the press and leave it – do not move the item or press around
- lint roll and then roll it again :)
- it’s hot – let it cool a bit before handling
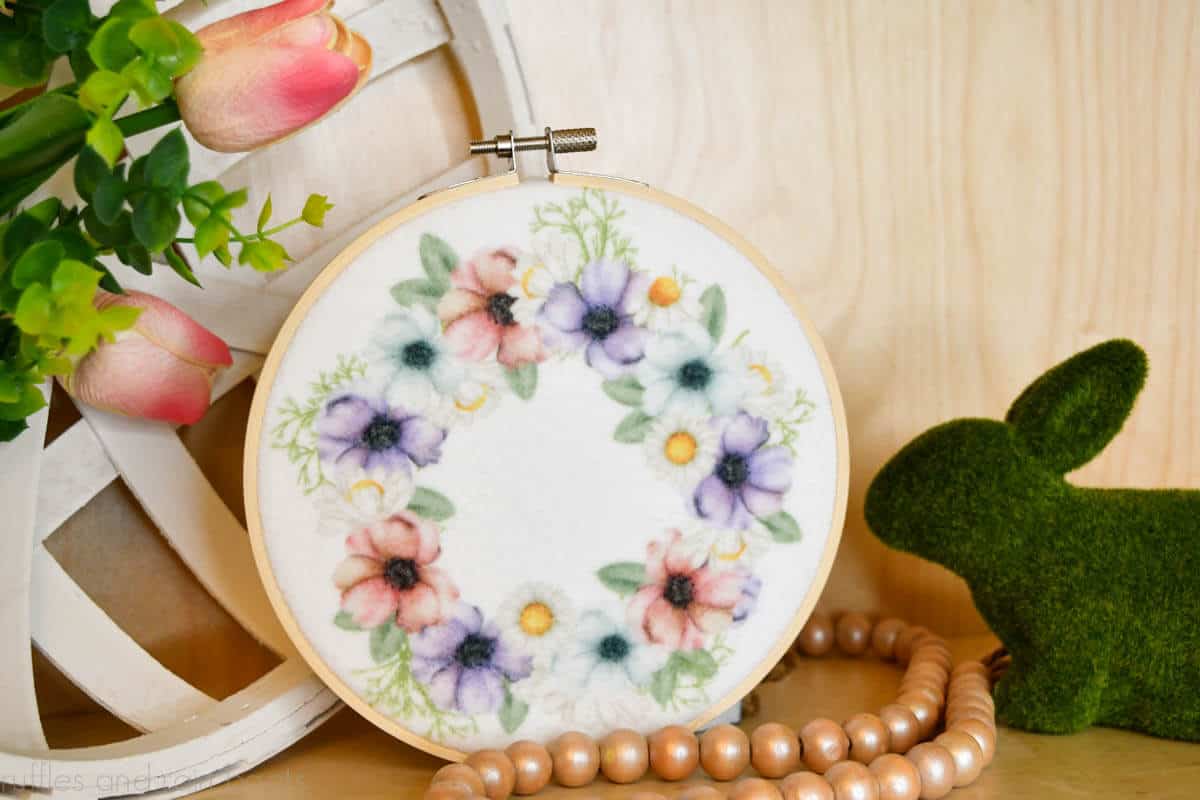
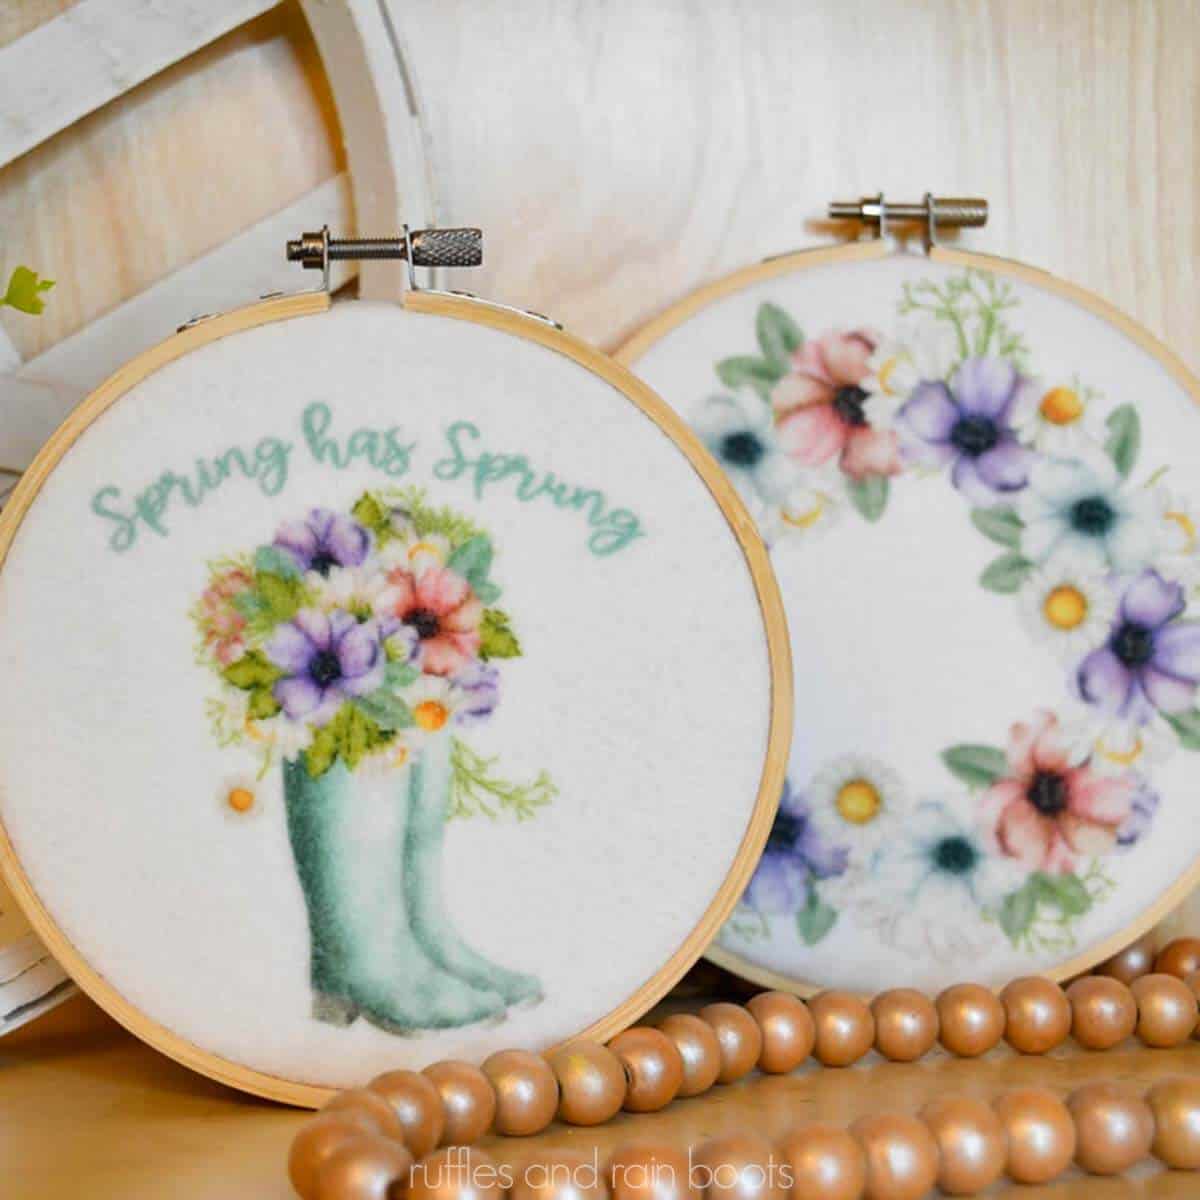
Sublimation Embroidery Hoop Decor
These sublimation embroidery hoops are an easy introduction to the sublimation craft process and are inexpensive to make. Fleece, hoops, and your sublimation set up are all you need to make beautiful sublimation decor pieces.
Materials
- White Fleece
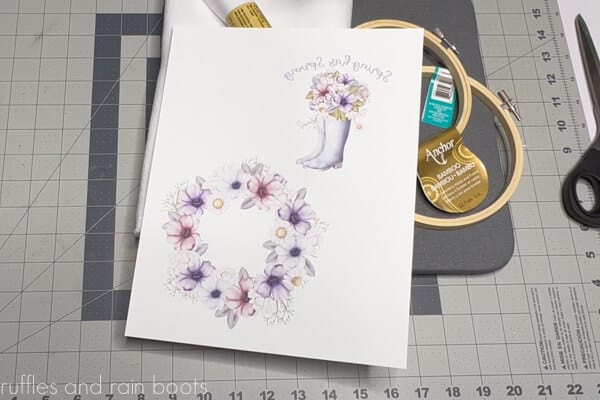
- Printed Transfer x 2 (I used this artwork)
- 5” and 6” Embroidery Hoop Frames
- White Felt (12x19 inch sheet)
- Embroidery Thread (white)
- Butcher Paper (cut into large squares)
Tools
- Sublimation Printer, Ink, Paper (I use A-Sub)
- Heat Press (Cricut 9x9)
- Pressing Pad (12x12)
- Heat Resistant / Thermal Tape
- Lint Roller
- Scissors and a Pencil
- Needle and Sewing Pins
Instructions
Preparation and Sublimation on Fleece
- Print a transfer of your choice (remember to mirror the design) using the printer, sublimation ink, and A-Sub 125G paper. Let it dry.

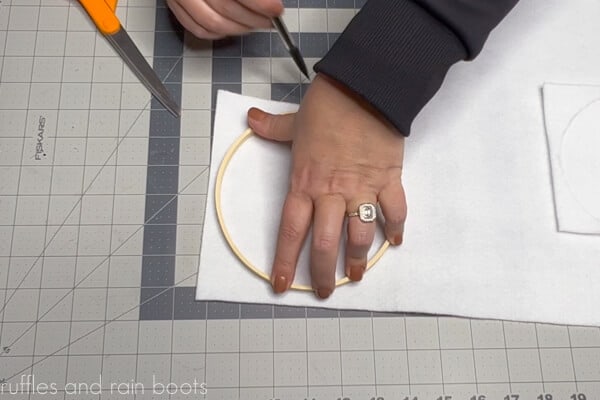
- Trace the smaller inside ring of each of the embroidery hoops onto the back of white felt using a pencil. Cut out and set aside (save scraps for a hanger).
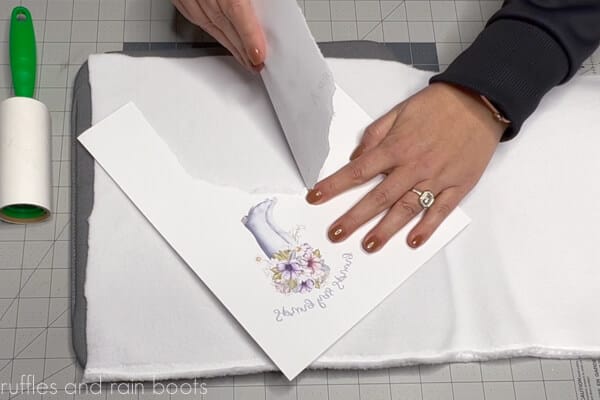
- Put a piece of butcher paper on the pressing pad and the fleece on top of that. Lint roll the fleece and press with the heat press for a few seconds to remove moisture.
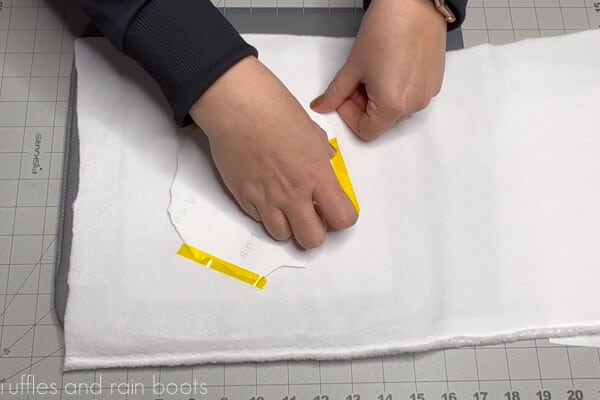
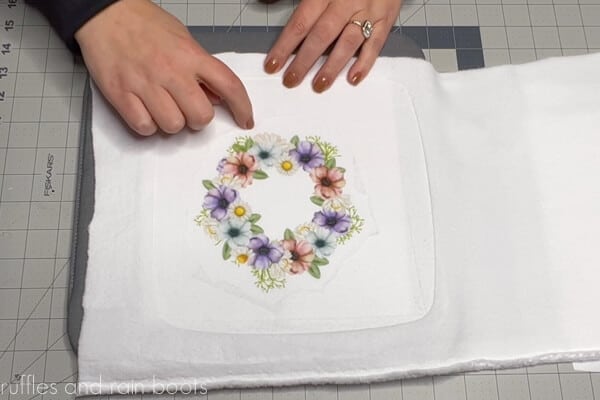
- Fussy tear the prints and place face down on the fleece. Tape into place to prevent ghosting.
- Place a piece of butcher paper on top of the taped design and press at 380 degrees Fahrenheit for 50 seconds. Remove press and let cool.
- Lift off the butcher paper and remove the transfer and tape. Run your finger or the lint roller along the outside indentations in the fleece. Put a new, clean pice of butcher paper over the design and press the entire piece for a few seconds.

Create the Embroidery Hoop Displays
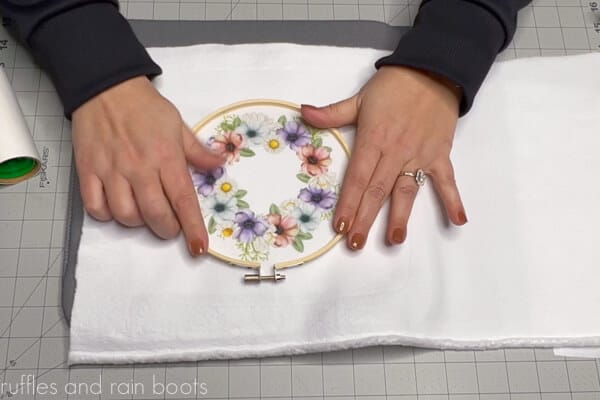
- Place the sublimated fleece on top of the smaller hoop and center the design. Press the outer ring on top and secure the hardware.
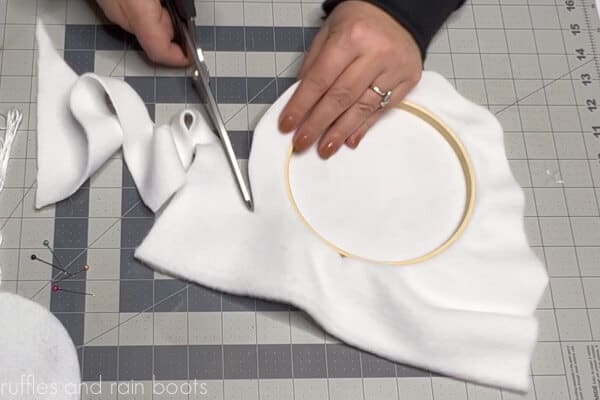
- Cut around the outside of the hoop, leaving about 1.5 inches all around to prepare the backing.
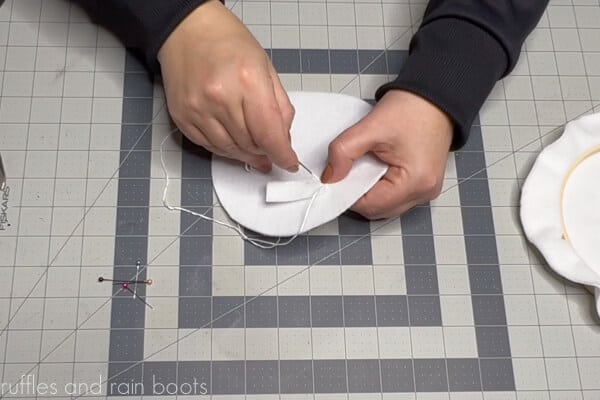
- To create a hanging tab, cut a scrap of felt and sew it on the back of the felt round aligned with the hoop hardware.
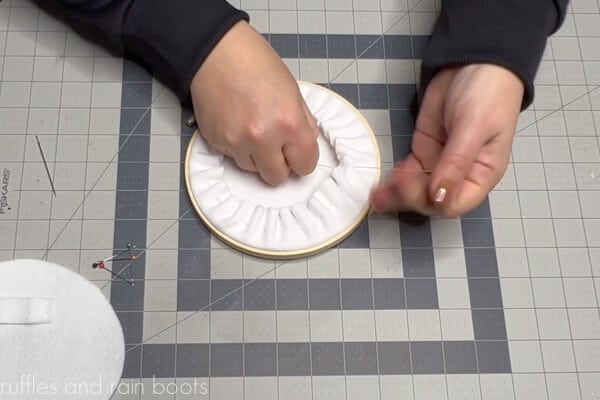
- Use the embroidery thread and needle to create a running stitch around the outside edge of the fleece in the hoop, pull taught, and secure the thread with knots.
- Use the pins to hold the felt backing in place, lining up the hoop hardware with the sewn hanging tab. Use the embroidery thread and needle with a knotted end to create a simple stitch attaching the felt to the hoop. Create a half-inch stitch going from the gathered fleece outside edge at an angle into the felt (please see video instruction).

Notes
Sublimation Printer - Converted Epson 3760
Sublimation Paper - A-Sub 125G
Sublimation Ink - Cosmos
More Sublimation Projects You Might Like to Explore
- How to Sublimate a T-Shirt – This basic tutorial will get you started with properly sublimating a design to a t-shirt or tank.
- How to Make a Cutting Board with Sublimation – If you want to WOW for Mother’s Day or Grandmother’s Day, make a cutting board with their recipe on it.
- Make a Pillow Case with Sublimation (Beginner) – Amazing home decor is within reach with sublimation.
- DIY Yard Flag with Sublimation – One of the first projects I ever did, this sublimation garden flag project was quick and easy.
Please Save or Share This Fun DIY
Your shares are how this site grows and I am sincerely grateful. Please save this to Pinterest or share on Facebook (or other social media).
Meet the Creator
Hi there, I’m Sarah Nenni-Daher. I’m a crafty gal and always have at least 14 projects going at once. I am a crafter, designer, DIYer, and pattern maker. I share my creations here and in the Ruffles and Rain Boots® Shop.
Here at Ruffles and Rain Boots®, you’ll find DIY gnomes, crafts, gifts, cupcakes, laser crafts, and so much more. I love sharing video tutorials over on YouTube and chatting with other crafters in my Facebook groups. We’d love to have you!