
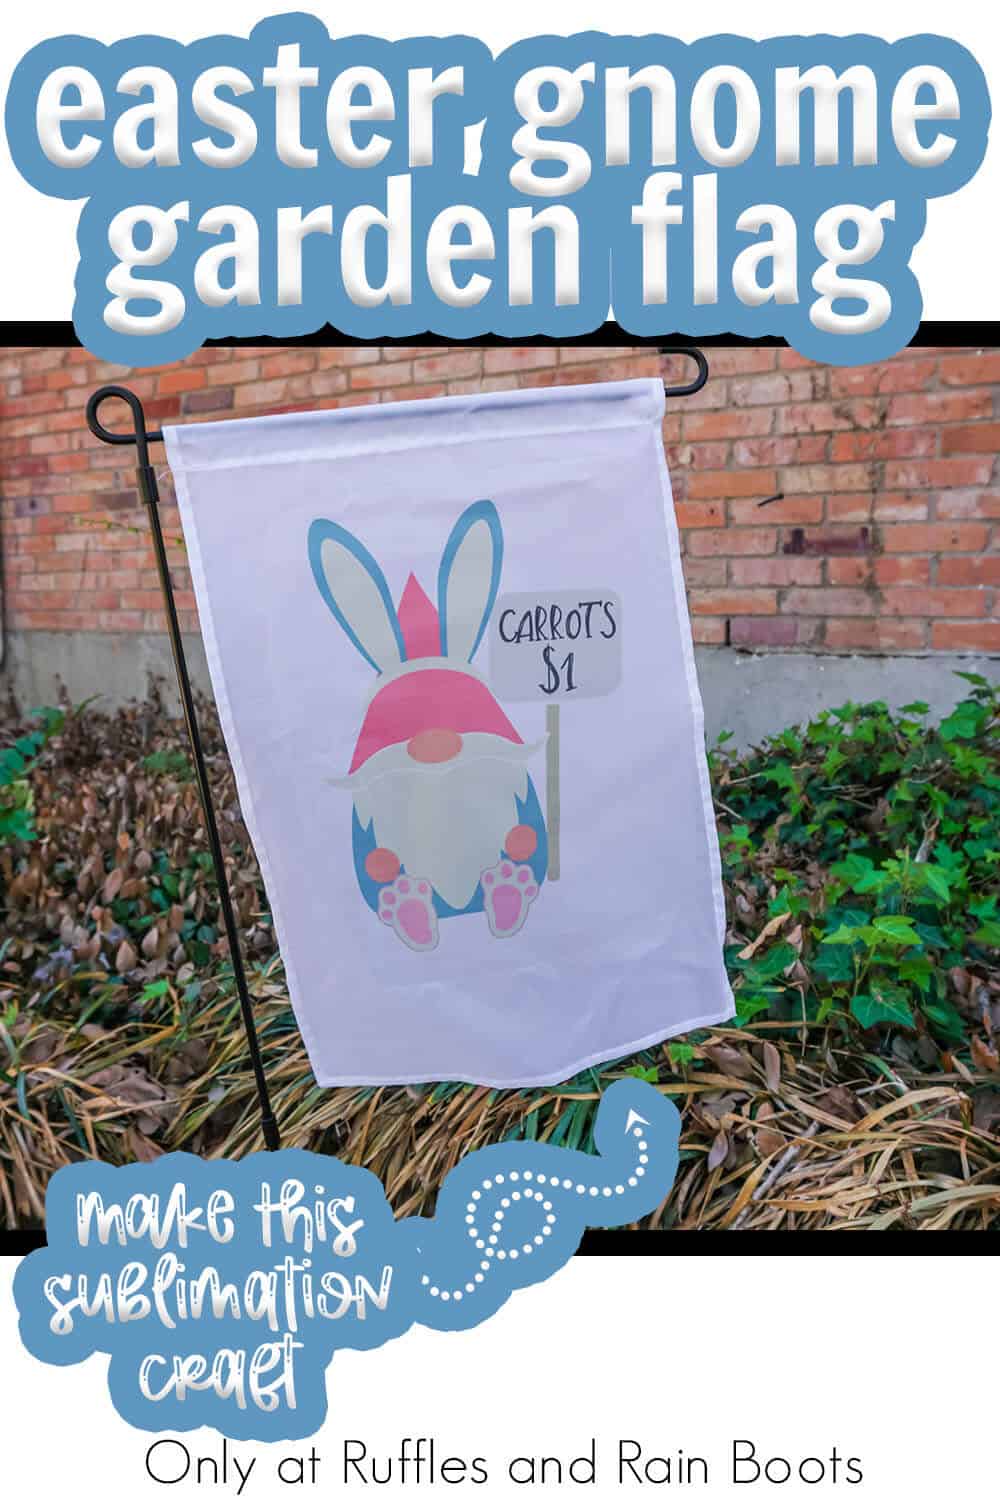
How to Make a Sublimation Yard Flag Featuring an Easter Gnome
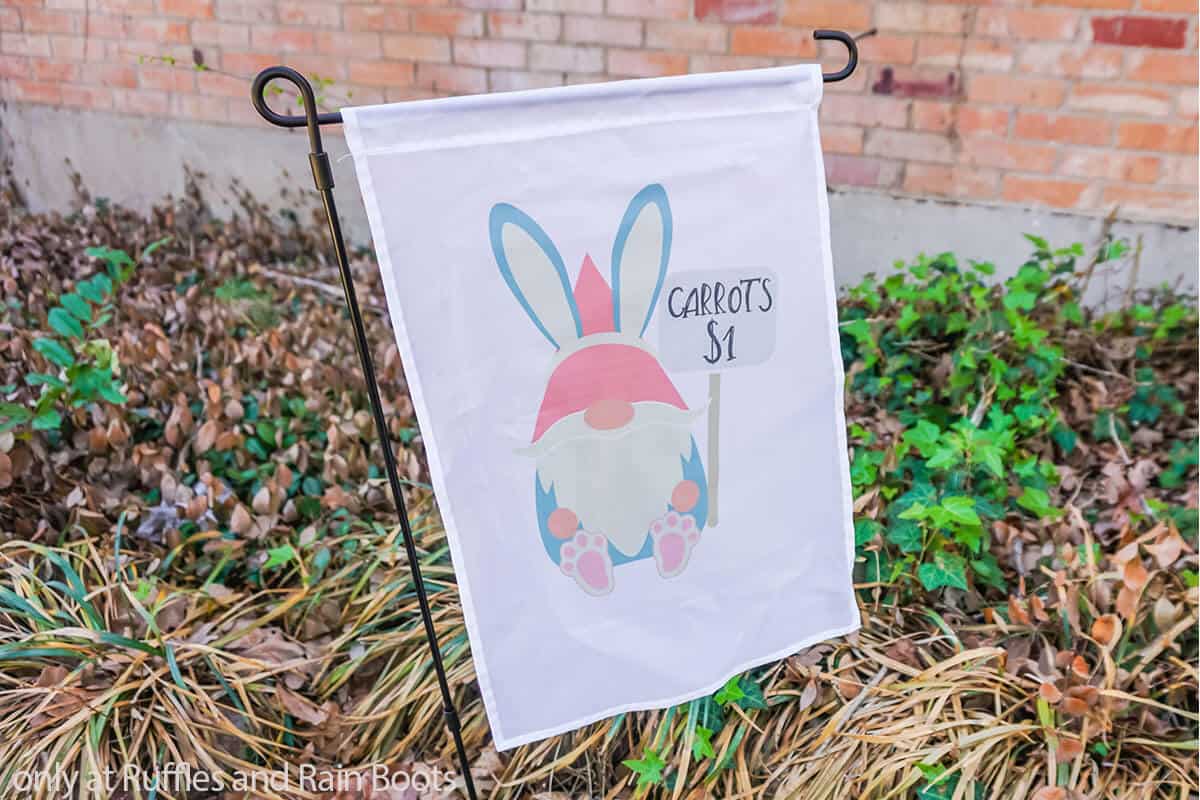
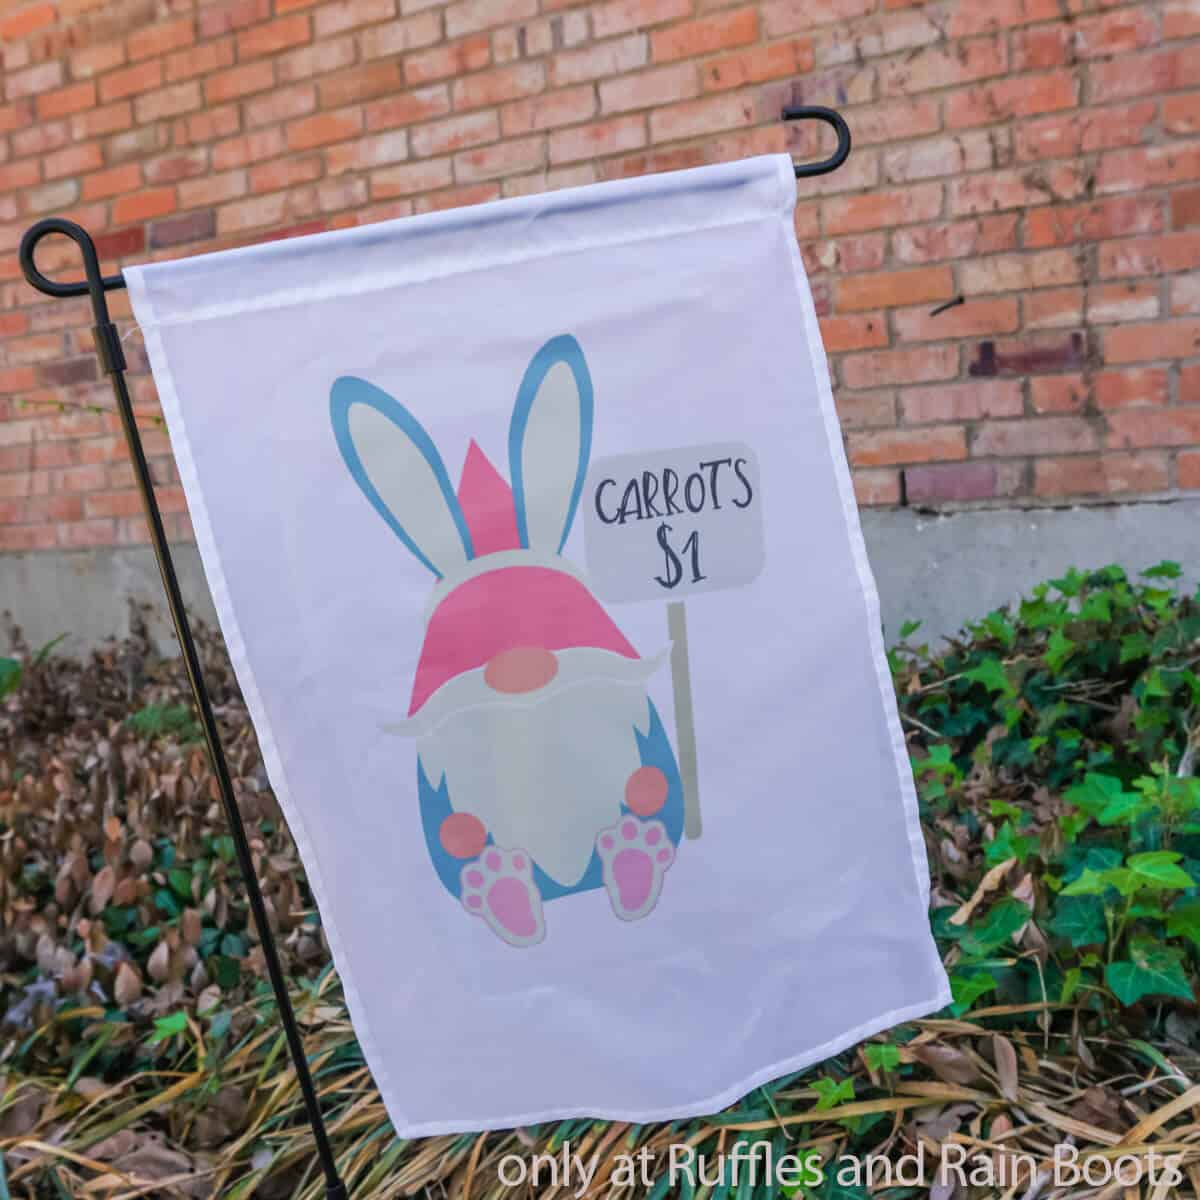
I love how easy it was to figure out how to make a sublimation yard flag. Such a simple project resulting in an adorable Easter gnome garden flag!
Sublimation Yard Flag
Here at Ruffles and Rain Boots, we are all about the fun crafts here – whether they’re fun for me to make or fun to display, but preferably both! That’s what I found with this insanely fast and fun gnome garden flag. The hardest part of this craft was determining my design, but even that was super fast.
RELATED READING: EASTER BUNNY GNOME PATTERN WITH CUT FILE SET
And now, after just a fun few minutes of work, I had a super cute and adorable Easter gnome yard flag to hang in my yard! So, if you’re ready to make a fast and fun sublimation yard flag, let’s get started.

No Time to Make This Now? Pin it for Later
You’re busy, I get it. Pin this to your favorite easy crafts board on Pinterest and it’ll be here when you’re ready.

As an Amazon Associate, I can earn from qualifying purchases.
Tips to Make a Gnome Garden Flag for Easter
- Start here by grabbing the cut file set for the little Easter gnomes I made. I imported the whole set into Cricut Design Space then ungrouped everything. Once they were ungrouped, I pulled together each of the elements I wanted on my yard flag then added a little text and darkened the colors a bit to my liking, then sent the design to make as a print-then-cut project. The trick here though is that, after mirroring the design, I printed it on my sublimation printer, then skipped the cutting and went right to the heat press!
- If you’re ready to tackle this project, but you need some sublimation-ready yard flags, here’s the easy-to-use set I grabbed. They are perfectly sized – and there are several of them in a package so you can make multiple yard flags with this method, one for each season!
- The one thing I would strongly recommend is, instead of using a little EasyPress Mini, get out the larger EasyPress 2. The larger surface will take less time to sublimate and have a more consistent result. I’m not nocking the Mini, let’s be clear – it does the job quite nicely on smaller pieces. But a larger pressing surface is good for these larger projects.
How Do I Make this Sublimation Yard Flag?
I’m so glad you asked. Below is our written tutorial.
How to Make a Sublimation Yard Flag

Such a simple craft, this method for how to make a sublimation yard flag is so fast and fun, you're going to want to make more than an Easter gnome garden flag - you'll want one for every holiday!
Materials
Tools
- Cricut Design Space
- Cricut EasyPress (I used a Mini, but an EasyPress 2 would work nicely too)
- Sublimation-Ready Printer
- Butcher Paper
- Heat-Safe Tape
Instructions
- Download the Easter gnome cut file set then upload the SVG to Cricut Design Space.
- Ungroup the Easter gnome designs so you can move the individual elements around. Move the elements around, deleting those that you do not want to use and building a single Easter gnome you love. If you using the sign, add text.
- Darken each of the colors of the Easter gnome designs, as desired. Note that the paleness and see-through nature of the yard flag will cause even darker colors to be faded, so darken your design 2-3 shades to compensate.
- Select the gnome design and identify it as a print-then-cut project. Note that the project will not need to be cut, just printed, so you do not have to have to use a Cricut cutting machine to complete this project.
- Resize the gnome design to be as large as the page will allow. I was able to get my gnome to be about 10 inches tall.
- Select "Make It". Then follow the prompts to mirror the design, then print on sublimation printer using your sublimation-ready printer.
- Once printed, lay the yard flag blank on your pressing surface, then place the gnome print face-down on the yard flag. Position the print where you want it to be, then use the heat-safe tape to secure it in place.
- Cover the print with a sheet of butcher paper, then, using your EasyPress, heat the design through the butcher paper for the amount of time and heat as noted by your ink and/or paper. Be sure to heat every portion of the design, taking the time to ensure the full design is sublimated onto the flag.
- Remove the butcher paper, peel away the heat-safe tape then remove the printer paper and discard.
- Place your flag on the flag holder and install it in the yard!


Notes
For more fun gnome crafts, visit Ruffles and Rain Boots!
Recommended Products
As an Amazon Associate and member of other affiliate programs, I earn from qualifying purchases.


More Fun Easter Cricut Crafts You Might Like
- Free Easter Cut Files and Clipart – These are the best clipart designs for Easter that are perfect for spring and more!
- Rae Dunn Inspired Bunny In a Pot Craft – Little bunny butts pooking out of pots as they dig for a carrot just scream “put me in a farmhouse tiered tray!”
- No-Sew Easter Basket Craft with Cricut – If your kiddo is anything like mine, they’re always asking for you to make something new for them – and this creation is so fun and cute!
Please Save This to Pinterest
Your shares are how this site grows and I am sincerely grateful. Know a friend who’d like this? Please share it on Facebook or save it to your favorite Easter crafts board on Pinterest.
Meet the Creator
Hi there, I’m Sarah Nenni-Daher. I’m a crafty gal and always have at least 14 projects going at once. I am a crafter, designer, DIYer, and pattern maker. I share my creations here and in the Ruffles and Rain Boots® Shop.
Here at Ruffles and Rain Boots®, you’ll find DIY gnomes, crafts, gifts, cupcakes, laser crafts, and so much more. I love sharing video tutorials over on YouTube and chatting with other crafters in my Facebook groups. We’d love to have you!