
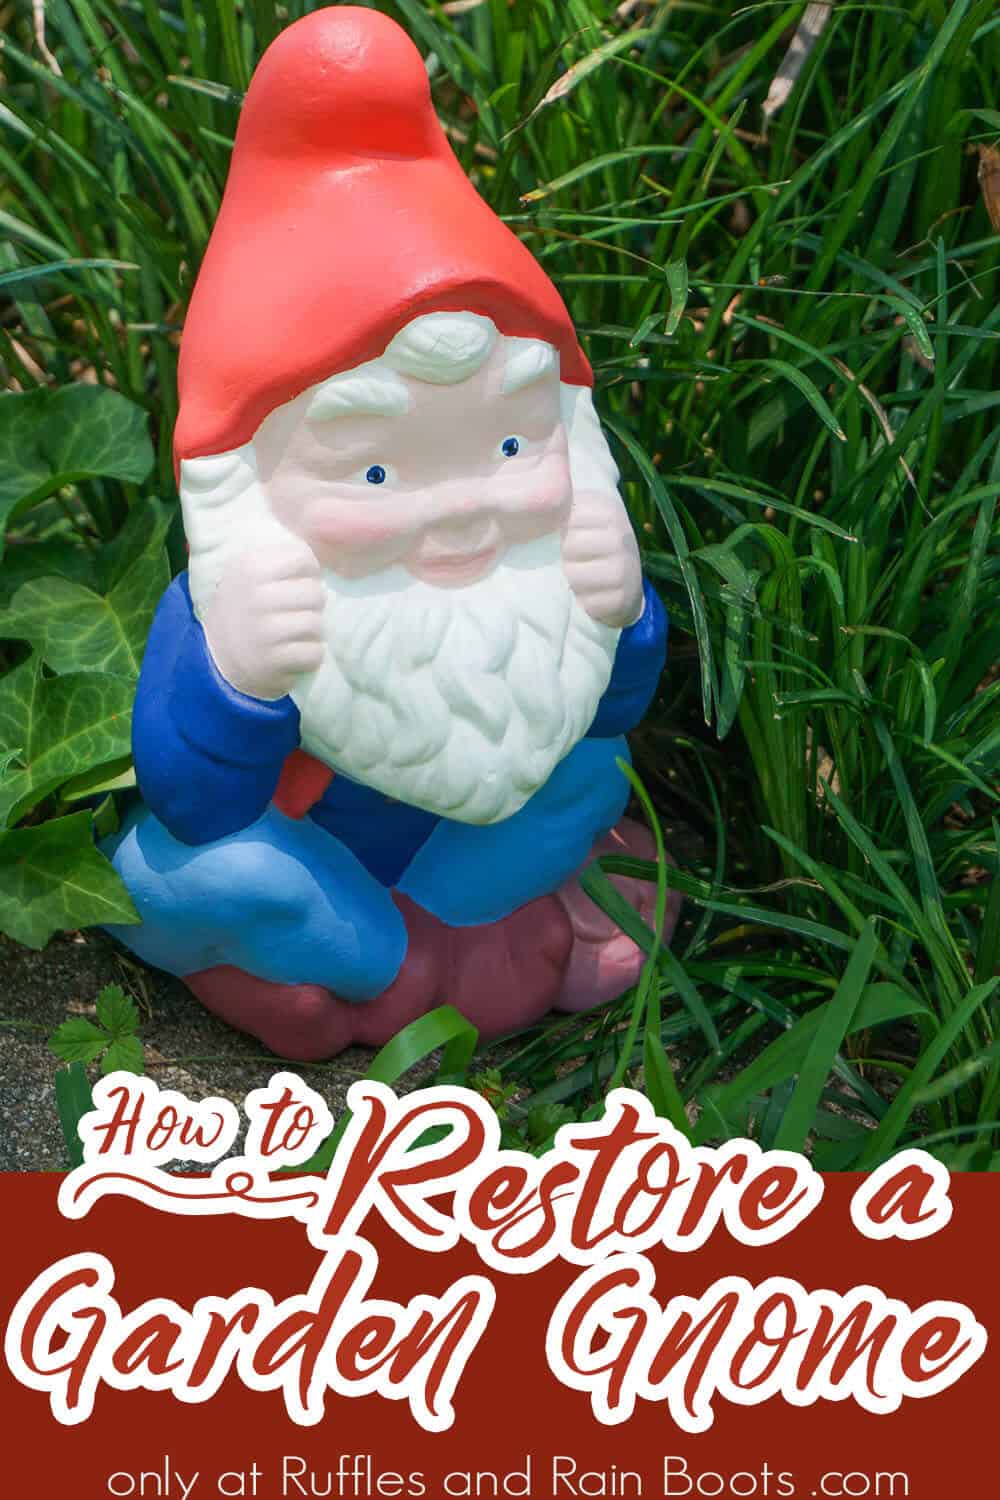
How to Restore a Garden Gnome for Outdoors
I’ve figured out how to restore a garden gnome and I am scoping out every gnome I can find to give them all new life! This afternoon DIY takes about an hour from start to finish and you don’t need a lot of supplies.
Grab some soap and water, sandpaper, and paint to get started. Learn why I use the paint and sealant I do and a few other tips and tricks on how to refurbish a garden gnome to last outdoors.
RELATED READING: Clay Pot Garden Gnome – It Doesn’t Get Easier Than This!
How to Repaint a Garden Gnome
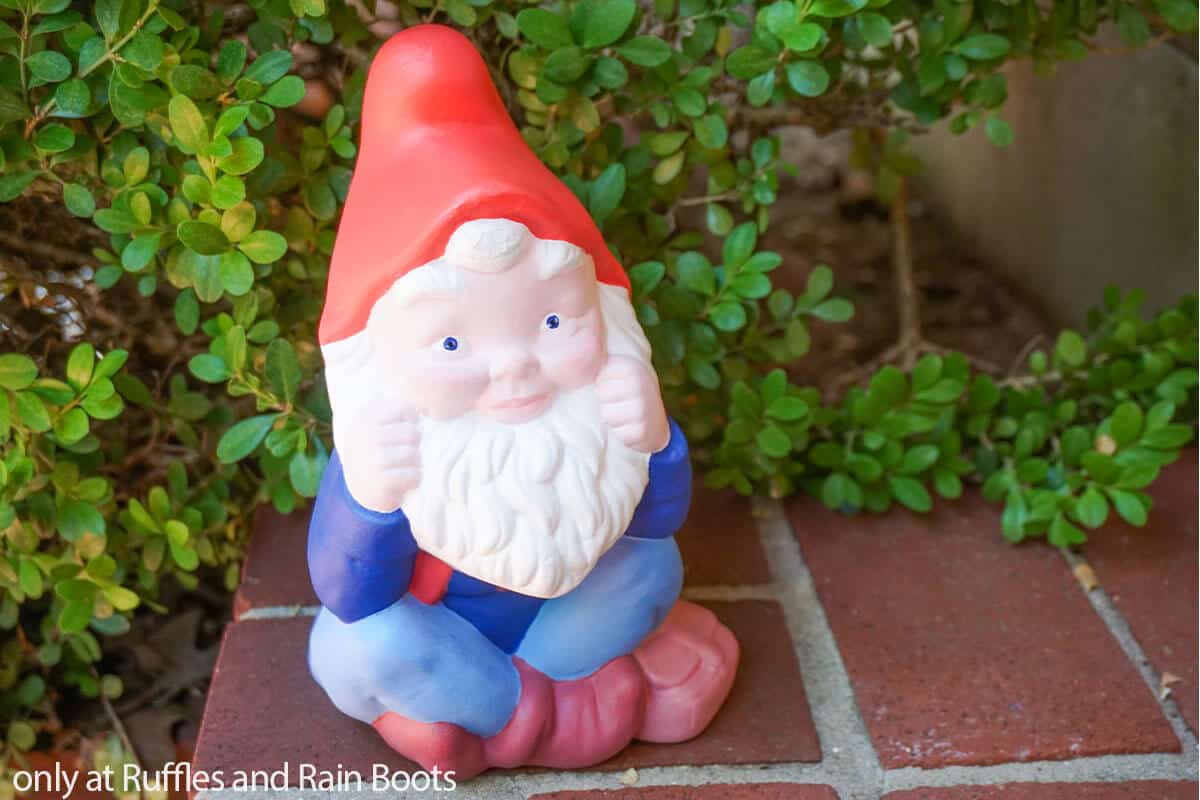
Here at Ruffles and Rain Boots, we have identified a handful of gnomes owned by myself, friends, and neighbors who need a little refresher. This gorgeous cutie was my tester to figure out the best way of how to restore a garden gnome.
You see, this cute outdoor gnome has had quite the life – several coats of paint and they think this vintage gnome might be about 40 years old. For me, age didn’t matter, but giving this gnome a new life? That was the goal. If you have a garden gnome to refurbish, let’s get started.
RELATED READING: No Sew Bee Gnome (He’s Adorable)

As an Amazon Associate, I can earn from qualifying purchases. There could be affiliate links within this article.
How to Restore a Garden Gnome?
Below is the written and printable tutorial with pictures showing how I did it. I encourage you to watch the how to restore a garden gnome video tutorial here on YouTube. It details a few more tips and tricks I’ve learned restoring a few of these.
If you need to gather supplies, save this to an easy crafts pin board or share it on Facebook. Use the share buttons to be able to find it easily later.
Tips to Refurbish a Gnome Into a Fresh Garden Gnome
- Clean the gnome thoroughly with soap, water, and a scrubbie. If you want to get really into it, use a wire brush. The entire gnome refurbishing project’s overall look will be ruined by dirt, dust, and soil which remain and can also make the paint chip faster.
- Do not skip the white paint base layer (I use this to prime the gnome and believe it really makes a difference). It’s going to help the colors really pop and be more true to those you’ve chosen.
- To make sure that the paint stands up to the UV rays, rain, the garden hose, and animals, I recommend using outdoor paint like this. I always use this clear coat as well, because it is rated for outdoor use.
- If your little gnome statue is going on a patio garden or covered fairy garden, you could skip the sealant. The paint will likely wear faster even when covered without sealant.
- This painting tutorial will show you how to paint a gnome when you have a basic shape defined by ceramic or concrete molds. If you want to create patterns on the gnome, go for it! I chose to restore this one, but if are refurbishing a garden gnome, go wild.

More Garden Gnome Crafts You Might Like
- How to Make Plaster Gnomes – A quick and easy DIY that you’re not going to believe the results of (psst: the gnomes are GORGEOUS).
- DIY Gnomes with Flower Pot Hats – Fun, easy and absolutely a blast to make, this is a customizable gnome you’ll love.
- Sculpt a Garden Gnome from Concrete – Making your own DIY garden gnome is not as hard as it sounds, just check out this quick tutorial.
Please Save or Share This Fun Garden Gnome Project Idea
Your shares are how this site grows and I am sincerely grateful. Know a friend who’d like to learn how to repaint a garden gnome? Please share it on Facebook or save it to your favorite outdoor crafts pin board.
How to Restore a Garden Gnome
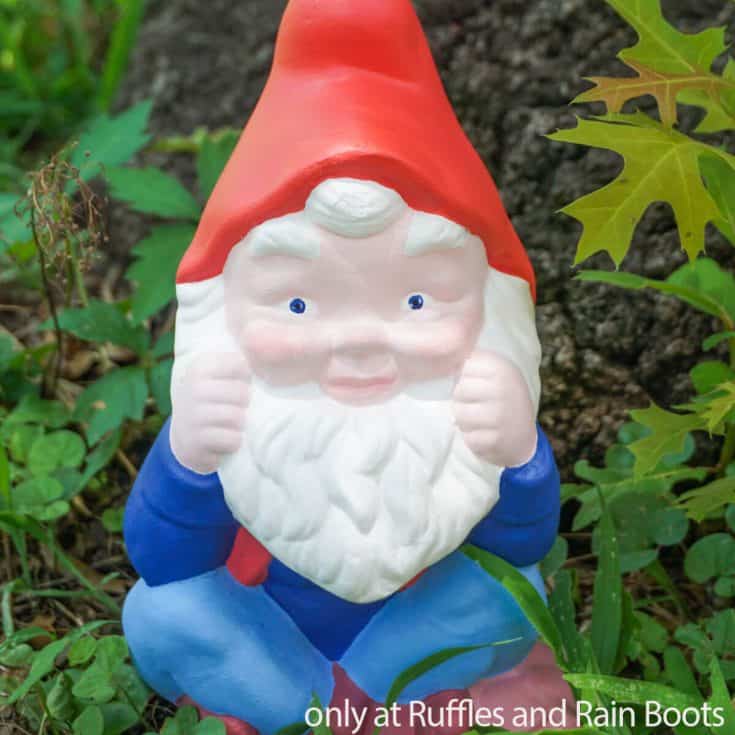
Such a quick and easy way to breathe new life into an old gnome, I love that I learned how to restore a garden gnome - now I only have 10 more to go! LOL!
Materials
- 1 Vintage Ceramic Gnome (or Concrete)
- White Primer for Base Coat
- Outdoor Acrylic Paints
- Outdoor Clear Coat Spray
Tools
- Sandpaper, 120 grit
- Paper Towel or Terrycloth Rag
- Paintbrushes
- Paint Palette
- Toothpick or Wooden Clay Dotting Tool
Instructions
- With a paper towel or terrycloth rag, dampened with water, clean the gnome from head to toe. Allow the gnome to dry completely.
- Gently but vigorously sand the gnome from top to bottom, knocking off any loose paint or debris. Make the surface as smooth as possible.
- Clean the gnome again, this time working on getting all the dust off them from the sanding.
- Coat the gnome in the white primer completely from head to toe in a thin coat to cover the entire gnome. Allow the paint to dry completely (I used gentle blowing with heat gun to speed up the drying process). Repeat painting the gnome with an additional coat to cover any remaining color and dry completely once again.
- Start with the darker color being used, particularly around the areas that won't be touching lighter colors. It's easier to go over the lighter colors with a darker color if you get a little messy, but darker colors sometimes need an extra coat to cover the lighter color beneath, so think about this before choosing where to paint first. I painted the shirt, pants and shoes before moving to the lighter parts of the face. Be sure to allow the paint to dry completely before moving to the next area.

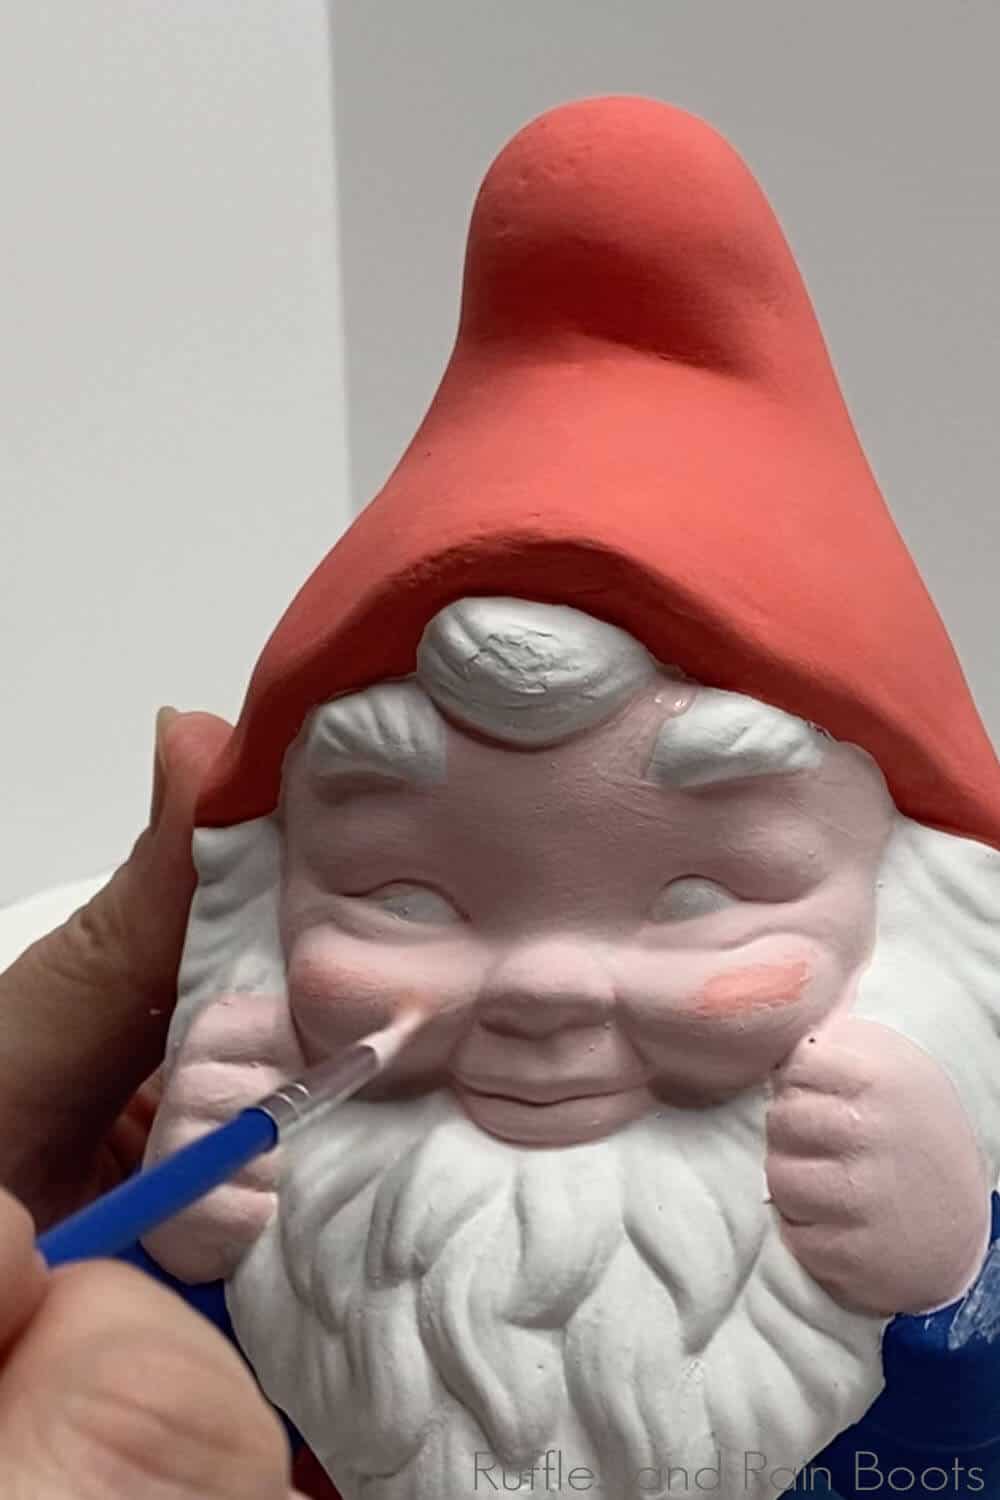
- When painting the face, I found that mixing my own color for the paler shade was my preference, but you can make your gnome any skin tone you like. Paint the entire face with one coat of your skin tone, allow the paint to dry completely, then repeat with another coat. While this second coat is still moist, add a small amount of pink paint to the cheeks to make a little blush, if desired. Blend in the blush using the face color, if necessary.
- Paint the lips the same pink as the blush, but do not blend it in.
- Paint the inside of the eyes white, then allow them to dry completely. Using a darker shade and your toothpick or wood clay dotting tool, fill in the center of each eye in a nice, round shape. It so small, it's hard to make a perfect circle. I found that turning the gnome over upside down helped for some reason. Add a tiny dot of white paint off-center inside each of the darker centers of the eyes.
- Paint the white portions (beard, eyebrows, etc.) with a final coat to ensure good coverage.
- Paint the hat and add a second (or third) coat to any areas of the body that need additional coverage. I used a dotting tool to with a fine point to get in all of the fine crevasses. Allow this coat of paint to dry completely.
- Take your gnome outside to a clean and dry place and spray it with 2-3 light coats (waiting 10-15 minutes between each coat) of the clear coat sealant. Allow this to dry overnight then display your gnome!


Notes
For more fun gnome crafts, visit Ruffles and Rain Boots!
Recommended Products
As an Amazon Associate and member of other affiliate programs, I earn from qualifying purchases.


Thanks! This is just the project I was looking to do and you laid it out wonderfully. Thank you!