
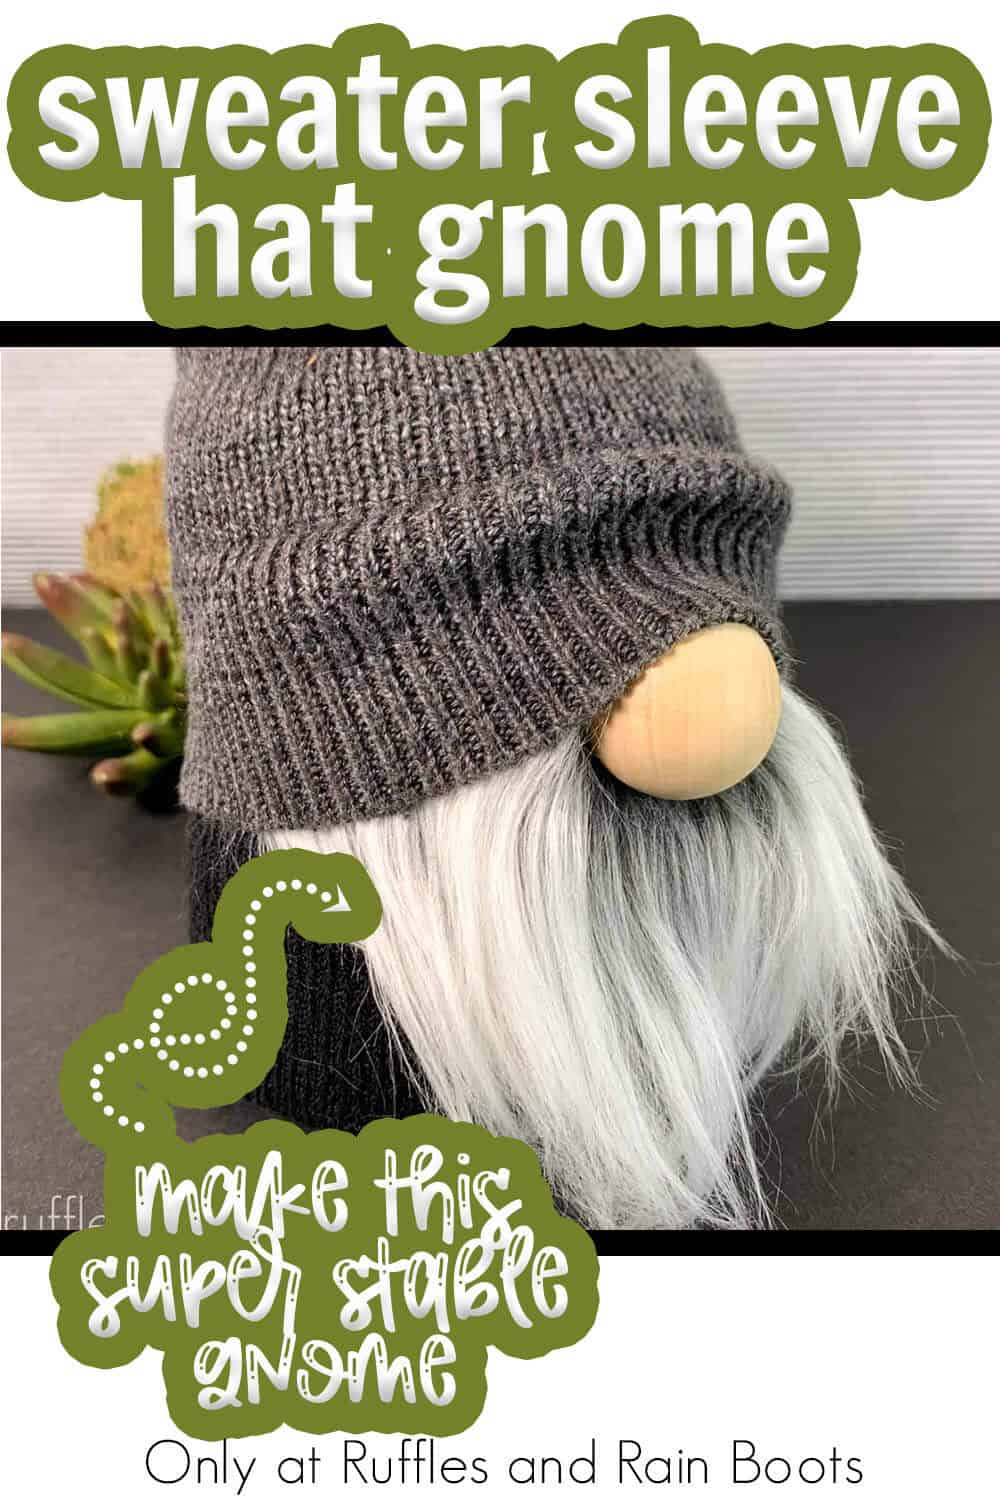
Make a Stable Sock Gnome with a Sweater Sleeve Hat
I was working out how to make a gnome with a sweater sleeve hat and figured out how to make a stable sock gnome – two birds, one stone! This easy gnome is made in just minutes and only uses a few supplies.
You will need a sock, weight, fill, a sweater (or just the sleeve), fur, and a wood ball for the nose. There are a lot of fun tips and tricks to making gnomes, so let’s dive right in.
RELATED READING: How to Make a Sock Gnome 3 Minutes
What You'll Find On This Page
How to Make a Stable Sock Gnome
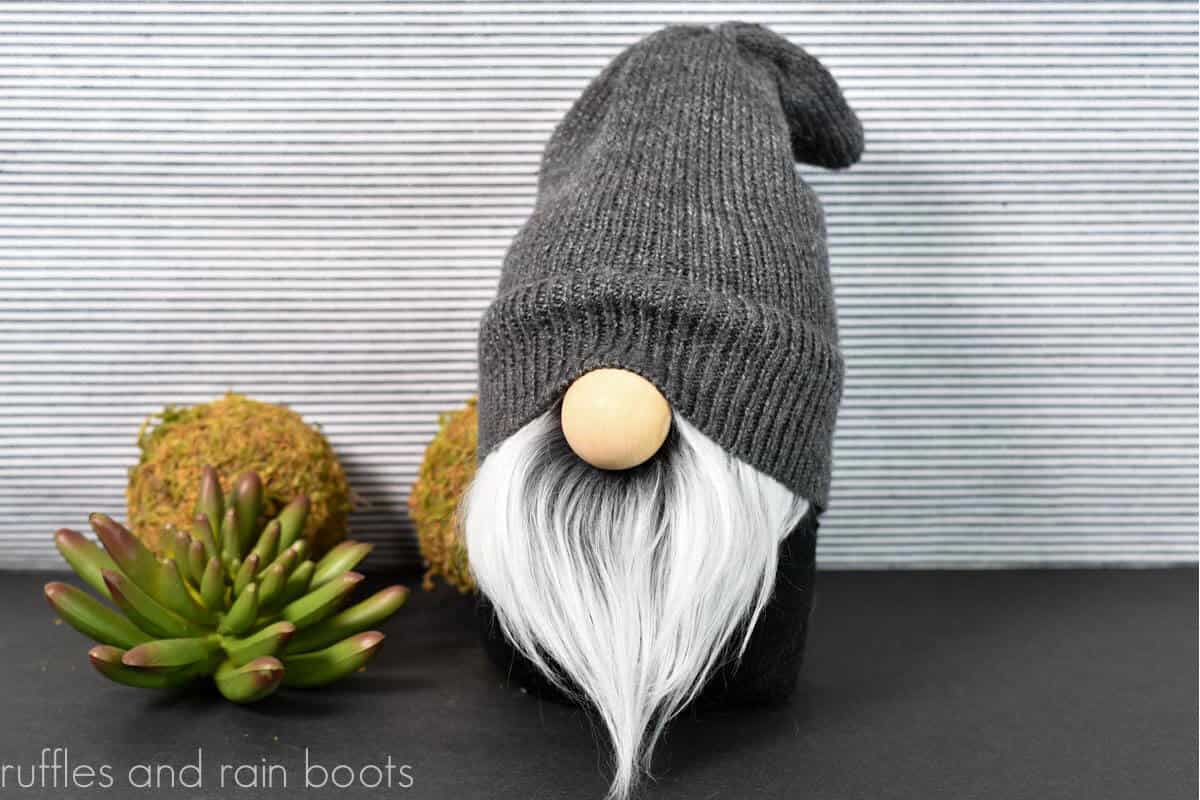
Here at Ruffles and Rain Boots, we are dedicated to finding the easiest, fastest, funnest ways to make gnomes. And one of the biggest problems I run into is “how to get my gnome to stand up” or “how to keep my gnome standing” – all the variations of “my gnome is too top-heavy”. Guess what?! This stable sock gnome will NEVER have that problem.
This sweater sleeve hat gnome is confident and won’t wobble, lean back, or fall over. And it’s so cute that I to make more just because I love the look so much. If you’re loving the look of this sweater sleeve gnome, let’s get started.
Note: if you want to learn how to create a gnome from a sweater, this adorable sweater gnome DIY is more fitting.

Create the Sock Gnome Body
If you are a visual learner, watch the quick, FULL LENGTH easy sock gnome video tutorial here on YouTube. While you’re there, be sure to subscribe – we have a lot of fun.
Place the wood slice into the toe of the sock. Add the poly beads over the top of the wood round and fill the sock up to the heel with Poly-fill. Tie the top closed with the embroidery thread and trim the excess sock material. Hot glue the top closed to secure, if desired.
How to Cut a Gnome Beard
Place the faux fur “fur-side-down” and cut out a large “u” shape that goes from one side of the sock to the other with a 1/2-inch “v” shape cut from the top center of the beard. Check the video tutorial for exactly what shape I used to cut my beard.
Hot glue it to the sock body, about 1 inch from the top of the sock. Part the fur to the fabric about halfway down the beard then hot glue the nose (the wooden bead) to the beard. Start this about 1 1/2 inches from the top of the beard.

RELATED READING: How to Make Sock Gnomes – Tips and Tricks
Make a Sock Gnome Hat Pattern from a Sweater
Cut the sweater sleeve about 9 inches from the bottom of the sleeve cuff. Hem the cut end of the sleeve at least once. I chose to double-hem mine because the fabric continued to fray even after hemming it once.
Tuck the cuff of the sleeve down over the gnome’s head, pulling it down into a cute wrinkle over the nose and hot glue in place. Pull the back of the hat down low and hot glue it in place in the back as well.
Tie a piece of embroidery thread around the top of the hat, leaving about 2 inches of loose material at the top. If the loose material is too loose for your liking, you can hot glue it together a bit, tucking parts inward, to make it look more neat.
Style your beard and enjoy!

No Time to Make This Cute Gnome Now? Save or Share for Later
If you need to gather supplies, save this to your favorite easy DIY pin board or share it on Facebook. Use the sharing buttons to make it easy and it will make it easy to find when you’re ready to begin.

As an Amazon Associate, I can earn from qualifying purchases. There could be affiliate links within this article.
Tips to Make a Gnome with a Sweater Sleeve Hat
- This is another tutorial from Ruffles and Rain Boots that doesn’t require a complicated gnome pattern! All you really need is a sock, a a sweater sleeve and a nose – along with a little weight and stuffing on the inside, you’re done in minutes.
- I try try mix up what I use dor gnome noses, but I encourage you to experiment. I like wood beads like these, which is what I used on this sweater sleeve gnome, but I have used all kinds of noses in the past (clay, felt balls, buttons, stuffed fabric, etc.).
- Faux fur can be intimidating because most people cut it with scissors and it ends up looking blunt. To cut a beautiful, flowing beard that looks natural there’s a trick I show in this quick how to cut faux fur video tutorial here.

More Beginner Gnome Patterns You Might Like
- Dollar Tree Gnome with a Twisty Hat – Not only is this a SUPER easy gnome perfect for beginners, but it’s also absolutely adorable and incredibly inexpensive to make!
- Elegant Sock Gnome Hat Pattern – This slouchy hat sock gnome is a fan favorite because he’s so high-end looking.
- One-Sock Gnome – A single sock, a few minutes and a bit of sherpa fabric makes this super cute, squatty gnome that is perfect for a patterned sock!
Please Save or Share This Easy Sock Gnome Tutorial
Your shares are how this site grows and I am sincerely grateful. Know a friend who’d like this? Please share it to a crafty Facebook group or save it to an easy DIY crafts pin board.
How to Make a Stable Sock Gnome
Below is the written, step-by-step tutorial for this Scandinavian gnome. Keep this page open, follow along, and use the comments section for any questions.
Stable Sock Gnome

You can make this easy stable sock gnome with one trick that makes it different from all my other sock gnome tutorials!
Materials
- 1 Sweater (you'll just need the sleeve)
- 1 Sock
- 1 3-4-inch Wood Round
- Embroidery Thread
- 1-2 cups Poly Beads
- 2-3 cups Polyfill
- 1 1-inch Wood Bead
- Scraps Mongolian Fur
Tools
- Scissors
- Hot Glue Gun & Glue
Instructions
- Place the wood slice into the toe of the sock. Add the poly beads over the top of the wood round. Finish filling the Sock up to the heel with polyfill and tie the top closed with the embroidery thread, then trim the excess sock material. Hot glue the top closed to secure, as desired.
- Place the faux fur fur-side-down and cut out a large "u" shape with a 1/2-inch "v" shape cut from the top center of the beard. Check the video tutorial for exactly what shape I used to cut my beard. Part the fur all the way to the fabric about halfway down the beard, then hot glue it to the sock body, about 1 inch from the top of the sock. Hot glue the nose (the wooden bead) to the beard, about 1 1/2 inches from the top of the beard.
- Cut the sweater sleeve about 9-inches from the bottom of the sleeve cuff. Hem the cut end of the sleeve at least once. I chose to double hem mine because the fabric continued to fray even after hemming it once.
- Tuck the cuff of the sleeve down over the gnome's head, pulling it down into a cute wrinkle over the nose and hot glue in place. Pull the back of the hat down low and hot glue it in place in the back as well.
- Tie a piece of embroidery thread around the top of the hat, leaving about 2 inches of loose material at the top. If the loose material is too loose for your liking, you can hot glue it together a bit, tucking parts inward, to make it loo more neat.
- Style your beard and enjoy!
Notes
For more fun beginner gnome tutorials, visit Ruffles and Rain Boots!
Recommended Products
As an Amazon Associate and member of other affiliate programs, I earn from qualifying purchases.


I do appreciate your info. I’m new to making gnomes. My first one was 12 inches high with a tall fleece hat with brim.
Aw I bet it was adorable. If you’d like, you can share it in the Facebook group with us here: https://www.facebook.com/groups/diygnomesandcrafts/