
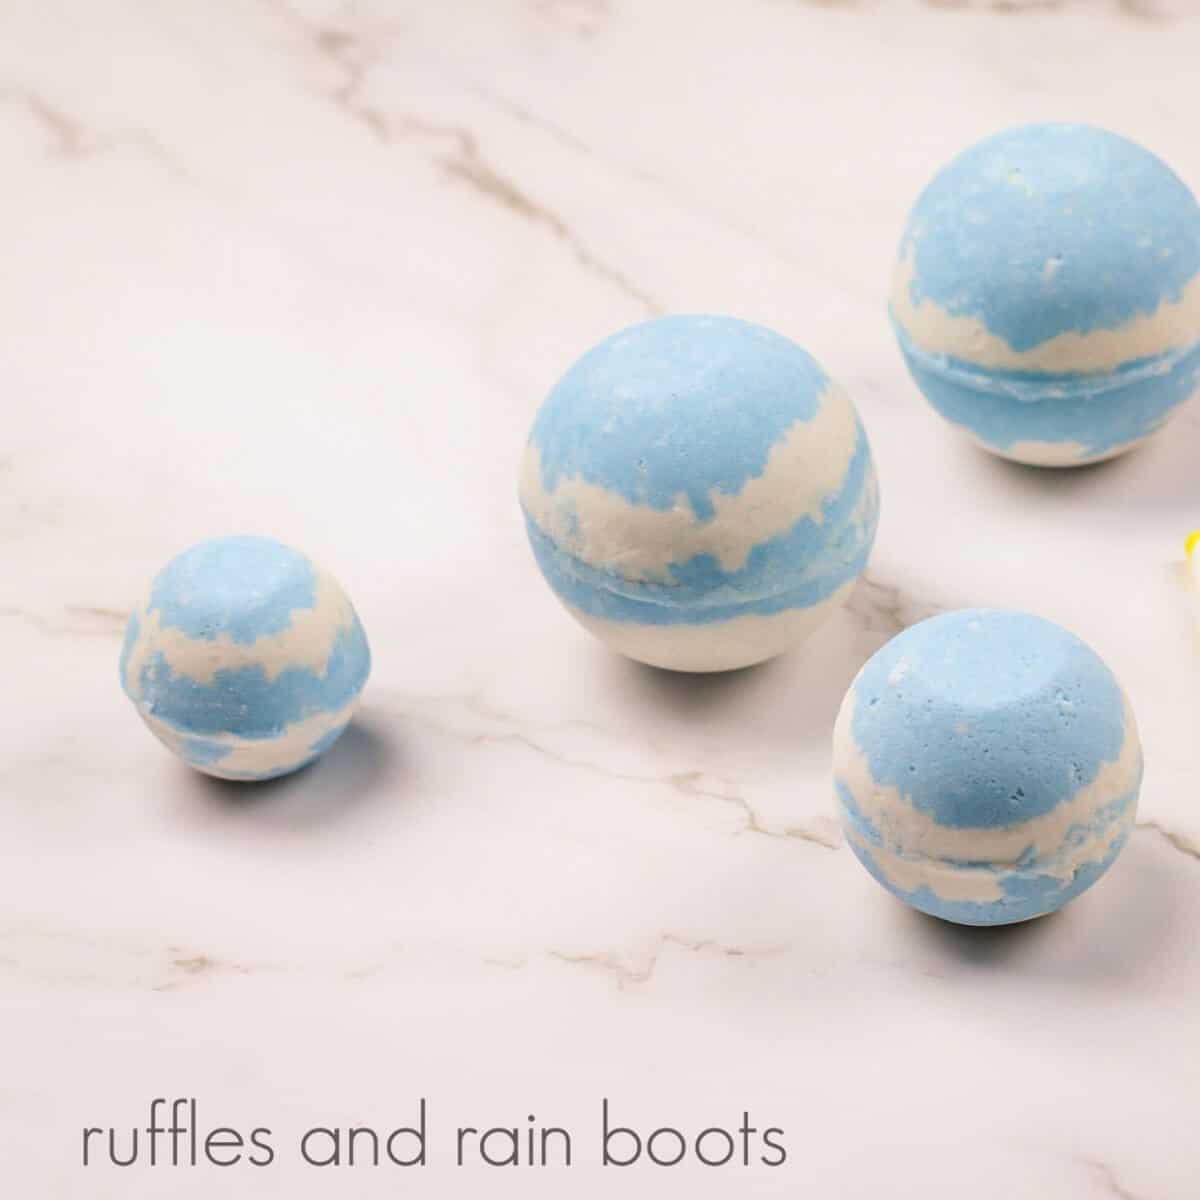
Hidden Toy Bath Bombs Recipe
If you struggle to get the kids to take a bath, try this hidden toy bath bombs recipe. Your kiddo will be amazed at the fizzing and bubbles and then the hidden surprise inside. You may never get them out of the tub!

RELATED READING: Disney Princess Bath Bombs – Recipes for All The Princesses!
What You'll Find On This Page
Surprise Toy Bath Bombs
Here at Ruffles and Rain Boots, we are slightly obsessed with DIY bath and beauty products. They are such fun to make and save money – why buy something that you can easily make at home?
If you are timid to try to make a DIY bath bomb recipe at home, don’t be. The ingredients are safe to use and are easy to find, either at the grocery, wholesaler, or online.
RELATED READING: Delicious Bubblegum Bath Bomb Recipe (Smells SO Good)
No Time to Make These Surprise Bath Bombs Now? Save or Share
Are you waiting for your rubber ducks and molds to arrive? Save or share this recipe to your favorite DIY bath and beauty pin board or share it on Facebook.

As an Amazon Associate, I could earn from qualifying purchases. There may be affiliate links within this article.
RELATED READING: Wow Worthy Rainbow Bath Bomb Recipe
Tips for Making Bath Bombs
- If the bath bomb mixture will not hold together in your hands, add 1/2 teaspoon of binder (oil, alcohol, witch hazel, or water). This should take care of the issue.
- If you have the opposite problem and your bath bombs have too much liquid, add 1/2 teaspoon of baking soda or cornstarch. Continue to add 1/2 teaspoon until the mixture feels like wet sand.
- As you make several bath bombs, the mixture will likely dry out. Use a spray bottle with a binder and give the mixture a few spritzes to add the amount of moisture needed to hold the bath bombs together.
Supplies for the Bath Bombs with Toys Inside
Note: the bentonite clay, avocado butter, Polysorbate, essential oils, and colorants are all optional.
- Baking soda
- Citric acid
- Cornstarch
- White bentonite clay (for small amounts, check your local ‘whole foods’ stores)
- Avocado butter
- Coconut oil
- Polysorbate 80 (optiona)
- White and blue mica colorant (this is the safest colorant for skin and tubs)
- Kid-safe scented oil
- Mini Rubber Ducks
- Bath bomb molds
- Spray bottle filled with rubbing alcohol.
- 1 large, 2 medium, and 1 small mixing bowl
How to Make Hidden Toy Bath Bombs
Each step of this craft tutorial is detailed below so it is easy to follow. Keep this page open while you are creating your adorable bath bombs. If you would rather have printable instructions, scroll down and select the print button.

Melt oils in a microwave-safe container. I like to use glass when using anything with essential oils.

In a large mixing bowl, add the baking soda, citric acid, kaolin clay, and cornstarch.

Add the coconut oil and avocado butter.
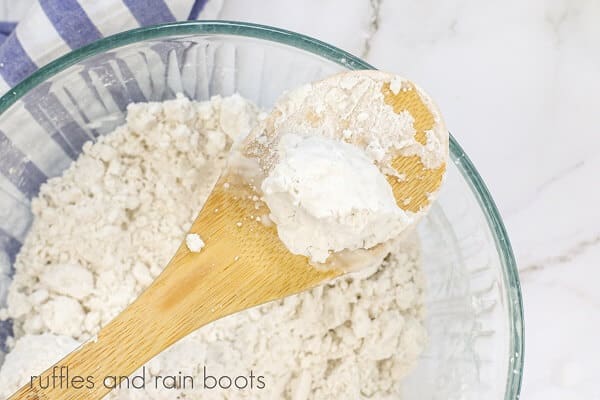
Mix the wet ingredients well. It should stick together when squeezed in your hands.

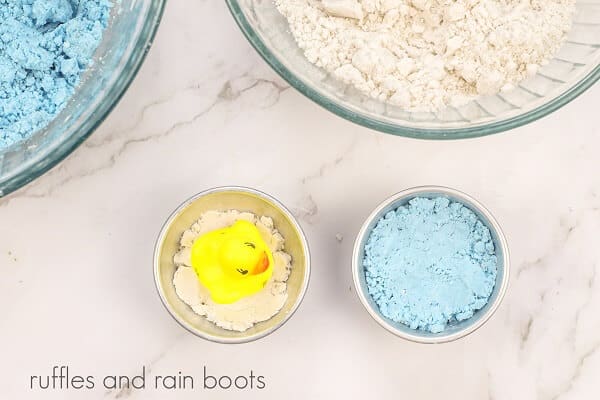
Divide the mixture into 2 bowls. Add in white and blue mica (we do not recommend food coloring as it can stain your skin).

Layer the colored mixture into the molds in a stripe fashion.
Layer the bath bomb mixture, and add a duck to one side of the mold.
Cover the duck until the molds are slightly overflowing.

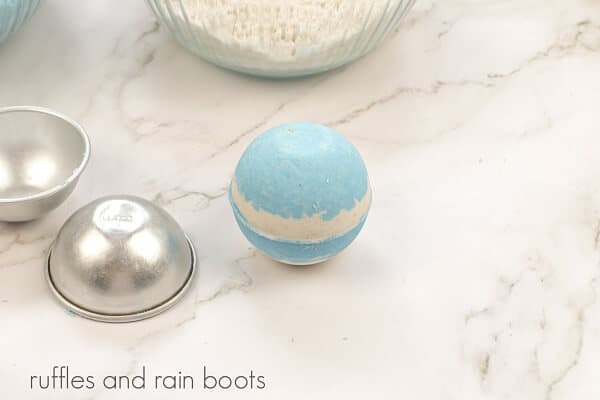
Press molds together, removing the excess mixture from the edges.

Remove the bath bomb from the mold. Each bath bomb should sit for 24 hours before being used for maximum bubbling.
Repeat the steps until the mixture is used. Drop one in the tub for a fun surprise!

More DIY Bath and Beauty Recipes You May Like
- Strawberry Coconut Sugar Scrub Recipe: Get your feet sandals ready with this strawberry coconut sugar scrub recipe. It is absolutely divine!
- Dollar Tree Himalayan Salt Scrub: Make this easy and cheap scrub to get your skin (and feet) ready for summer.
- Gold Body Scrub Cubes: These rose gold body scrub cubes make awesome gifts or party favors. They’re so pretty, they double as bathroom decor.
Please Save or Share
Your shares are how this site grows and I sincerely appreciate it. Please save this recipe to your favorite DIY or skincare pin board or share it on Facebook.

Hidden Toy Bath Bombs Recipe

These hidden toy bath bombs are the perfect way to get the kids excited about taking a bath. Made with all kid-friendly ingredients, this skincare recipe will leave your skin feeling fresh and clean.
Materials
- 2 cups baking soda
- 1 cup citric acid
- 1/4 cup cornstarch
- 1/4 cup white bentonite clay
- 1 tablespoon avocado butter
- 1/3 cup coconut oil
- 1 teaspoon polysorbate 80
- White and blue mica colorant
- Scented oil
- Rubber or resin ducks
Tools
- Bath bomb molds
- Mixing bowls
- Spray bottle of alcohol
Instructions
- Melt oils in a microwave-safe container in 30-second bursts. Stir in between each. Continue until completely melted.
- In a large mixing bowl, add the baking soda, citric acid, kaolin clay, and cornstarch. Whisk dry ingredients together.
- Add the coconut oil and avocado butter.
- Mix wet ingredients well.
- Divide the mixture into 2 bowls. Add 1-2 teaspoons of the blue mica to one and the same amount of the white to the other bowl. Continue to add a bit of mica until you achieve the color you desire. Add the scented oil. Mix well.
- Add a bit of one color to one of the bath bomb molds. Add your duck. Gently layer the bath bomb mixture, alternating colors, to each side of the bath bomb mold until slightly overflowing.
- Over the smaller, empty bowl, press molds together and gently but firmly grind to remove any excess mixture. Gently tap the mold to release the bombs.
- Allow to dry completely
Notes
If you don't have a rubber duck for the hidden small toy in the bath bombs, use a child's costume ring or a small bouncy ball.
In addition to the traditional round bath bomb molds, you can also use silicone mold typically used for making soap. Just press the mixture, let it rest for a couple of hours in the mold, then de-mold and let it rest again to dry.
Pack bath bomb molds tightly but not compressed, as they may not release as easily as they should. If yours isn't releasing, let it sit for an hour to dry a bit. Tap the outer edges of the bath bomb mold with the back of a spoon.
Meet the Creator
Hi there, I’m Sarah Nenni-Daher. I’m a crafty gal and always have at least 14 projects going at once. I am a crafter, designer, DIYer, and pattern maker. I share my creations here and in the Ruffles and Rain Boots® Shop.
Here at Ruffles and Rain Boots®, you’ll find DIY gnomes, crafts, gifts, cupcakes, laser crafts, and so much more. I love sharing video tutorials over on YouTube and chatting with other crafters in my Facebook groups. We’d love to have you!