Farmhouse Wooden Houses Christmas Cricut Craft
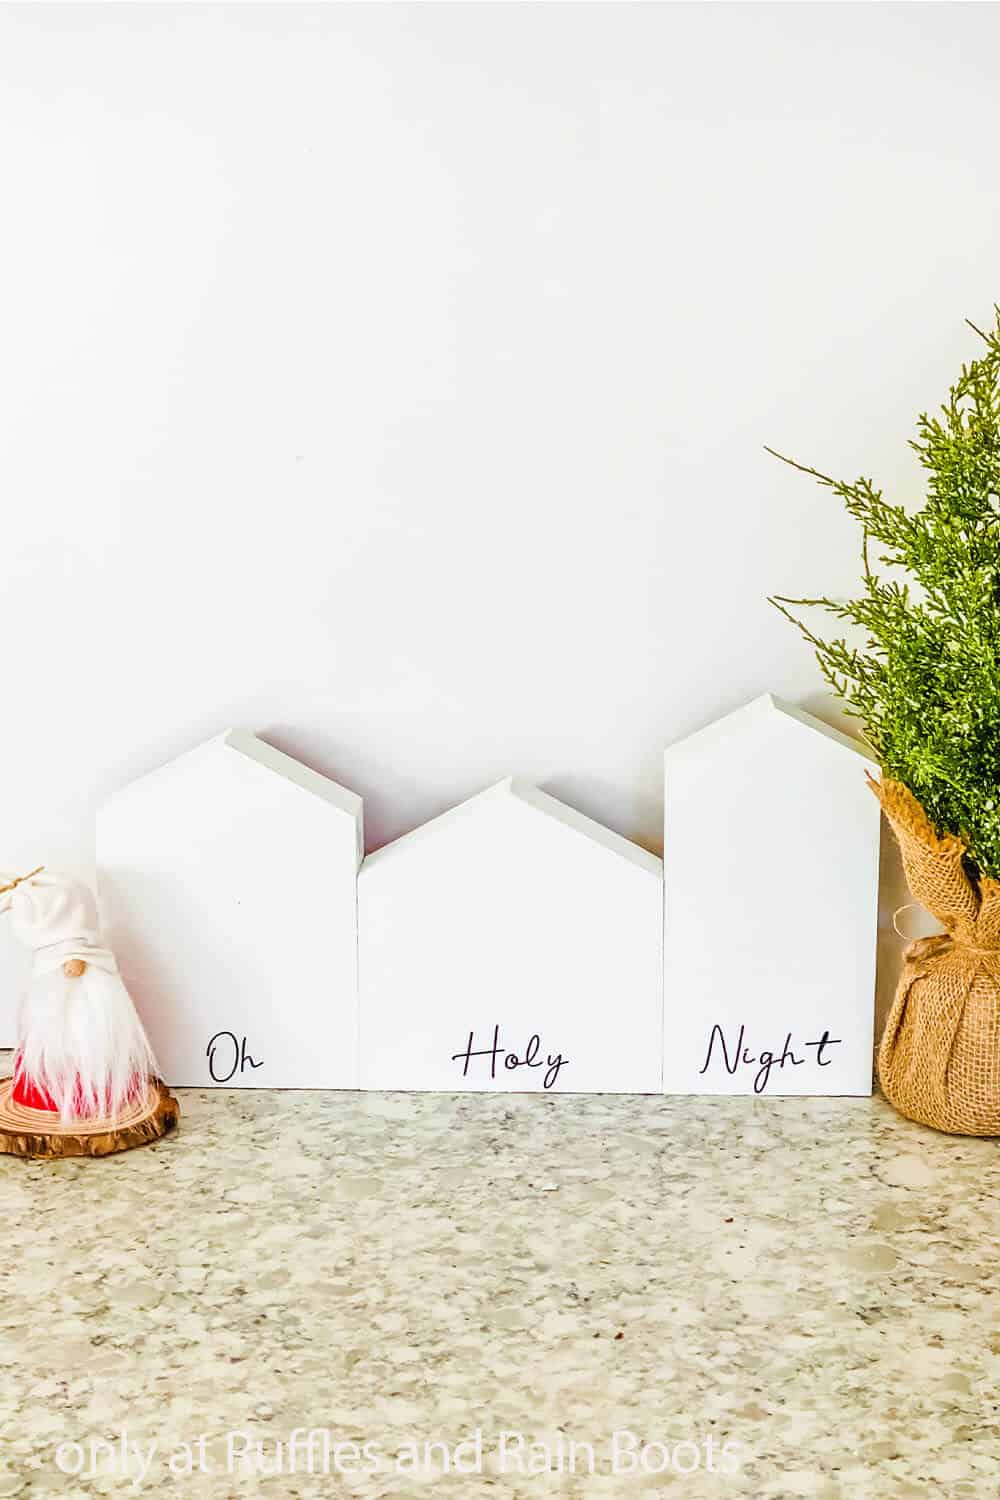
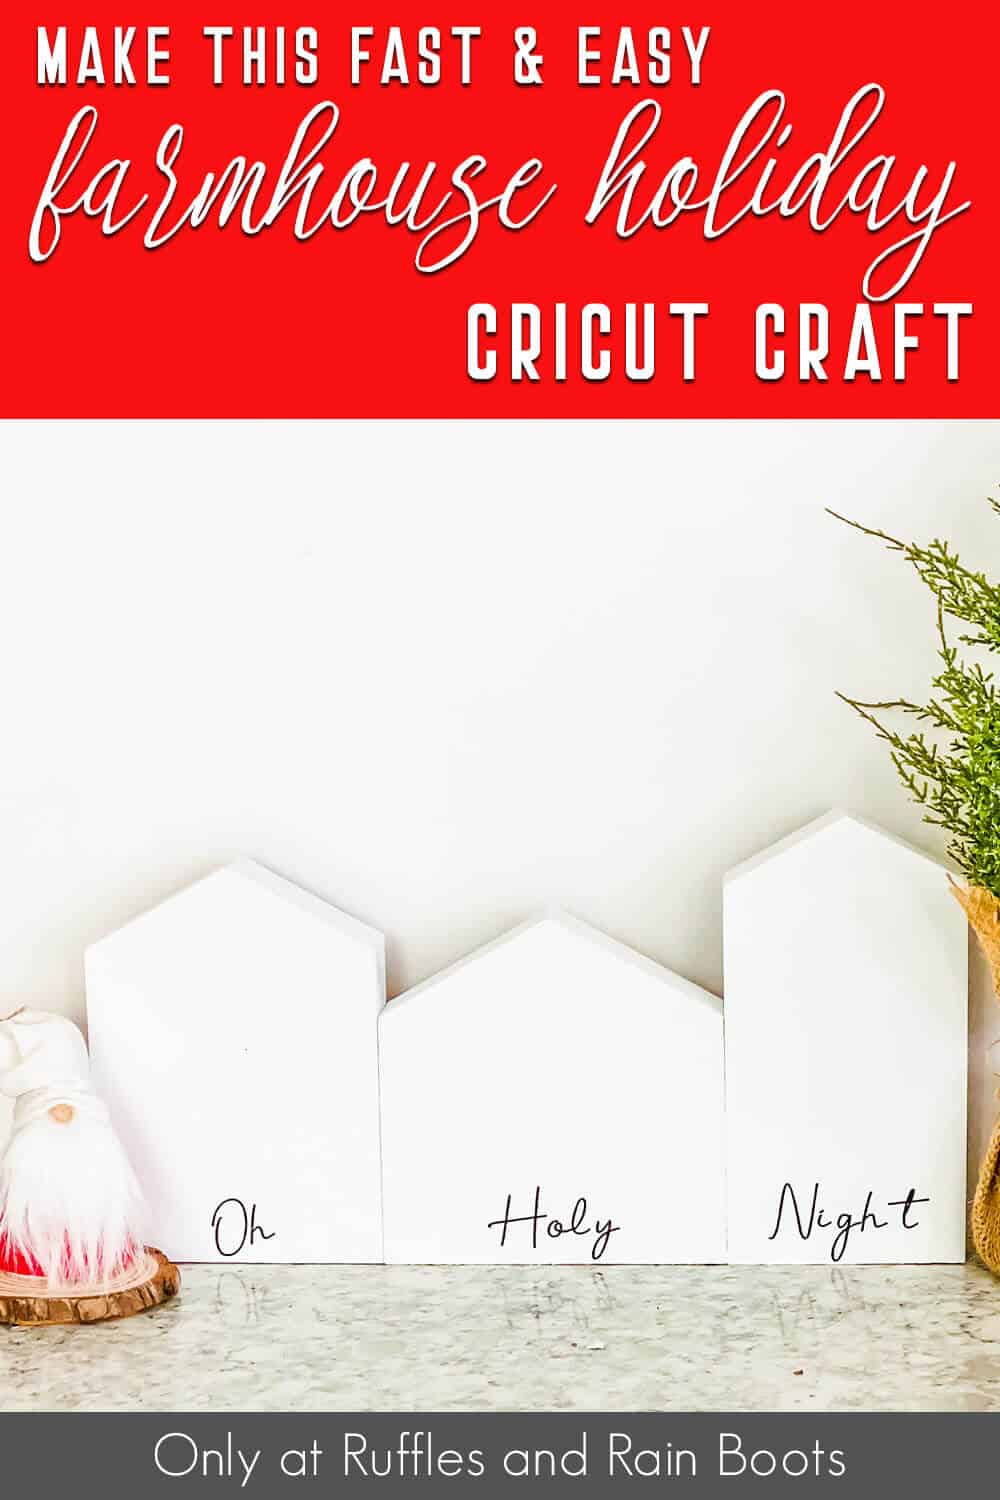
Make these Oh, Holy Night farmhouse wooden houses for a quick Christmas Cricut craft. The wood houses are from the Crafter’s Square section of the Dollar Tree, making this an inexpensive way to add a little festive decor to your home this season.
Below is the step by step tutorial for this easy holiday Cricut DIY, but I want to mention that if you love this and don’t have a cutting machine, don’t worry. Pick up a thin, fine line paint pen or permanent marker and follow along.
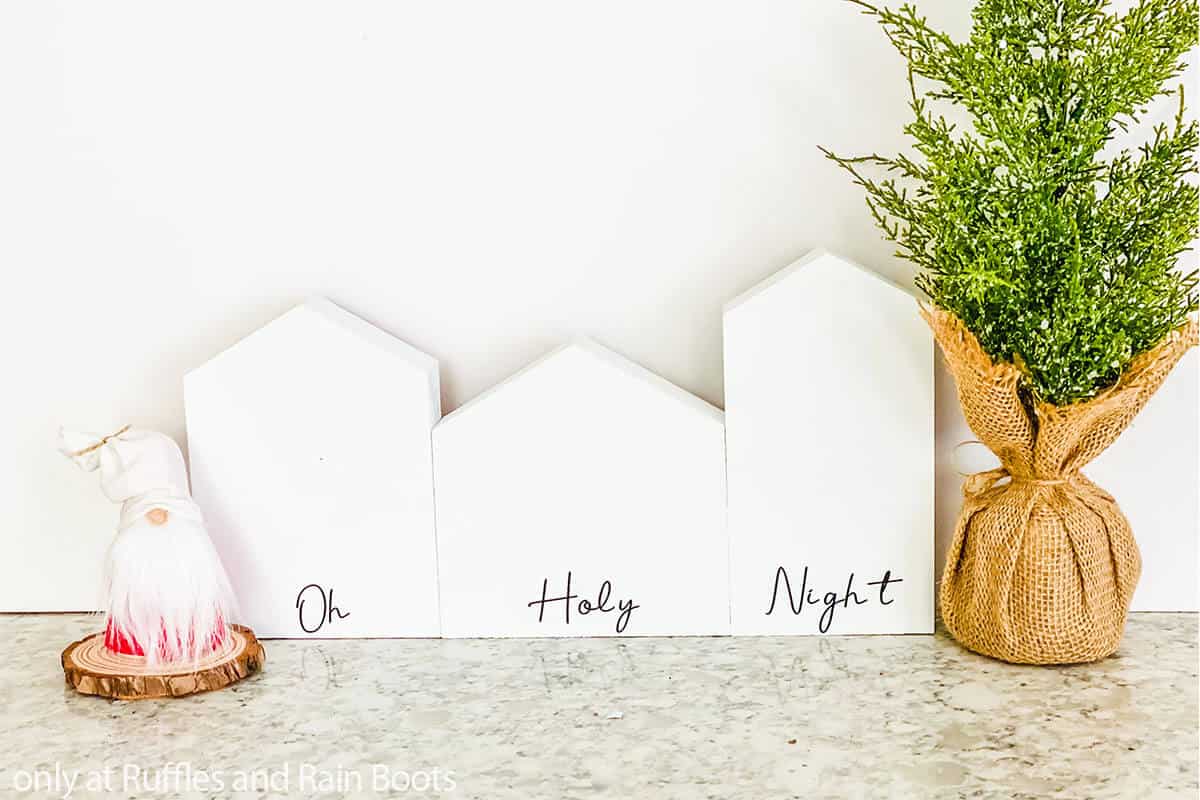
Oh Holy Night Farmhouse Wooden Houses Cricut Craft
Here at Ruffles and Rain Boots, I love coming up with easy crafts that look absolutely posh (is that a word we’re using still? – I don’t know). Let me try that again: one of my favorite things is coming up with a way to turn inexpensive materials into a really luxe decor piece.
My latest creation is one of my favorites because it is something you can do while listening to Christmas carols or an Audible book. It’s a minimalist design, making it perfect for farmhouse decor, modern styles, and even gifts.
RELATED READING: Scandinavian Tree Christmas Cricut Craft Idea
If you need to gather up supplies or head over to the dollar store, save this to a Cricut holiday crafts pin board or share it on Facebook. When you’re ready to start, it will be easy to find.
As an Amazon Associate, I can earn from qualifying purchases. There could be affiliate links within this article.
Tips to Make This Christmas Cricut Craft
- This is a simple way to add a touch of holiday cheer to your mantle without having to change your normal decor too much. They are also great as a trio on a window sill for an instant display or tucked into a gift basket.
- I was able to find all the materials to make this particular craft at the Dollar Tree. If you do not have a “Crafter’s Square” section at a local store, you can find these supplies at any of the craft stores.
- When choosing a font style, keep in mind that the smaller and thinner the letters, the harder time a Cricut or Silhouette will have cutting the vinyl.
- For those of you working without a cutting machine, sand the entire front of the wood houses very well at the bottom to avoid any slips of the pen or paint. Choose a thin line or fine permanent marker or paint pen to get the clearest writing.
- Don’t feel restricted to “Oh Holy Night.” You can opt for “Warm Winter Wishes,” “Hope Love Joy,” “Holly Jolly Christmas,” or any number of three word combinations.
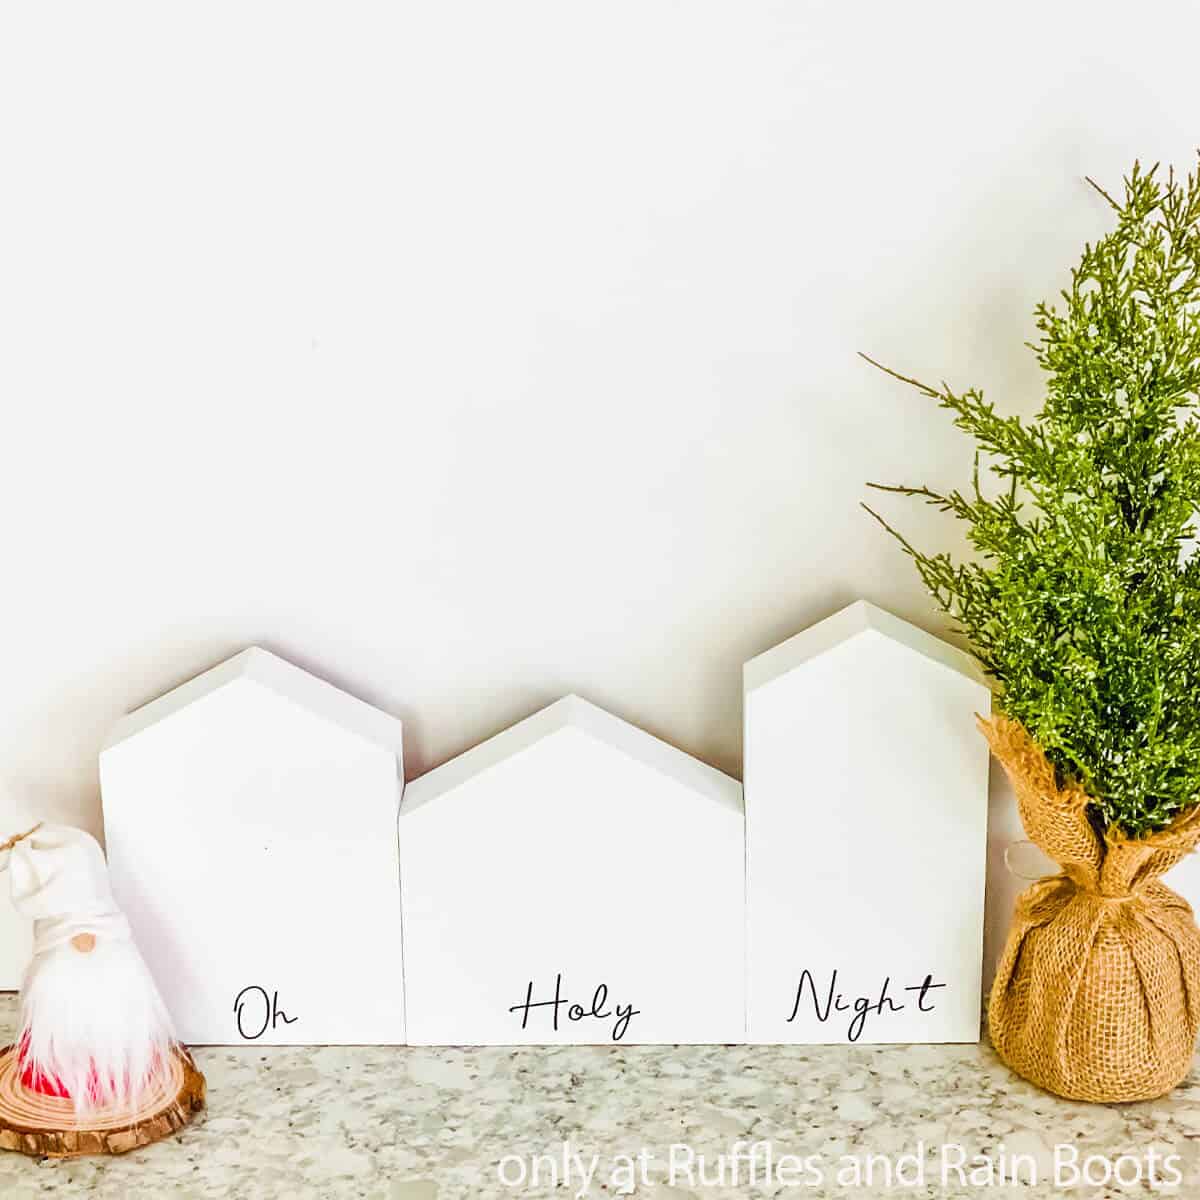
Make Christmas Wooden Houses Cricut Craft
Below is the written and printable tutorial for this Dollar Tree wood house idea. If you are not using a cutting machine, be sure to read the tips above.
I chose to leave my houses as simple and as close to Scandinavian Christmas decor as I could (to match other pieces). A couple of ideas to decorate them are:
- add ribbon bows
- wrap twine at the top, middle, or bottom of each wooden house blank
- create a thin line border in Cricut Design Space or Silhouette studio and cut vinyl
Oh Holy Night Farmhouse Wooden Houses Cricut Craft
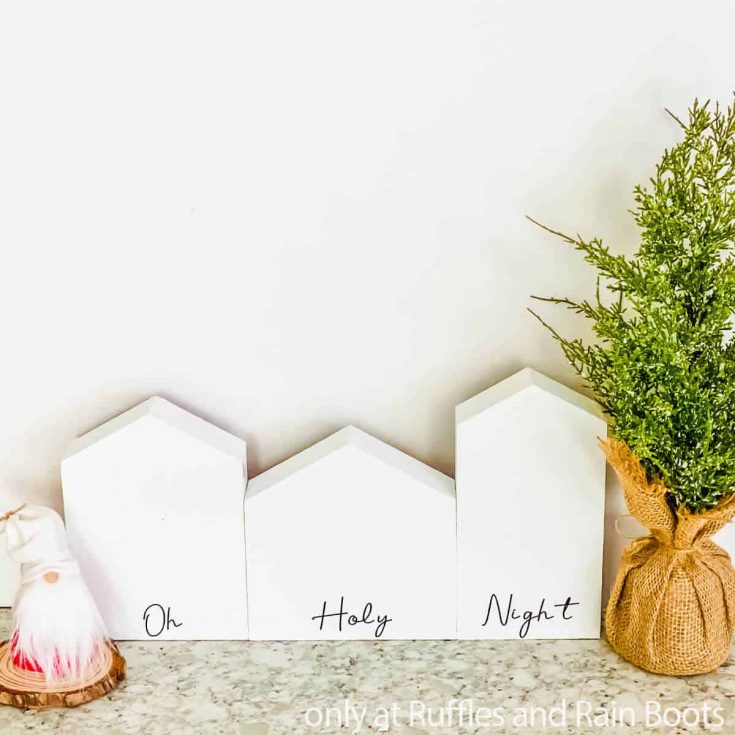
This set of farmhouse wooden houses is a great Cricut craft for Christmas with supplies available from the Dollar Tree.
Materials
- 3 Dollar Tree Wooden Houses
- White Chalk Paint
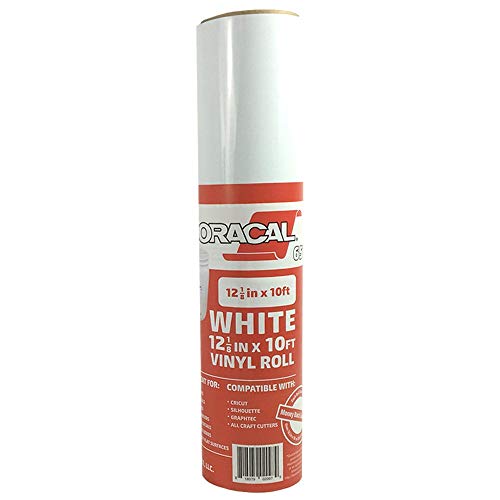
- Black Permanent Vinyl
Tools
- E6000 Glue
- Cricut or Silhouette
- Paintbrush
- Weeding and Scraper Tools
- Transfer Tape
- Scissors
Instructions
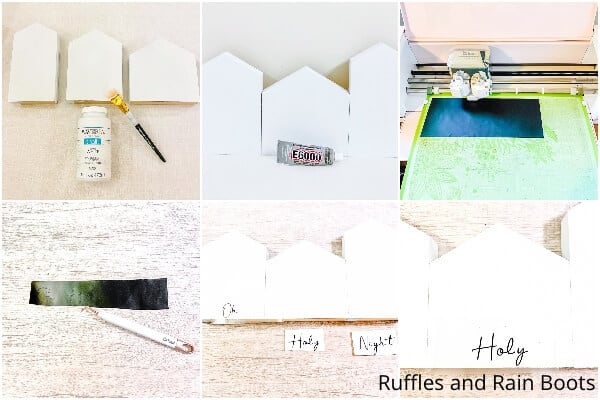
- Apply 2 coats of white chalk paint to all sides of the houses. Allow to dry completely. Measure the sign for the next step.
- Open the design software and type out the chosen text. Weld each set together. I used "Oh Holy Night," but you could do "Joy Hope Love," or "Warm Winter Wishes."
- Place the vinyl onto the cutting mat, load the mat into the cutting machine, and have the machine cut the permanent vinyl.
- Remove the negative vinyl from the lettering design and discard.
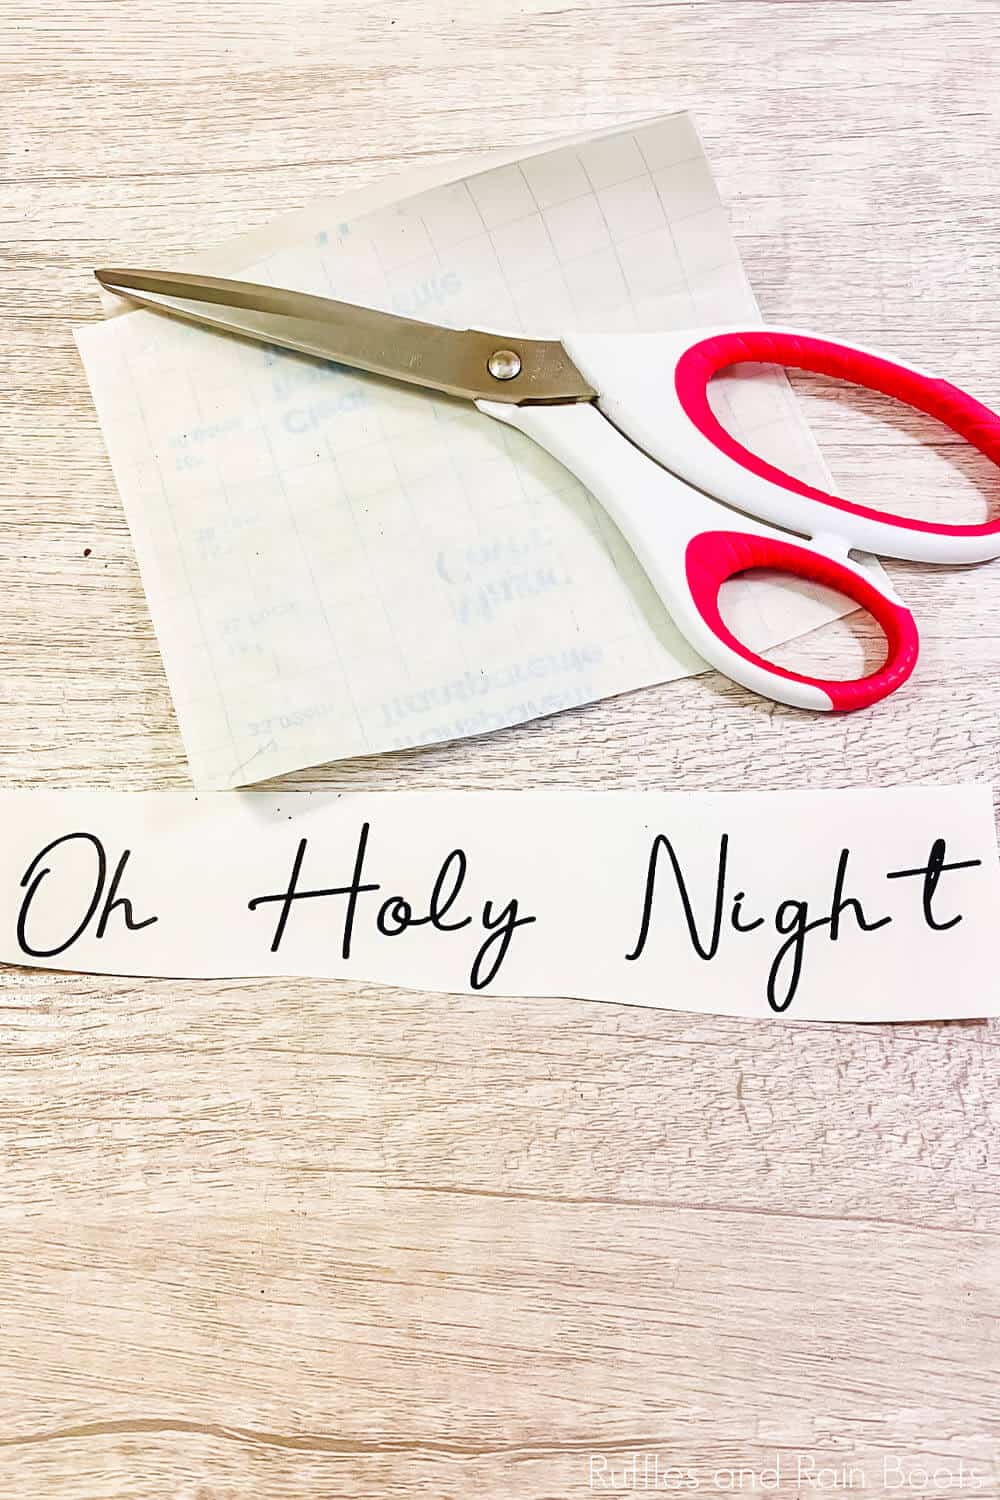
- Cut a piece of transfer paper about the size of your vinyl design and place the transfer paper on top of the vinyl. With the scraper tool, rub the vinyl design to ensure that the vinyl affixes will to the transfer paper.
- Flip the vinyl and transfer paper face-down and begin to gently remove the vinyl backing off, leaving the vinyl design on the transfer paper.
- Position the vinyl design and transfer tape on the right side of the face of your sign. Take care to position it lightly on top of the wood sign and do not smooth down.
- Once you are happy with the location of the design, begin to apply pressure and smooth the design onto the wood using a scraper tool, clean tennis ball, or old gift card.
- Slowly peel the transfer paper away starting at a corner. Carefully roll it up and away from the wood and the vinyl will stay on the sign.
- Using the E6000 glue, glue the houses together in order. Allow the glue to dry completely and display.
Notes
For more fun Dollar Tree crafts, visit Ruffles and Rain Boots!
Recommended Products
As an Amazon Associate and member of other affiliate programs, I earn from qualifying purchases.
More Christmas Cricut Crafts You Might Like
- Easy Home for the Holidays Sign – This home for the holidays sign is a statement piece and is a quick way to add something to a blank wall or back of a book case.
- Plush Christmas Ornaments – If you have some old flannel shirts or fabric, add a little glitter vinyl and you get these adorable Christmas ornaments made with a Cricut.
- Farmhouse Christmas Garland DIY – This is a gorgeous, rustic garland and it is honestly such an easy holiday Cricut project.
Your shares are how this site grows and I am sincerely grateful. Know a friend who’d like this? Please share it to a crafty group on Facebook or save it to a Cricut Christmas crafts pin board.


Meet the Creator
Hi there, I’m Sarah Nenni-Daher. I’m a crafty gal and always have at least 14 projects going at once. I am a crafter, designer, DIYer, and pattern maker. I share my creations here and in the Ruffles and Rain Boots® Shop.
Here at Ruffles and Rain Boots®, you’ll find DIY gnomes, crafts, gifts, cupcakes, laser crafts, and so much more. I love sharing video tutorials over on YouTube and chatting with other crafters in my Facebook groups. We’d love to have you!