Farmhouse Wood Slice Ornament
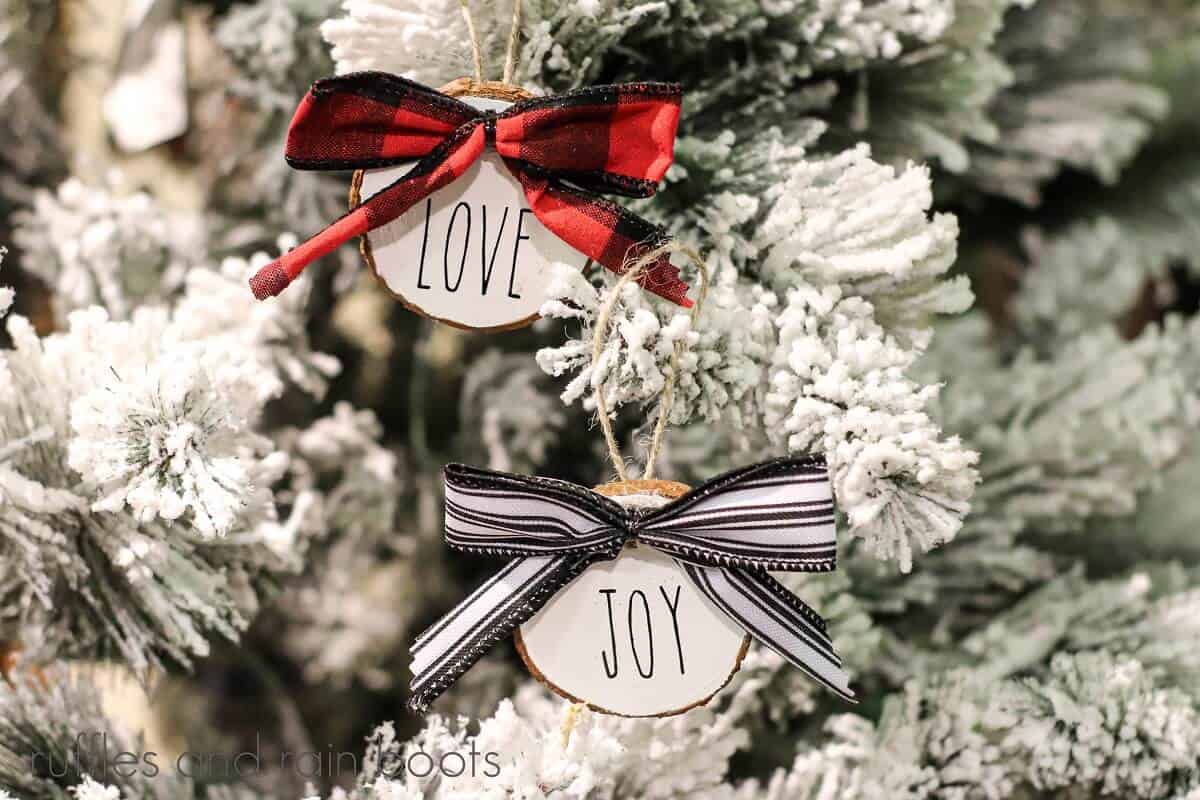
This precious farmhouse wood ornament is so easy to make, you will want to crank out a bunch of them and share them with everyone you know. They are going to go nuts for these beauties!
This should be on the Christmas craft night idea list if you’re putting together a family crafting session (or one with a bunch of friends). These rustic Christmas decorations are easily made and can even be prepped in advance to cut down on time assembling.
RELATED READING: Make This Farmhouse Gnome Ornament
What You'll Find On This Page
Easy Wood Round Ornament Idea
Here at Ruffles and Rain Boots, this simple style is just a hit all around – even so many years later. I think people just love the look because of the clean lines and rustic charm.
Looking at my INSANELY large wood slice / round ornament stash today, this easy Christmas tree ornament craft popped into my head. These farmhouse wooden ornaments are inexpensive, are great for beginners, and a set can be made pretty quickly.
No Time to Make This Now? Save or Share
Need to wait on your package of wood slices to arrive before you can get started on your homemade ornament? Just save this farmhouse ornament DIY to your favorite holiday craft or Christmas pin board or share it on Facebook.

As an Amazon Associate, I could earn from qualifying purchases. There may be affiliate links within this article.
Tips for Using A Hot Glue Gun On Wooden Ornament
- When using a hot glue gun, allow it to heat up fully before using it. This can take up to 5 minutes depending on your model but that is one of the best tips I’ve learned and I share it with everyone.
- Tiny bows give some people trouble. If you want to create a good-looking bow, watch this how to tie a mini bow tutorial I shared.
- Always use the stand on the glue gun in between uses. Never lay the glue gun on its side or nozzle down.
- Control the flow of glue by pulling the trigger slowly, pointing the nozzle down, close to but not directly on your material. My favorite glue gun is this one from Surebonder to get into pretty tiny details without making a mess!

Here are the Supplies For Your Farmhouse Ornament
As always, use what you have on hand. I accidentally ordered 3 packs of the wood slices, so I made quite a few of these into sets. Be sure to keep that in mind if you’re ordering / making bows to coordinate.
- Wooden Slice Ornament Kit (I have this one from Amazon)
- White acrylic paint
- Foam or synthetic brushes
- Small bows (get Buffalo Style mini bows here)
- Rub-Off Decals or Clear-Back Stickers here on Etsy)
- Ruler
- Scissors
- Craft glue or hot glue gun
- Ribbon or twine
- Card or coin to rub off decals

How to Make a Primitive Wood Christmas Ornament with Bows
Each step for this farmhouse-inspired ornament is detailed below so it’s easy to follow. Keep this page open while you are creating your Christmas ornament craft. If you would rather have a printable how-to, just scroll down and select the print button.

Paint the front of the wood slice with white acrylic paint.
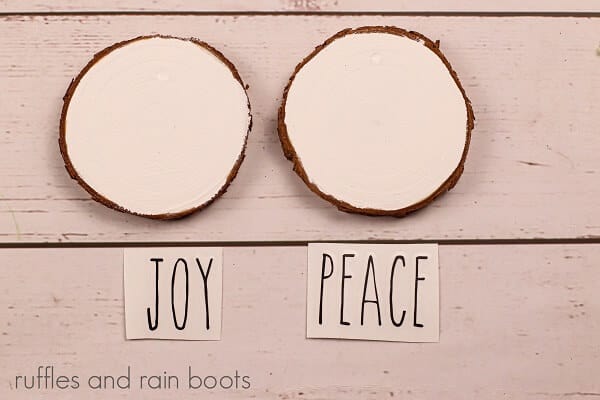
Using a credit card, rub the decal onto the painted side of the wood slice.

Attach twine to the top of the back side of the wood slice.

Attach the bow to the top of the ornament. Now your simple ornament idea is complete.
Notes on Making a Farmhouse-Style Ornament
- If your wood slices do not have a hole, you can make your own with a drill. Just be careful handling this power tool and go slowly to avoid splitting the wood.
- If using gesso instead of acrylic, use 2-3 coats for full coverage (I like to use a heat gun in between to speed up the process).
- Because your ornament will get a lot of use, perhaps double-seal it after it’s complete. You can use a spray or liquid sealant or a matte or gloss wood sealer like ModPodge.
- If you’re putting this together for a Christmas craft night, paint all of the wood slices in advance to speed up the process.
- You can use these same rub on decals on glass ornaments. I found some at the craft store that were already white!
More DIY Christmas Ornaments You May Like
- Wooden Cricut Joy to the World Ornament: This simple but elegant Cricut craft idea comes together quickly but this Christmas craft for adults looks like you spent half the day making it.
- DIY Plaster Gnome Ornament: Whether painted or left white, you can make this fun Christmas craft to fit any decor.
- Baby Yoda Ornament: Add this adorable Baby Yoda homemade Christmas ornament to your Star Wars ornament collection.
Please Save or Share
Your shares are how this site grows and I sincerely appreciate it. Please save this ornament tutorial to your favorite craft or DIY ornament or Christmas pin board or share it on Facebook.
Wood Slice Christmas Ornament

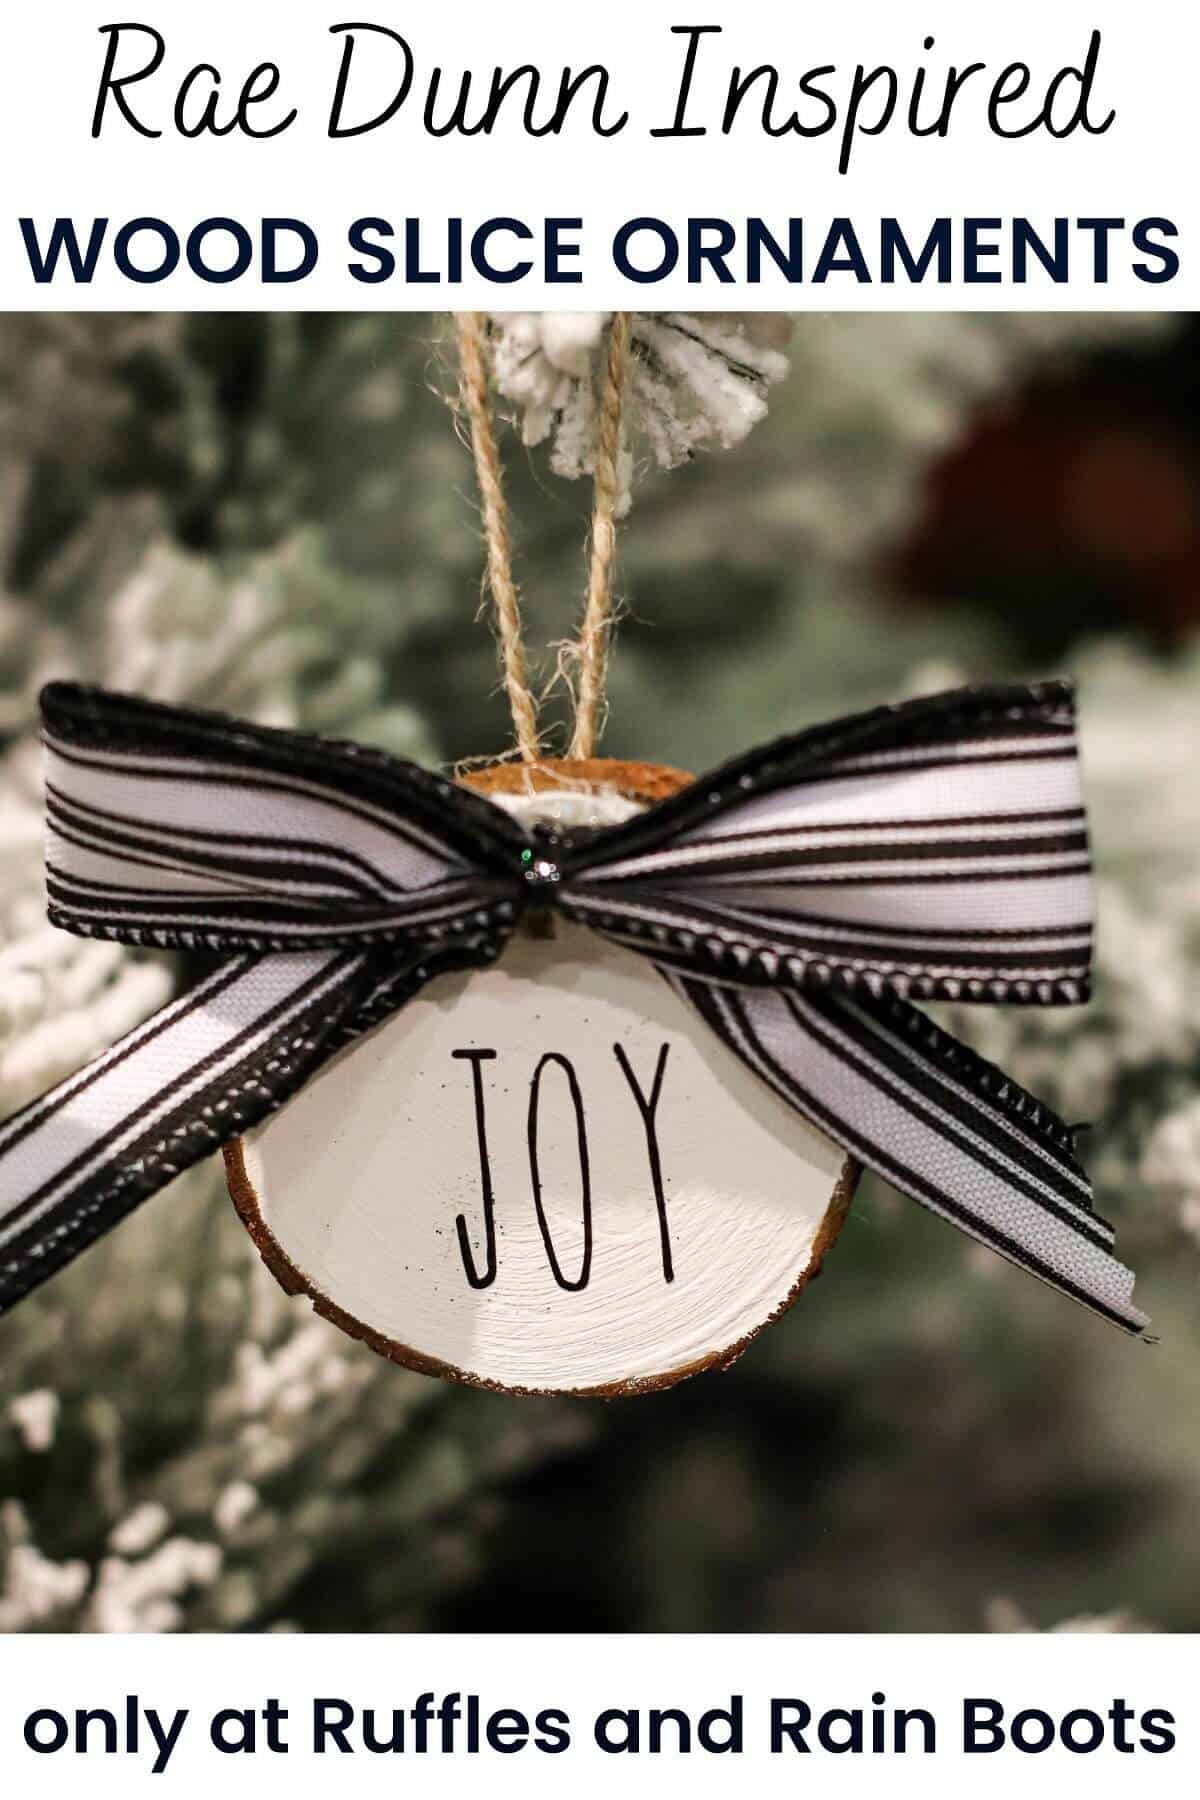
This Farmhouse Style Wooden Ornament craft project is ready in minutes and looks great on your Christmas tree! Rae Dunn-inspired ornament crafts are hot, hot, this year. This Farmhouse wooden ornament craft idea is so simple the kids can help. All you need are some simple craft supplies, wood slices, and Rae Dunn-style decal letters. This Christmas ornament craft is a thoughtful homemade gift.
Materials
- Christmas Rub Off Decals or Stickers (Etsy)
- Wooden Slice Ornament Kit
- White acrylic paint
- Small Bows
- Ribbon or Twine for Hanging
Tools
- Foam or Synthetic Brushes
- Ruler
- Scissors
- Craft Glue or Hot Glue Gun
- Card or Coin (if using rub off decals)
Instructions
- Paint the front of the wooden slice with white acrylic paint. Allow to dry, paint one more coat, and allow to dry fully.
- Line up the decal and using a credit card or coin, rub the decal onto the painted side of the wood slice. Carefully peel off the backing.
Conversely, if using the sticker style decal linked above, press firmly onto the ornament and remove the transfer tape. - Cut a 6” length of ribbon or twine and form a loop. Attach the twine to the top of the back side of the wood slice using craft glue or a glue gun. Allow to dry completely before hanging.
- Attach the bow to the top of the ornament using craft glue or a glue gun.
Notes
Red or black paint on the wood ornament with white lettering looks amazing on a flocked tree.

