
You Can Make This Farmhouse Dollar Tree Gnome Stand in 10 Minutes!
If you’ve ever needed to add just a little bit of height to your gnomes for the perfect layout, this farmhouse Dollar Tree gnome stand is exactly what you need.
Farmhouse Dollar Tree Gnome Stand
Here at Ruffles and Rain Boots, we love making gnomes. But sometimes, I just need a little tiny bit more height for a gnome. I mean, just a little bit more is all I need to make a really nicely laid-out farmhouse tiered tray or set-up my entry table. I mean, who likes everything to be all the same height?! Not me. Variety is the spice of life. So, late one night inspiration struck.
RELATED READING: STABLE SOCK GNOME FROM A SWEATER SLEEVE
I had a couple of Dollar Tree supplies lying around that were calling my name, so I whipped-up this easy farmhouse Dollar Tree gnome stand and solved my little height issue! If you can’t wait to add a little height to your latest gnome, let’s get started.
No Time to Make This Now? Pin it for Later
You’re busy, I get it. Pin this to your favorite easy crafts board on Pinterest and it’ll be here when you’re ready.

As an Amazon Associate, I can earn from qualifying purchases.
Tips to Make a Dollar Tree Stand
- I definitely recommend using something a little sturdier than hot glue for this particular craft. I decided to use E6000 glue like this, just for a bit more hold.
- You can’t go wrong with Dollar Tree supplies, but if you’re having trouble finding the wood round at the dollar store, you can generally find one at your local hardware store or grab a nice wood round that will work perfectly here.
- If you need a cute gnome to put on top of your farmhouse Dollar Tree gnome stand, there’s nothing cuter than this little DIY mini sachet gnome I made ages ago.

How Do I Make this Farmhouse Dollar Tree Gnome Stand?
I’m so glad you asked. Below is our written tutorial.
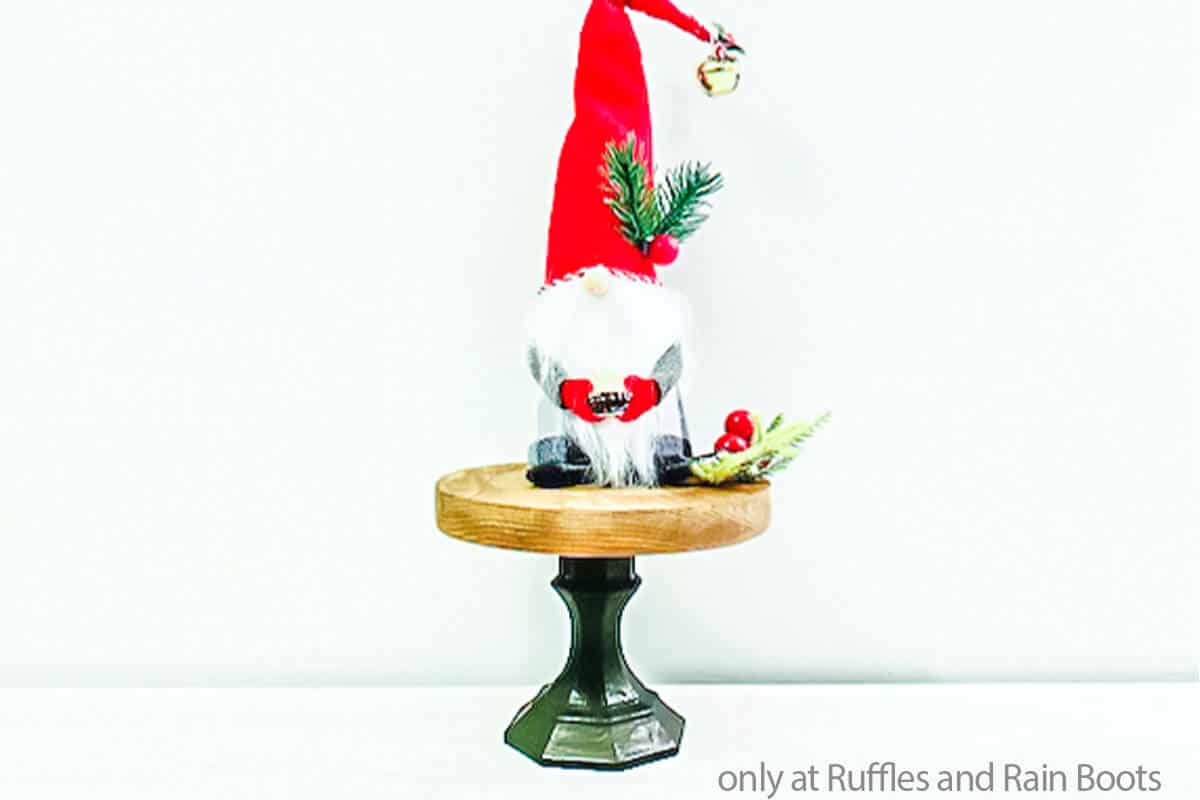
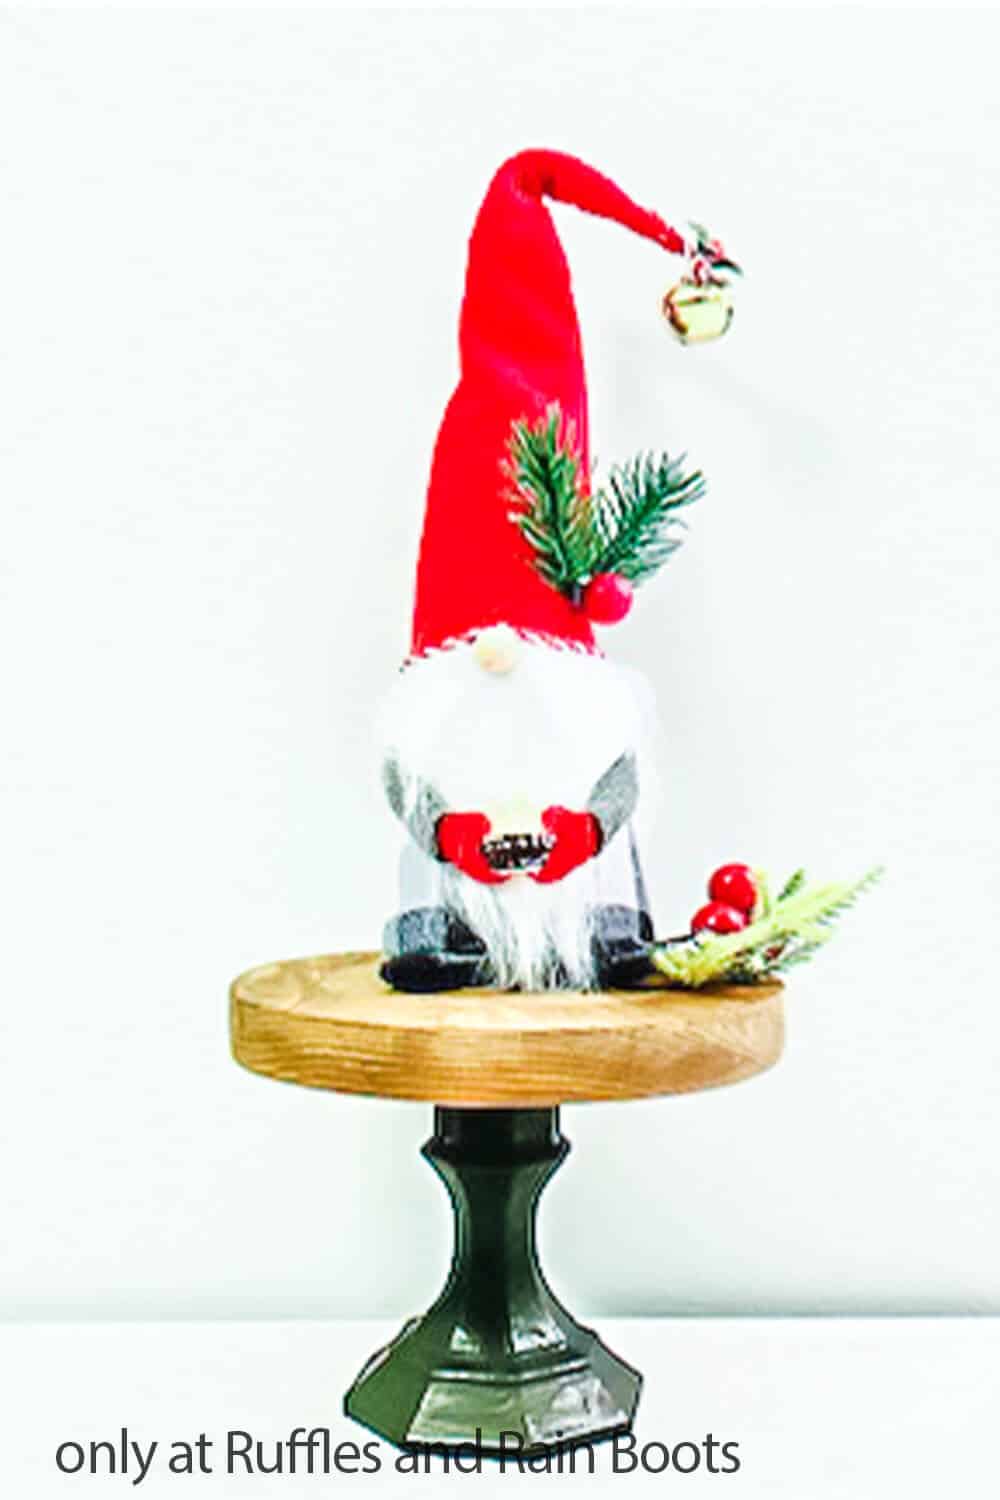
Farmhouse Dollar Tree Gnome Stand

I made this easy farmhouse Dollar Tree gnome stand in just minutes and it adds the perfect amount of height to my wee gnomes!
Materials
- 3-inch Wood Round
- Clear candle stick holder
- Black Chalk Paint
- Stain of choice (I used Early American)
Tools
- E6000 Glue
- Paint Brush
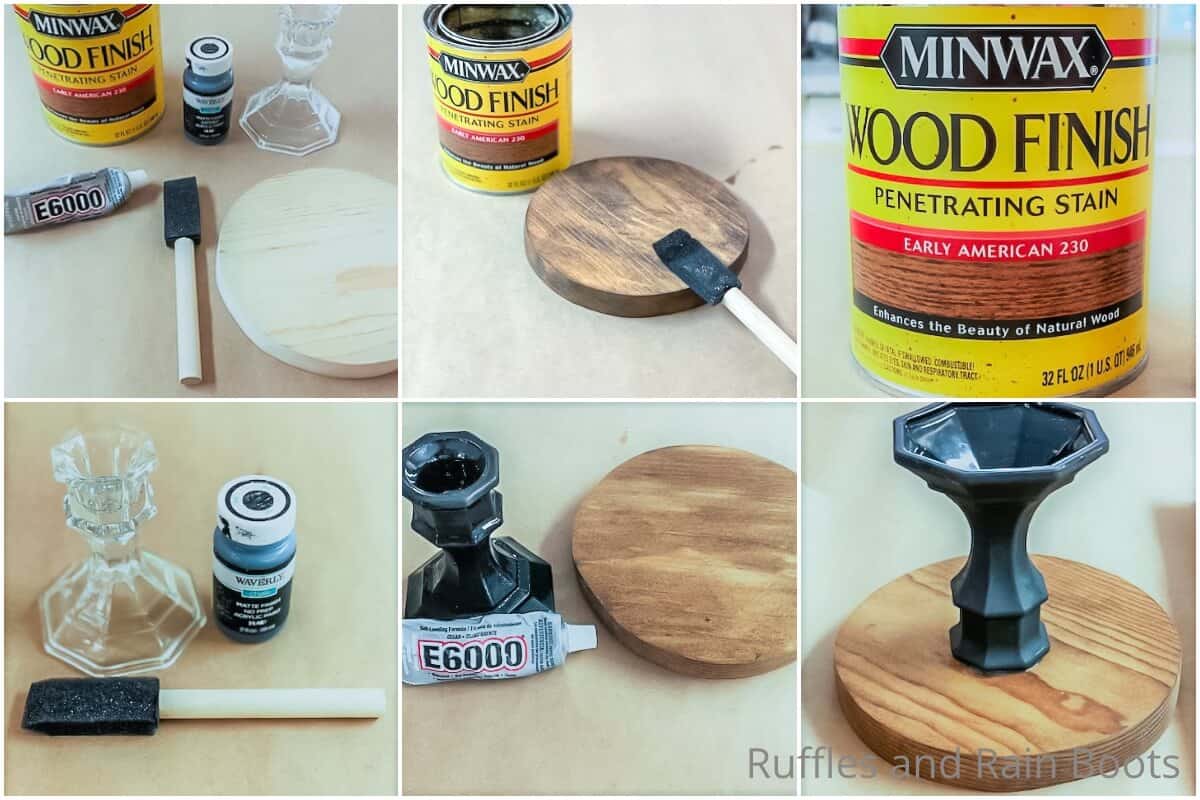
Instructions
- Sand your wood round if it's rough. Stain with color of choice and allow the stain to dry completely.
- Paint the candle stick holder using black chalk paint. Allow the paint to dry completely. It may take more than one coat to cover well, so repeat painting, as needed.
- Turn both the wood round and the candlestick upside down and glue the candlestick to the center of the wood round using the E6000. Allow the glue to set overnight and enjoy!

Notes
For more fun Dollar Tree crafts, visit Ruffles and Rain Boots!
More Dollar Tree Crafts You Might Like
- Dollar Tree Book Stack – Super simple, but you can make a fun book stack to add to your farmhouse tiered tray or your entry table in just a few minutes!
- Himalayan Salt Scrub – A little DIY beauty recipe made from dollar store supplies and you’ve got a mini-spa day.
- Gnome from a Cup – Quick little gnome you can make with a cup, some ingenuity and a a little hot glue!
Please Save This to Pinterest
Your shares are how this site grows and I am sincerely grateful. Know a friend who’d like this? Please share it on Facebook or save it to your favorite Dollar Tree crafts board on Pinterest.

Meet the Creator
Hi there, I’m Sarah Nenni-Daher. I’m a crafty gal and always have at least 14 projects going at once. I am a crafter, designer, DIYer, and pattern maker. I share my creations here and in the Ruffles and Rain Boots® Shop.
Here at Ruffles and Rain Boots®, you’ll find DIY gnomes, crafts, gifts, cupcakes, laser crafts, and so much more. I love sharing video tutorials over on YouTube and chatting with other crafters in my Facebook groups. We’d love to have you!