
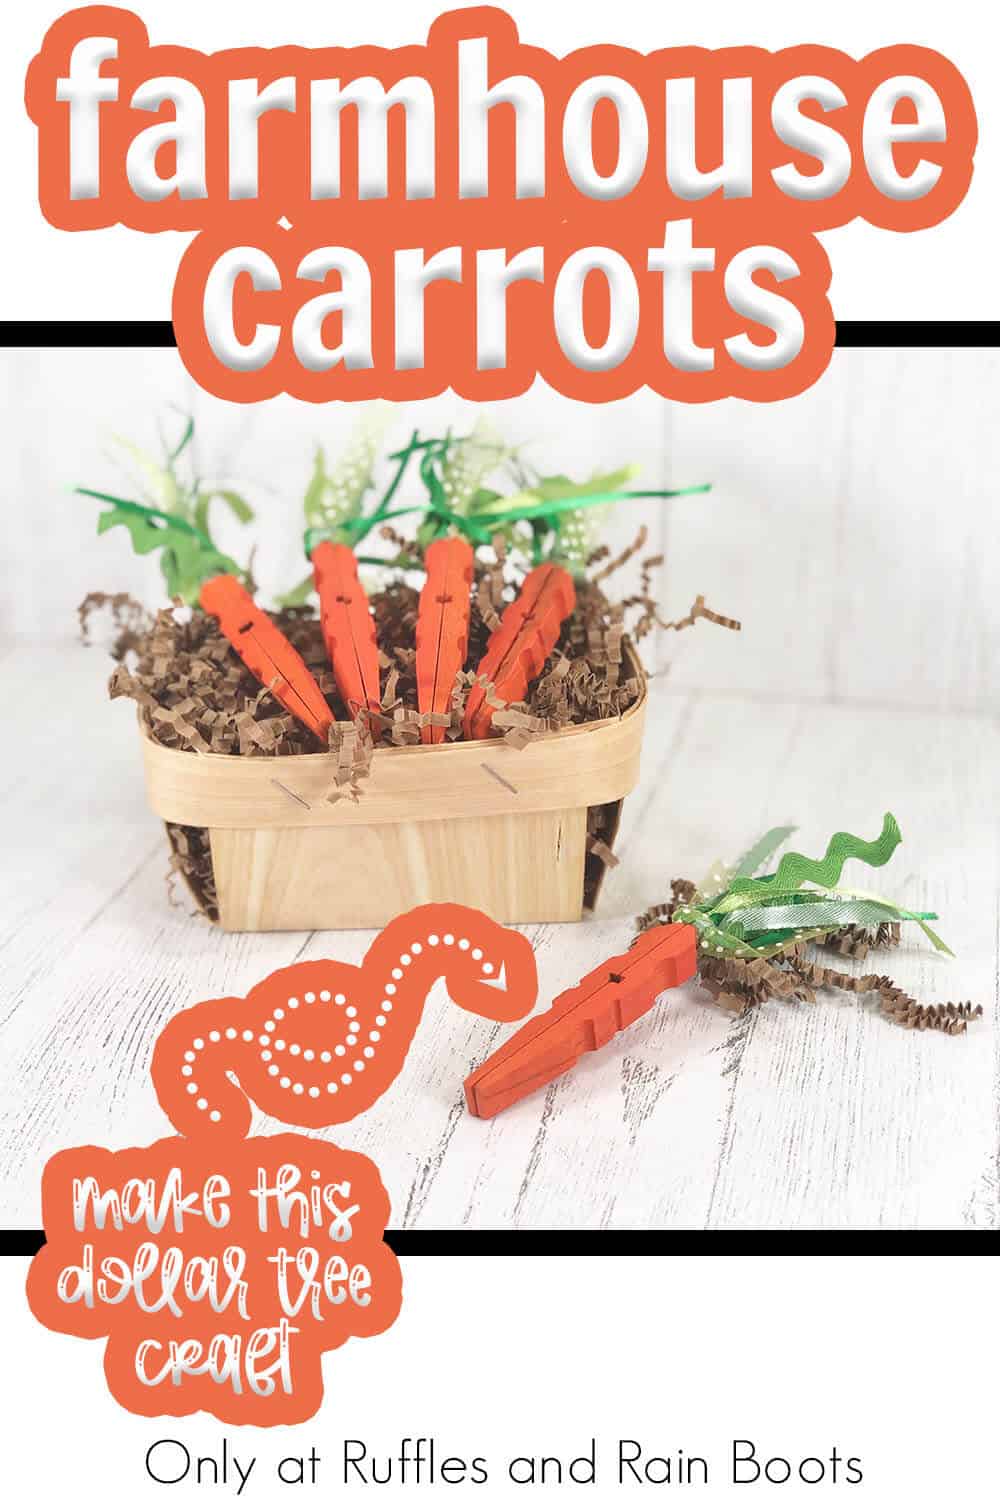
Dollar Tree Farmhouse Carrots for Easter
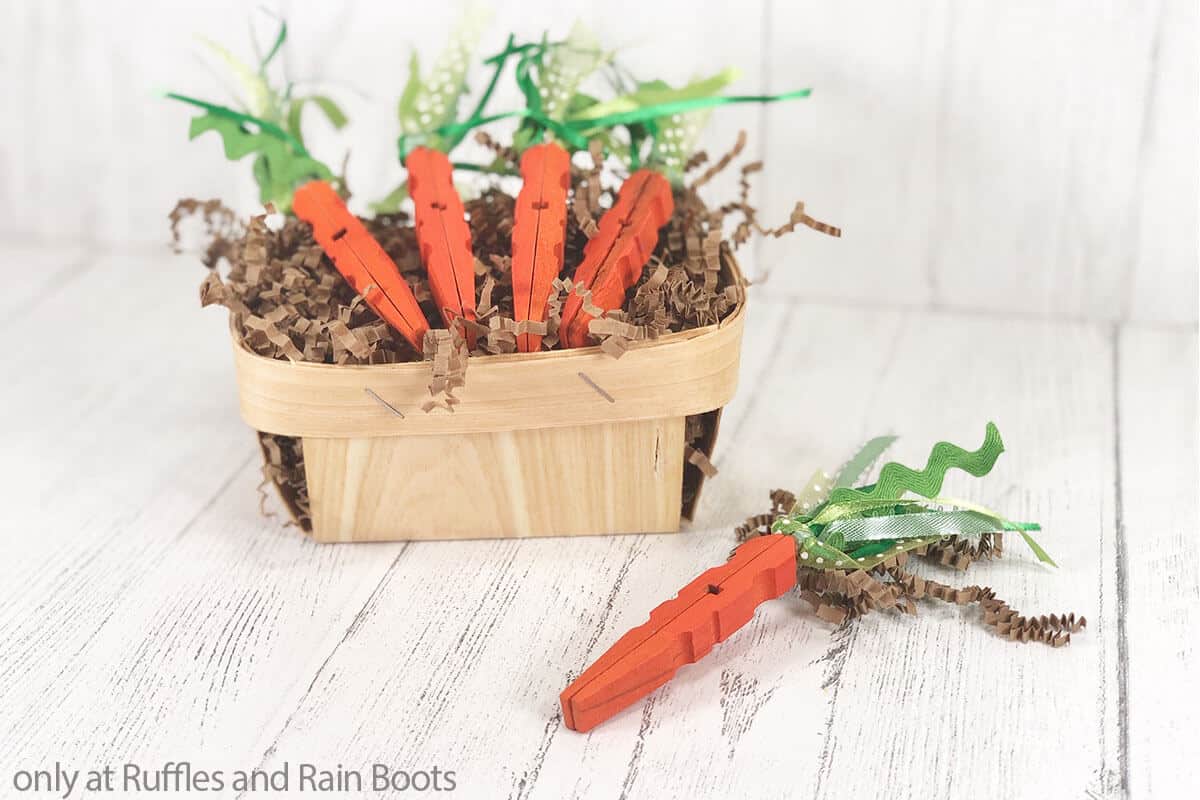
Making these quick and easy farmhouse inspired Dollar Tree carrots from clothespins is a really great way to bring a bit of color to your Easter tiered tray! Grab the clothespins from the dollar store for a frugal DIY.
RELATED READING: Farmhouse Book Stack (Dollar Tree)
Farmhouse Carrots from Clothespins
Here at Ruffles and Rain Boots, I wanted to make an easy tiered tray for Easter. Having everything I needed on hand, I decided to make a quick set of farmhouse carrots from clothespins that really bring a pop of fun!
Super simple to make, these farmhouse carrots are a bright bit of rustic charm. You only need a few supplies and you’ll be sure to clear up some of that ribbon stash you’ve been hoarding.
Too busy to get started right now? Save this to an easy crafts pin board or share it on Facebook. Either way, it will be easy to find when you’re ready to begin.
As an Amazon Associate, I can earn from qualifying purchases. There could be affiliate links within this article.
Tips to Make Rustic Clothespin Carrots
- You can find all of these supplies at a lot of different stores, but always check thrift and dollar stores.
- If you want a more rustic look, you can use a less saturated orange for the carrot body and then add some dry brushed white paint.
- Brown raffia or paler green ribbon bits can make this more of a shabby chic style.
- If you need a great way to display your little farmhouse carrots made of clothespins, you can make a quick DIY farmhouse tiered tray.

How to Make Farmhouse Carrots from Clothespins
Below is the written tutorial. You can keep this page open or print it out for a craft night party.
Farmhouse Carrots from Clothespins

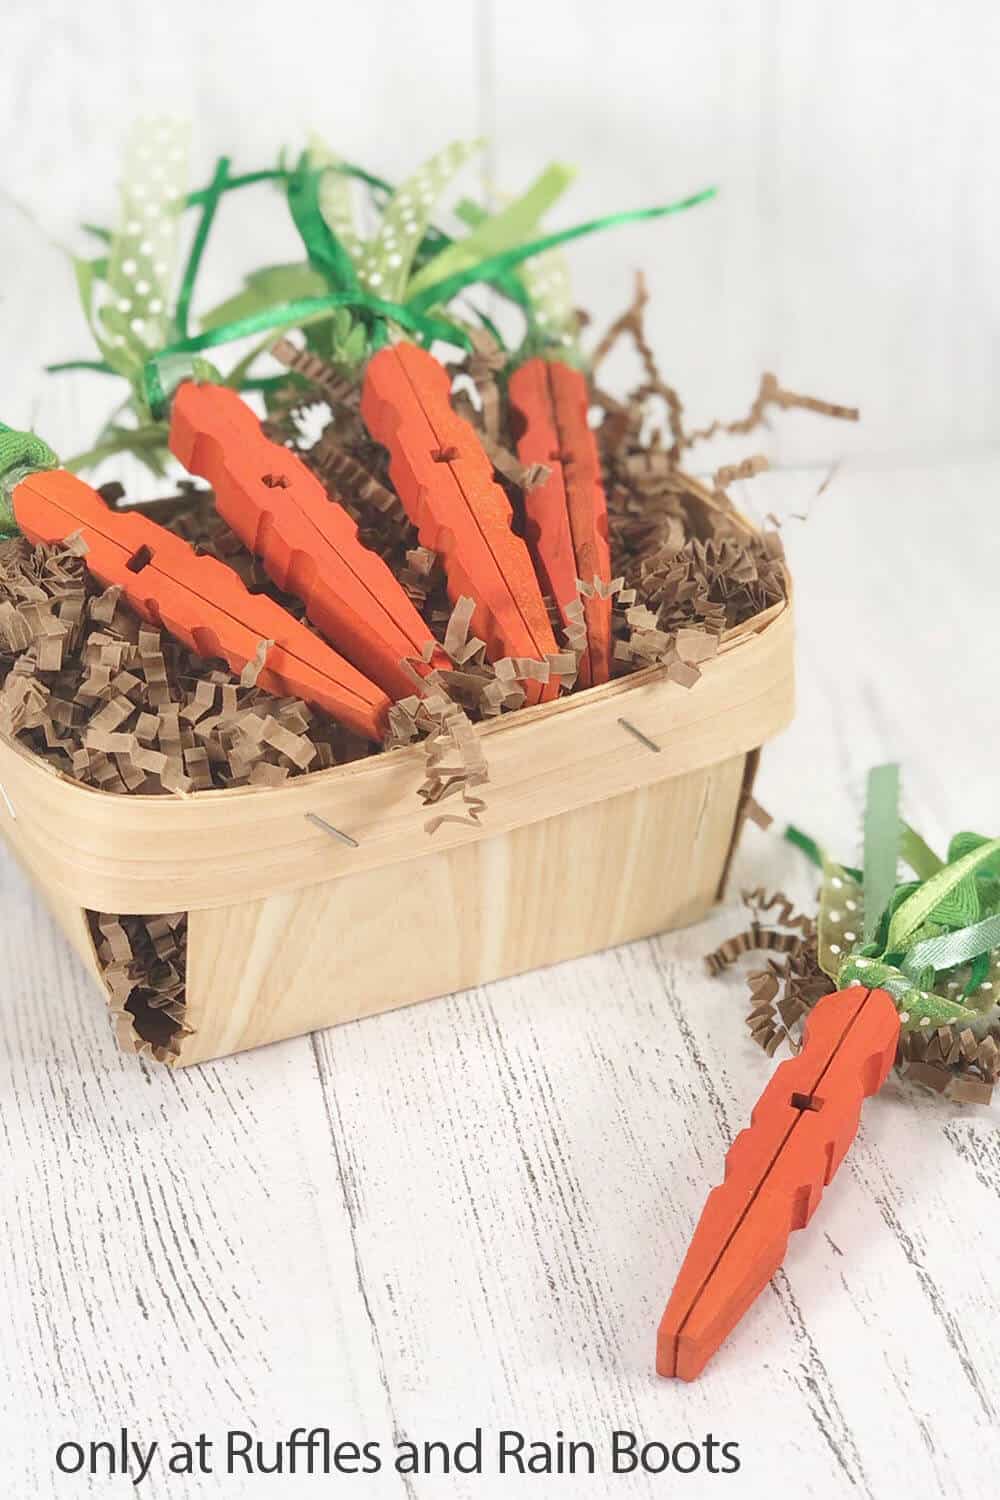
These Dollar Tree farmhouse carrots are a fun afternoon craft. You will need clothespins, ribbon, and paint to whip up a carrot patch of your own. These DIY carrots are perfect for a tiered tray, farmhouse decor, or a rustic charm addition to a display or gift.
Materials
- Wood Spring-Style Clothespins
- Orange Acrylic Craft Paint
- Assorted Ribbons and Trims in a variety of Green Shades
Tools
- Hot Glue Gun and Glue
- Paintbrush
- Scissors
- Ruler
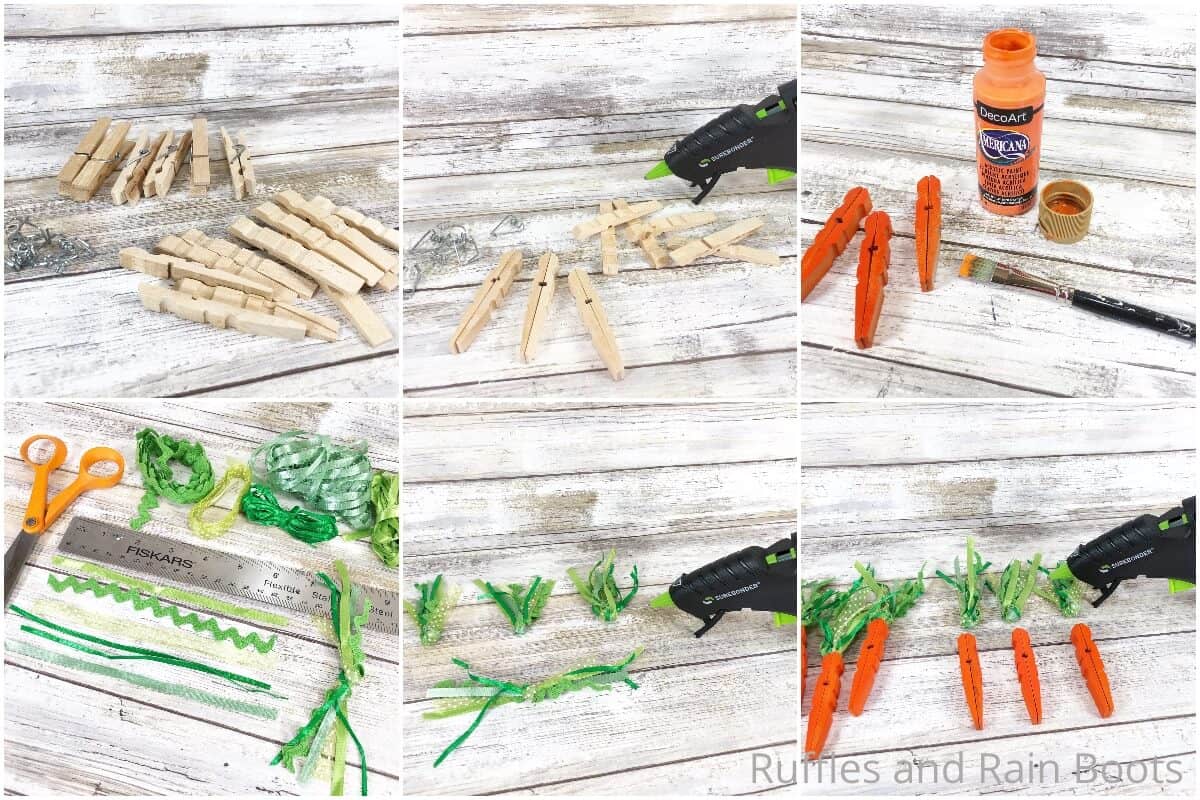
Instructions
- Take off the metal springs from each of the clothespins. Turn the clothespin halves back-to-back and glue them together.
- Paint all sides of the glued clothespins with the orange acrylic craft paint. Allow the paint to dry and apply a second coat, if desired.
- Cut 5-6-inch lengths of the various green ribbon options and combine into bunches of 5-6 pieces. Tie each bunch together in a knot in the center. Add a small dab of hot glue to the knot to secure it. To keep the 'leaves' from flopping around, press the ribbon together just above the knot while the glue is still hot to add structure.
- Glue one of the bunches of ribbon to the top center of each carrot. Then place them in your tiered tray and enjoy!

More Farmhouse Dollar Tree Crafts You Might Like
- Geometric Shelf Dollar Tree Hack – SUPER simple DIY that turns a couple of shelves into a fun and easy geometric shelf perfect for the bathroom, kids’ room or kitchen!
- Moss Holiday Farmhouse Tiered Tray Fillers – If you love a little touch of green in your farmhouse tiered tray decor, this fun moss DIY is perfect!
- Dollar Tree Gnome Stand DIY – I LOVE my gnomes, but sometimes they’re super short. So I like to make a little gnome stand to give a little height to my arrangements.
Please Save or Share This Rustic Farmhouse Craft Idea
Your shares are how this site grows and I am sincerely grateful. Know a friend who’d like this? Please share it on Facebook or save it to your favorite Dollar Tree DIYs pin board.
Meet the Creator
Hi there, I’m Sarah Nenni-Daher. I’m a crafty gal and always have at least 14 projects going at once. I am a crafter, designer, DIYer, and pattern maker. I share my creations here and in the Ruffles and Rain Boots® Shop.
Here at Ruffles and Rain Boots®, you’ll find DIY gnomes, crafts, gifts, cupcakes, laser crafts, and so much more. I love sharing video tutorials over on YouTube and chatting with other crafters in my Facebook groups. We’d love to have you!