
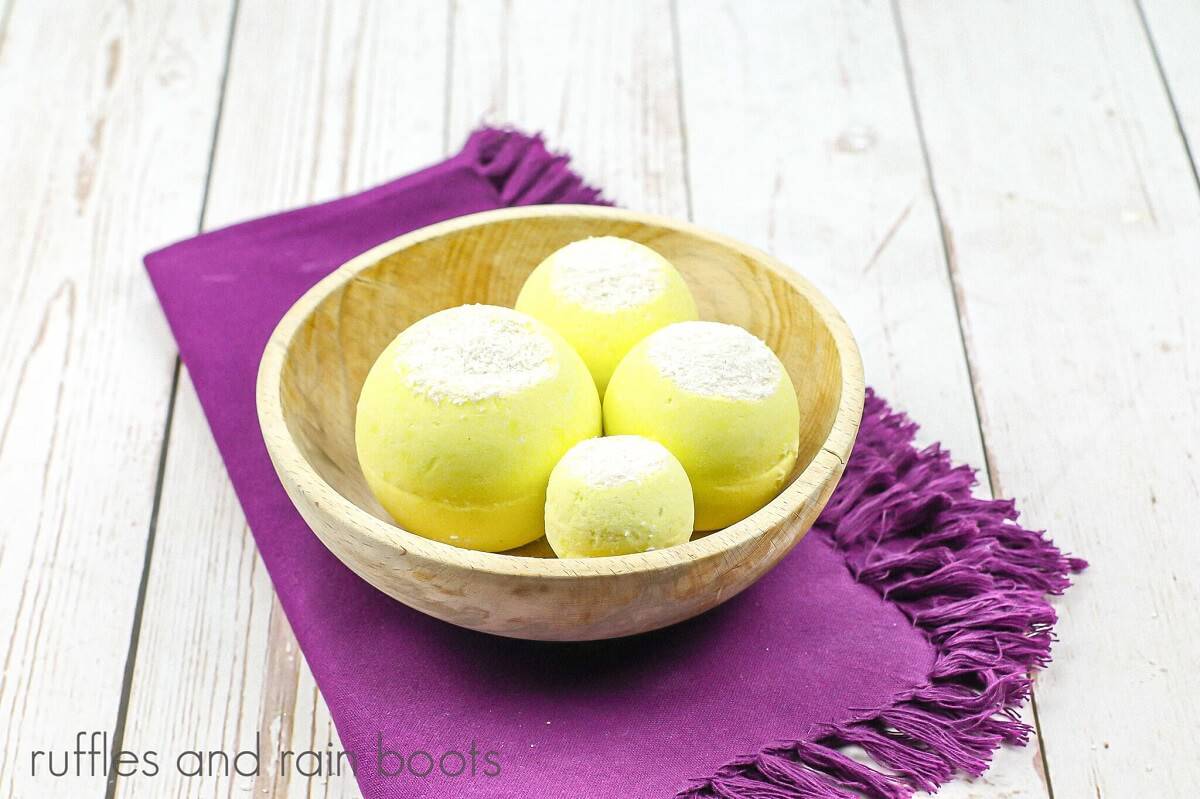
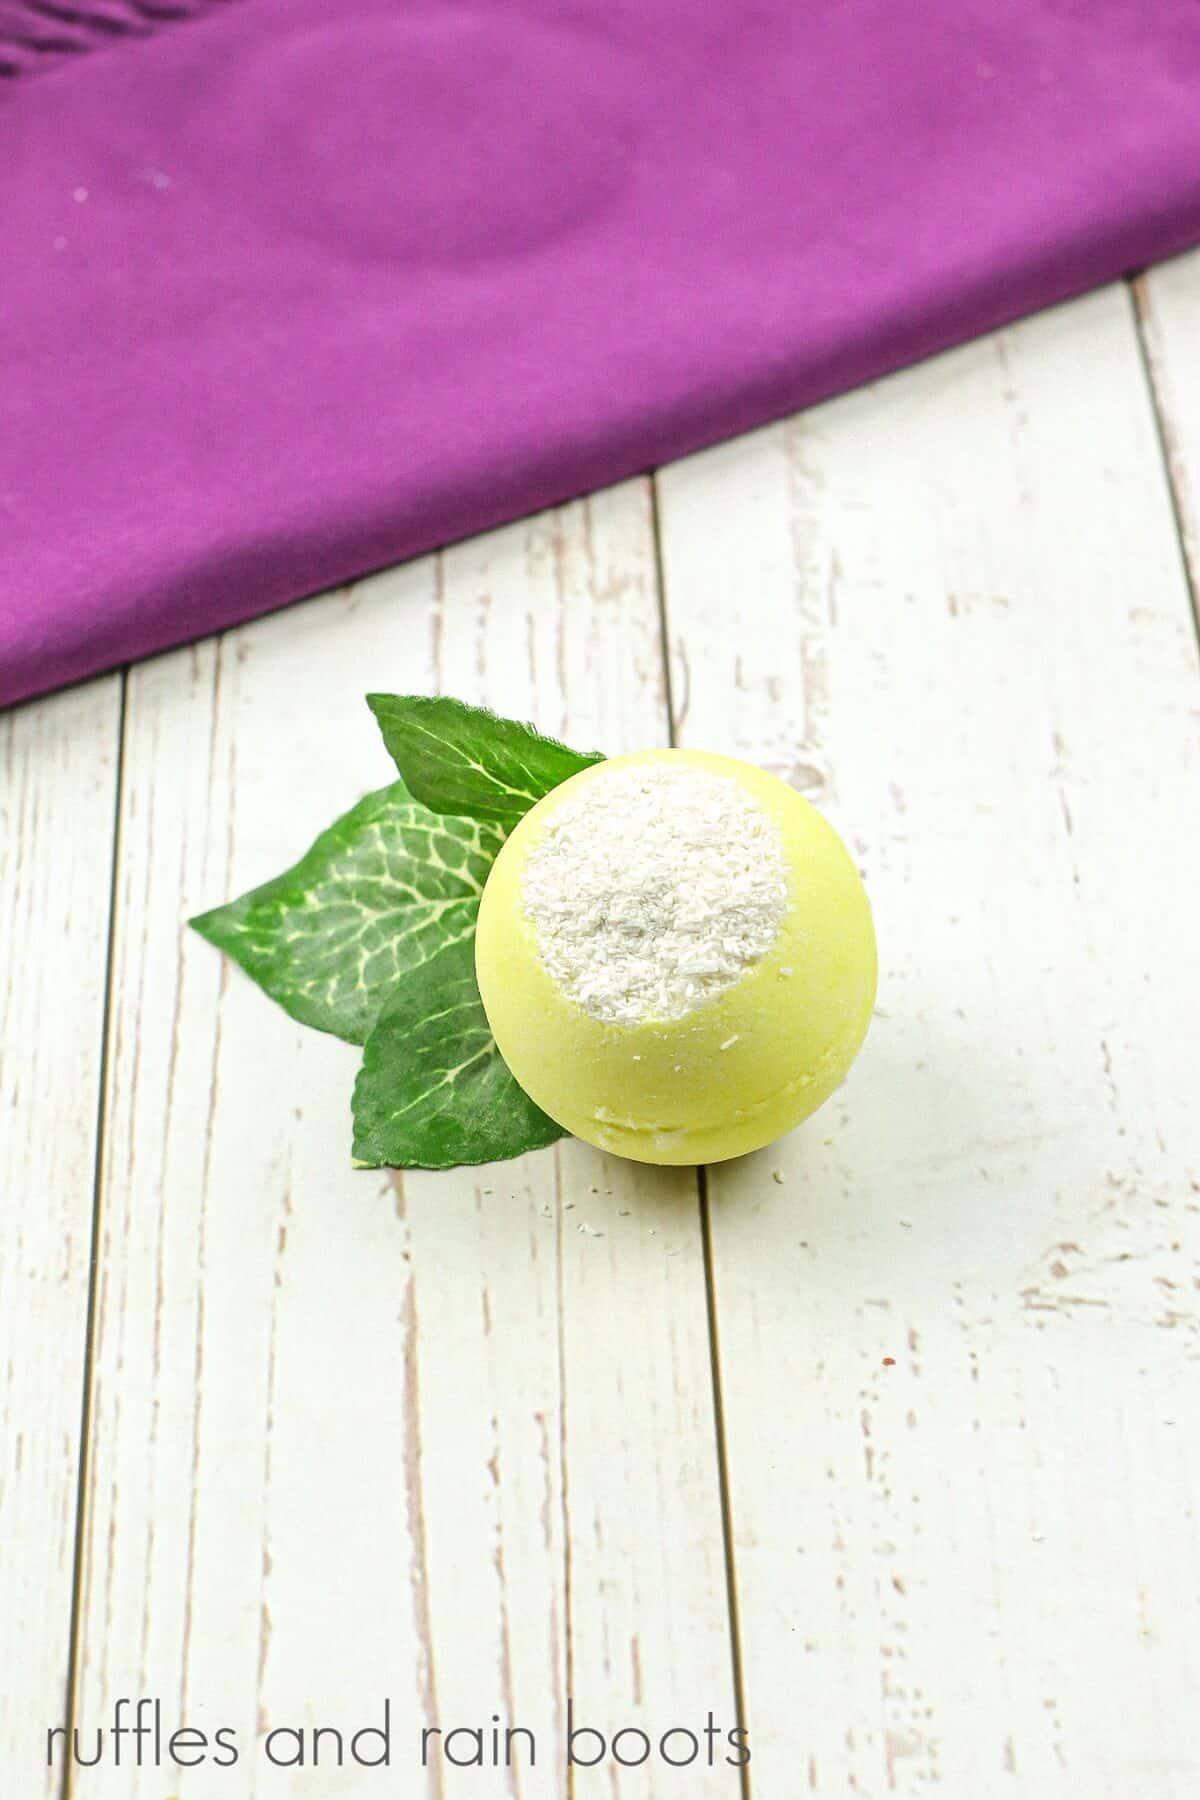
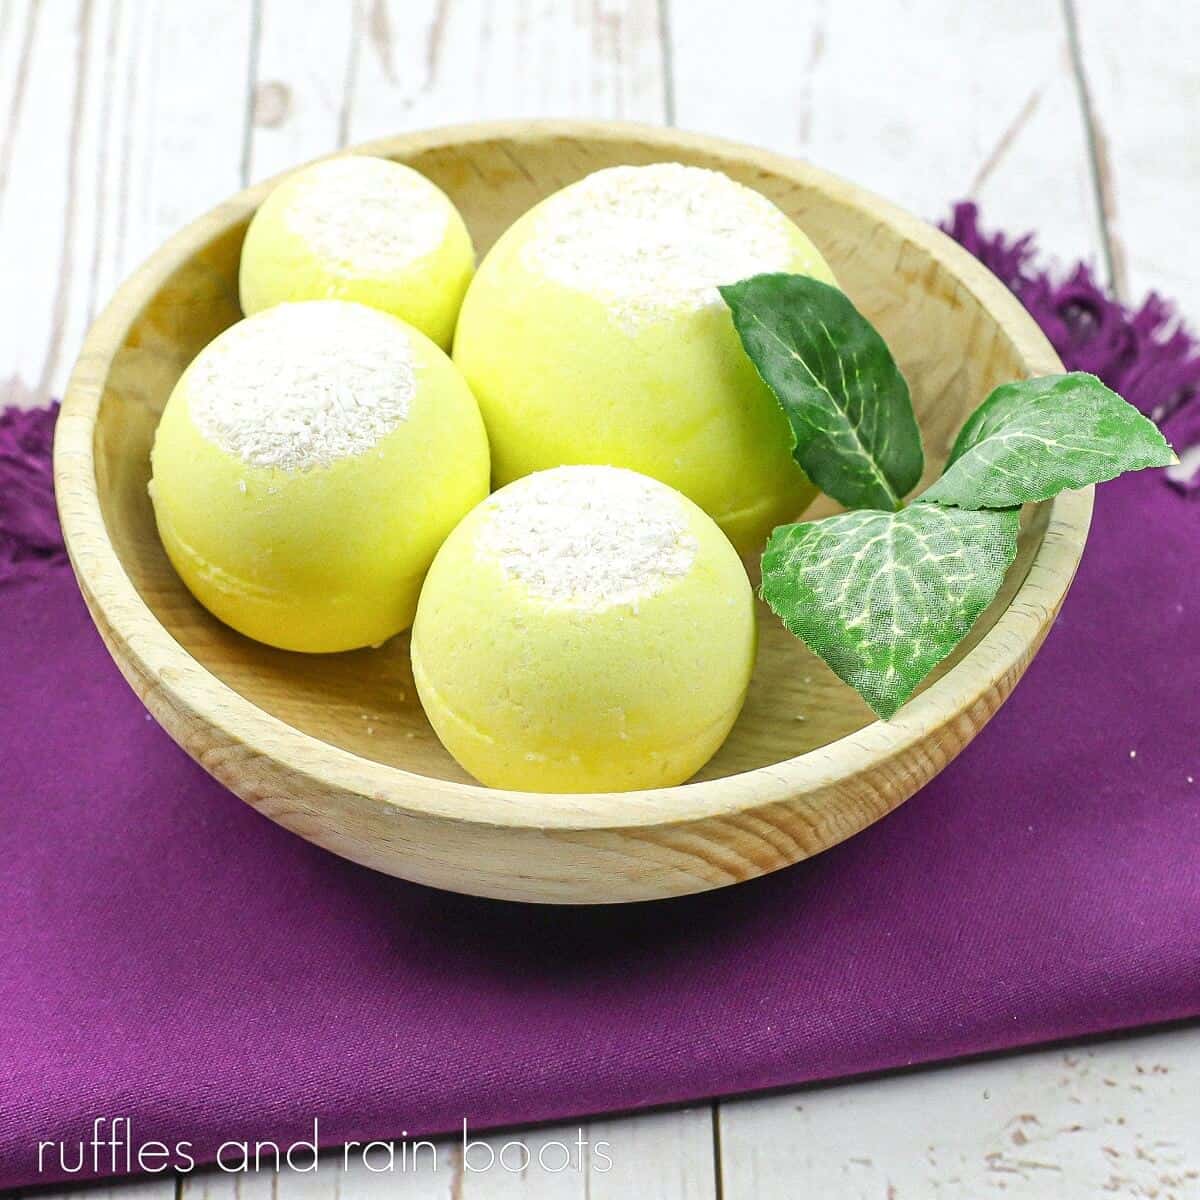
Lemon Exfoliating Bath Bomb Recipe
Are you ready to shed that dry winter skin and embrace the cute sleeveless looks of spring? These lemon exfoliating bath bombs will make your skin soft and smooth and smell amazing.
RELATED READING: Got Lemons Lying Around? Make These Lemon Zest Bath Bombs
What You'll Find On This Page
DIY Bath Bombs
Here at Ruffles and Rain Boots, it is not a secret that we love DIY skin care products. One of our favorite goodies to make are bath bombs. If you haven’t tried making them yet, you are in for such a treat because they are SO easy.
I will admit, I used to spend big bucks for the bath bombs you would find in the kiosk at the mall or a specialty boutique. Instead of the “latte factor,” it was the “bath bomb factor” for me.
No Time to Make This Now? Save or Share
Save this to your favorite health and beauty or craft pin board or share it on Facebook. Using the sharing buttons will make it easy when you are ready to create your DIY beauty product.
As an Amazon Associate, I may earn from qualifying purchases. There may be affiliate links within this article.
RELATED READING: This Yummy (Smelling) Bubblegum Bath Bomb Recipe Is A Treat
Tips for Making Your Lemon Bath Bombs
- There are many molds you can use for bath bombs. The traditional round bath bombs can be metal (we recommend stainless steel) or a plastic “clamshell” mold.
- If you live in an area of high humidity or it is a wet and humid day, use 90% or higher isopropyl alcohol as your binder. It can take up to 72 hours for a bath bomb to properly harden in this type of weather.
- Two must-have ingredients for the perfect bath bomb are baking soda and citric acid. You don’t want to leave either ingredient out and be sure to sift them.
RELATED READING: Hidden Toy Bath Bombs (the PERFECT Bath Time Fun)
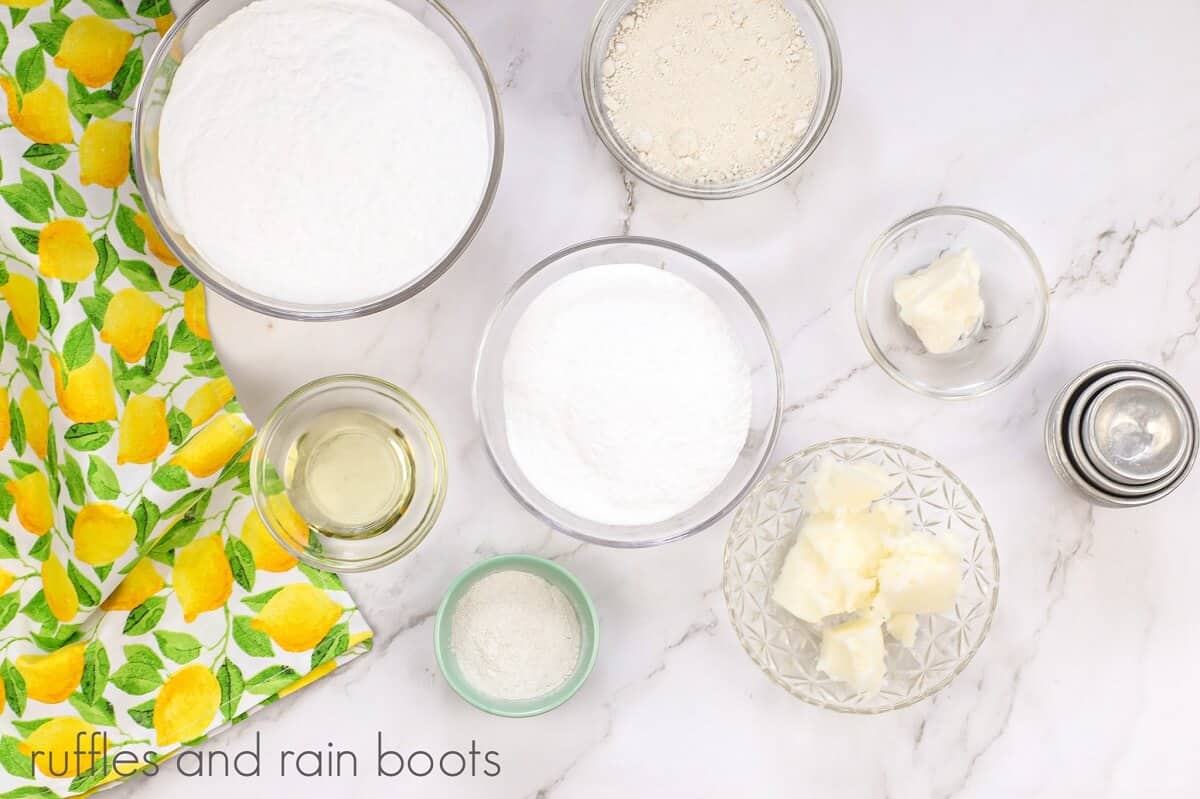
Supplies for Exfoliating Bath Bombs
Below is what I used to create a nourishing, yet exfoliating style of bath fizzy. The polysorbate is optional, so if you don’t have it, it’s fine to leave it out.
- 2 cups baking soda
- 1 cup citric acid
- 1/4 cup cornstarch
- 1/4 cup Epsom salts
- 1/4 cup white kaolin clay
- 1 tablespoon shea butter
- 1/3 cup coconut oil
- 1 teaspoon Polysorbate 80
- White and yellow mica colorant (but not food coloring)
- 10-20 drops of lemon essential oil
- Bath bomb molds
- Spray bottle filled with rubbing alcohol
- 1 large and 1 small mixing bowl
How to Make Exfoliating Bath Bombs
Each step of this bath bomb tutorial is detailed below so it’s easy to follow. Keep this page open while you are making your bath bombs. If you would rather have a printed tutorial, scroll down and select the print button.
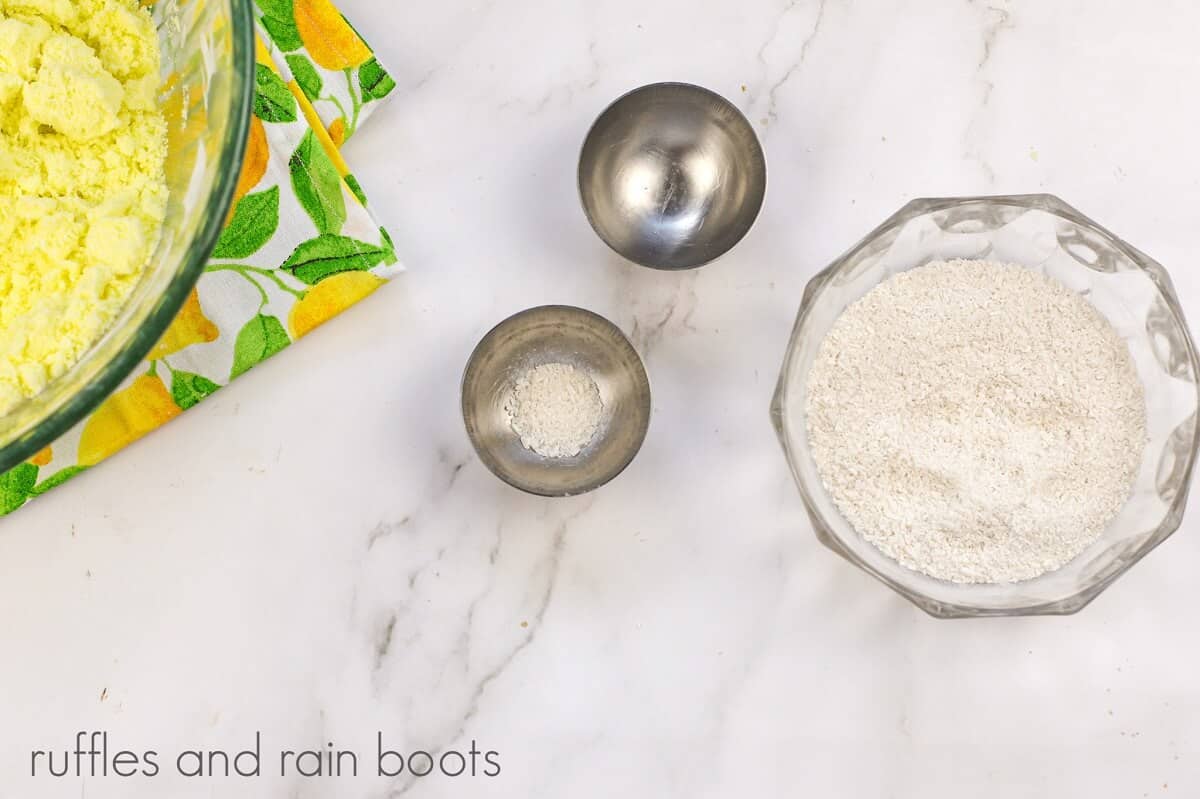
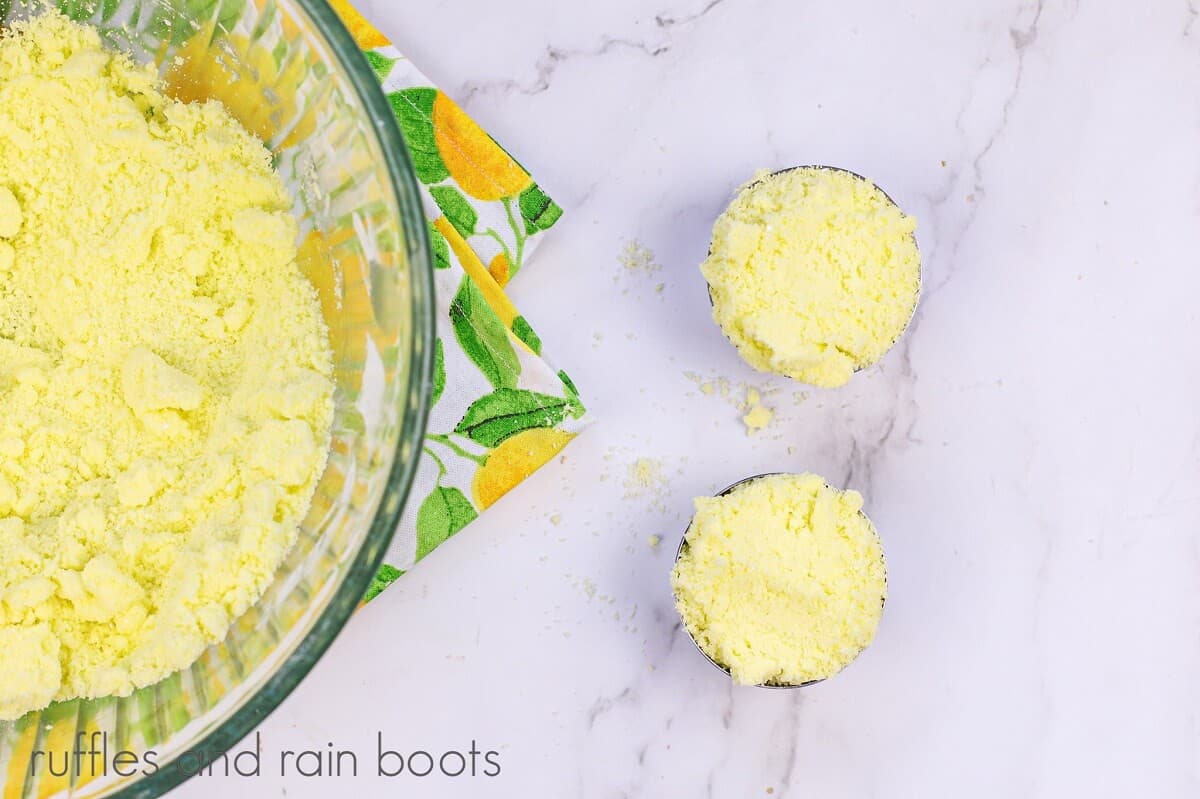
Before starting, melt any solid oils (coconut, shea, etc.) in a microwave-safe container in 30-second bursts. Stir in between each. Continue until completely melted. Then, In a small bowl, mix together the mica and Epsom salts.
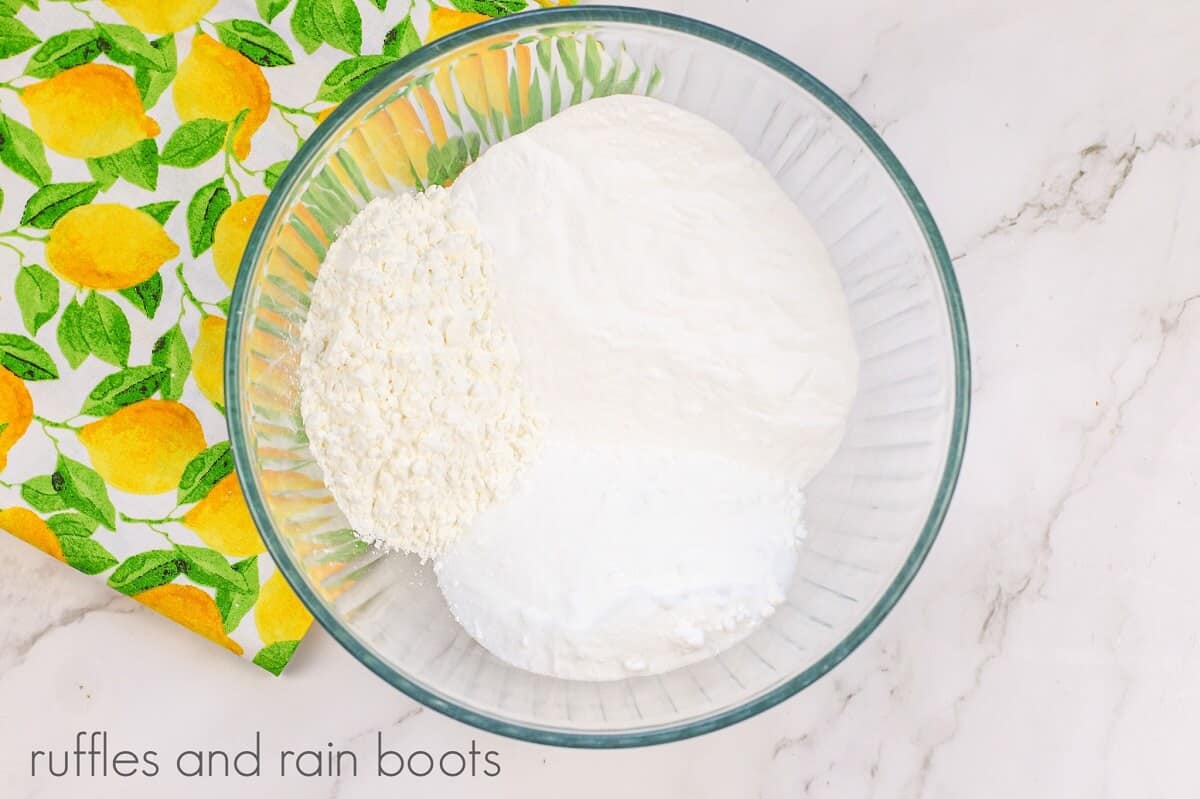
In a large bowl, add baking soda, citric acid, kaolin clay, and cornstarch. Whisk dry ingredients together.
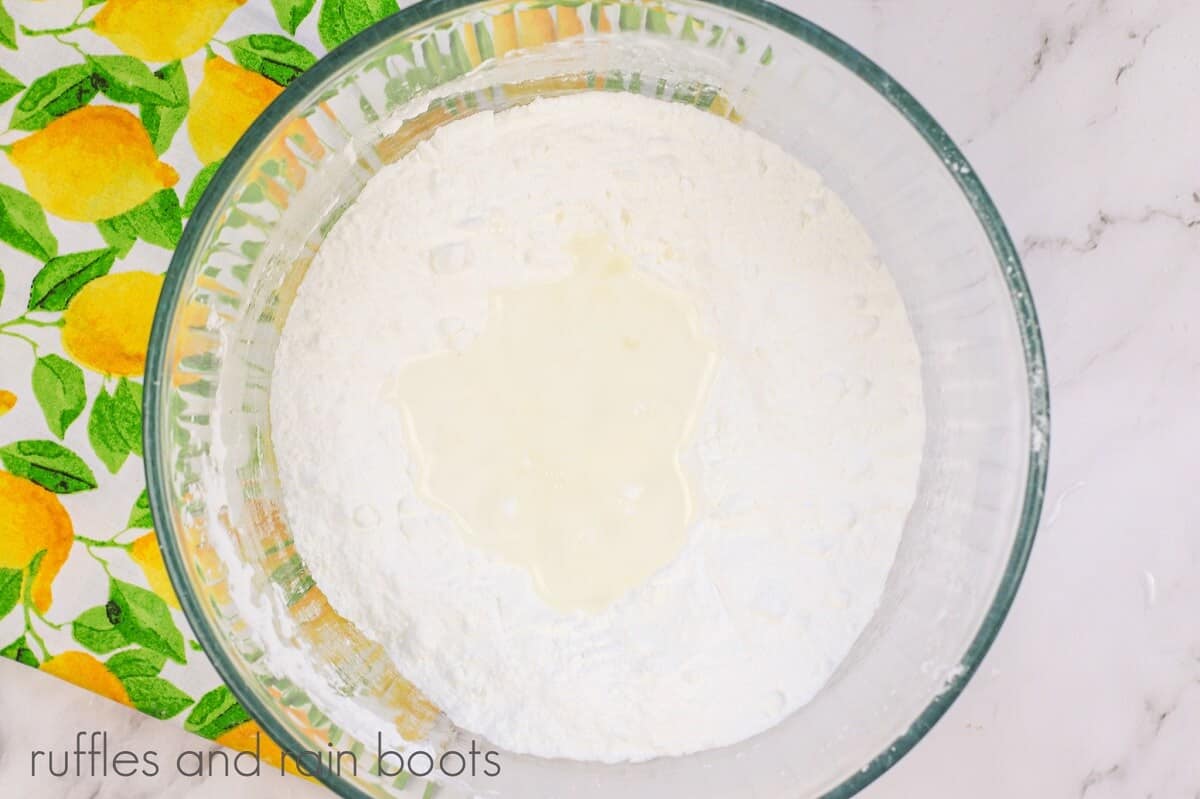
Add in the coconut oil, Shea butter, and polysorbate 80. Mix well, using your hands to break down lumps.
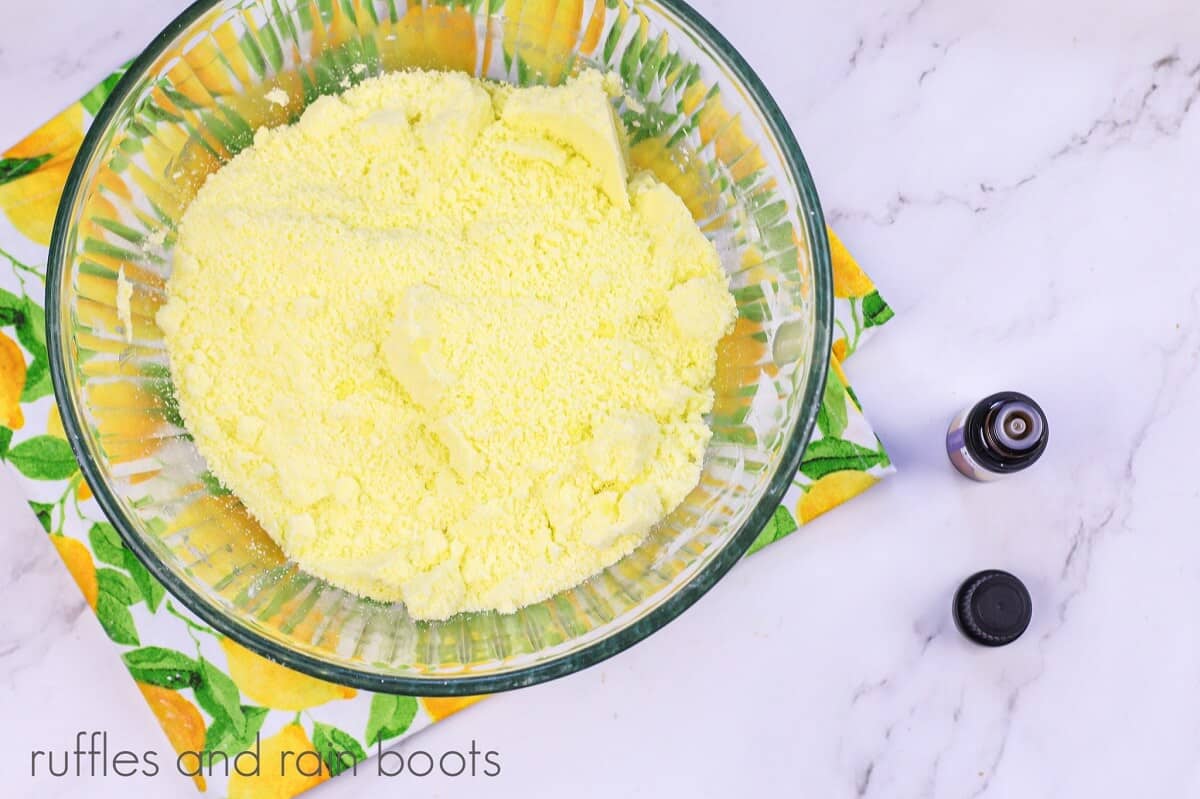
Mix in yellow mica colorant and add in the lemon oil.
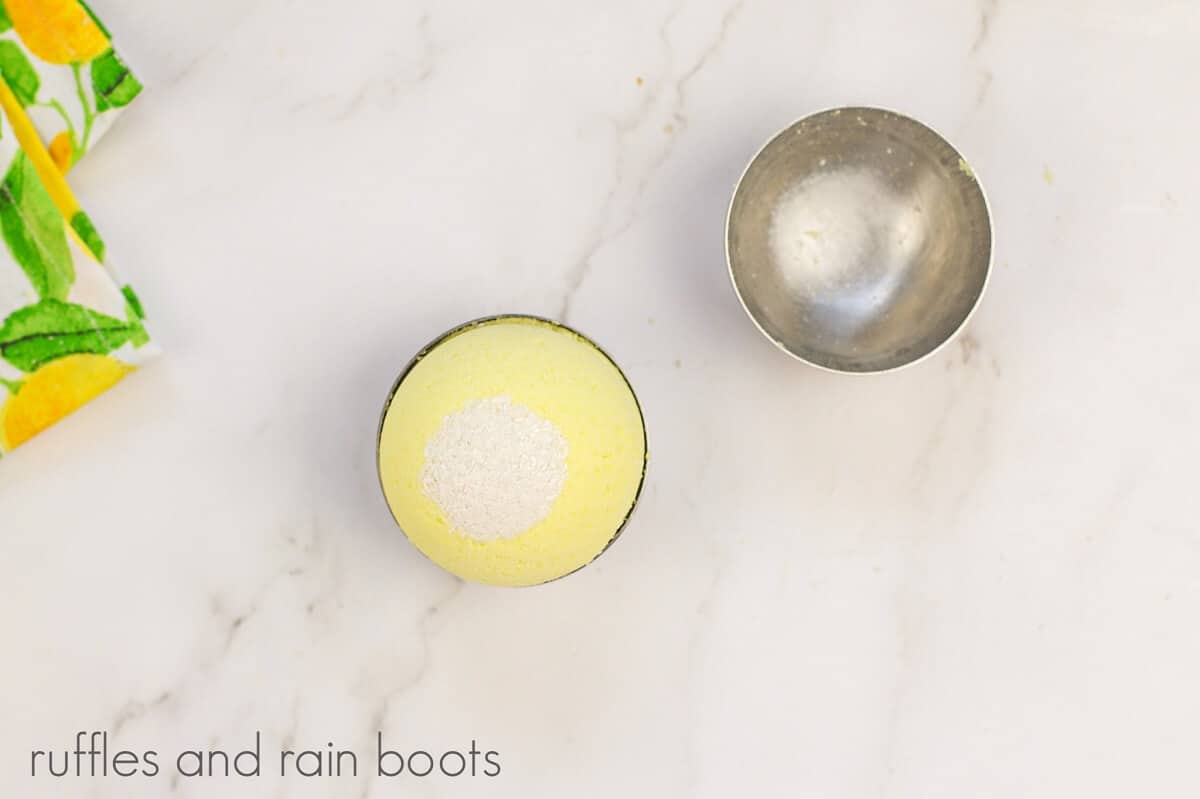
Add a bit of the Epson salt mixture to one-half of the mold.
Add the yellow mixture to both sides.
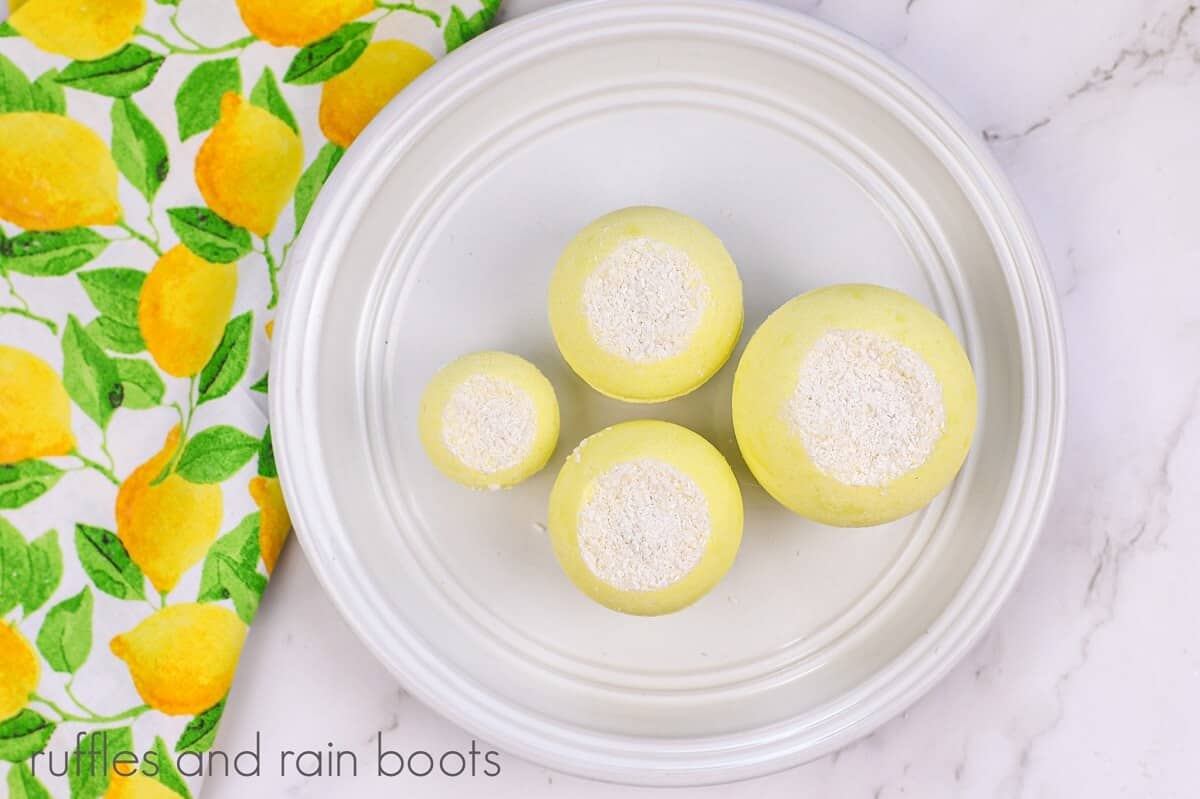
Push molds together and tap gently and carefully remove.
Remove the bath bomb from the mold. Repeat the steps of this easy bath bomb recipe until the mixture is gone.
More Bath Bomb Recipes You May Like
- This is the Easiest Crystal Geode Bath Bomb Recipe: These gorgeous show-stopping crystal geode bath bombs are so much easier to make than you think.
- Princess Aurora Bath Bombs: These Disney-inspired Princess Aurora bath bombs are just the perfect thing for any fan of Sleeping Beauty.
- This Calendula Bath Bomb Recipe is Perfection: These woodsy calendula bath bombs are easy to make and are a wonderful base for those who don’t like overly sweet-smelling bath products.
- Sweet DIY Watermelon Bath Bombs are so Easy to Make: You will love how awesome these fun watermelon bath bombs turn out–and how fantastic they smell!
Please Save or Share
Your shares are how this site grows and I sincerely appreciate it. Please save this lemon bath bomb recipe to a crafting or beauty pin board or share it on Facebook.
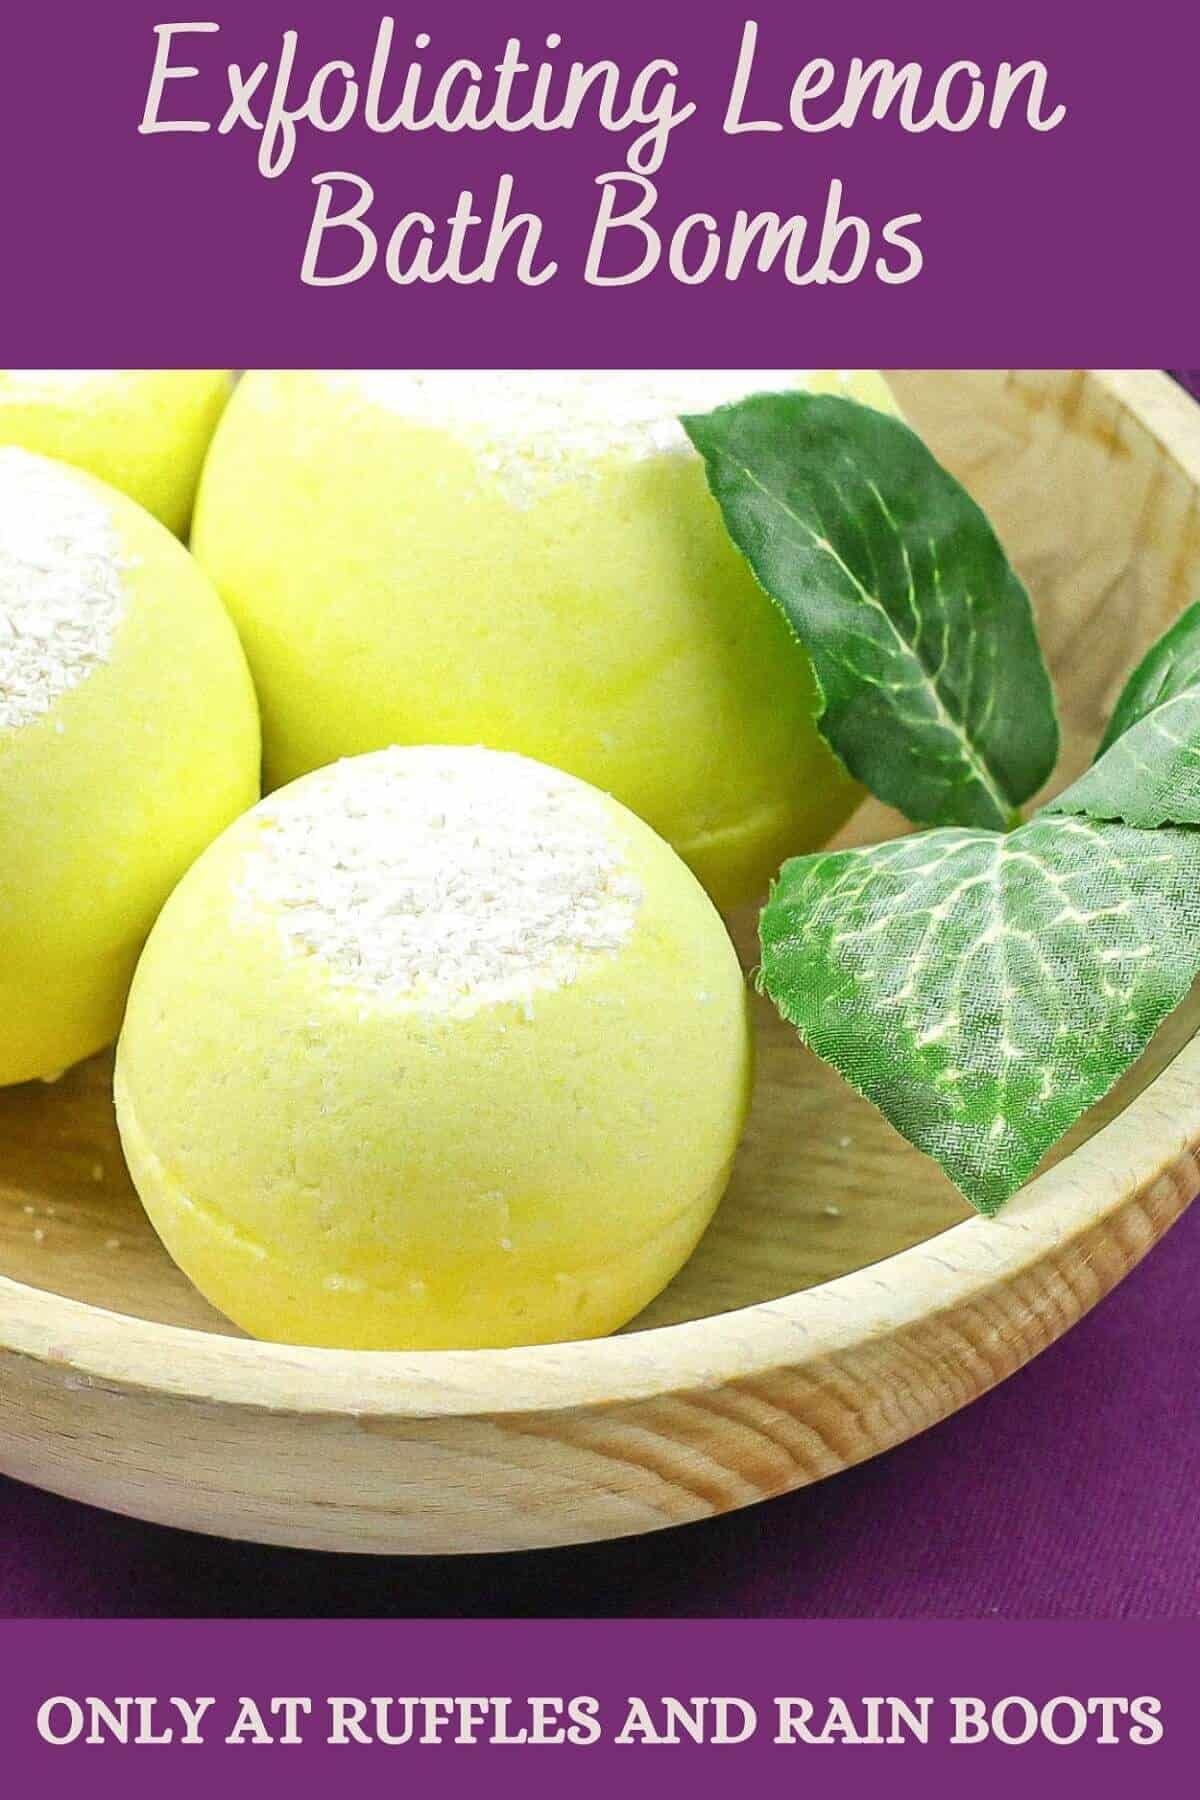
Lemon Exfoliating Bath Bombs
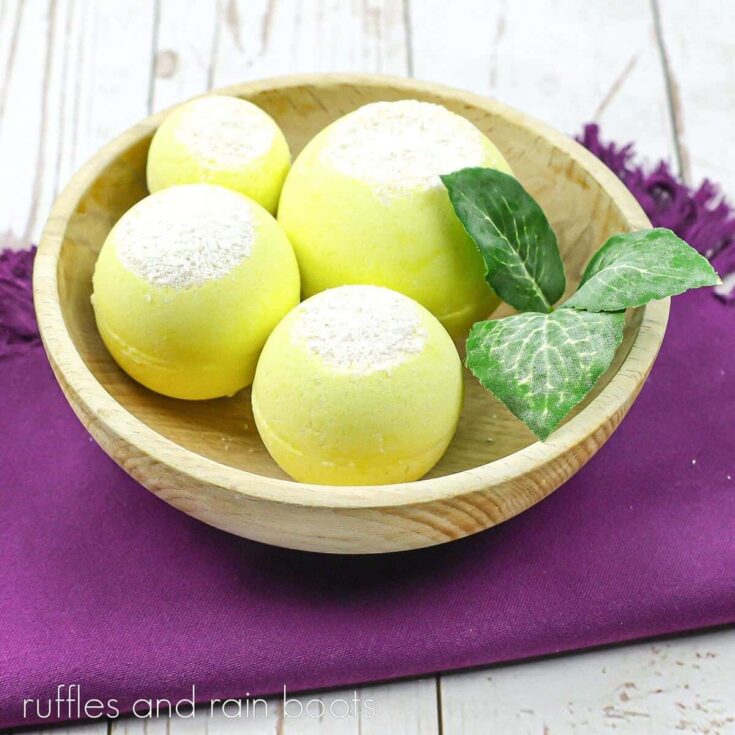
These luxurious Lemon Exfoliating bath bombs are the perfect recipe for soothing your dry winter skin and are great for relaxing in the tub.
Materials
- 2 cups baking soda
- 1 cup citric acid
- 1/4 cup cornstarch
- 1/4 cup Epsom salts
- 1/4 cup white kaolin clay
- 1 tablespoon shea butter
- 1/3 cup coconut oil
- 1 teaspoon polysorbate 80
- White mica colorant
- Yellow mica colorant
- 10-20 drops of lemon essential oil
Tools
- 1 large and 1 small mixing bowl
- Spray bottle filled with rubbing alcohol
- Bath bomb molds
Instructions
- Melt any solid oils (coconut, shea, etc.) in a microwave-safe container in 30-second bursts. Stir in between each. Continue until completely melted.
- In a small bowl, add ½ teaspoon of white mica to 2 tablespoons of Epsom Salts. Mix well.
- In a large mixing bowl, add the baking soda, citric acid, kaolin clay and cornstarch.. Whisk dry ingredients together
- Add in the coconut oil, Shea butter, and polysorbate 80. Mix well, using your hands to break down lumps.
- Add 1-2 teaspoons of the yellow mica.
- Mix in the lemon essential oil. Mix well.
- Add a bit of the colored Epsom salts to one side of a bath bomb mold.
- Gently add the yellow bath bomb mixture to each side of the bath bomb mold until slightly overflowing.
- Press molds together and gently but firmly grind to remove any excess mixture. Gently tap the mold to release the bombs.
- Allow drying a minimum of 24 hours.
Notes
- The use of coconut oil or another liquid like 90% isopropyl alcohol in a bath bomb is called a binder. These are the ingredients that keep the bath bombs mixture together. You have the perfect amount when the mixture feels like wet sand and holds together when you squeeze it.
- The use of SLSA (Sodium Lauryl Sulfoacetate) in some bath bombs is what they call a surfactant. It is 100% natural and made from coconut and palm oil. It makes awesome bubbles but it is OPTIONAL.
- You can use other essential oils, like lemongrass or lemon verbena (both are wonderful when they are mixed with vanilla). Using citrus smells is a pleasant, invigorating smell for most people. Can you imagine a lemonade bath bomb recipe?!
- Polysorbate 80 is a vegetable-derived surfactant. It helps the oils and color from your bath bombs mix into the water instead of making a puddle on top of your bath water, but it is OPTIONAL.

I never read what to do with the 90% alcohol.
Hi there, Memoree. Per the tips section, the alcohol is only for those in a humid environment or when creating on a humid day. It’s a binder that can replace the oils. I also use it to wipe down my molds to make sure they’re free of any debris, but that’s optional as well.