Princess Aurora Bath Bombs
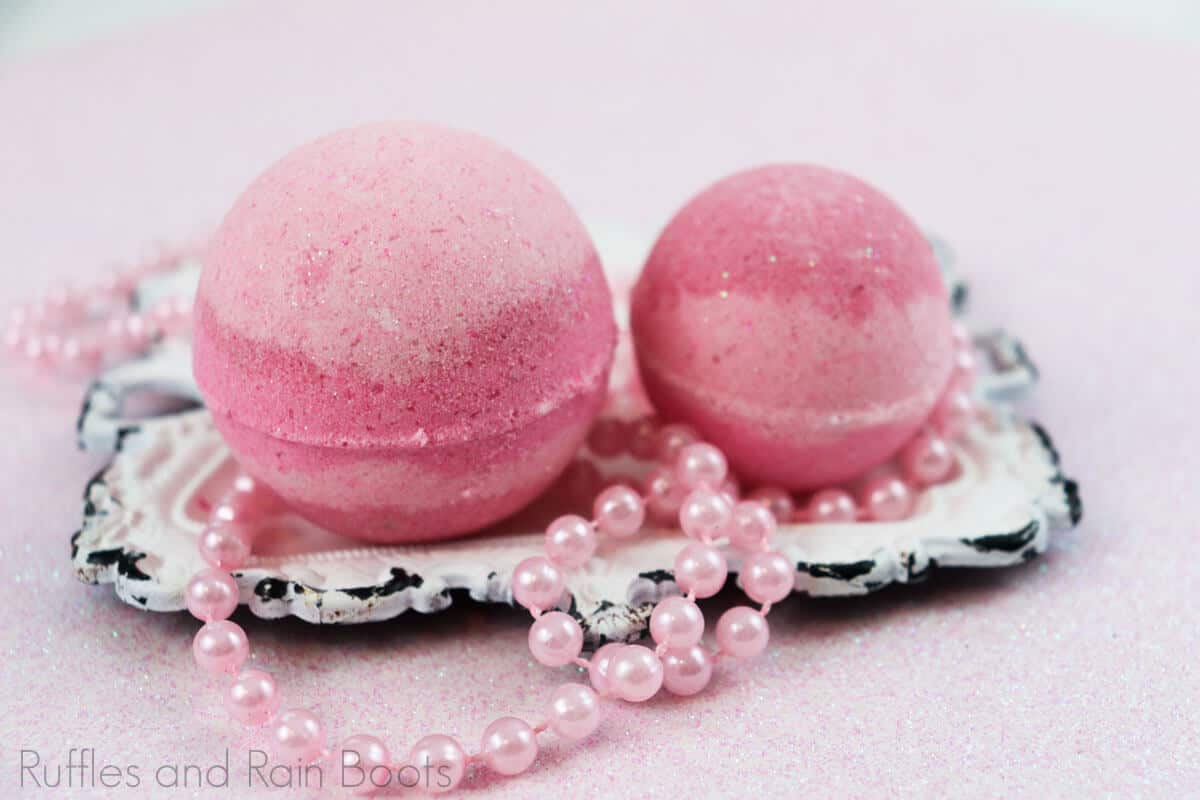
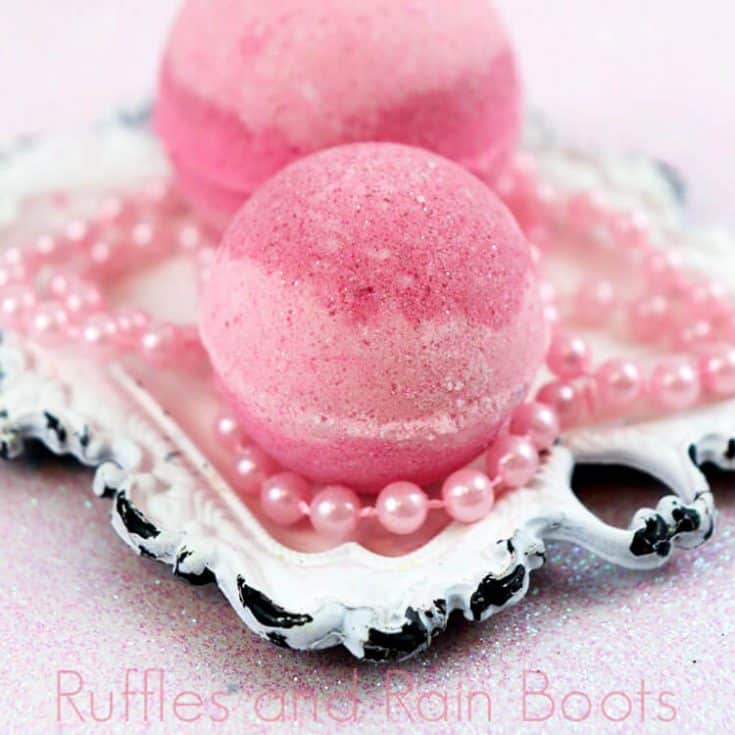
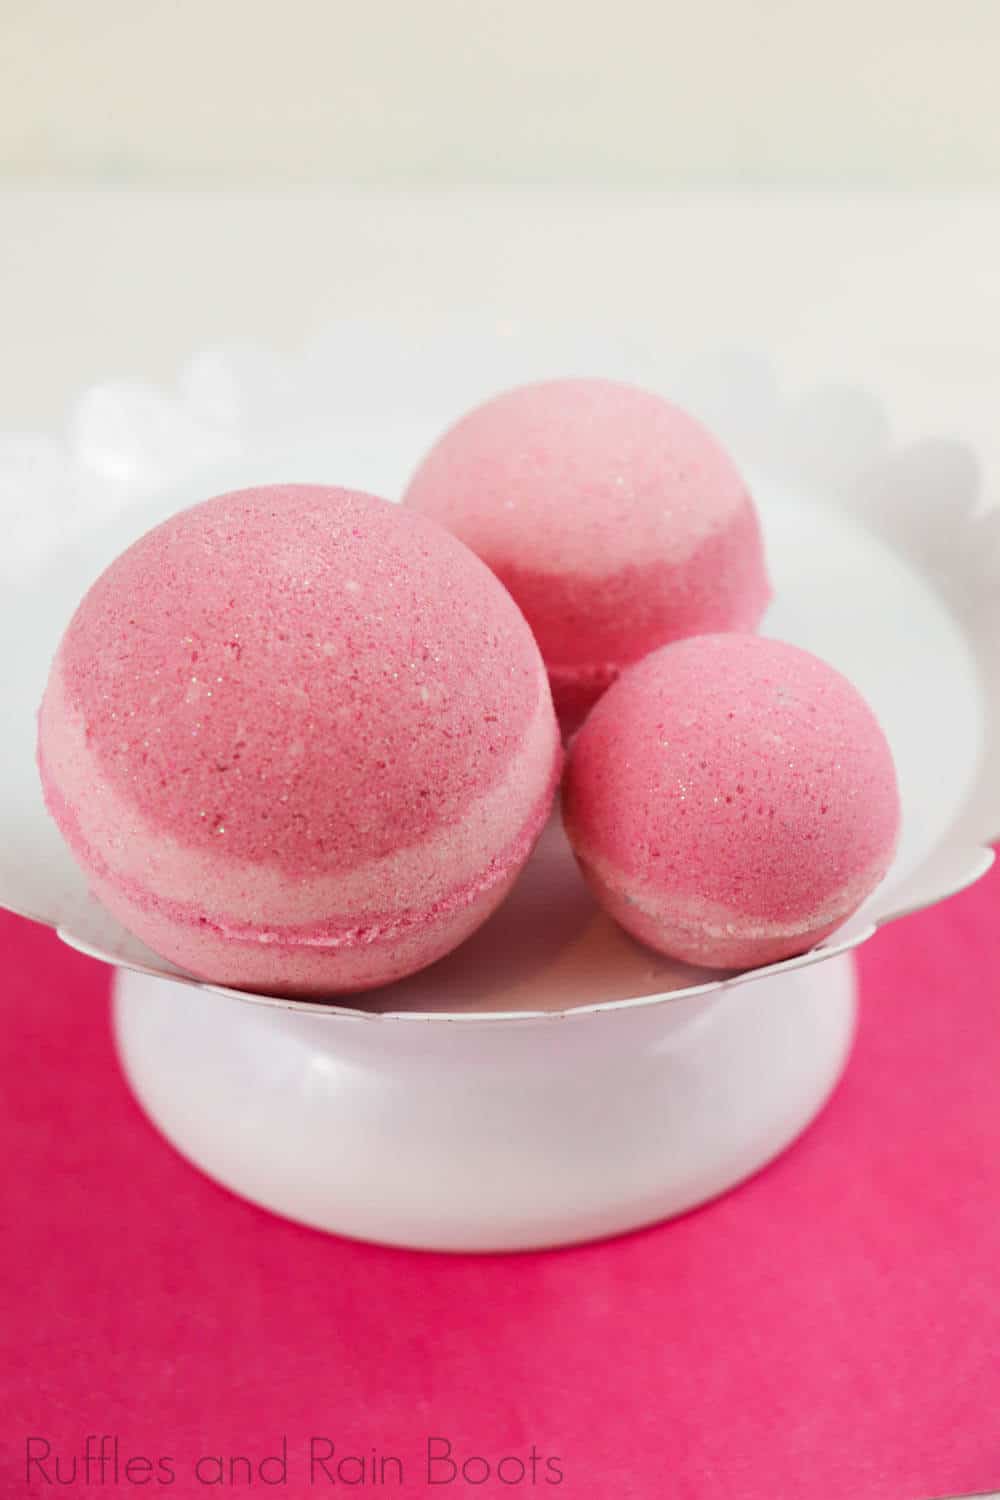
These Princess Aurora bath bombs are perfect for Sleeping Beauty fans, and they won’t make you yawn. They have a subtle shimmer, safe for even the youngest skin.
If you have about 20 minutes, you can make this easy bath bomb recipe. And if you have little ones, be sure to get them into the mix – my daughter loves to make her own bath fizzies as a DIY project.

Shimmer Bath Bomb Recipe
Here at Ruffles and Rain Boots, I give credit where credit is due. Frankly, Sleeping Beauty is the best power-napper ever. I can’t tell you how jealous I am of the nap-potential on that one. While making a bunch of Disney bath bombs for the little one, I thought: “Let’s do one for the naps.” Roll with me here.
Sleeping Beauty bath bombs are the best because you’re getting the kids in bed after their bath. Everyone wins there. Everyone wins with these homemade bath bombs, friends.
No Time to Make This Now? Save or Share This for Later
Gathering supplies (we get ours here on Amazon). Save this to your favorite Disney crafts board on Pinterest or share it on Facebook. Use the sharing buttons to easily find it when you’re ready to begin.

As an Amazon Associate, I could earn from qualifying purchases. There could be affiliate links within this article.
RELATED READING: DIY Rose Gold and Luxurious Gold Bath Fizzies (Look SO Expensive)
Tips to Make Sleeping Beauty DIY Bath Bombs
- Do not use food coloring for the bath bombs. It will make your bath bombs bright but it could stain a tub (and body).
- You can mold this recipe in any flat-backed design (like an ice mold) so they will be safe for use as Princess Aurora shower fizzies, too.
- You can use any scents, any brand of oils, and any mica colors – there are no limits.
- If your bombs crumble, see this article on trouble-shooting bath bombs and shower fizzies to find out your options to remake them and ensure the bath bomb mixture is ideal for molding. The wet ingredients need to be added slowly (and measured well).
- There is an ingredient which is optional, Polysorbate 80. The purpose of this emulsifier is to limit the oils and butters from pooling at the top of the water, as well as to reduce mica from adhering to the walls of the tub.
- If you want to use these princess bath bombs immediately, go for it. If you’d like the fizz to be more powerful, let these dry for at least 24 hours at room temperature (unsealed).
- To keep bath bombs at top-peak-fizzy-potential, keep them in an air-tight container.

How to Make Princess Bath Bombs
Below is the ingredients list (some are optional) and the full, step by step written tutorial for these simple bath bombs. If you’re making a Disney bath bombs playlist on YouTube, here is our Princess Aurora bath bombs video tutorial and you can see how easy it is to learn how to make bath bombs at home.
- 1/2 cup citric acid
- 1/4 cup cornstarch
- 1/4 cup Epsom salts, fine grain works best
- 1/4 cup white kaolin clay
- 1/3 cup coconut oil
- 1 tablespoon polysorbate 80, optional
- 10 drops of geranium and myrhh essential oil (or any of your choice)
- Fuchsia, Rose, and Light Pink mica powder
- Pink cosmetic glitter, optional
You will also need molds to form these. You can use a flexible ice tray mold (for small fizzies) or what I use: this set of bath bomb molds in various sizes.
More Disney Bath Bombs You Might Like
- Ultimate List of Disney Princess Bath Bombs – If you love Disney bath bombs, this is the perfect set of Disney Princess bath bombs you will ever find!
- Ariel Bath Bombs – I wanna be where these bath bombs are–they’re so bright and pretty, I wanna see them fizzing.
- Merida Bath Bombs – Strong, opinionated and proud, she’s the princess I hope my kids grow up to be–only, without those curls, those have to be hard to comb after a bath.
Princess Aurora Bath Bombs

She's got the best fairy godmothers in the world--and a prince to dance with. These Princess Aurora bath bombs are perfect for Sleeping Beauty fans, and they won't make you yawn.
Materials
- 2 cups baking soda
- 1/2 cup citric acid
- 1/4 cup cornstarch
- 1/4 cup Epsom salts, fine grain works best
- 1/4 cup white kaolin clay
- 1/3 cup coconut oil
- 1 tablespoon polysorbate 80, optional
- 10-20 drops of geranium essential oil
- 10-20 drops of myrrh essential oil
- Fuchsia mica powder
- Rose mica powder
- Light pink mica powder
- Pink cosmetic glitter
Tools
- Stainless steel bath bomb molds
- Spray bottle filled with rubbing alcohol
- 1 large mixing bowl
- 3 small bowls
Instructions
- In a large mixing bowl, add the baking soda, citric acid, Epsom salts, white kaolin clay and cornstarch. Whisk dry ingredients together.
- Add the geranium and myrrh essential oils to the coconut oil.
- Add the coconut oil to the dry ingredients. This binds all the ingredients together, so you bath bombs don’t crumble when you touch them!
- Add the polysorbate 80. This helps the coconut oil disperse more evenly in your bath water, makes the bath bombs bubbly and prevents the mica from sticking to the side of the tub.
- Mix the ingredients together. I use my hands to break down any lumps and make sure everything is really mixed in there. The mixture is perfect when it holds together when you press it into your hands and feels like wet sand. Separate mixture into 3 small bowls.
- Add 1 tablespoon of the fuchsia mica and pink cosmetic glitter into one of the small bowls. Add a bit more color if the mixture is too light. Continue to add a bit and mix until you get the color you want.
- Add the rose mica and pink cosmetic glitter into the 2nd small Add a bit more color if the mixture is too light. Continue to add a bit and mix until you get the color you want.
- Add the light pink mica and pink cosmetic glitter into the 3rd small bowl. Add a bit more color if the mixture is too light.
- Mix each bowl until color is well blended into the bath bomb mixture.
- Layer the colors into each side of the bath bomb mold.
- Press both sides of the mold together firmly, grinding together to get rid of the excess mixture.
Notes
For more awesome Disney bath bombs, visit RufflesandRainBoots.com
Please Save or Share This
Your shares are how this site grows and I am sincerely grateful. Know a friend who’d like this? Please share it on Facebook or save it to your favorite Disney crafts pin board.


