
Easy Tiered Tray Gnome – Small Gnome Pattern
This easy tiered tray gnome comes together in under an hour and can be assembled using a hot glue gun or a sewing machine. It has oodles of extras like gnome booties, a reversible hat and more.
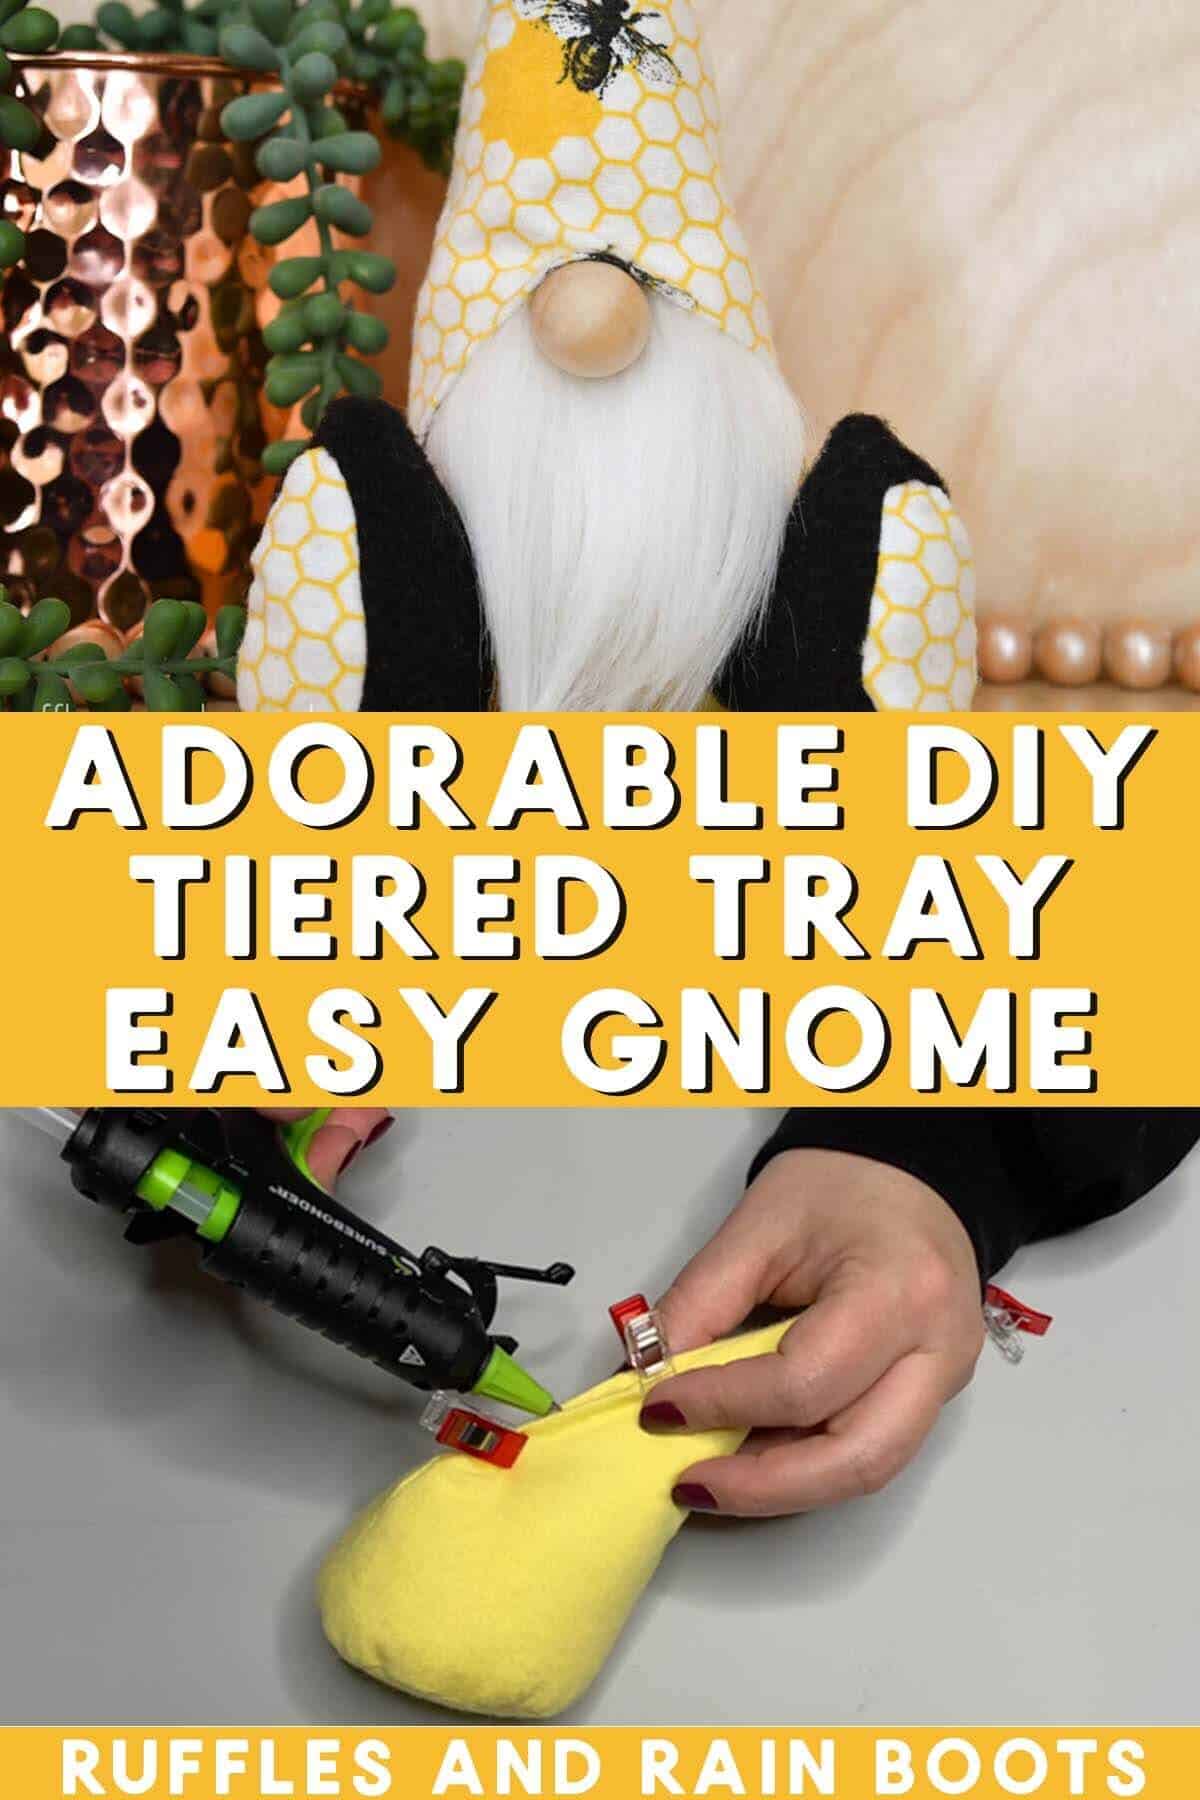
For this quick Spring gnome, I used a pair of flannels (purchase at Joann’s) and bit of felt for the gnome boots. The best part of this mini gnome is that he can literally fit anywhere!
RELATED READING: No Sew Spring Bee Gnome
What You'll Find On This Page
DIY Tiered Tray Mini Gnome Tutorial
Here at Ruffles and Rain Boots®, there are a lot of places for small bits of decor. I decorate quite simply but love to change things up frequently, hence my love for tiered trays, dough bowls, and all things “easy.”
When it comes to tiered trays, however, sometimes we are limited in what we can put on each shelf because we don’t always get to make our own sizing. Psst: if you want to, you can see how I make this DIY tiered tray with metal bins or this DIY wood slat tiered tray (so pretty).
So this week, I whipped up this adorable spring gnome DIY with one of the most popular Ruffles and Rain Boots gnome patterns: the Icelandic Lovey. He can be sewn or made with a hot glue gun – let’s get started.
No Time to Make This DIY Gnome Now? Save or Share for Later
If you need to gather some supplies, save this to a crafty gnome pin board or share it to a Facebook group. It will be easy to find when you’re ready to begin.
As an Amazon Associate, I could earn from qualifying purchases. There could be affiliate links within this article.
RELATED READING: 4th Of July Firecracker Gnome DIY (Same Pattern)
Tips for Making This No Sew Small Gnome with Legs
- You will need the Icelandic Lovey Gnome pattern for this and it’s fun to go beyond a simple sock gnome for something which is going to be on display. It’s a versatile pattern for an easy DIY gnome which even includes a tutorial for a reversible hat!
- Flannel, fleece, and cotton fabrics work perfectly with this pattern. I’ve even shared minky and burlap hats for the Lovey pattern (tons of inspiration here on the Icelandic Lovey Gnome playlist on YouTube).
- The pattern includes a reversible hat, so keep the pattern out and make a couple of hats for the holiday seasons. They are very quick to make!
- Mongolian faux fur (long, 2.5-3 inch pile), short fur (1.5 inch pile), or yarn will all be great options for the gnome beards.
- Ideas for gnome noses include wood beads or rounds, baked polymer clay pieces, air dry clay gnome noses, knit or nylon fabric stuffed with fill, pom poms, or even felted wool balls. You have quite a few options.
- The dart system used in both the sewn and no sew versions of the gnome body pattern base is optional. For this tiered tray gnome, I did not use the darts and love the way it came out.
- I am asked A LOT about this glue gun because it is a precision tip and works perfectly for gnome-making and crafts which require detailed work.
RELATED READING: DIY Christmas Gnome with a Reversible Hat (Same Pattern)
Instructions to Make This Mini Gnome
Below are the written (and printable) instructions for this adorable gnome DIY. If you are a visual learner, the full length tiered tray gnome video tutorial is here on YouTube. While you’re there, please subscribe – we have a lot of fun.
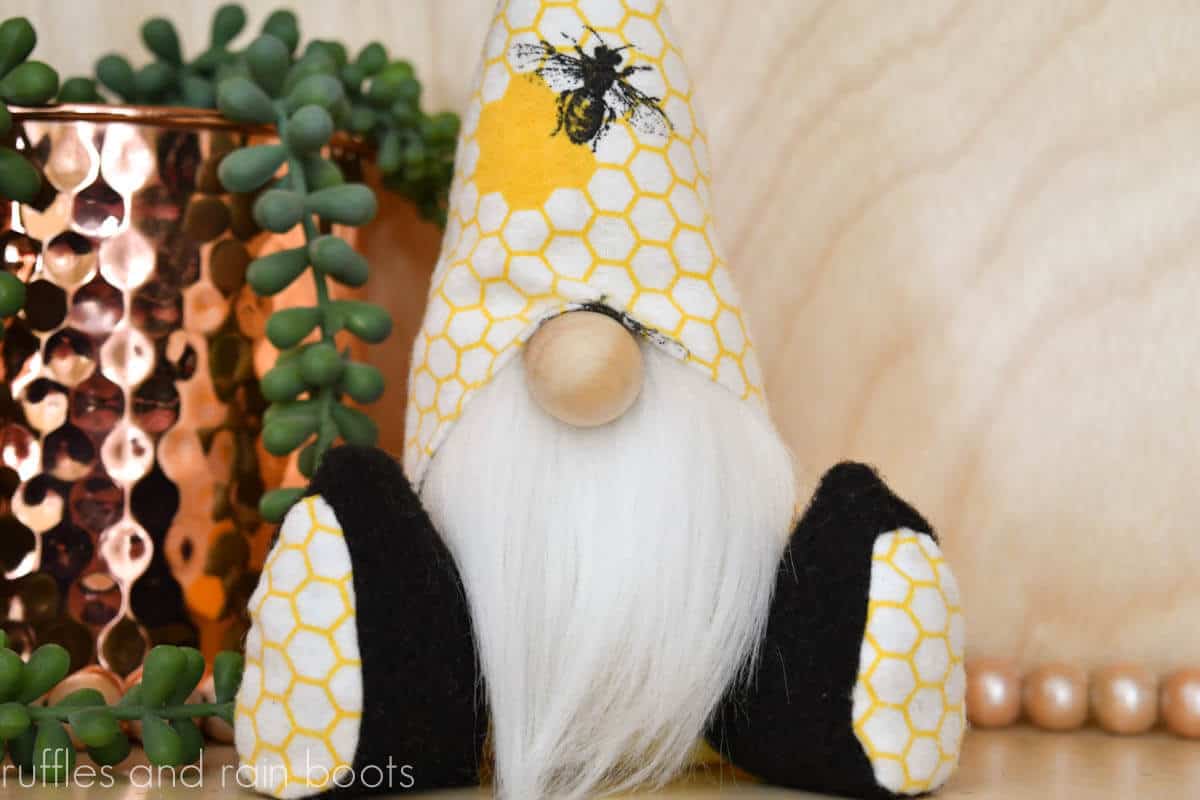
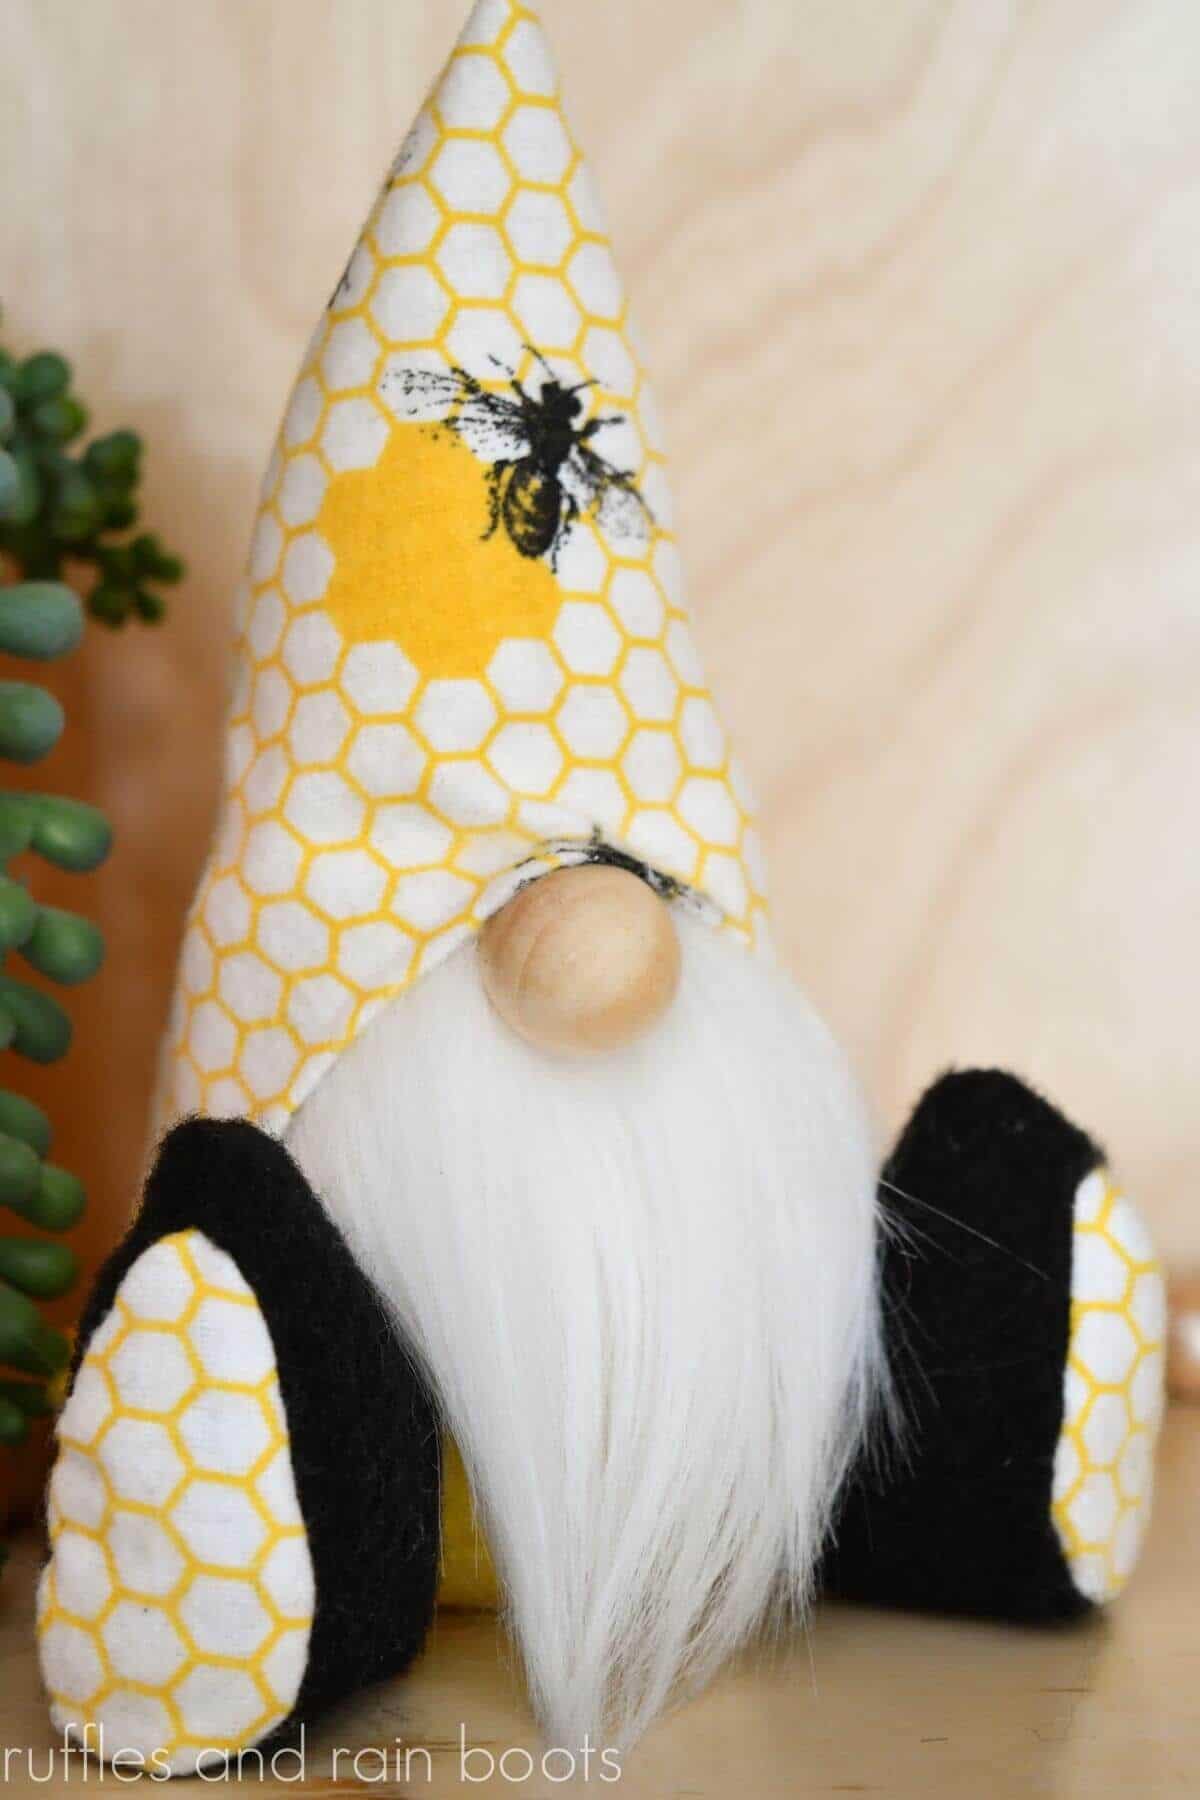
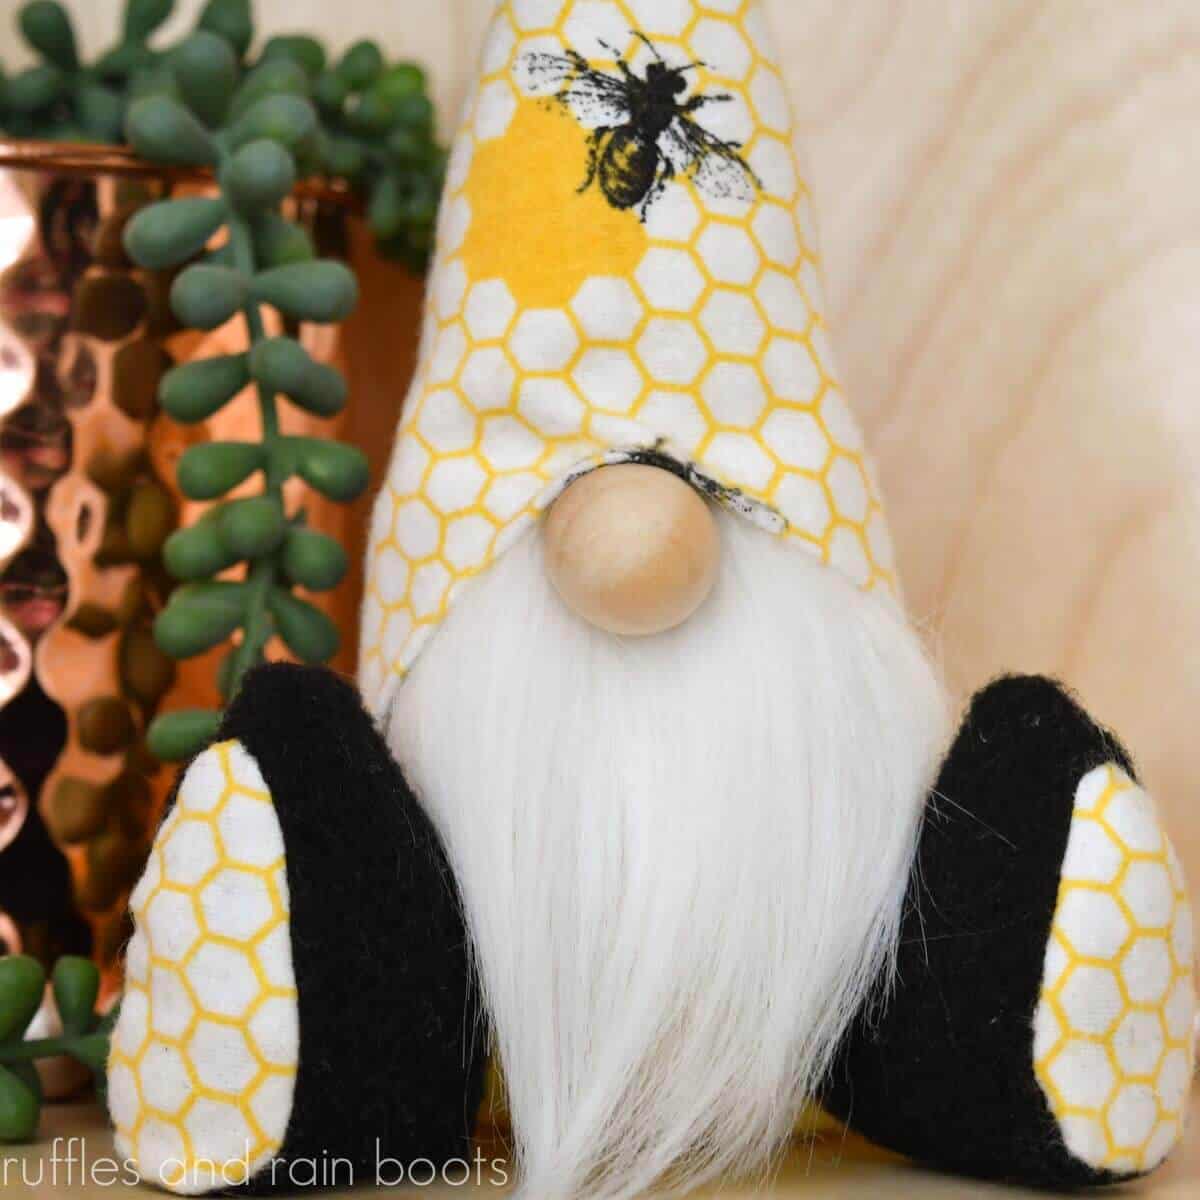
Tiered Tray Bee Gnome DIY
This adorable tiered tray gnome is the perfect size to bring a lot of personality to a small space for each holiday or season. It's a fun way to add a pop of color or use up a beautiful fabric to match your decor.
Materials
- Icelandic Lovey Gnome Pattern (here)
- Felt or Fabric (contrasting color for the booties)
- Flannel Fabric (2 colors or patterns)
- Mongolian Fur (or other beard material)
- 1/2 Inch Wood Ball (or other nose)
- 1/2 Cup Poly Pellets
- Poly Fill
- Floral Wire (any guage)
Tools
- Sewing Machine and/or Hot Glue Gun and Glue Sticks
- Scissors and X-Acto
- Pins or Clips
- Optional, Funnel
Instructions
- Cut the body, base, boots, and hat pieces from the following fabrics: hat and boot bottoms fabric 1, body and base fabric 2, and boot leg fabric 3. Sew per the pattern instructions.

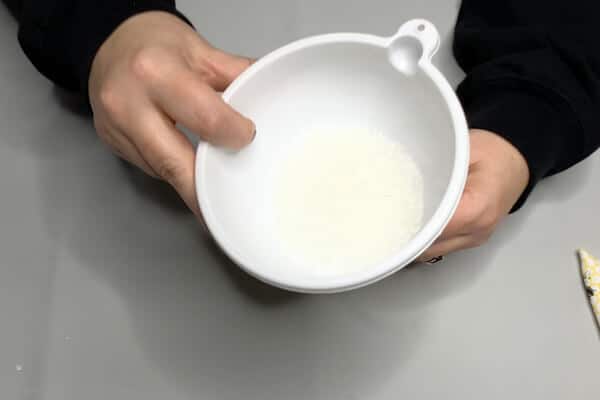
- Add the poly pellets to the gnome body.
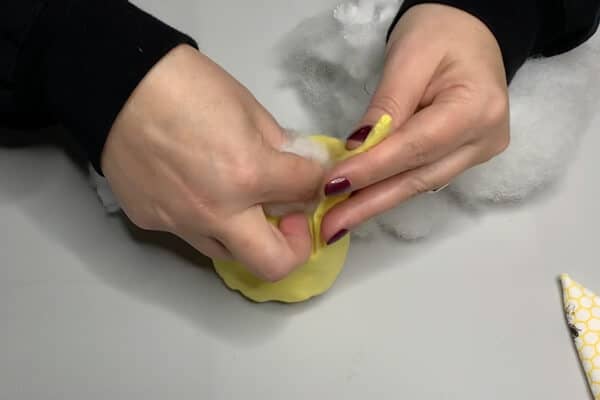
- Stuff the body with enough Poly Fill that the shape bounces back when squeezed.
- Twist the floral wire and bend each end (to protect from pokes or snags). Place it into the gnome body and secure it in the channel.
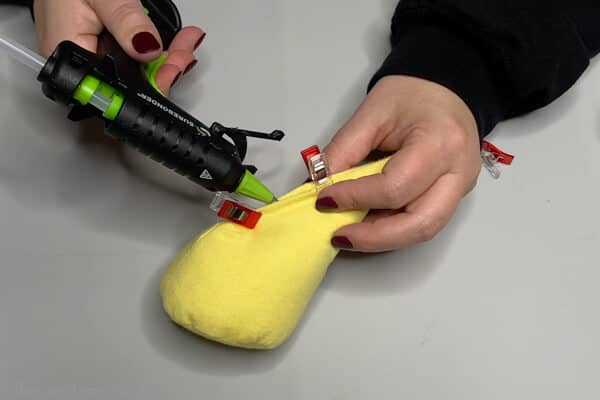
- Sew or use hot glue to secure the body opening.
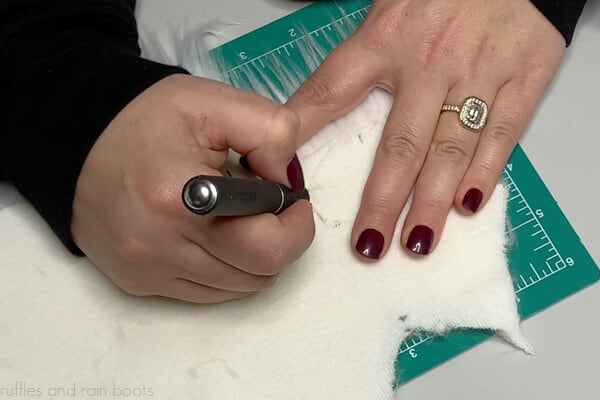
- Draw a U-shape onto the back of the fur and cut it out using an X-Acto knife. Be sure to cut only the fabric backing of the fur.
- Stuff the booties up to the ankle turn.
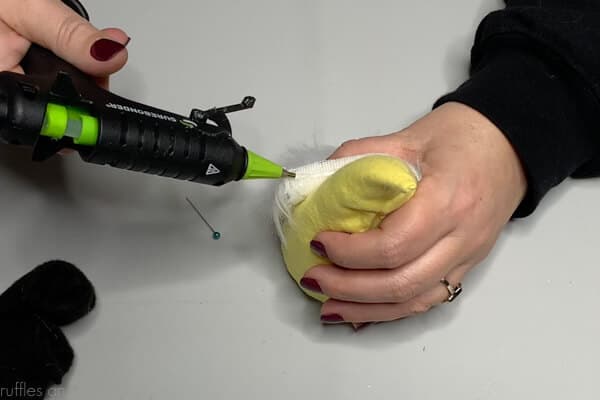
- Glue on the gnome beard )or hand sew it on) so that the hat covers the top and sides.
- Split the fur to the fabric backing, add a generous portion of hot glue, and affix the gnome nose.
- Cut off 1/2 inch of the leg and fold in the top edges. Secure down with glue, making a flat portion of felt.
- Glue the gnome boots onto the body on either side of the beard.
- Slip on the hat. Choose to secure it or keep it lose and display your adorable DIY gnome!


Notes
The Icelandic Lovey gnome pattern has quite a few extras not used in this inspiration.
Use any pliable fabric for this gnome - the body and hat will have a cool bend in them.
More Gnomes Made with This Pattern
- 4th of July Gnome with Firecracker – I love this little guy’s minky hat and firecracker-toting sloped back. It’s just the most festive little thing.
- Mini Scarecrow Gnome with Adorable Burlap Hat – He’s one of my favorites because that hat is a work of art!
- Simple Farmhouse Gnome – Sometimes, a simple, easy gnome is just what you need for an hour of crafting.
- Reversible Hat Tiered Tray Gnome – This little gnome DIY is perfect to help you move through the seasons. Make a few of these reversible gnome hats and you will make your decorating so easy.
Please Save or Share This
Your shares are how this site grows and I am so very grateful. Please save this to a DIY gnomes pin board or share it with a crafty Facebook group for an easy afternoon project.

love your gnomes