
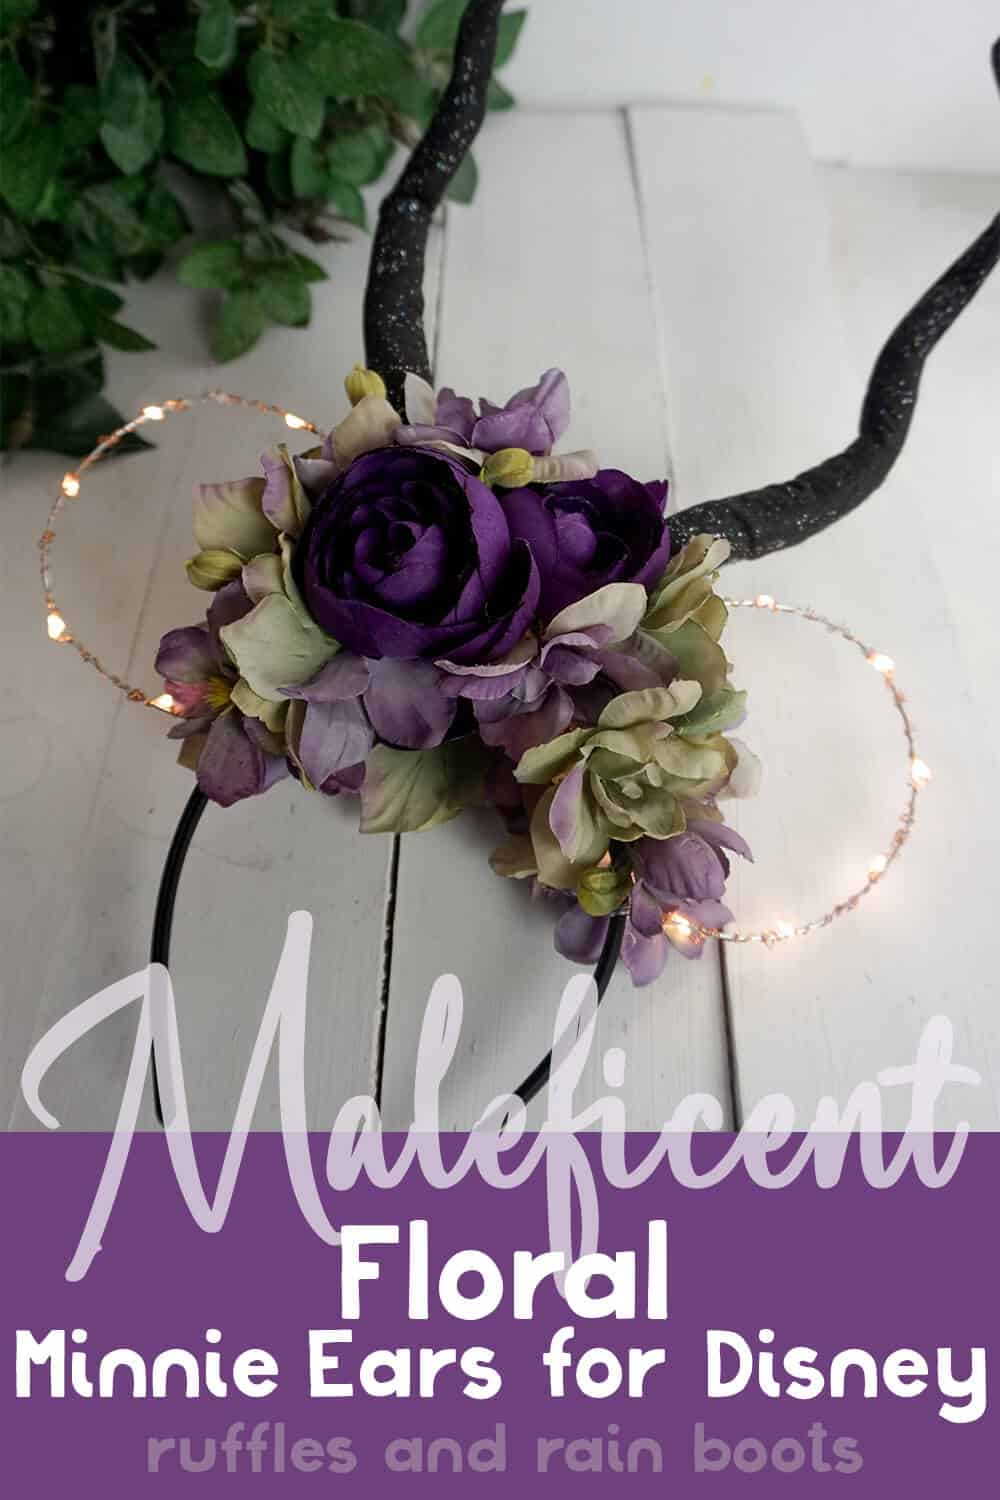
These Light-Up Floral DIY Maleficent Minnie Ears are SO Perfectly Evil!
These DIY Maleficent Minnie ears show the fragility and wickedness of this iconic Disney villain. She’s evil, but, she has really good reasons and I feel for her.
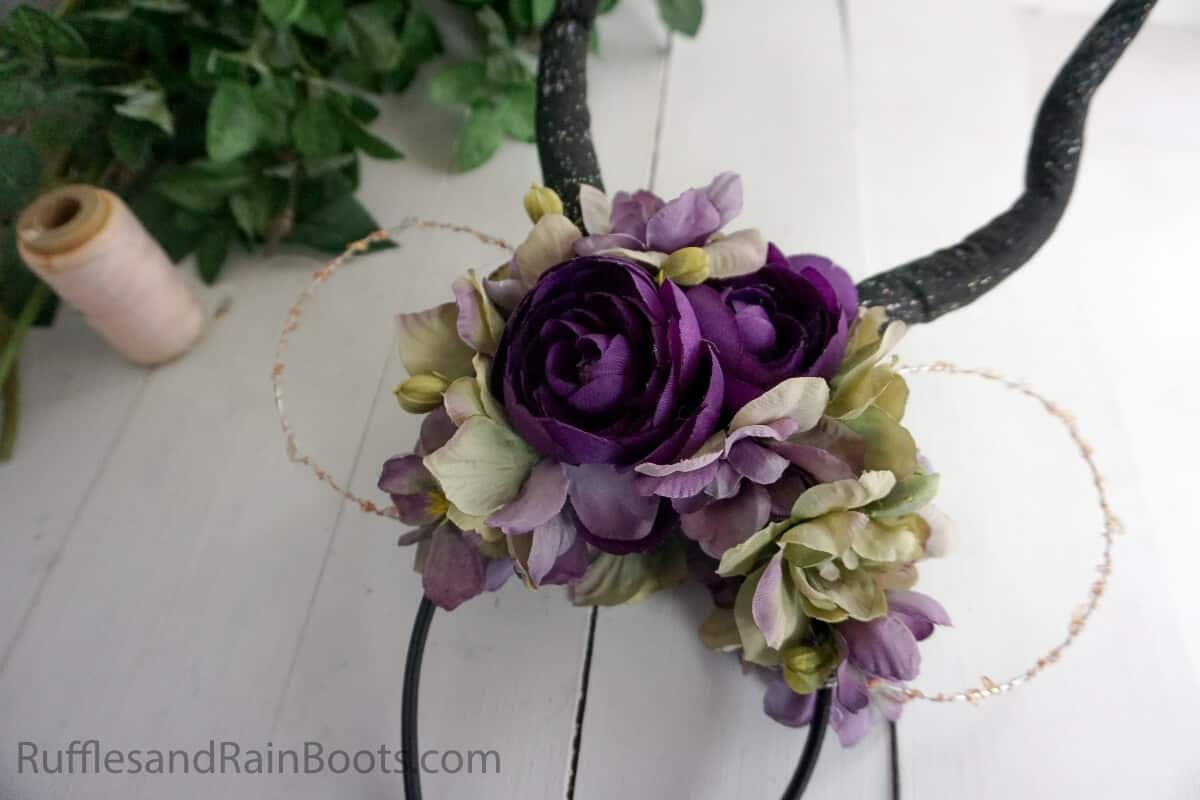
DIY Maleficent Minnie Ears
Here at Ruffles and Rain Boots, we have been having a great time making the most fun no-sew Mickey ears imaginable. One of the best is definitely these insanely beautiful light-up villain Mickey ears for Maleficent. These are simple DIY Maleficent Minnie ears, but, friends, they look as if you spent hours on them.
RELATED READING: WICKEDLY COOL VILLAIN MICKEY EARS
If you’ve got a shred of love in your heart for this wicked fairy of the deep dark forests, these DIY Maleficent Minnie ears are definitely worth a look. Let’s get started.
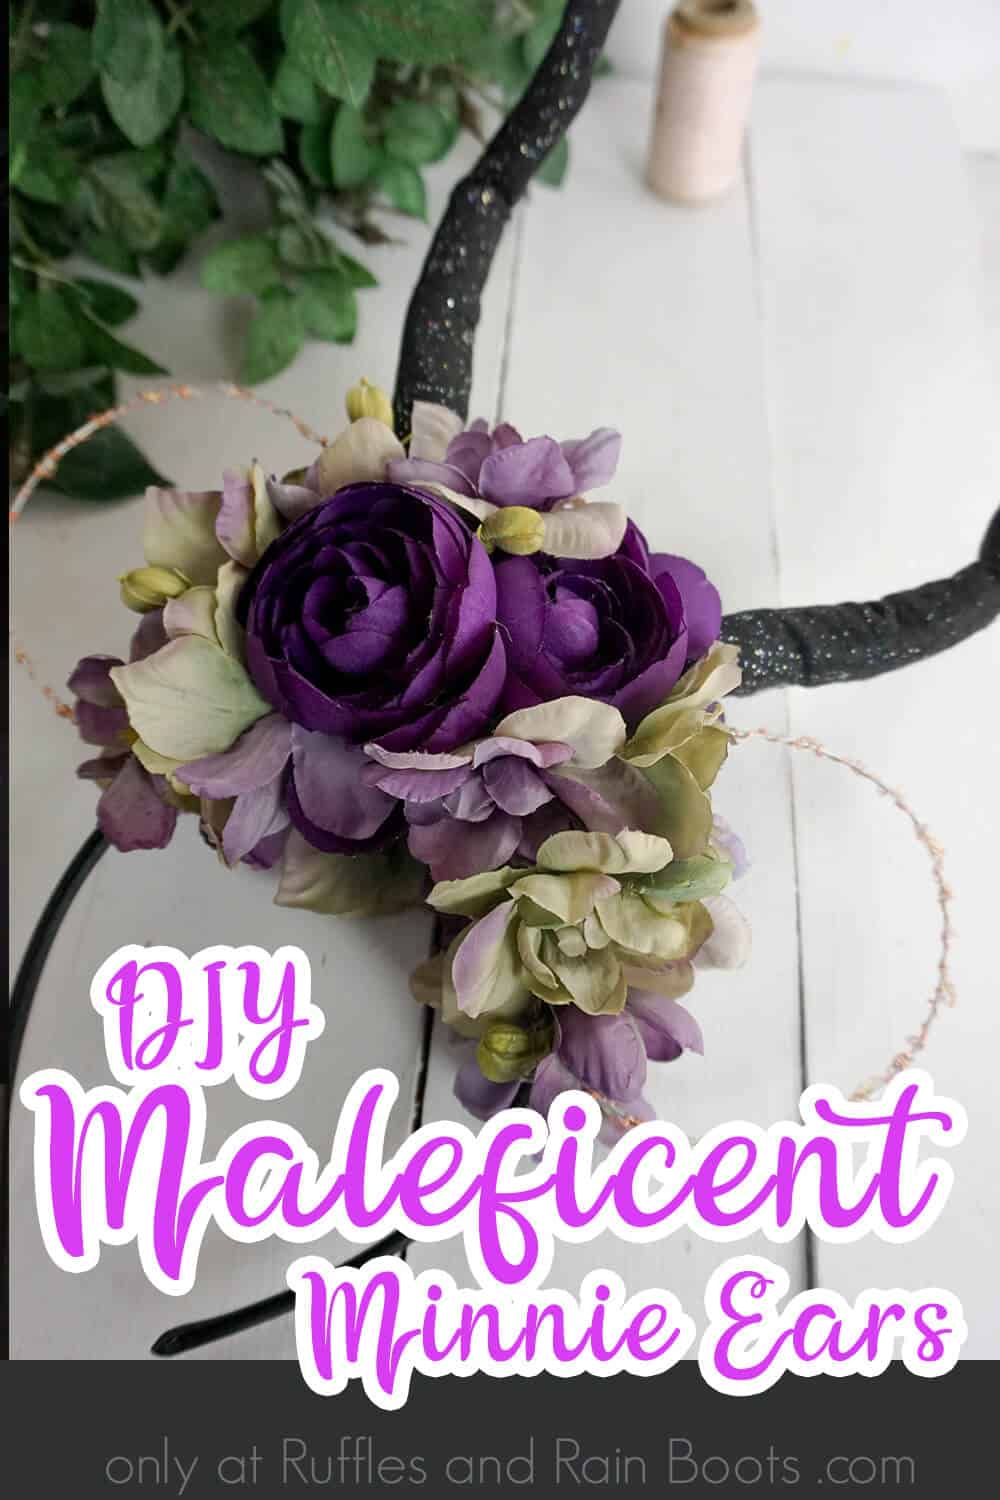
No Time to Make This Now? Pin it for Later
Need to gather supplies? Pin this to your favorite DIY Disney board on Pinterest and it’ll be here for when you’re ready.
Tips to Make Light-up Villain Mickey Ears
- Make sure to put the screws to the light controller pointing outward–that way if the battery goes out, you can change it without destroying your light-up villain Mickey ears.
- When making the flower crown for your DIY Maleficent Minnie ears, pick 2-3 flowers to be the “focal” in the center and then work from there. That way you can balance thing on either side.
- Make sure to space the light bulbs evenly as you’re wrapping them around the wire. You could easily end-up with 10 lights on one ear and 2 on the other, if you’re not careful.
- Get your free printable for the EPIC adjustable Maleficent horns here.
How Do I Make DIY Maleficent Minnie Ears?
I’m so glad you asked. Below is our written tutorial. If you’re making a light-up villain Mickey ears playlist on YouTube, here is our Maleficent Minnie ears video tutorial.
DIY Maleficent Minnie Ears

She's evil, but, she has really good reasons. I feel for Maleficent, and these DIY Maleficent Minnie ears show the fragility and wickedness of this iconic Disney villain.
Materials
- Black Headband
- Floral Wire (4)
- 1 Set Fairy Lights
- Purple Faux Flowers
- 2 Large Dark Purple Peonies
- 20 Purple/Beige Wisteria Blooms
- 20 Beige/Purple Wisteria Blooms
- Black Glitter Craft Felt
- Small Portion of Polyfill
- Printable Pattern
Tools
- Round Form (about 4-inches in diameter like a large cup or paint roll)
- Scissors
- Wire Cutters
- Hot Glue Gun and Hot Glue
- Wax Paper
- Baking Sheet
- Oven
Instructions
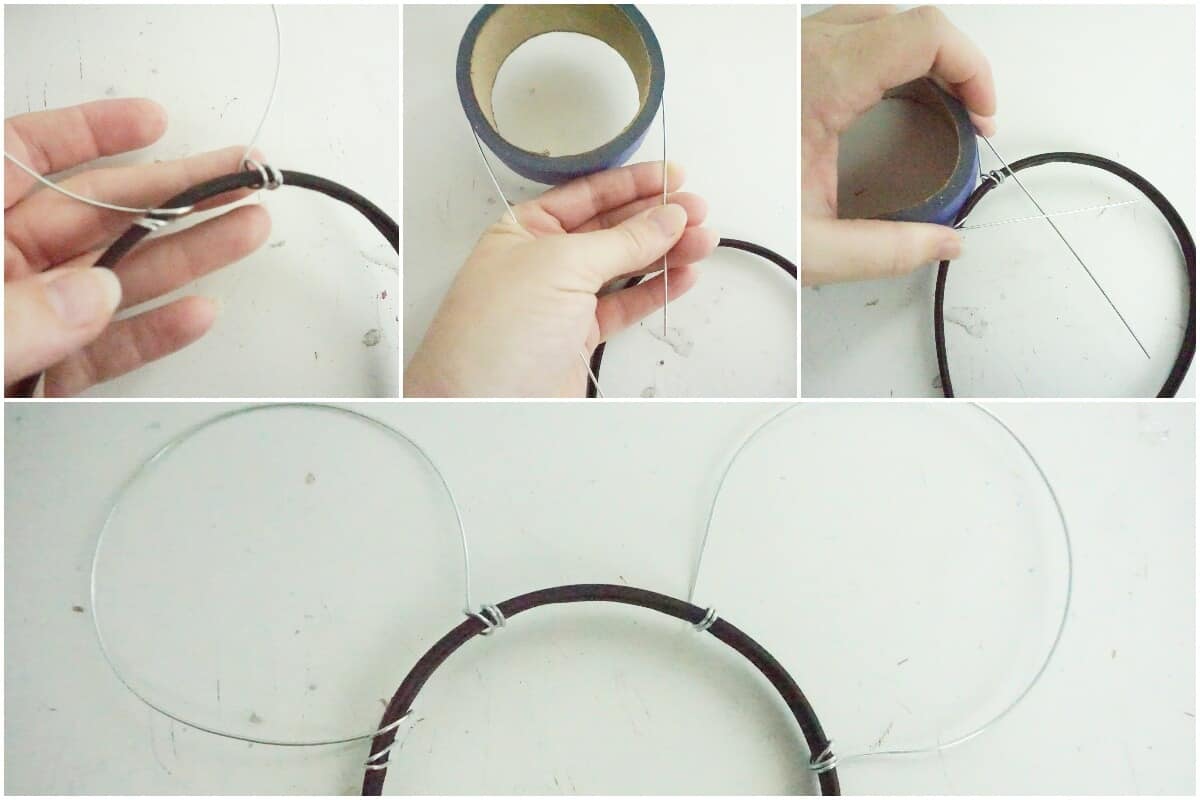
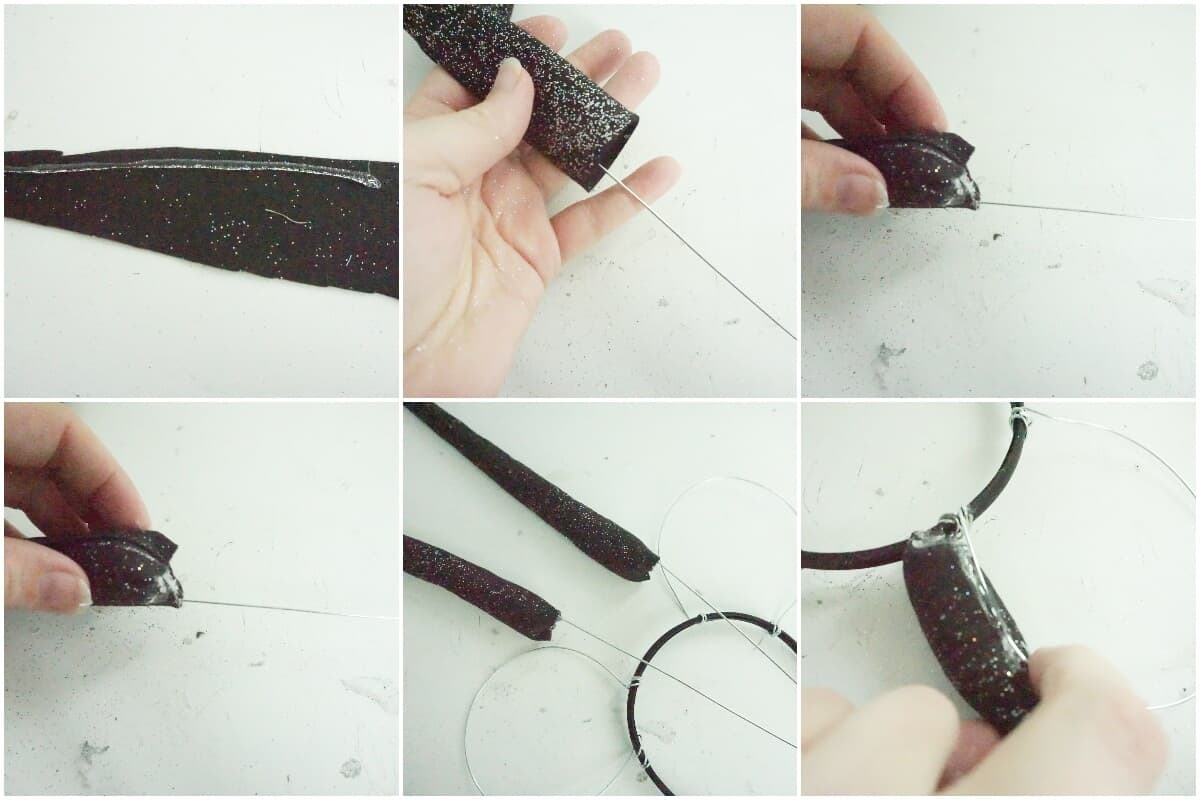
- To make the ears, start by finding a shape that is about 4-inches in outer diameter. Cups, unless very large, are generally too small. I found a roll of tape that was about the right size.
- Wrap a stick of the wire around your shape, pulling the headband alongside where you want the ear to sit.
- Trim your wire with an additional 2-inches on each end of the ear shape.
- Wrap wire ends around the headband where you want the ends of each ear shape to sit, trimming wire to be on the top side of the headband so it doesn’t accidentally scratch you. You can, at this time, also hot glue this, covering the sharp point, to further protect the wearer from an unwanted poke.

- To make the horns, cut out the printable template horns and lay on the back of glitter craft felt sheet.
- Trace horn shape, but continue the trajectory up to a point on the felt. Cut horn shapes out of the glitter craft felt sheet.
- Roll horn shapes into a cone and hot glue in place. I found this easiest to do by working in 3-5 -inch sections beginning at the top.
- Slide a floral wire up into the cone shape.
- Work a small portion of polyfill into each horn, using a pencil to work it up into the point, if necessary. Fold the base of the horn until it is closed over and hot glue closed.
- Trim the exposed wire about 2-inches from the bottom of the felt horn shape.
- Wrap this remaining exposed wire on the horn around the headband, forcing the horn to run just inside each ear.
- Hot glue each horn on the base to the headband and also to the adjoining ear. This will help stabilize both the horns and the ears.
- Get ready to become an electrician! Begin wrapping the led light wire around the ear shape wire along the inside of one ear, where the horn adjoins. Yes, I know you just hot glued those together, but you are going to have a lot of flowers, and things going on there, so just run the wire up to where the hot glue stops at the horn/ear junction and start wrapping there.
- Wrap tightly all the way around the wire ear shape, then around the headband as you work back across toward the other ear. Tack this wire to the headband down with hot glue.
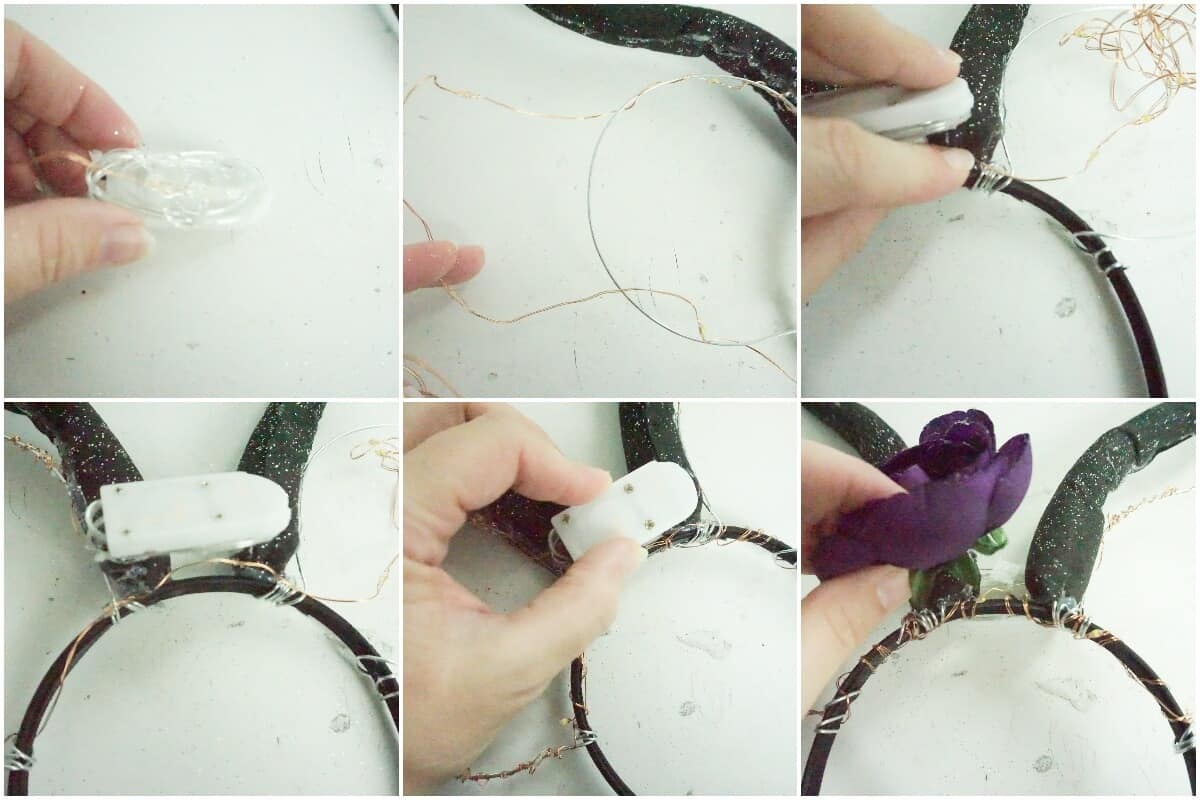
- Once you reach the other ear, wrap it just as you did the previous, wrapping and tacking down excess fairy light wire around the headband, heading back toward the first ear. Wrap the extra, un-lit wire onto the back of the controller (the side without screws) and tack in place with a few drops of hot glue.
- Hot glue the controller box onto the back of the horns, with the screw side exposed so that you can change out the batteries in the future.
- Trim all flower stems to ¼-inch long, both for consistency and so they don’t stick out from the ears very much.
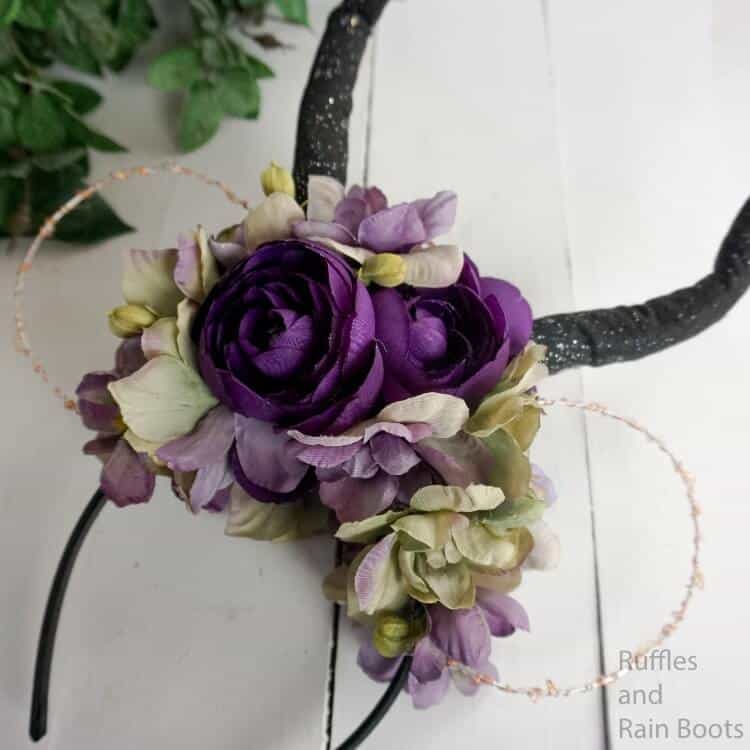
- Hot glue two big peony flowers on the front of the ears between the horns, kind of as a “centerpiece” of the flower crown.
- Fill in any area around, below and across the headband to the far side of each ear with flowers by hot-gluing them in place. To get a more organic look, mix your flowers up and don’t look at where you’re placing them until you put them down.
- Flip the ears and hot glue blue flowers on the back of the ears, corresponding with the front side. Be sure you can access the battery panel on the fairy lights.
- Fill in any holes with smaller flowers.

Notes
For more awesome DIY Villain Mickey ears, visit RufflesandRainBoots.com
More DIY Villain Minnie Ears for Disney You Might Like
- Ursula the Sea Witch Minnie Ears – She just wants to rule the undersea world. What’s wrong with that?!
- Loki Mickey Ears with Adjustable Horns – He is probably the least hated villain of all time, because, although he’s totally a jerk, he’s still family. And he’s our jerk.
- Ultimate List of Wickedly Cool Villain Mickey Ears – You want baddies, well, we’ve got tons.
Please Save This to Pinterest
Your shares are how this site grows and I am sincerely grateful. Know a friend who’d like this? Please share it on Facebook or save it to your favorite DIY Minnie ears board on Pinterest.

LOVE this tutorial!!!
For the fairy lights, do you buy the 7ft or 10ft option? I’m about to make some for our upcoming DIsney trip :) Thinking about modifying them to be Rapunzel for my little girls.
Thanks!
Go for the shorter length – they will be plenty long enough. Have fun!