
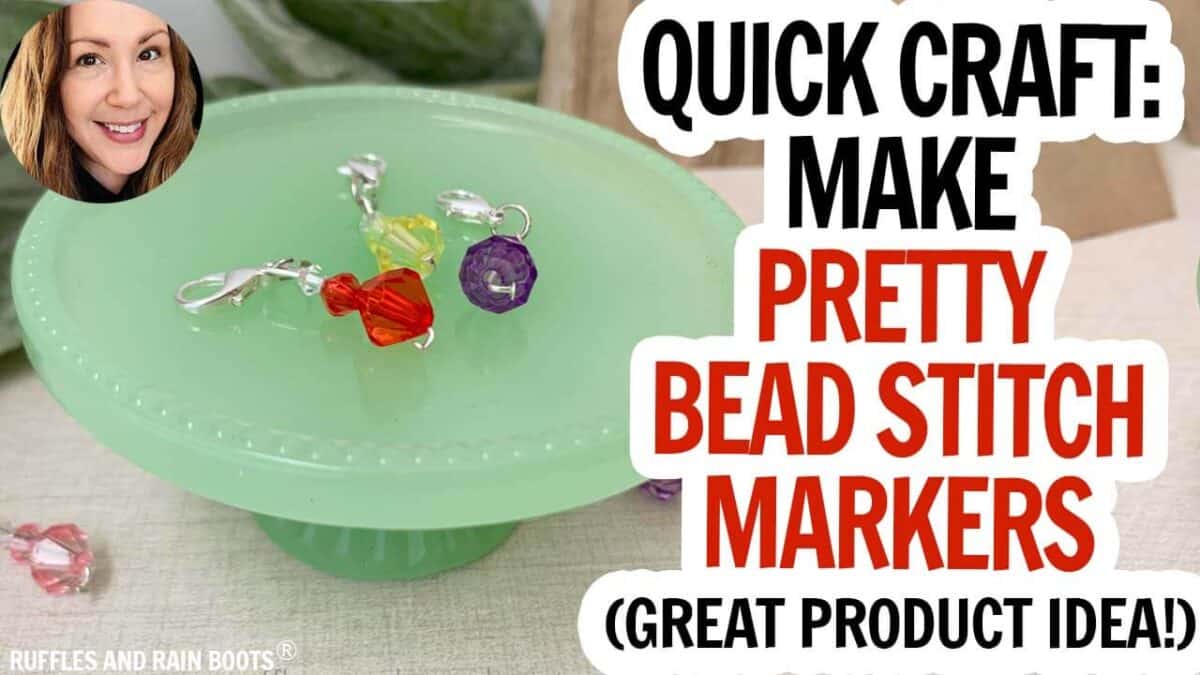
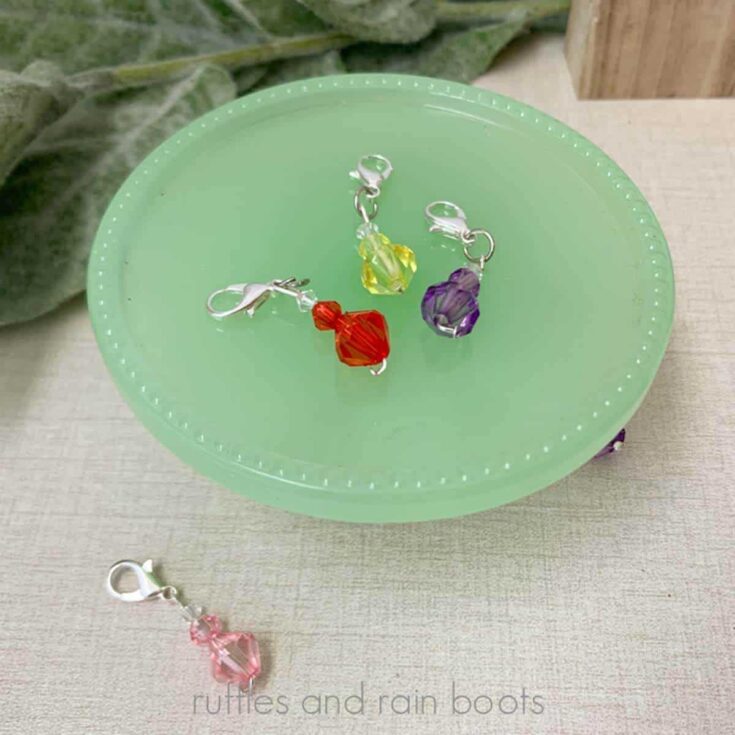
DIY Bead Stitch Markers
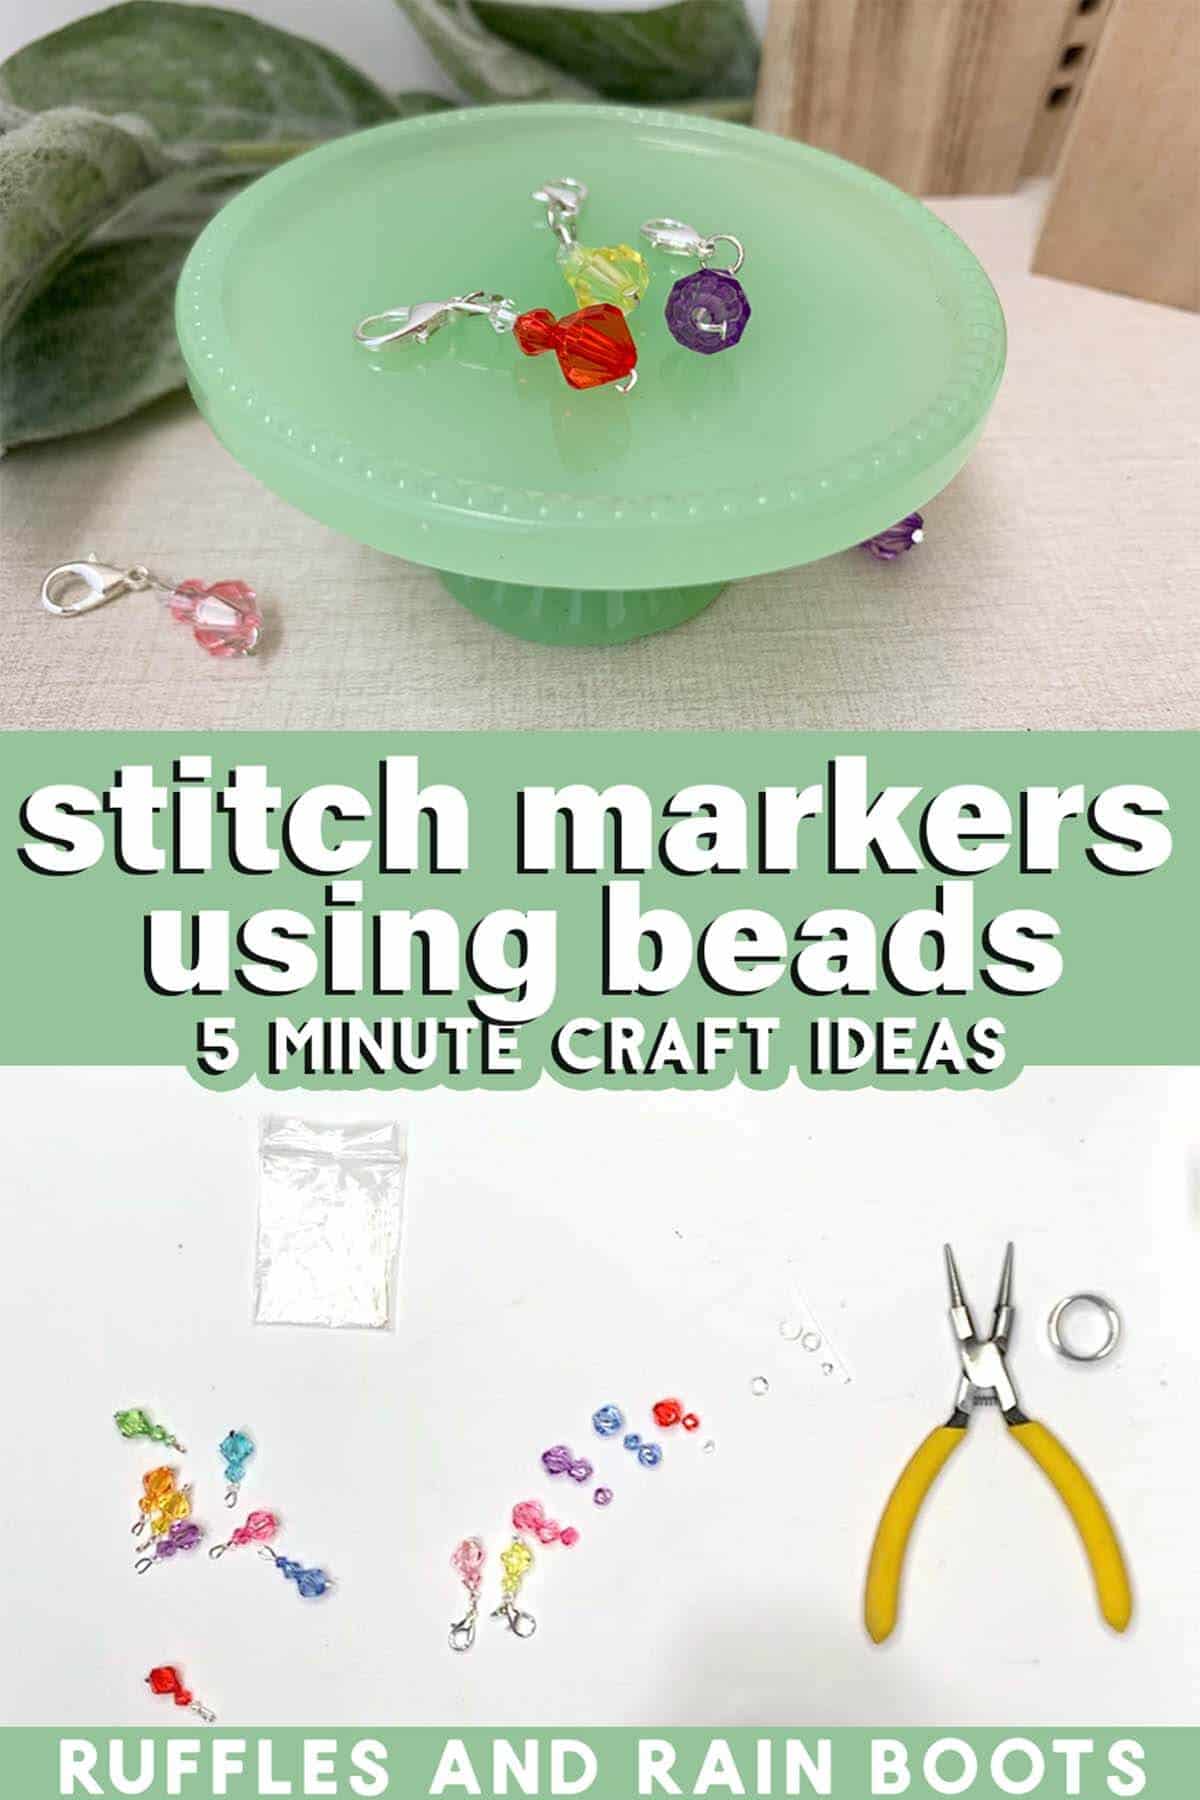
If you have 5 minutes and some pretty baubles, make these bead stitch markers. You will need beads, a head pin, a lobster clasp, and a jump ring. Let’s jump in…
RELATED READING: Dollar Tree Calendar Magnets (Such a Great Use of Tiny Images)
What You'll Find On This Page
Make Your Own Stitch Markers
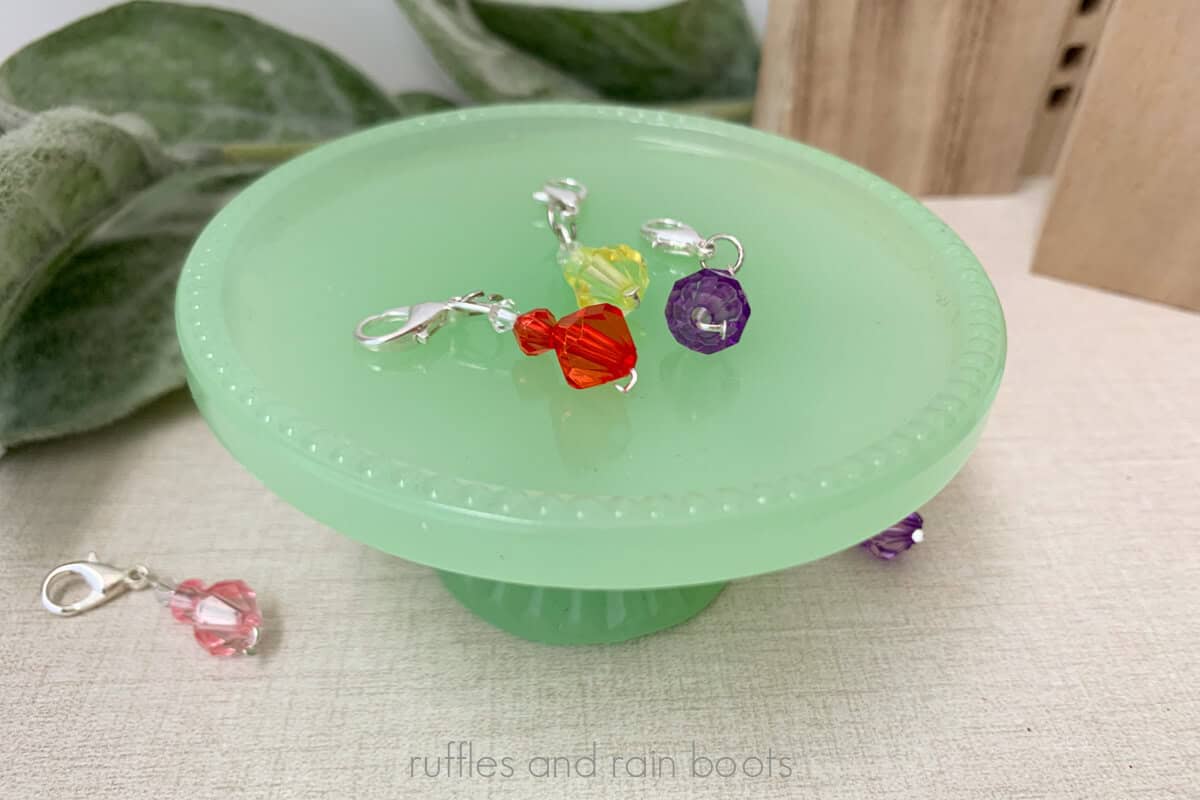
Here at Ruffles and Rain Boots, I am working on a bead project and, based on my calculations, I had a few left over. The vibrant beads cannot go to waste (aka sit for years somewhere in my craft room), so I decided to put them to use to make some DIY stitch markers.
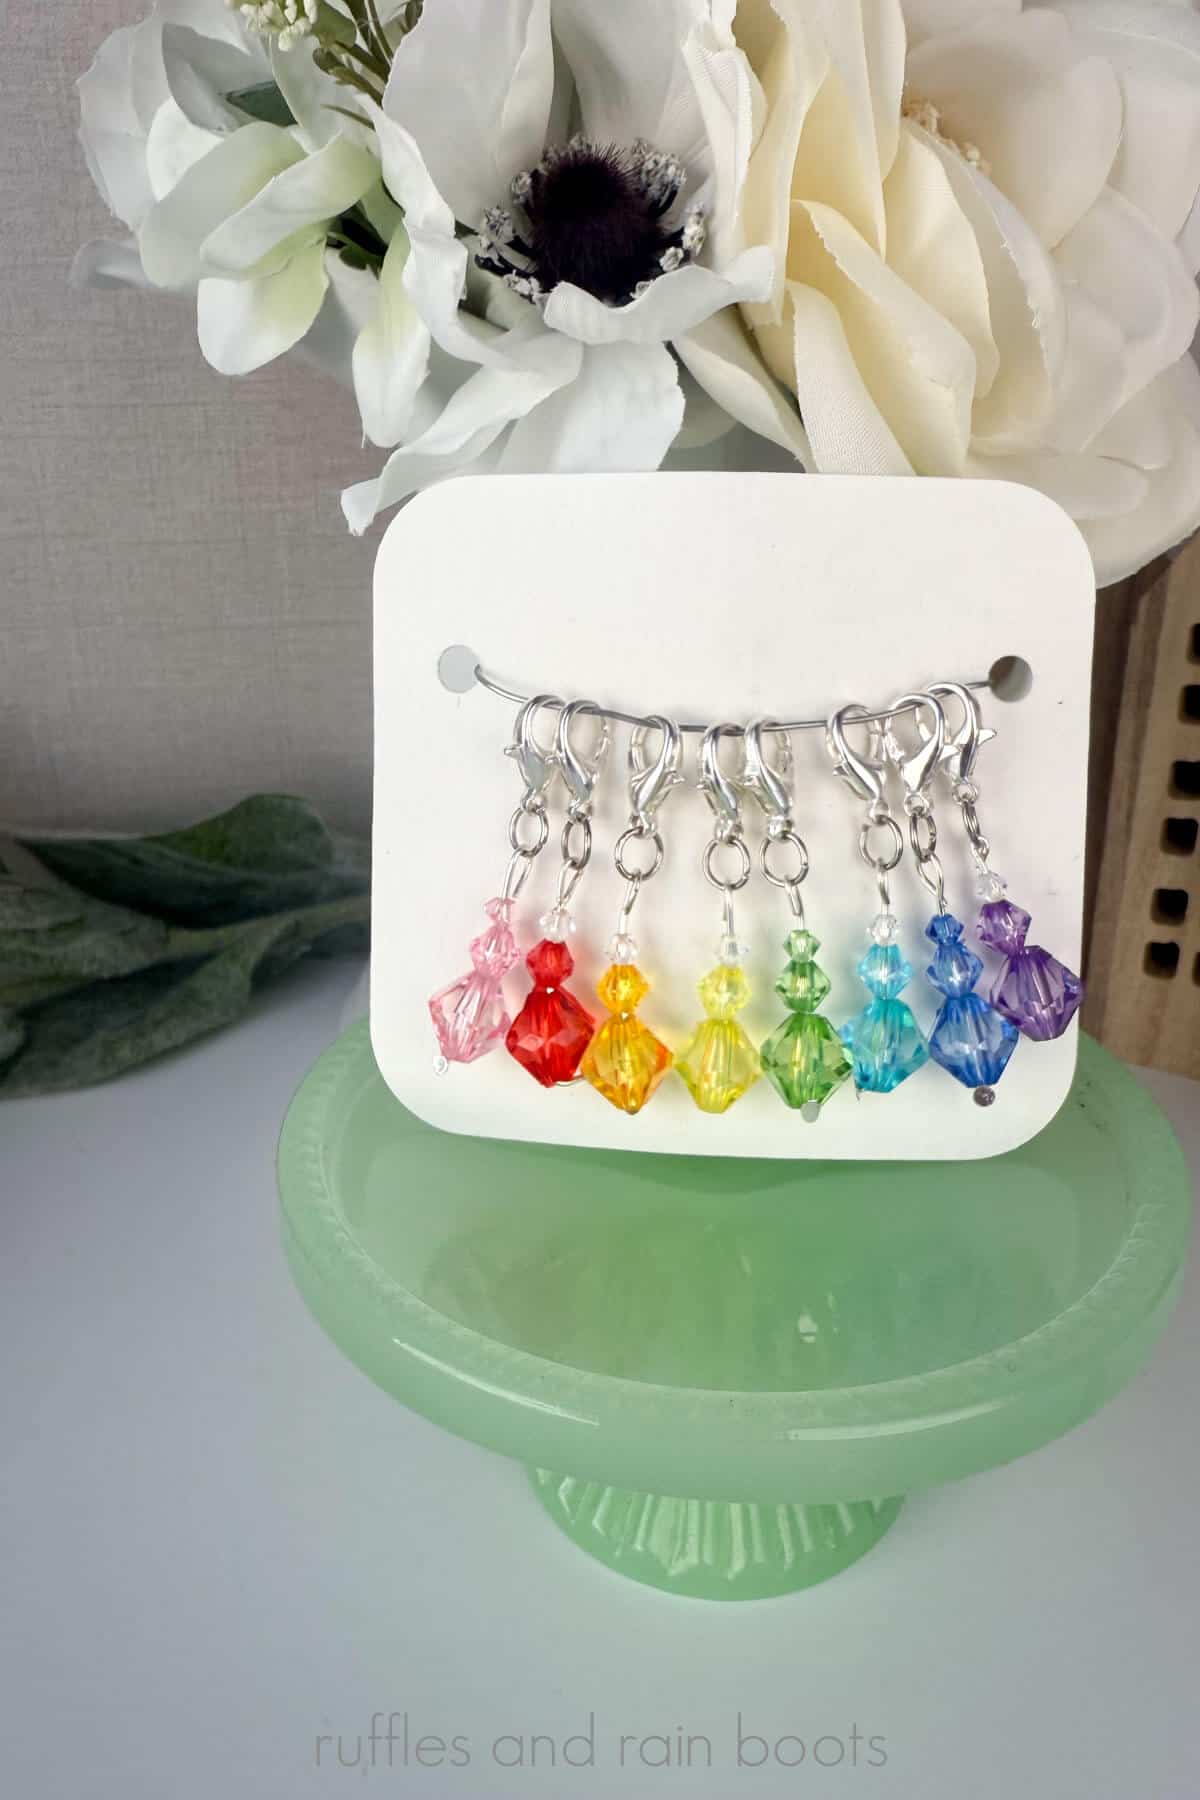
These markers are perfect for both knitting and crochet, as they can be strung or clipped onto works in progress. They also sell well at craft fairs and online – see a simple card display below for sale or shipping.
If you can’t make these right now, share them to Facebook or save them to a DIY pin board. Either way will make them easy to find when you’re ready to begin.
As an Amazon Associate, I could earn from qualifying purchases. There could be affiliate links within this article.
Materials You Will Need
I used the following for this project, but keep in mind that ANYTHING will work if you can attach a jump ring to it. Thrift store finds like baubles, buttons, and vintage jewelry will work. Craft store items like charms, tassels, and anything that catches your fancy will probably work, too.
- beads (I used this set because it had three different sizes included)
- lobster clasps
- head pins (anything between 30 and 50 mm will work)
- jump rings (I recommend 6 mm)
You will need a pair or two of needle nose pliers. A jump ring ring (I know it’s hard to read, but it’s correct) will make things go faster, as well. You can get these in some jump ring sets or on their own.
DIY Stitch Markers with Beads Video Tutorial
If you’re a visual learner, watch the quick bead stitch marker video tutorial. While you’re there, subscribe – we have a lot of fun!
How to Make Beaded Stitch Markers
First, sort the beads you would like to use. I used three on some, two on others.
Next, use the needle nose pliers to bend over the flat end of the head pin.
Slide on beads in descending size order and bend over the remaining head pin using the pliers. The goal is to put the end of the head pin along the pin nearest to the top bead’s hole.
Use the jump ring ring and needle nose pliers to open a jump ring. Slide on the beads and the lobster clasp and close the jump ring.
Repeat to make as many as you would like.
More Crafts You Might Like
- Dollar Tree Flower Pot Gnomes – From kids to adults, EVERYONE loves this easy craft.
- xTool M1 Ultra Review – The best laser for crafters? I put it to the test (check out what I made).
- Clay Pot Bees – Head to the dollar store for your supplies to make these cuties.
Please Save or Share This Quick and Easy Craft Idea
Your shares are how this site grows and I am sincerely grateful. Please save this to a DIY crafts pin board or share it with a crafty group on Facebook.
DIY Stitch Markers with Beads
Use inexpensive beads to create these beautiful stitch markers for knitting and crochet. Read below how to prepare these as products to sell at craft fairs or online. They make great gifts, too!
Materials
- Beads in Various Sizes
- Head Pins
- Jump Rings (I recommend 6 mm)
- Lobster Clasps
Tools
- Needle Nose Pliers
- Jump Ring Ring
- Optional, Wire Cutter/Snip
Instructions
How to Make Bead Stitch Markers
- Sort the beads you would like to use. I used three on some, two on others.
- Use the needle nose pliers to bend over the flat end of the head pin.
- Slide on beads in descending size order and bend over the remaining head pin using the pliers The goal is to put the end of the head pin along the pin nearest to the top bead's hole. Note: you can use wire cutters to snip off 1/16th to 1/8th of the ends to ensure it tucks near the opening of the top bead.
- Use the jump ring ring and needle nose pliers to open a jump ring.
- Slide on the beads and the lobster clasp and close the jump ring. Repeat to make as many as you would like.
How to Prepare for Sale or Gifting
- Cut a square or rectangle of card stock with scissors or a cutting machine.
- Poke a piece of wire from the back of the card, through the front of the card near one edge and through to the other side so that the wire can join in the back. Twist it together to secure.
- Clip on all of the stitch markers.
Notes
I used the xTool M1 Ultra 4 in 1 craft machine to cut and engrave the card with my business name on them (image in article without business name). You can also use a Cricut or other cutting machine to achieve the same look.
Meet the Creator
Hi there, I’m Sarah Nenni-Daher. I’m a crafty gal and always have at least 14 projects going at once. I am a crafter, designer, DIYer, and pattern maker. I share my creations here and in the Ruffles and Rain Boots® Shop.
Here at Ruffles and Rain Boots®, you’ll find DIY gnomes, crafts, gifts, cupcakes, laser crafts, and so much more. I love sharing video tutorials over on YouTube and chatting with other crafters in my Facebook groups. We’d love to have you!