
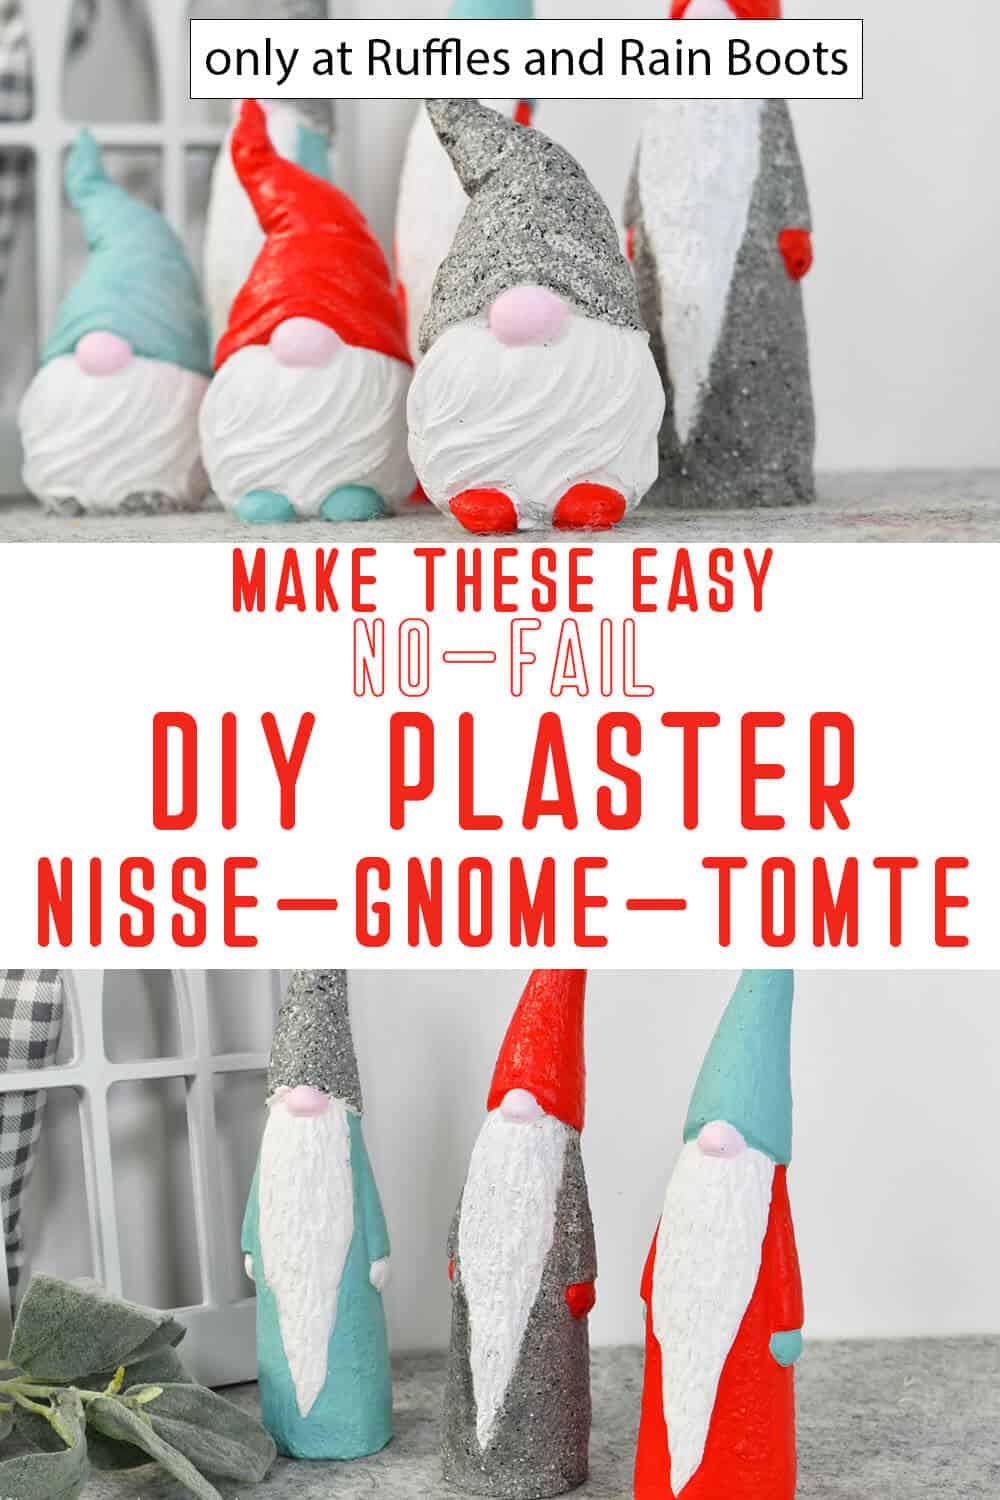
Make Easy Plaster Gnomes with Latex Molds | No-Fail Gnome Project
I decided to try my hand at plaster casting gnomes and I have to say making these plaster gnomes with latex molds was a blast!
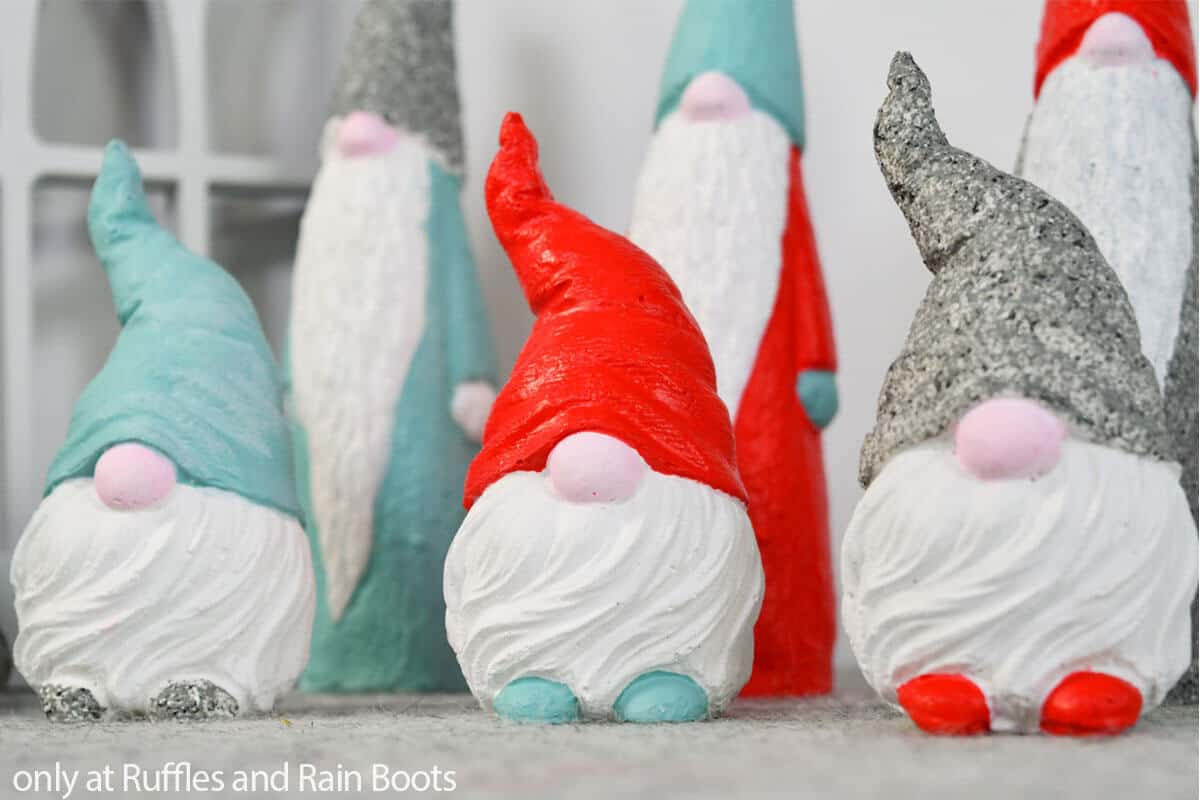
Plaster Gnomes with Latex Molds
Here at Ruffles and Rain Boots, we love making something new and different all the time. And when I saw some adorable plaster gnomes – and then ran across a latex mold to make something similar, I knew what I had to do. So, I grabbed the mold and learned how to make plaster gnomes with latex molds.
RELATED READING: GNOME MAKER’S JOURNAL FOR GNOME SELLERS
So crazy easy, this is a no-fail gnome project that anyone can do with limited ability. Just dive right in and you’ll see just how easy it is to make gnomes from plaster – so let’s get started.
Get Secret Gnomes, Tips, & Freebies Delivered!
What is the best pattern to use when you don’t want to sew? Do you know the secrets to a properly-proportioned gnome? Do you know where to get the best-priced fur?
Get all of this (and exclusive content just for you) delivered right to your inbox with the gnome-making series, free of charge. Sign up to get the once-weekly newsletter (and a jaw-dropping special offer)!

No Time to Make This Now? Pin it for Later
You’re busy, I get it. Pin this to your favorite easy gnome crafts board on Pinterest and it’ll be here when you’re ready.
As an Amazon Associate, I can earn from qualifying purchases.
Tips to Make DIY Garden Gnomes
- Start by grabbing the latex molds for the gnomes you want to make. I used:
- If you plan to display your gnomes outside or in a window with direct sunlight, I definitely recommend sealing them with a UV sealant like this here. This particular sealant will keep the color from fading and you won’t have to redo them.
- If you choose to make several gnomes with this method, take care to allow them to cure completely before painting them. If you paint them too early, the paint will trap some of the moisture in the plaster and make them brittle. So, just let them dry, per the directions on your specific plaster.
How Do I Make this Plaster Gnomes with Latex Molds?
I’m so glad you asked. Below is our written tutorial. If you’re making an easy crafts playlist on YouTube, here is our plaster gnomes video tutorial.
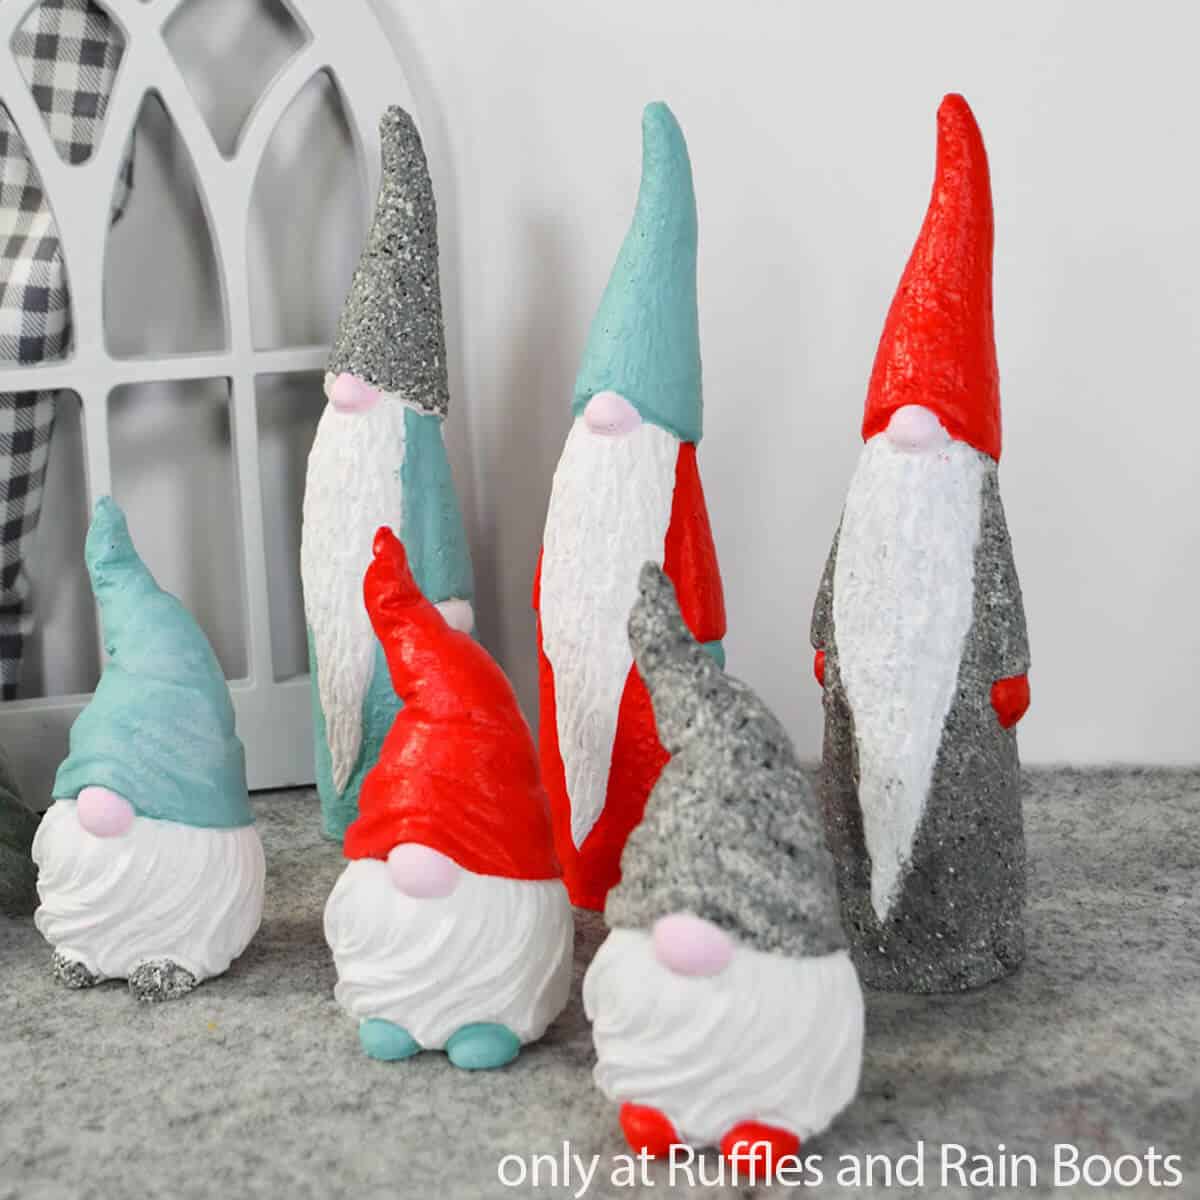
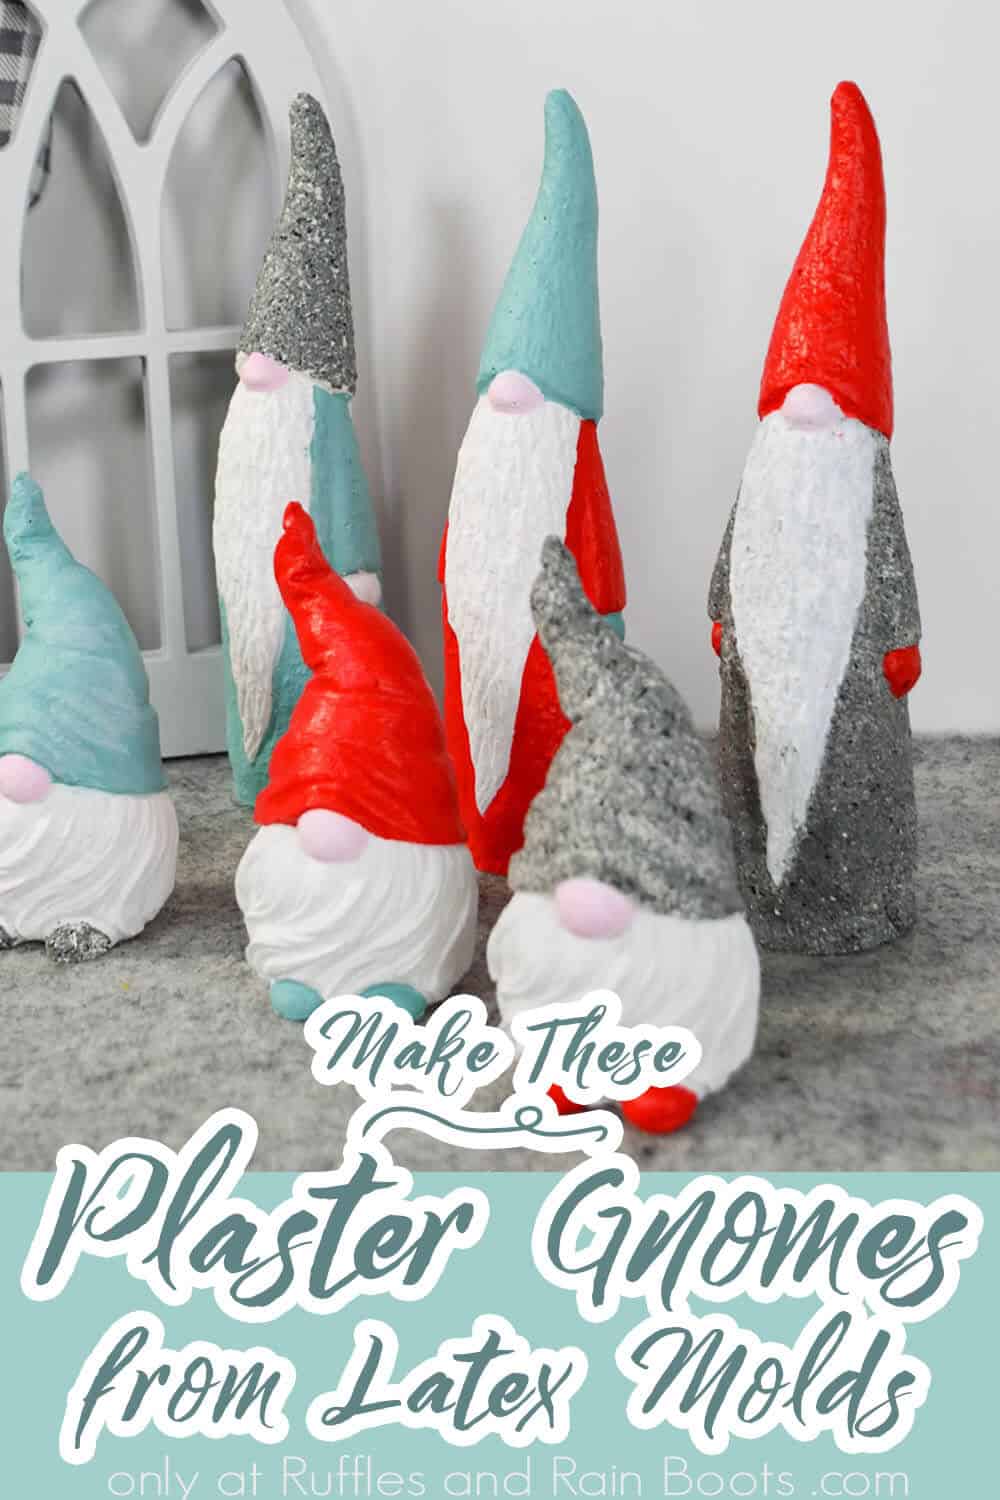
Plaster Gnomes from Latex Molds

You are going to love this no-fail gnome project. Grab a mold, add plaster and paint the adorable gnomes. These plaster gnomes from latex molds are surprisingly easy.
Materials
- Plaster (any craft plaster)
- Water
- Paint (acrylic or spray paint)
- UV Sealant
Tools
- Tall Gnome Latex Mold
- Short Gnome Latex Mold
- Disposable Bowl
- Measuring Cups
- Disposable Spoon
- Scrap Cardboard
- Mason Jar or Large Cup
- Craft Stick
Instructions
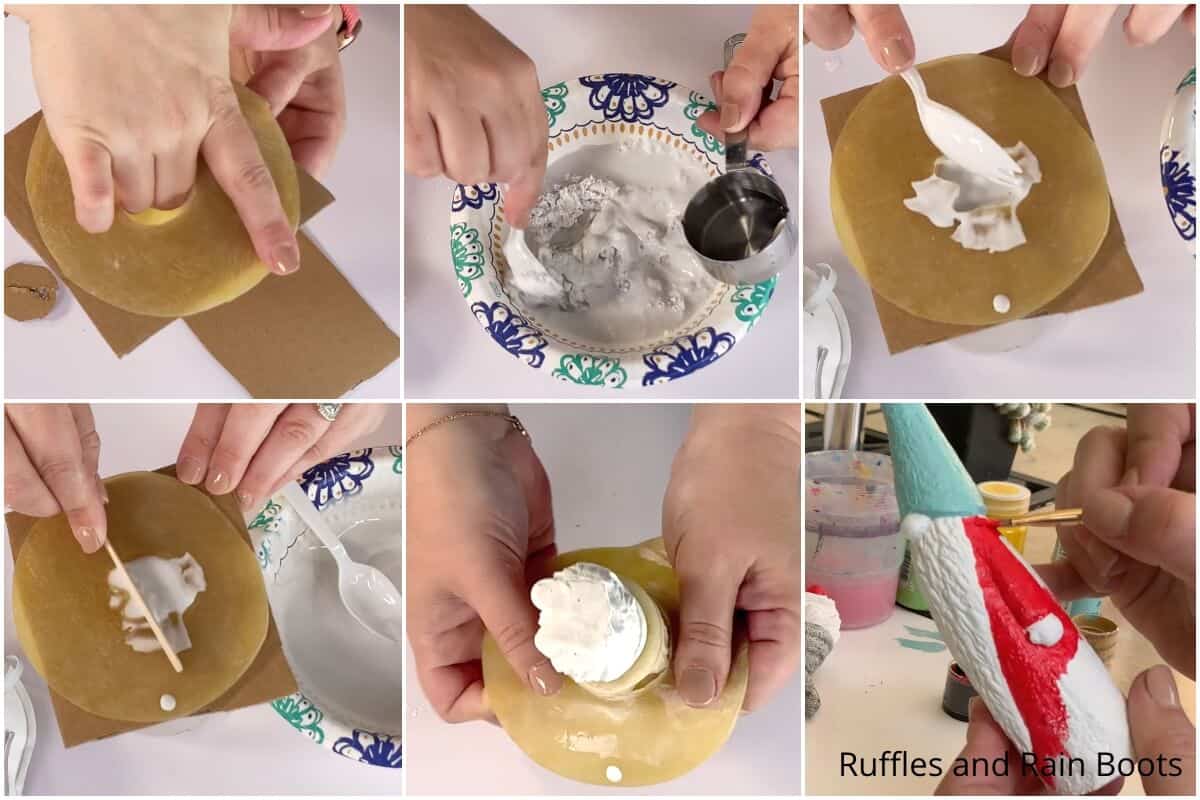
- Inspect your latex mold to make sure there is no lint inside or any holes to patch, then test-fit your mold into a cup to make sure it will fit.
- Cut a piece of cardboard large enough to cover the opening of your cup or jar, with a hole in the center of the cardboard that is wide enough for the gnome part of the mold to fit through it. Fit the cardboard onto the mold then fit the mold into the designated cup or jar.
- Mix a batch of your plaster. Mine was a 2-to-1, plaster to water mixture. Mix well until the plaster is like a soupy pancake mix. Take care to fold more than stir in order to keep the number of bubbles reduced.
- Fill your mold almost full, but not completely full, then gently drop your mold, while covering the opening so that it doesn't splash out. This is intended to reduce the number of bubbles, so you might want to drop it a couple of times.
- Finish filling your mold and then add a little extra. Use the craft stick, moving it horizontally across the opening of the mold and scraping away the excess plaster, to make a flat bottom on your gnome.
- Allow the plaster to set per the directions on your plaster packaging, then remove the latex mold. Allow the plaster to cure per the plaster packaging before proceeding.
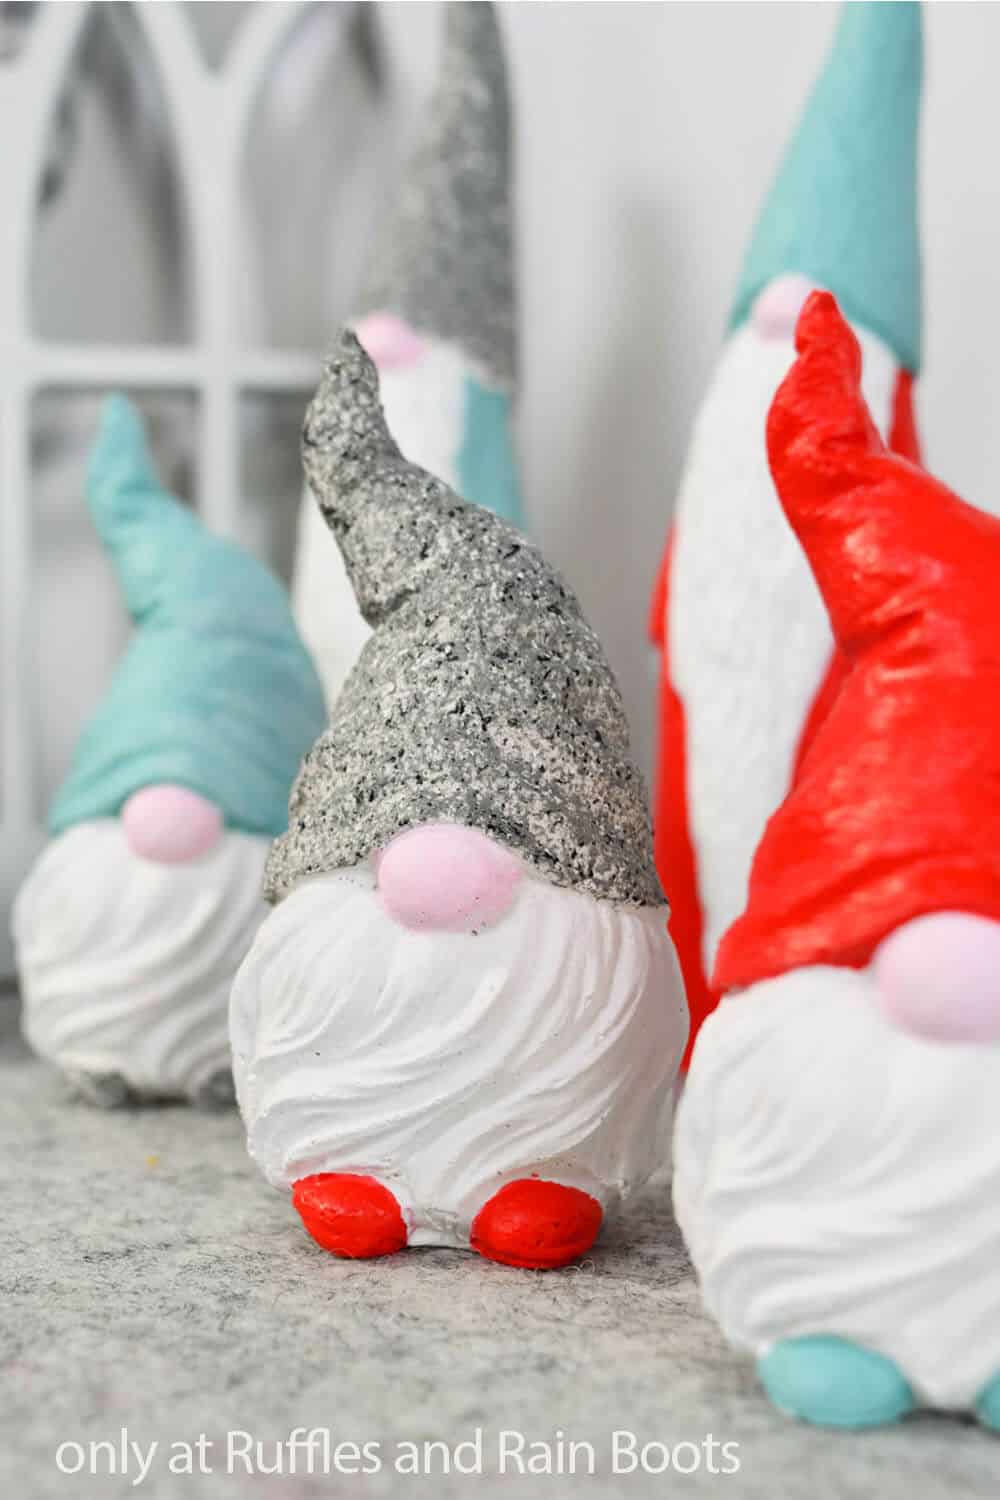
- Once fully cured, paint your gnomes as desired. Be sure to paint two coats to ensure adequate cover, and I like to paint the bare plaster on the beards with a coat of white, to make sure that the color really pops. Allow the paint to dry fully.
- Add a coat of UV sealant to the gnomes then display!

Notes
For more fun gnome projects, visit Ruffles and Rain Boots!
More DIY Gnome Projects You Might Like
- Plaster Gnome Ornaments – Using the same plaster of Paris bag, make these wow-worthy Christmas ornaments and package tags.
- DIY Garden Gnome from Concrete – Sculpting with concrete isn’t easy, but with this DIY garden gnome, you can make a fun little guy fast!
- Polymer Clay Gnomes with Feet – Itty bitty gnomes with big ‘ole feet make me giggle and these guys with curly hats are no exception.
- No-Sew Bee Gnome Pattern – One of my favorite patterns, this fun no-sew bee gnome with DIY wings is SO CUTE!
Please Save This to Pinterest
Your shares are how this site grows and I am sincerely grateful. Know a friend who’d like this? Please share it on Facebook or save it to your favorite easy DIY ideas board on Pinterest.

Ordered the molds. Love these little guys. Do we need to treat the plaster before painting?
Nope, no treating anything. I just used plaster powder, mixed it up, and dropped it in. :)
Was able to get on to your website and look at your new way to make gnomes out of plaster. Would be nice for porch or flower beds. For me personally, I like the ones made with fabrics and bits and pieces of natural odds and ends. They are cute any way you find them.
Thanks for the heads up on your website address change.
See you there.
Love,Love,Love… So Cute and doable. Will have to order both molds and let the fun begin. Thanks.