
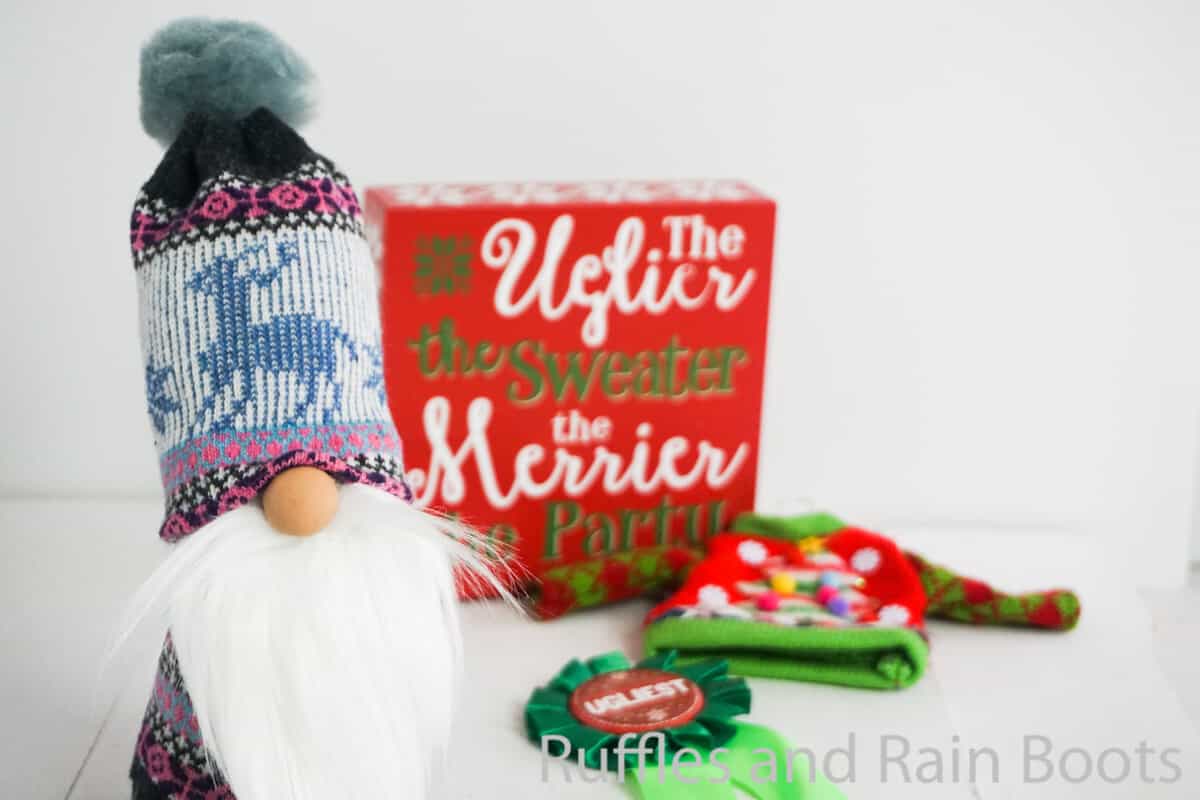
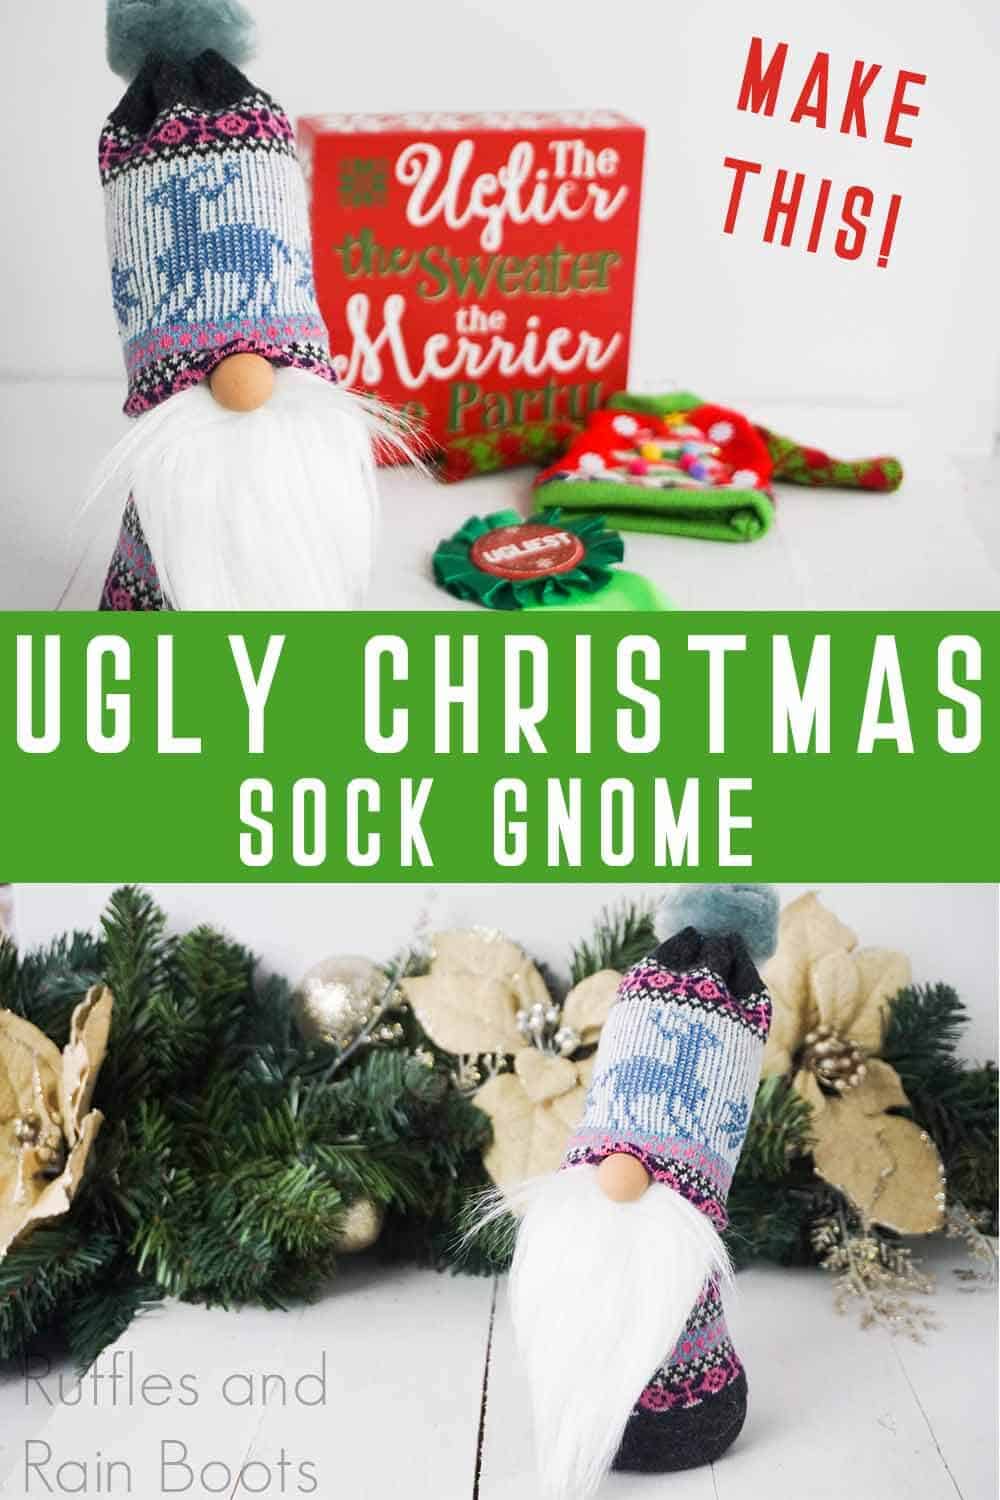
This Ugly Christmas Sweater Gnome is the Cutest Snow Bunny Gnome EVER!
You have to check out this ugly Christmas sweater gnome. It’s so ridiculously cute and this ugly Christmas sock gnome is so EASY!
What You'll Find On This Page
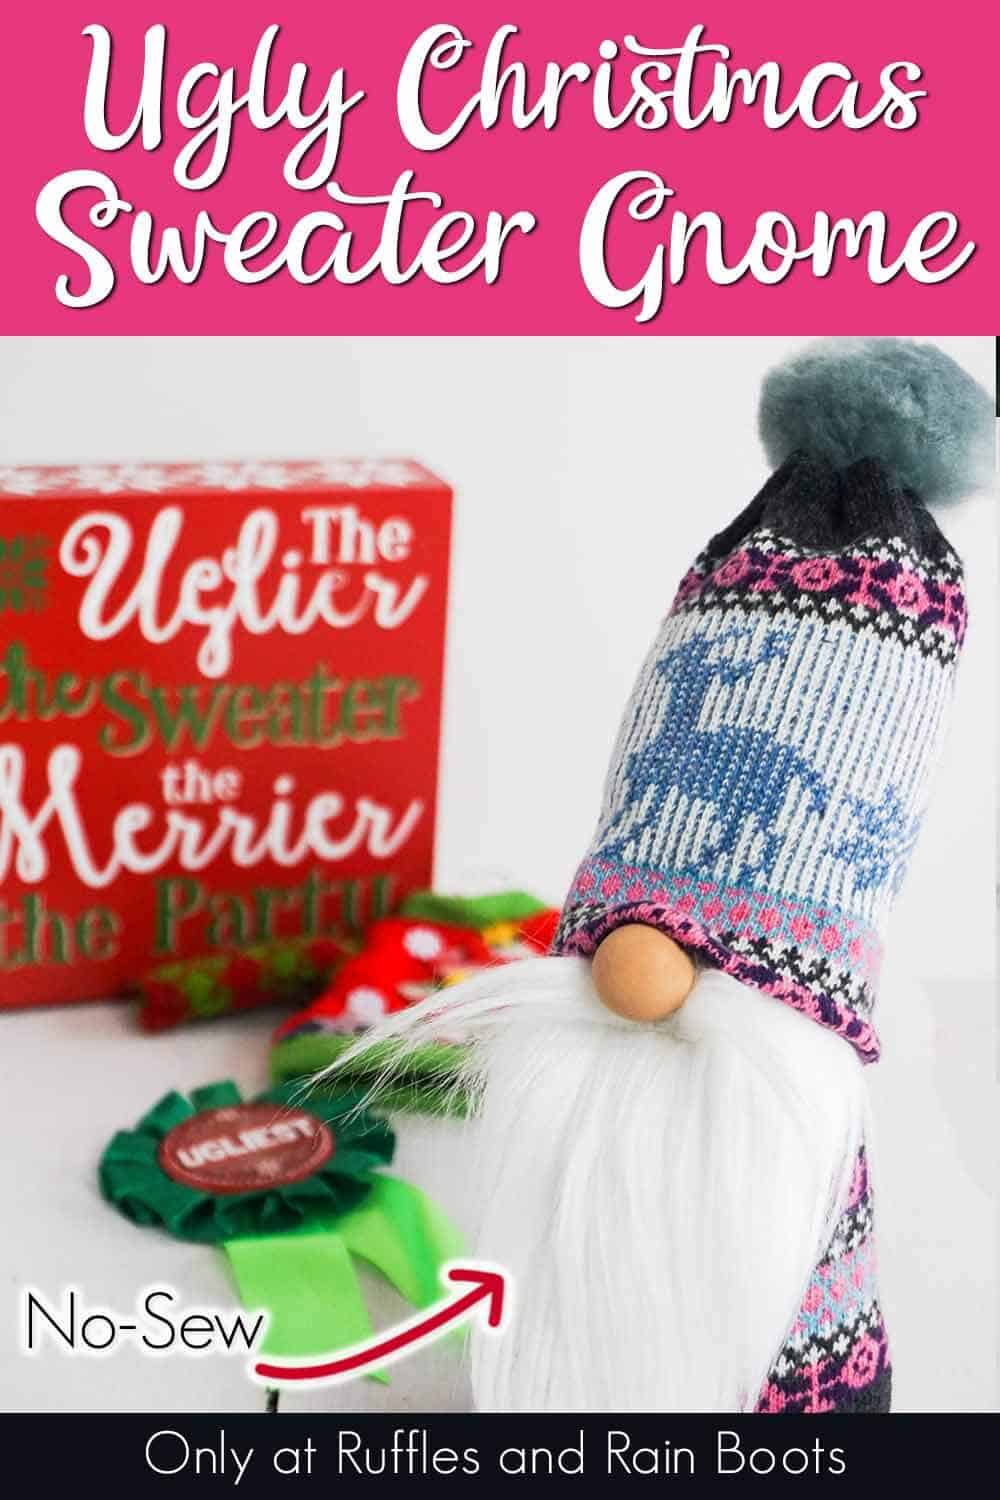
Ugly Christmas Sweater Gnome
Here at Ruffles and Rain Boots, we are obsessed with the adorableness of this cute ugly Christmas sweater gnome. Not only is it simply freaking cute, but it was ridiculously easy to make. Less than 20 minutes. Let me repeat: Less. Than. 20. Minutes. Meaning, you can make this adorable ugly sock gnome as a handmade Christmas gift in minutes.
RELATED READING: DIY GNOME TUTORIALS
Seriously, that is the BEST kind of last minute Christmas gift (one that’s fast and fun, but totally looks like it took forever and was absolutely something you bought–but not). Oh, man, this is seriously my most favorite gnome right now. So, if you’re ready to make this insanely cute holiday gnome, well let’s get started.
DIY Christmas Gnome Tutorials
If you’re looking for the best DIY Christmas gnome tutorials, you have come to the right place. Check out all of my favorite tomte tutorials for the holidays!
No Time to Make This Now? Pin it for Later
You’re busy, I get it. Pin this to your favorite DIY Christmas gnomes board on Pinterest and it’ll be here for when you’re ready.
As an Amazon Associate, I can earn from qualifying purchases.
Tips to Make Ugly Christmas Sock Gnome
- If you want to use the exact same Christmas socks as I used, you can get them here.
- You can use a wooden bead or a cork for a nose, or basically anything you can as a nose. I used a polymer clay ball I made.,.
- I used rice to fill my ugly Christmas sock gnome, but you don’t have to. You can use those little plastic beads, beans, pebbles…basically anything to give it a little weight to keep it from falling over. Just be aware with anything more chunky than rice that it might make your gnome’s body lumpy.
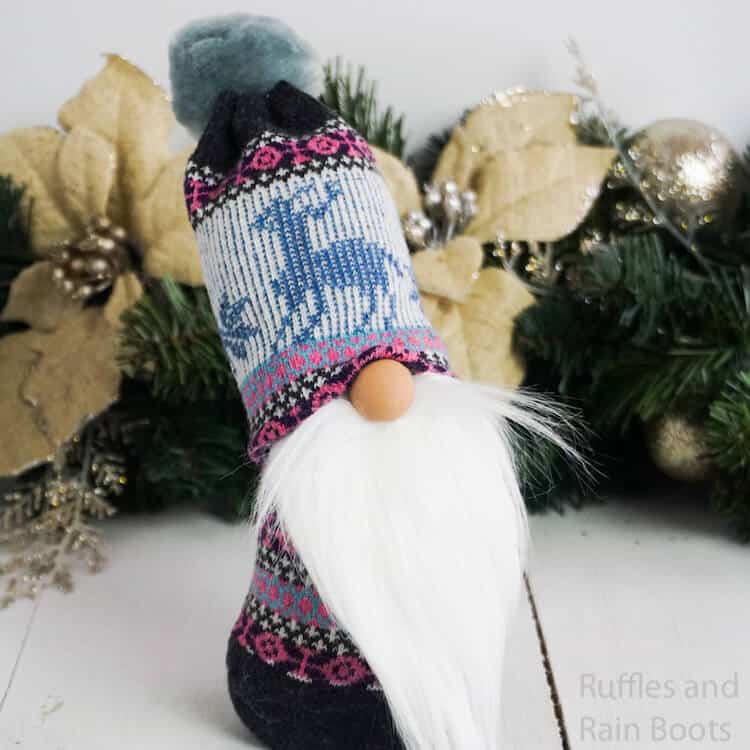
How Do I Make this Ugly Christmas Sweater Gnome?
I’m so glad you asked. Below is our written tutorial.
Ugly Christmas Sweater Gnome
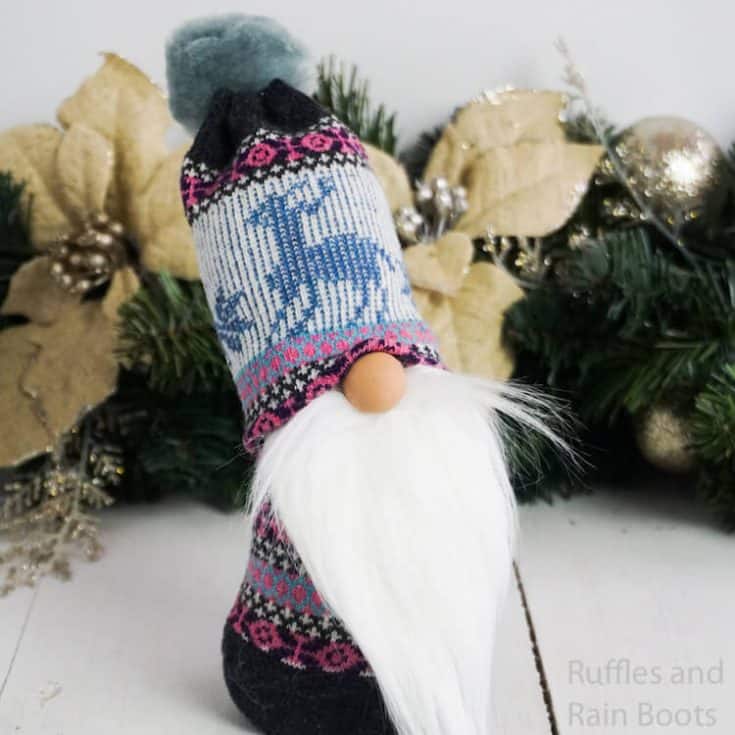
You have to check out this ugly Christmas sweater gnome. It's so ridiculously cute and this ugly Christmas sock gnome is so EASY!
Materials
- 1 Ugly Christmas Sock
- Scrap of White Craft Fur
- Dime-Sized Portion of White Polymer Clay
- Dime-Sized Portion of Light Brown Polymer Clay
- 1 Large Pom Pom
- 1 Cup Uncooked Rice
- Small Amount of Polyfill
Tools
- Hot Glue Gun and Glue
- Scissors
- Oven
- Cup
Instructions
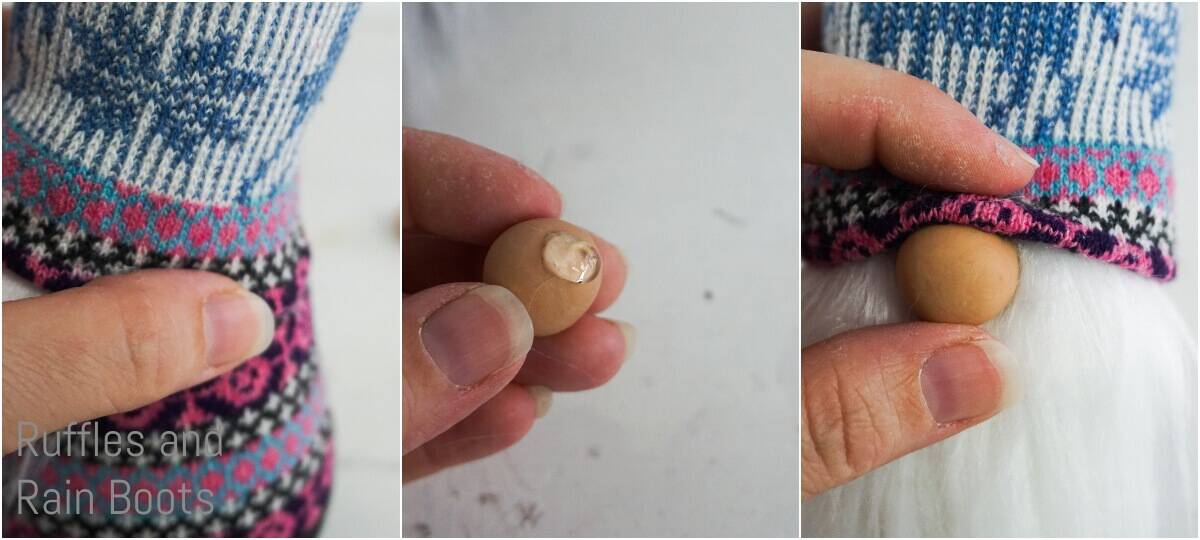
- Make your gnome's nose by combining the brown and white polymer clay until a flesh-color is consistent throughout.
- Roll clay into a neat ball, making sure they are smooth all the way around.
- Bake in the oven per the polymer clay package directions. Allow to cool before touching. Set aside.
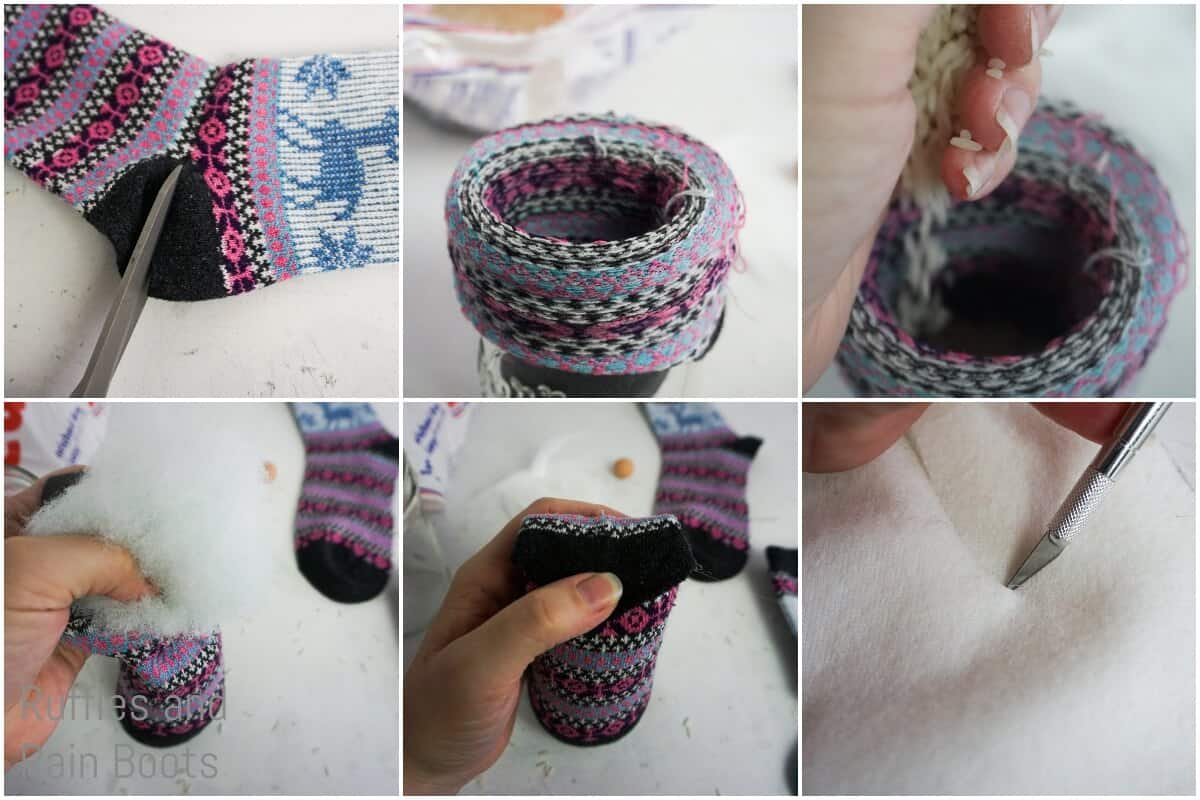
- Cut the bottom of the sock off at the heel. Set aside the top of the sock and work only with the bottom for the sock make the body of the gnome.
- Open the top of the sock around the mouth of the cup, with the sock inside. Fill with rice (or your chosen filler).
- Tuck some polyfill in the top of the sock, to keep the rice from spilling.
- Fold the top of the sock over and hot glue it closed. Use plenty of hot glue to seal it up so none of the rice will come out.
- Cut the craft fur out in a triangle shape, sized just right for your gnome.
- Cut the craft fur out in a tiny rectangle to make a mustache for your gnome. Finger brush this away from the center, forming a mustache.
- Set aside body, beard and mustache.

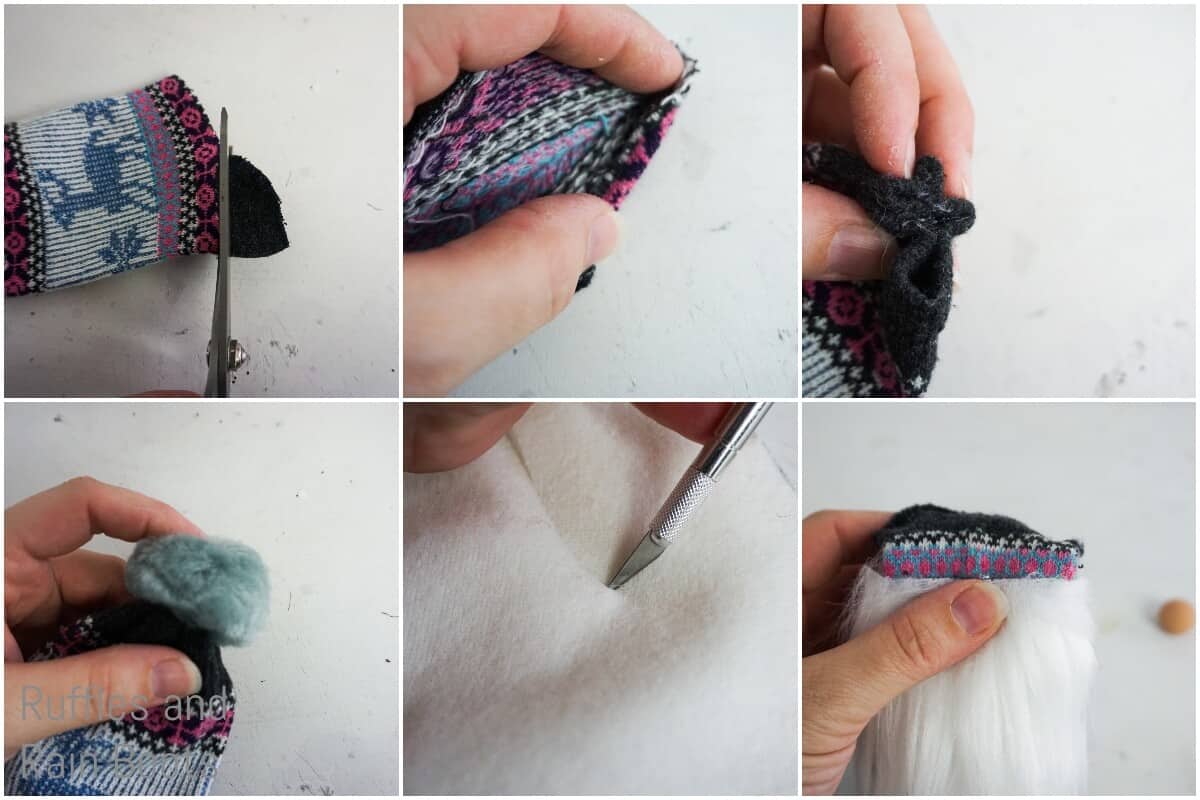
- Make the gnome's hat by cutting off the remaining portion of the heel from the top portion of the sock.
- Hem the bottom opening (the cut end) of the top of the sock by folding over the cut ends and glueing them in place with the hot glue.
- Bunch the top of the sock top closed and hot glue it in place.
- Glue the pom pom on top of this bunched-closed opening.
- Hot glue the beard in place on the body of the gnome.
- Hot glue the nose in place at the top of the beard.
- Affix the mustache under the nose.
- Tuck the hat onto the gnome's head and hot glue it in place on the back and sides.
- Wrinkle the edge of the hat over the gnome's nose and hot glue in place.

- Enjoy!
Notes
For more fun Christmas gnome tutorials, visit RufflesandRainBoots.com
More DIY Christmas Gnomes You Might Like
- DIY Gnome Tutorials – If you need a few ideas for making gnomes, well, this is where you’ll find ’em all!
- Gnome Sweet Gnome Porch Sign – If you love gnomes, this is the welcome home you need every day.
- Christmas Gnome Ornaments – So many awesome ornaments that make great gifts–or the most perfect ornaments for your tree!
Please Save This to Pinterest
Your shares are how this site grows and I am sincerely grateful. Know a friend who’d like this? Please share it on Facebook or save it to your favorite DIY Christmas gnomes board on Pinterest.
Meet the Creator
Hi there, I’m Sarah Nenni-Daher. I’m a crafty gal and always have at least 14 projects going at once. I am a crafter, designer, DIYer, and pattern maker. I share my creations here and in the Ruffles and Rain Boots® Shop.
Here at Ruffles and Rain Boots®, you’ll find DIY gnomes, crafts, gifts, cupcakes, laser crafts, and so much more. I love sharing video tutorials over on YouTube and chatting with other crafters in my Facebook groups. We’d love to have you!