
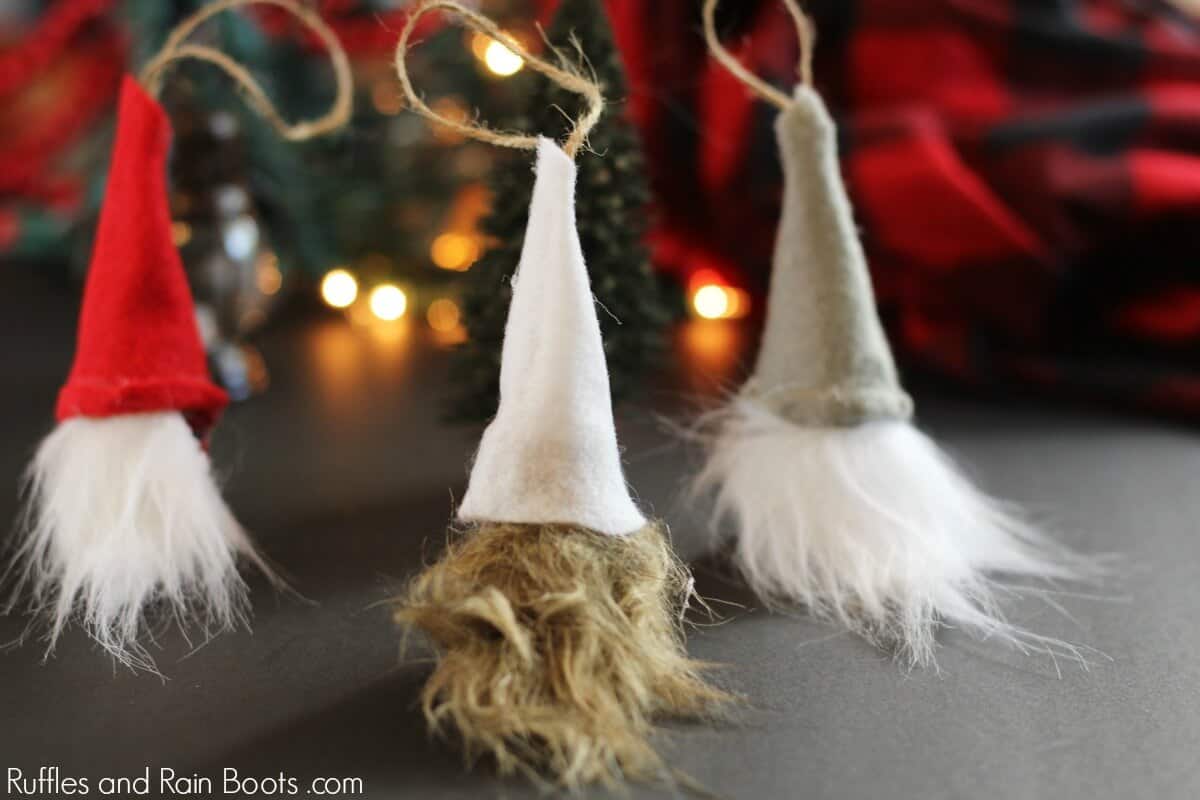
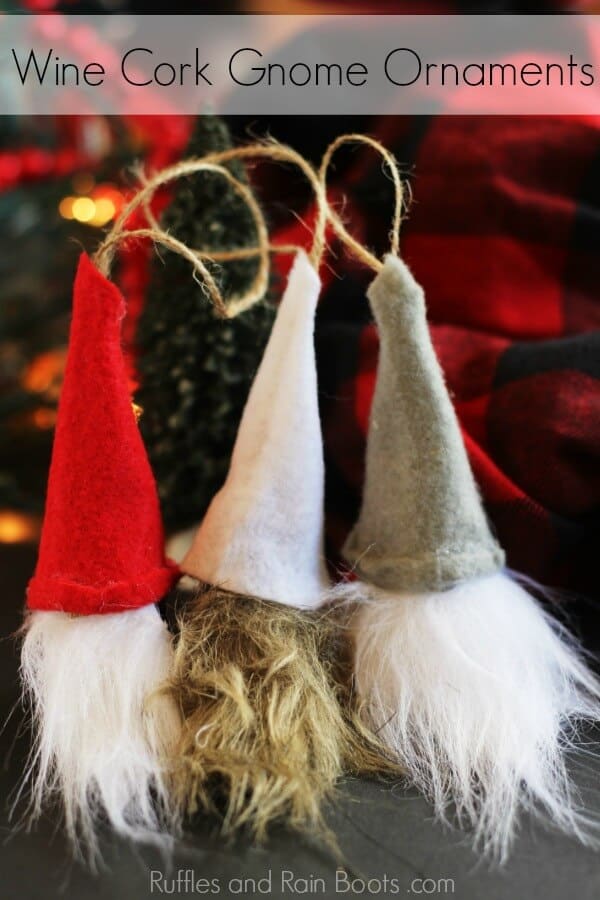
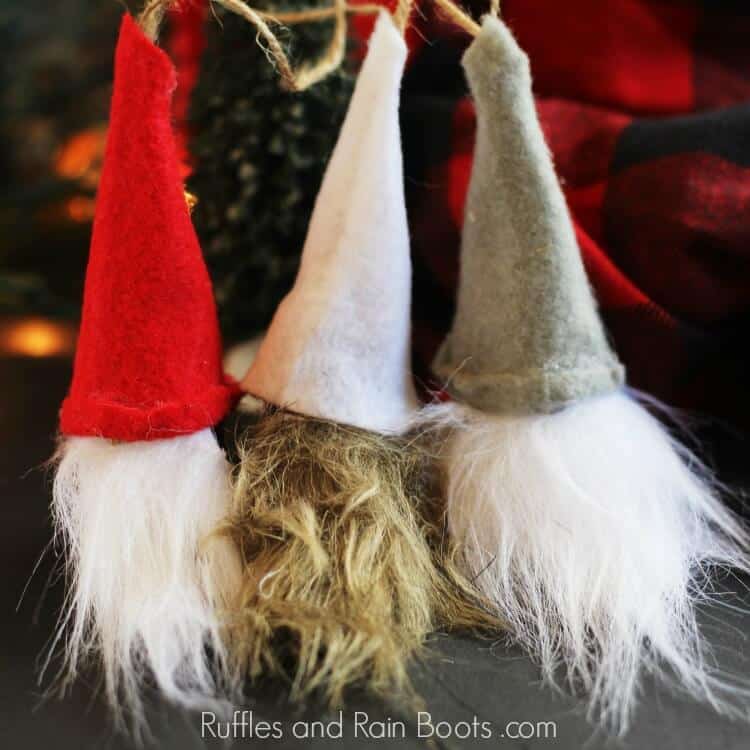
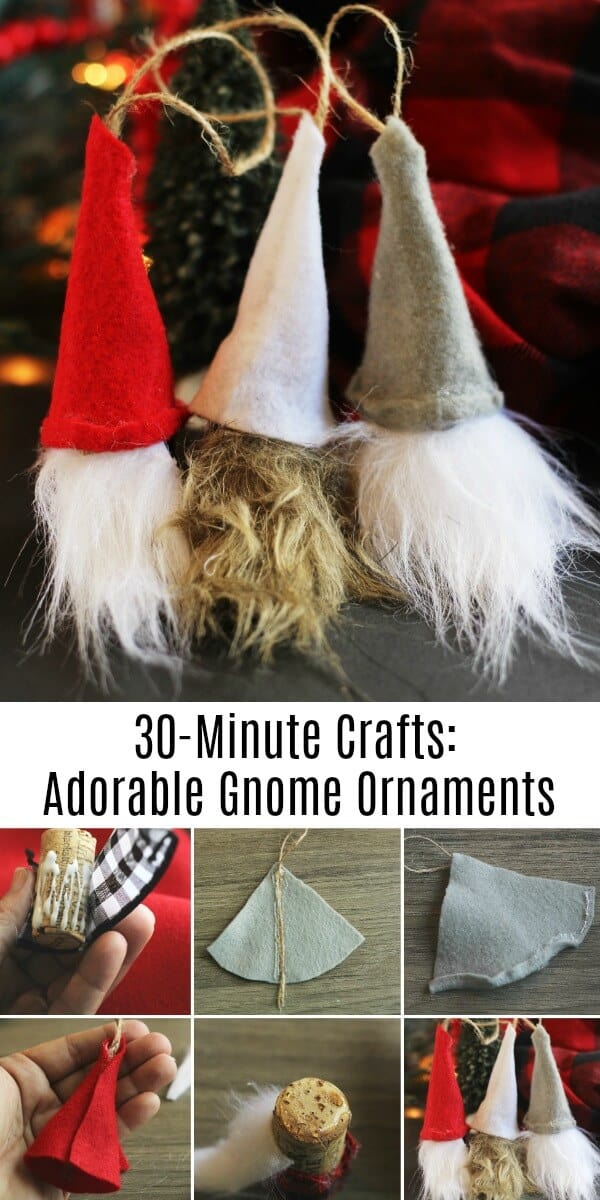
DIY Swedish Gnome Ornaments from Wine Corks – Holiday Fun!
Make these adorable Swedish gnome ornaments to add cheer and fun to the holidays. Grab some wine corks and let’s get started.
There are affiliate links in this article which means, at no additional cost to you, we could receive compensation for our recommendations. You can read our full disclosure policy.
What You'll Find On This Page
Swedish Gnome Ornaments Using Wine Corks
Here on Ruffles and Rain Boots, we are slightly obsessed with the adorable Scandinavian gnome. Whether you call them Christmas gnomes, tomte, nisse, or holiday elves, these cuties are icons of the holiday season.
A few of our Scandinavian gnome patterns and DIYs:
- Mr. and Mrs. Christmas Gnomes (seriously, these are so cute)
- Minimalist Wreath with Large Gnome Ornament (in true Scandinavian style)
- For the Kids: Peek-A-Boo Gnome Paper Plate Craft (with a free printable)
DIY Christmas Gnome Tutorials
If you’re looking for the best DIY Christmas gnome tutorials, you have come to the right place. Check out all of my favorite tomte tutorials for the holidays!
You can see all of our DIY Scandinavian gnome tutorials here, but let’s get started making these fun wine cork Swedish gnome ornaments.
RELATED READING: The Cutest Mr. and Mrs. Christmas Gnomes!
Supplies for Christmas Gnome Wine Cork Ornaments
Because these little Swedish gnome ornaments are small, this is a GREAT scrap-busting project or one the kids can help out with.
- Wine corks
- 2-inch ribbon (or leftover fabric scraps)
- Hot glue (or craft glue, but it will take longer to make)
- Felt
- Craft fur (faux fur)
- Scissors and/or razor or straight-edge blade
- Twine or ribbon for hanging
For all gnome supplies (or if you just want to buy some Christmas gnomes), visit our shop on Amazon!
RELATED READING: The Most Popular Gnome Ornaments on the Internet
How to Make Gnome Christmas Ornaments
These are so fun to make and you’ll be done with the first set in no time. Yes, the first set – you’ll want to make quite a few of these Scandinavian Christmas elves! If you have a playlist on YouTube to which you’d like to add this project, here is our Swedish gnome Christmas ornaments video tutorial.
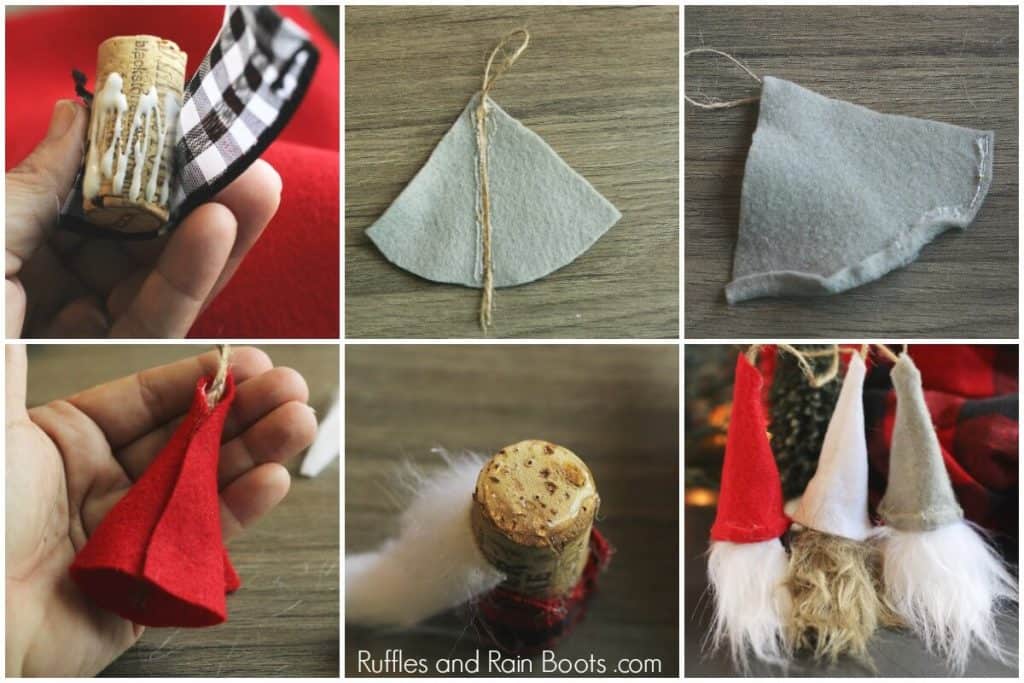
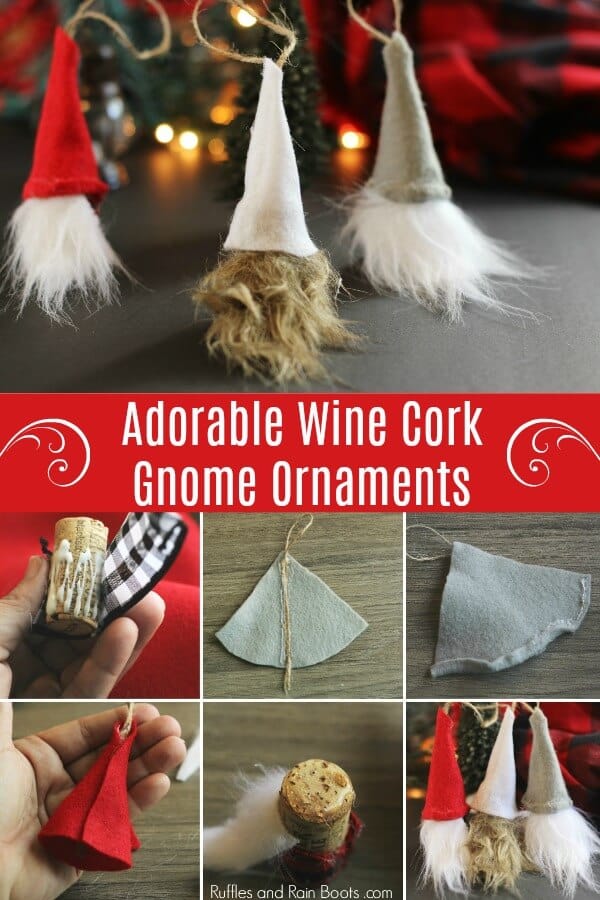
First, wrap a wine cork in the 2-inch ribbon, just until overlapping. Secure with hot glue.
To cut the gnome’s hat, cut a shape similar to a quarter of a circle (or a pie slice if kids are working with you). We made ours about 3-inches wide and tall.
Cut an 8-9-inch piece of twine and loop inside the hat, just in the center. Secure with hot glue. If you’re using craft glue for the project, consider sewing it or hot gluing it to make it more secure.
If you want a rolled edge hat, roll up the bottom of the hat pattern before closing and securing the hat. Otherwise, secure the hat by gluing the long edges together into a cone shape.
Cut out a faux fur beard. If you’ve never worked with faux fur, here is how you cut it:
Flip it over to the back (fabric side).
Use a straight-edge knife, razor blade, or scissors to ONLY cut the fabric into a beard shape. This will keep it looking natural.
Secure the faux fur gnome beard close to the top of the cork and on top of the seam you made with the ribbon.
Add a generous amount of glue to the top of the cork and secure the hat. That’s it – your Swedish gnome ornaments are done.
Where To Use or Hang These Adorable Gnomes
These little gnomes would make wonderful additions to any Christmas tree, but that isn’t the only place for them. Not at all! A few ideas for displaying your Scandinavian gnome ornaments:
- tied onto packages
- used as wreath accents
- hung on a wine bottle as a unique gift tag (you can send me one attached to a Pinot Gris, please)
Add a bit of whimsy and fun this holiday season by using up some of those wine corks and bringing a few smiles. Everyone will just love these DIY Swedish gnome ornaments!
RELATED READING: Browse Through More DIY Swedish Gnome Tutorials
Please Save This to Pinterest or Share On Facebook
Your shares are how this site grows and I am sincerely grateful.
DIY Swedish Gnome Ornaments from Wine Corks - Holiday Fun!

Make these adorable Swedish gnome ornaments to add cheer and fun to the holidays.
Materials
- Wine corks
- 2-inch ribbon (or leftover fabric scraps)
- Hot glue (or craft glue, but it will take longer to make)
- Felt
- Craft fur (faux fur)
Tools
- Scissors and/or razor or straight-edge blade
- Twine or ribbon for hanging
Instructions
- Wrap a wine cork in the 2-inch ribbon, just until overlapping. Secure with hot glue.
- To cut the gnome's hat, cut a shape similar to a quarter of a circle (or a pie slice if kids are working with you). We made ours about 3-inches wide and tall.
- Cut an 8-9-inch piece of twine and loop inside the hat, just in the center. Secure with hot glue. If you're using craft glue for the project, consider sewing it or hot gluing it to make it more secure.
- If you want a rolled edge hat, roll up the bottom of the hat pattern before closing and securing the hat. Otherwise, secure the hat by gluing the long edges together into a cone shape.
- Cut out a faux fur beard. If you've never worked with faux fur, here is how you cut it:
- Flip it over to the back (fabric side).
- Use a straight-edge knife, razor blade, or scissors to ONLY cut the fabric into a beard shape. This will keep it looking natural.
- Secure the faux fur gnome beard close to the top of the cork and on top of the seam you made with the ribbon.
- Add a generous amount of glue to the top of the cork and secure the hat. That's it - your Swedish gnome ornaments are done.
Notes
For more Christmas gnome crafts, visit Ruffles and Rain Boots .com

Love your gnomes , i have been making gnomes for years and love some of your ideas , er making them from corks
Love your projects