
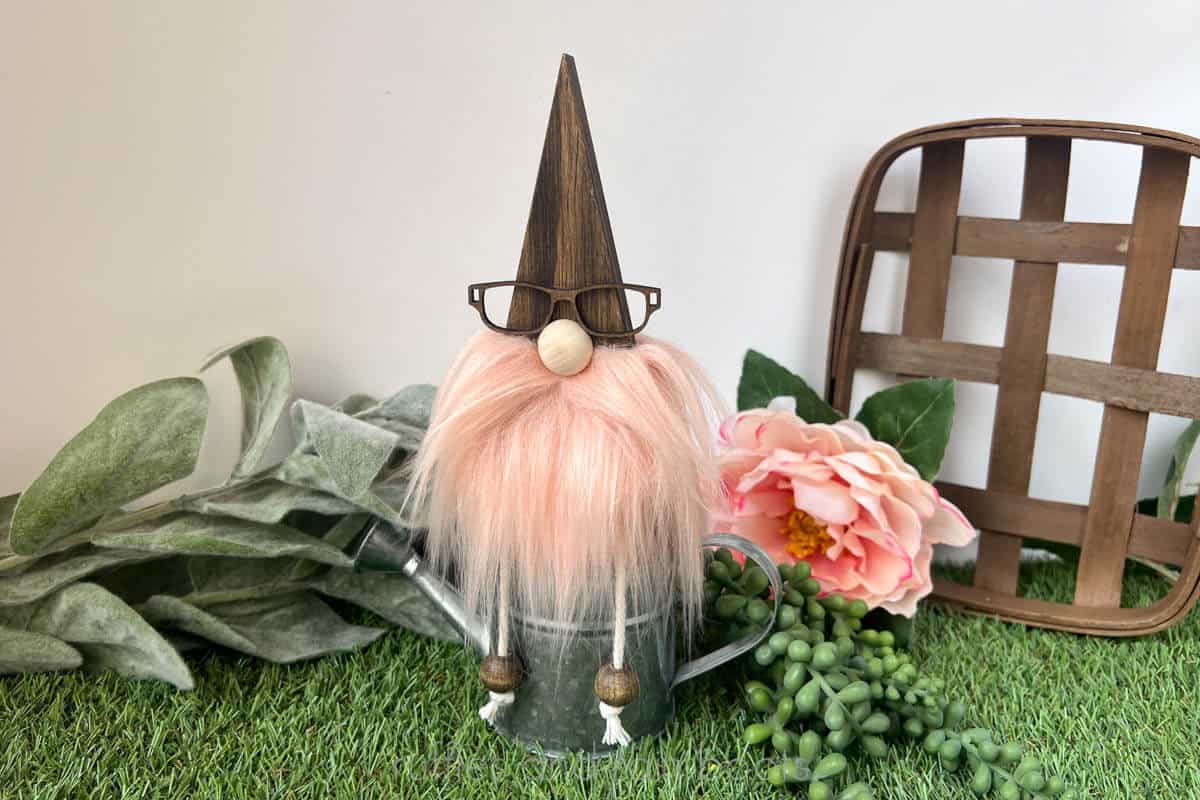
Wood Shelf Sitter Gnome with Dangling Legs
If you love crafting with natural materials, this wood shelf sitter gnome is a quick, 30-minute project. It can be done in any color, with any color beard, and with any details or accents you’d like to incorporate.
This is a sturdy DIY gnome, making it perfect to withstand shipping or packing away for seasons. The gnome with dangling legs is an adorable way to add a bit of whimsy to a bookcase or tiered tray.
RELATED READING: The Original Wood Block Gnome Tutorial
What You'll Find On This Page
Wood Gnome with Dangling Legs
Here at Ruffles and Rain Boots, I’ve been making DIY gnome crafts and patterns for years. I love to challenge myself with new styles, methods, and ways to display or sell gnomes.
This week, I found some of the precut wood triangles I purchased from a small business on Etsy. And the idea for this adorable shelf sitter gnome was born. It’s an easy project and I’ll give you some alternative materials so you can be sure to use what you have on hand.
If you want to make this fun dangling leg gnome but can’t get started right now, bookmark this page with a share to Facebook or save to a DIY gnomes pin board. Either way will make this easy to find when you’re ready to begin.
As an Amazon Associate, I could earn from qualifying purchases. There could be affiliate links within this article.
Wood Shelf Sitter Gnome Video Tutorial
If you’re a visual learner and want to see this come together, watch the wood shelf sitter gnome with dangling legs video tutorial. While you’re there, be sure to subscribe to the YouTube channel – we have a lot of fun over there.

RELATED READING: Easy Wood Gnomes DIY (with Dollar Tree Vinyl)
Materials and Tools Needed
Below are the list of items I used with some alternative supplies. As always, check your stash to see what else would work in place of a material you’re missing.
- wood triangle (I got mine here from this shop on Etsy)
- wood stain
- 3/4 inch wood flat back
- 1/2 inch wood beads x2
- macrame cord, jute, string, or fabric for the legs
- faux fur for the gnome beard
- drill and bit (about as wide as the cord)
- glue gun, scissors, craft knife, and masking tape (optional)
How to Make Dangling Leg Gnomes
Below is a quick step by step of the process so you can follow along. For detailed steps and more tips, please refer to the video linked above. If you prefer a printable version of this tutorial, scroll to the bottom of the page and press the PRINT button.
First, stain the wood block and beads for the gnome feet. I used one coat, however, you can repeat it. Wipe the stained wood to remove any excess and let dry.
Next, drill a hole into the body of the gnome. My block was 6.5 inches tall and 3 inches wide and I drilled at 3/4 inch from the bottom and 3/4 inch in from either side.

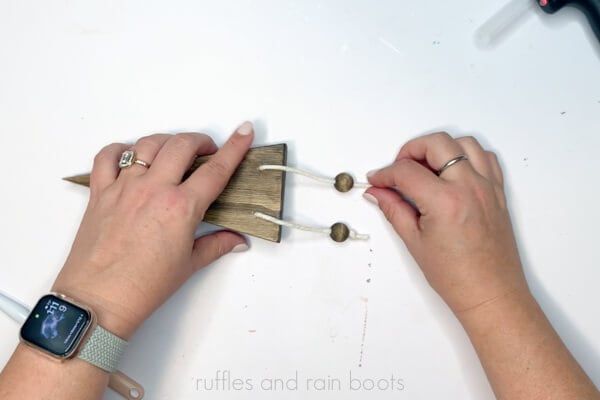
Wrap the end of the cord in masking tape and thread through one of the holes. Repeat with a different cord for the other hole. Tie off each in the back of the gnome with double knots. Add on a wood bead and tie off the cord in a double knot under the bead for each foot.
Optional: glue the trimmed pieces to the back of the gnome.
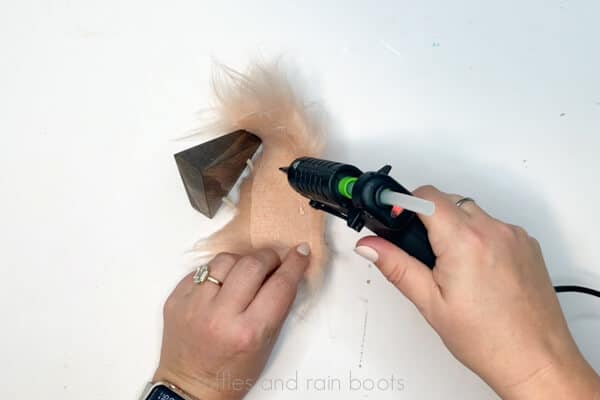
Measure and cut the faux fur into a rectangle that is wide enough to wrap around the bottom portion of the gnome body. I preferred mine to drape on the table, but you can make a shorter beard.
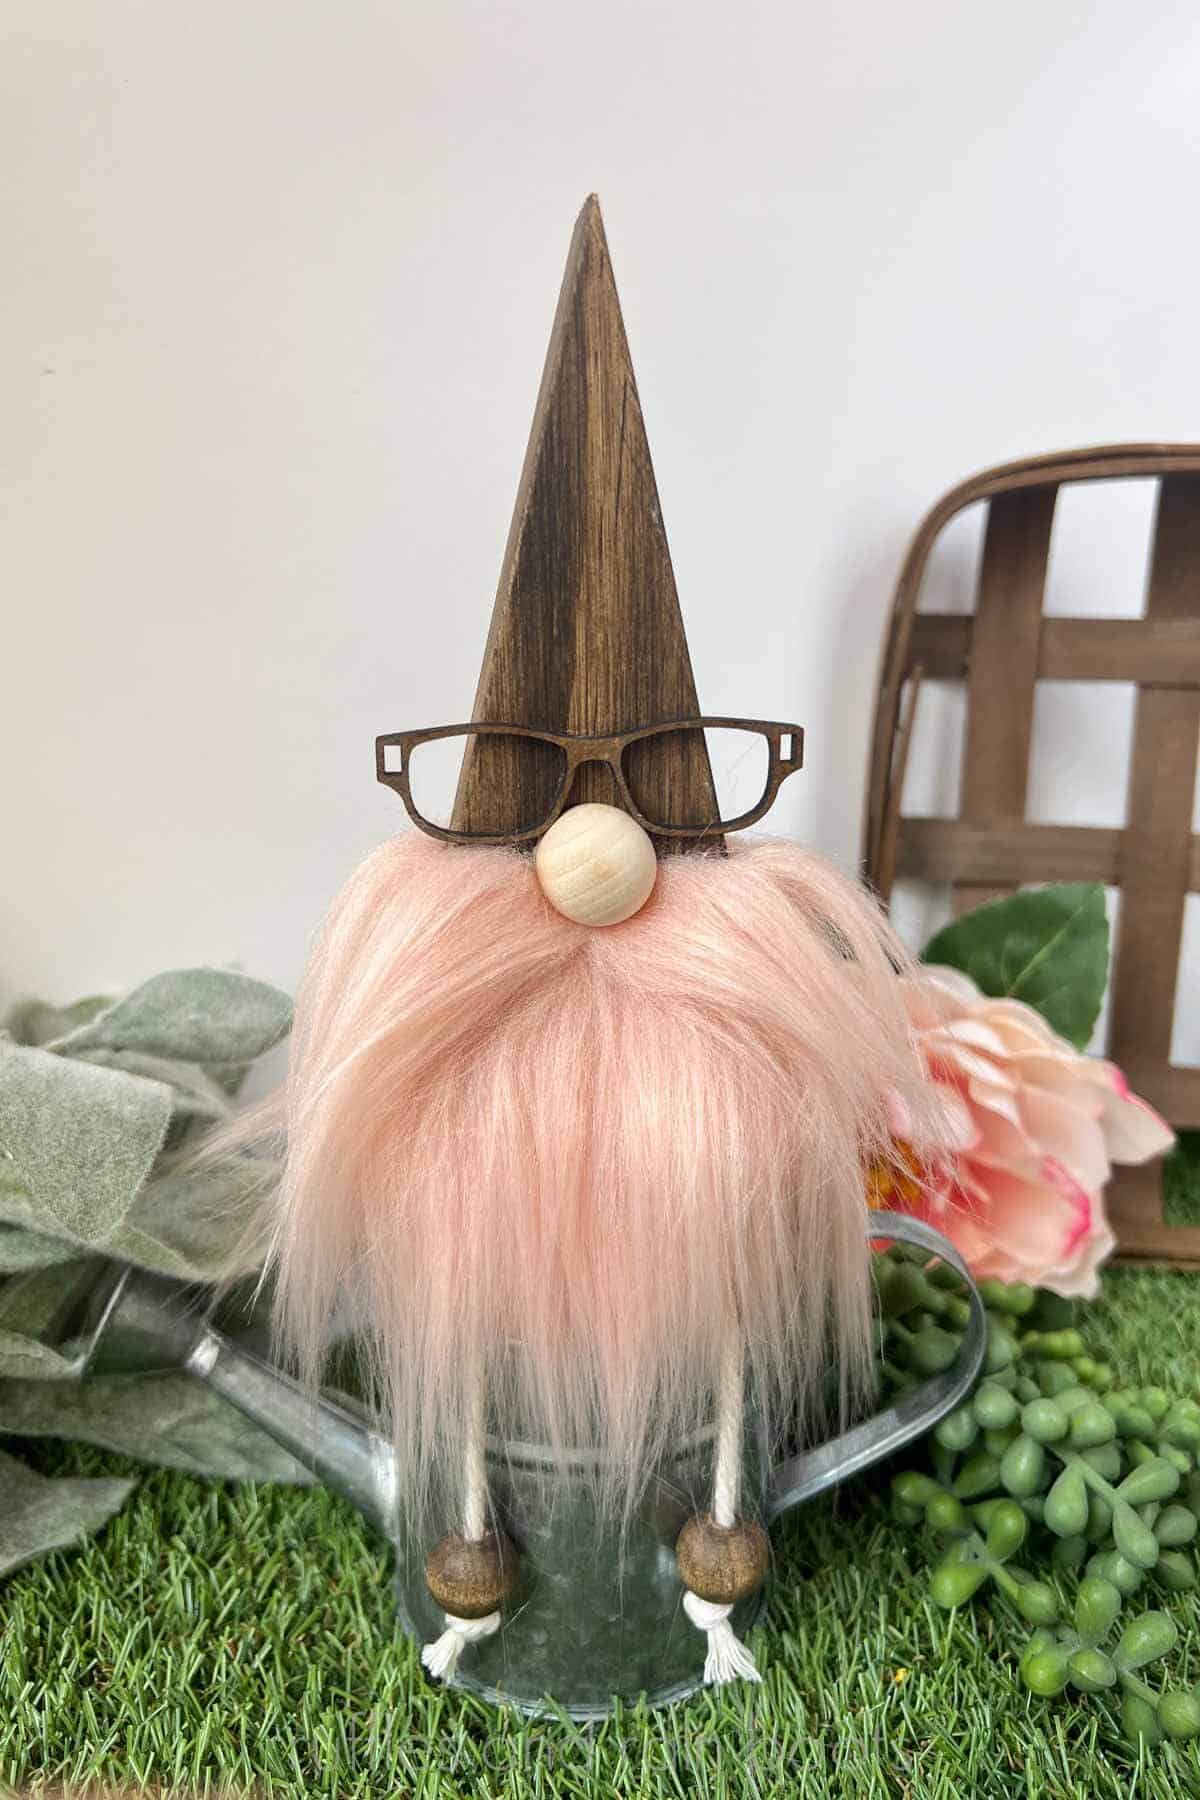
Glue down the top 1/8th to 1/4 of the beard to make a finished look and then glue to the wood block. Add on the nose (and anything else like glasses) and this DIY gnome is complete.
More Gnome Tutorials You Might Like
- Easy Coffee Creamer Bottle Gnome – If you have one of those wavy-shaped bottles, you can make the cutest DIY gnome.
- Nordic Gnomes from Wood – These are VERY easy to make and are perfect for decor or gifts for the holiday.
- Painted Wood Gnomes (featured in major publications) – Easy and popular, this set started the craze.
- Wood Nesting Gnomes – Make DIY gnomes that are easily stored after the holidays (perfect for shipping).
Please Save or Share This Shelf Sitter Gnome with Long Legs
Your shares are how this site grows and I am sincerely grateful. Please save this to a DIY crafts pin board or share it with a crafty group on Facebook.

Wood Gnome with Dangling Legs

You can make a wood shelf sitter gnome with dangling legs using basic craft supplies in about 20 minutes. This adorable gnome with legs can be placed onto a bookshelf or a tiered tray and has a TON of personality. This sturdy gnome to make and sell also will withstand the postal and shipping company handling because it is a simple body with solid construction.
Materials
- 6.5 inch pine triangle
- macrame cord
- wood stain
- 3/4 inch wood flat back round
- 2, 1/2 inch wood beads
- faux fur
Tools
- drill and drill bit
- hot glue gun and glue sticks
- scissors
- craft knife
- paper towels
Instructions
- First, stain the wood block and beads for the gnome feet. I used one coat, however, you can repeat it. Wipe the stained wood to remove any excess and let dry.
- Next, drill a hole into the body of the gnome. My block was 6.5 inches tall and 3 inches wide and I drilled at 3/4 inch from the bottom and 3/4 inch in from either side.
- Wrap the end of the cord in masking tape and thread through one of the holes. Repeat with a different cord for the other hole. Tie off each in the back of the gnome with double knots. Add on a wood bead and tie off the cord in a double knot under the bead for each foot. Optional: glue the trimmed pieces to the back of the gnome.
- Measure and cut the faux fur into a rectangle that is wide enough to wrap around the bottom portion of the gnome body. I preferred mine to drape on the table, but you can make a shorter beard.
- Glue down the top 1/8th to 1/4 of the beard to make a finished look and then glue to the wood block. Add on the nose (and anything else like glasses) and this DIY gnome is complete.
Meet the Creator
Hi there, I’m Sarah Nenni-Daher. I’m a crafty gal and always have at least 14 projects going at once. I am a crafter, designer, DIYer, and pattern maker. I share my creations here and in the Ruffles and Rain Boots® Shop.
Here at Ruffles and Rain Boots®, you’ll find DIY gnomes, crafts, gifts, cupcakes, laser crafts, and so much more. I love sharing video tutorials over on YouTube and chatting with other crafters in my Facebook groups. We’d love to have you!