
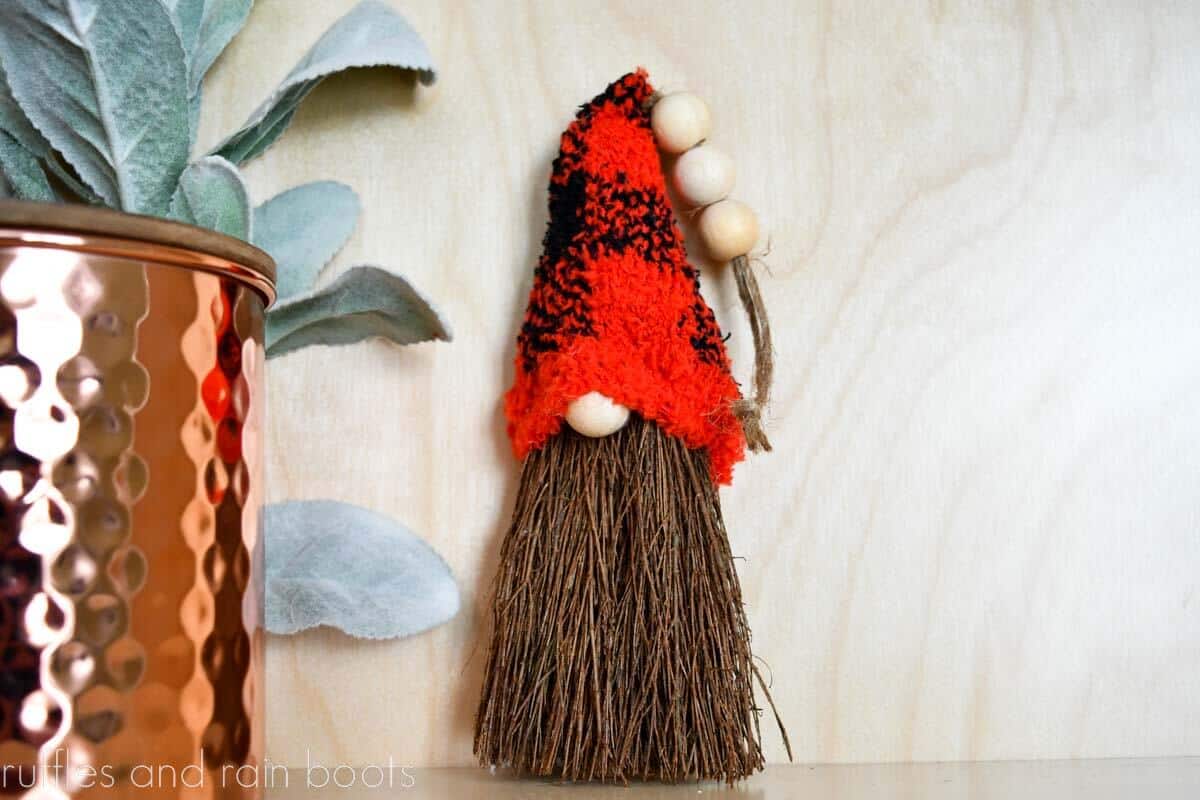
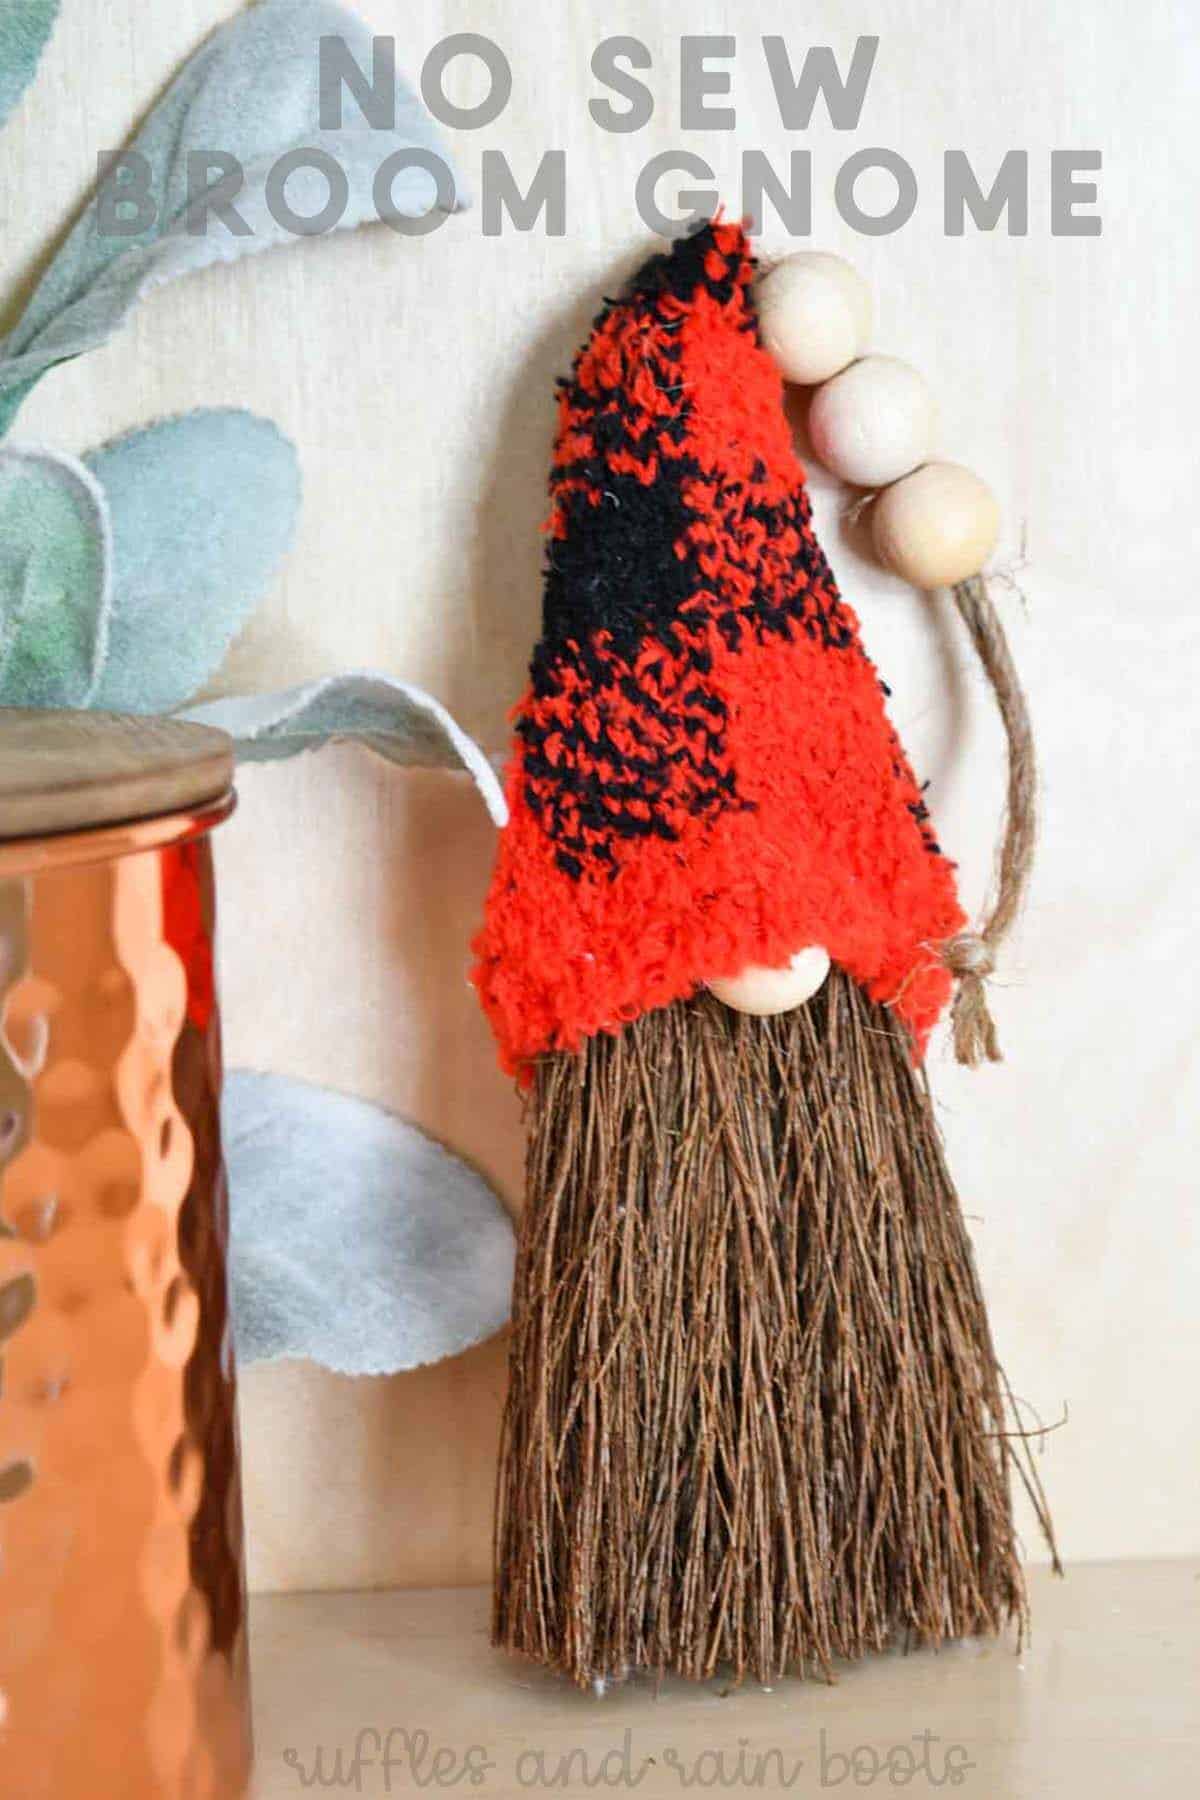
DIY Scented Broom Gnomes Tutorial
These broom gnomes are a quick craft you can create any time of year. Today I created this Christmas in July craft in less than 10 minutes using only dollar store supplies.
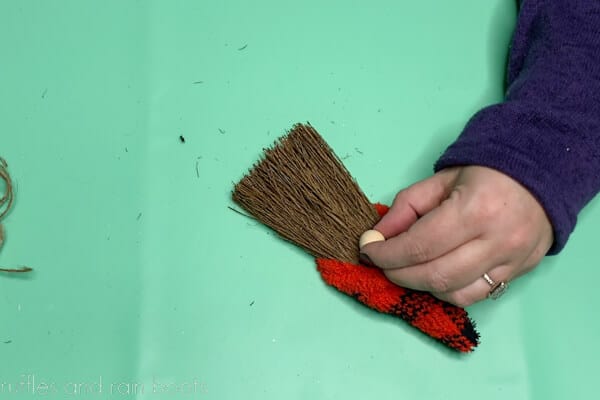
One of the coolest finds at the Dollar Tree are the mini brooms, scented with either cinnamon or eucalyptus. These are easily turned into a gnome ornament or shelf sitter and can be dolled up with Buffalo check, ticking stripe, or any other fabric.
RELATED READING: Rustic Snowmen Jenga Block Ornaments (mini)
Cinnamon Broom Gnome Craft
Here at Ruffles and Rain Boots, I’m working on a few Christmas in July crafts for the YouTube channel. Each year I like to swap the brights and beiges of summer for a few holiday DIYs. And honestly, I’m always trying to use up the insane amount of craft supplies I accumulate…
While at the dollar store today, tucked away on the very bottom of the candles section, I noticed small eucalyptus and cinnamon broom sticks. I only picked up one because I didn’t know if my idea would hold water, but I’ll be back for more.
RELATED READING: DIY Standing Scarecrow Gnome for Fall
No Time to Make This Now? Save or Share for Later
If you need to gather your supplies and check your craft stash to make this amazing smelling cinnamon broom, save this to a DIY pin board or share it on Facebook. Either will make this easy to find when you’re ready to begin.
As an Amazon Associate, I could earn from qualifying purchases. There could be affiliate links within this article.
Tips and Considerations for Scented Broom Crafts
- I turned this into an ornament because I was unsure what would happen over time if I placed this heavily oiled piece onto my furniture. My hands were noticeably covered.
- Because I loved the way this turned out and wanted to create something for fall, I picked up some unscented whisk brooms that I’m going to make. I’ll update you here.
- If you are sensitive to cinnamon, eucalyptus, or other oils, use something like these dried arrangements. They would be beautiful for fall.
- If you have fabric for a gnome hat, cut it pretty small for this project. The piece I used was only about 3-4 inches high. It allowed a very strong hold for the hanger.
- This easy DIY is fun because you do not have to create the gnome body is done for you, leaving you to decorate the hat and hanger!
- As you will see in the scented broom gnome video tutorial, I debated painting these white or silver for a holiday look. I’m not sure how well the paint will adhere (or if it would last), so if you have painted these, please let me know in the comments!
- If you need ideas, this would make an adorable witch gnome or other Halloween gnome, fall gnome (with a neutral colored hat), or even a broom closet gnome with a little mini broom of his own!
RELATED READING: Dollar Tree Gnome Tree Topper (Using Tinsel Trees)!
How to Make a Broom Gnome (Includes Video Tutorial)
Below is the written and printable tutorial for this easy craft idea. If you are creating a playlist or are a visual learner, watch the short video tutorial for the broom gnome ornament here.
While you’re there, please subscribe to the channel if you aren’t already. We have a lot of fun over and I often announce freebies there.
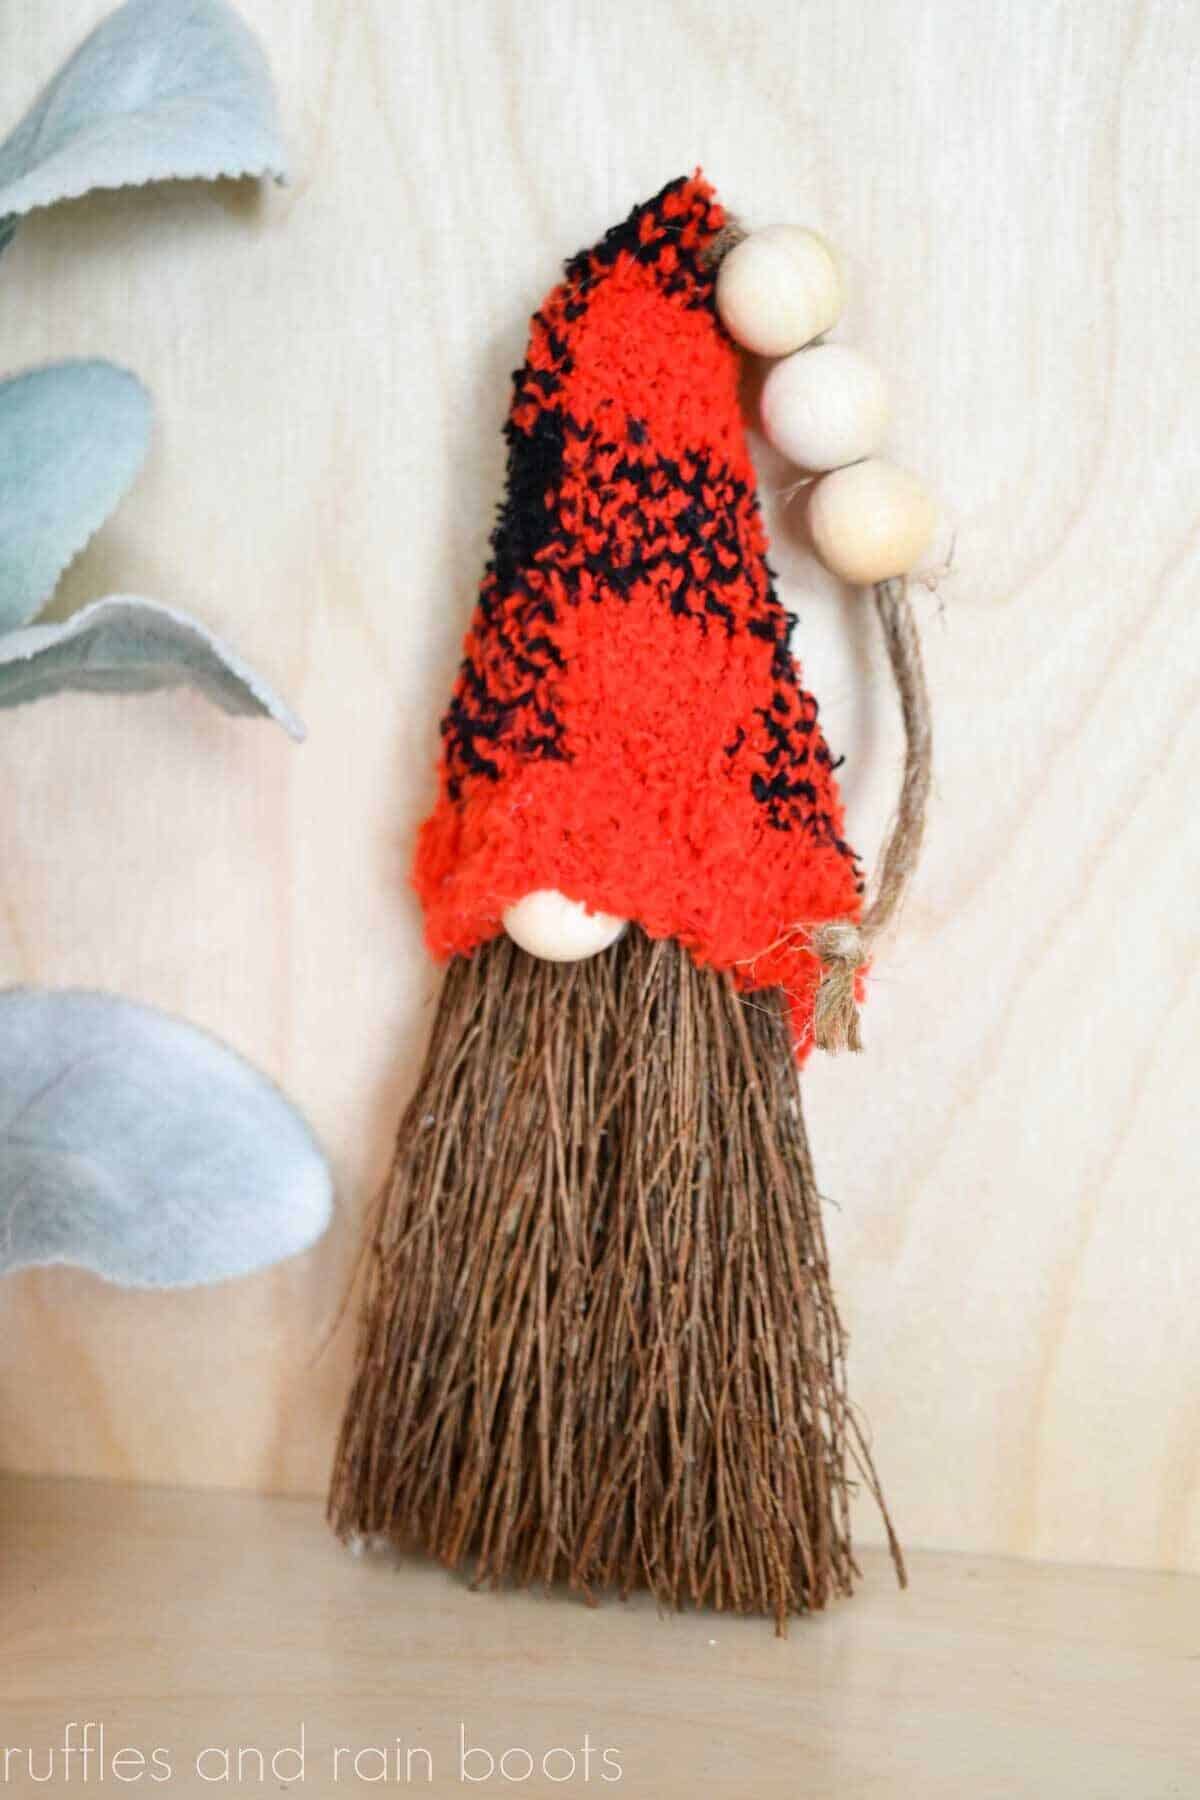
DIY Scented Broom Gnomes
These scented broom gnomes are a great Dollar Tree Christmas craft you can do in under 10 minutes. Everything you need can be found at the dollar store and everyone will LOVE these gnomes on the tree, on packages, or tucked into displays.
Materials
- Scented Broom
- Fuzzy Sock
- Wooden Beads (1 or 4)
- Twine
Tools
- Glue Gun and Glue Sticks
- Embroidery Needle
- Scissors
Instructions
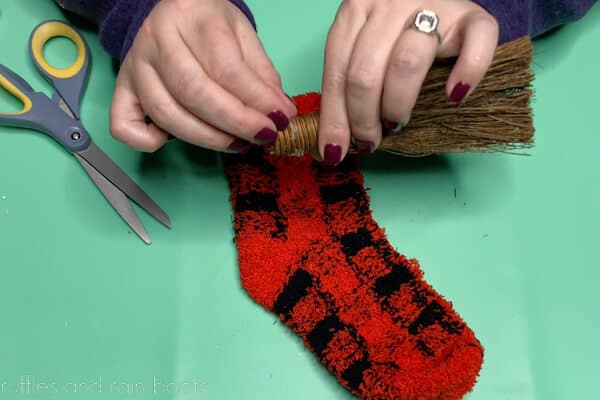
- Remove the tie string from the scented broom. It cannot be used as a hanger because it will push the gnome ornament forward.

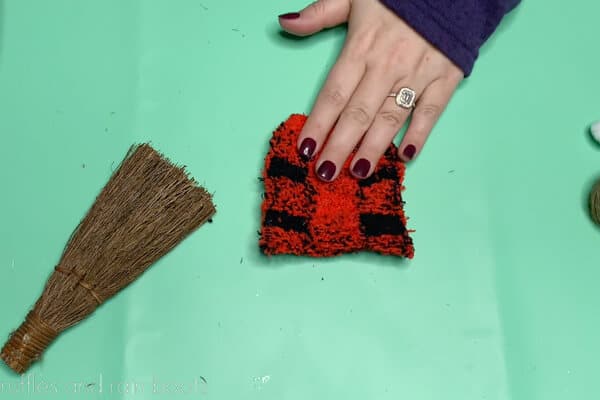
- Turn the hat inside out and cut it just above the heel (use only the top of the sock for this project).
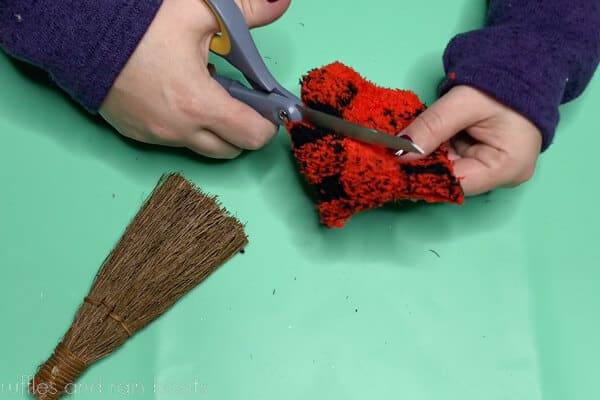
- From the finished edge of the sock (the top of the ankle), leave about an inch and cut from one side to the top side of the other. You will have created a triangle.
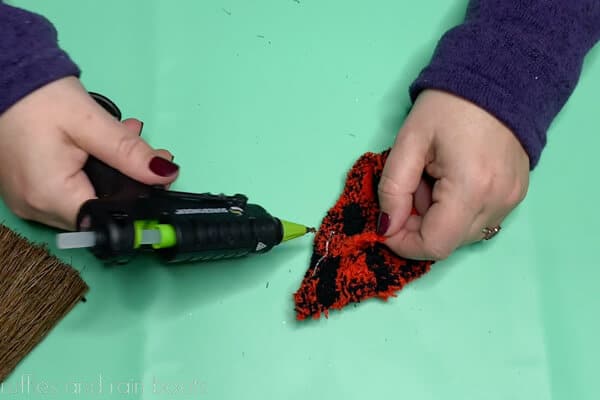
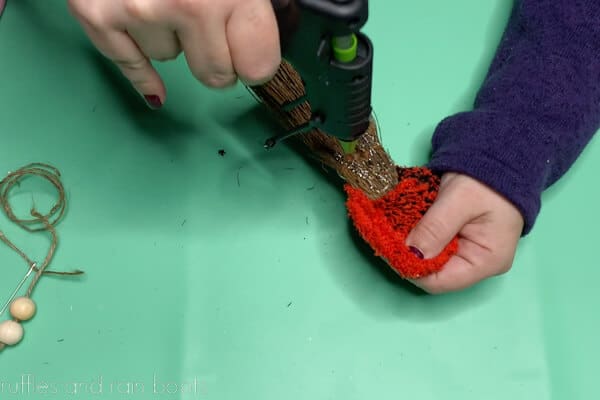
- Use hot glue to seal the open (cut) portion of the triangle gnome hat. Turn the hat inside out and fit it onto the gnome.
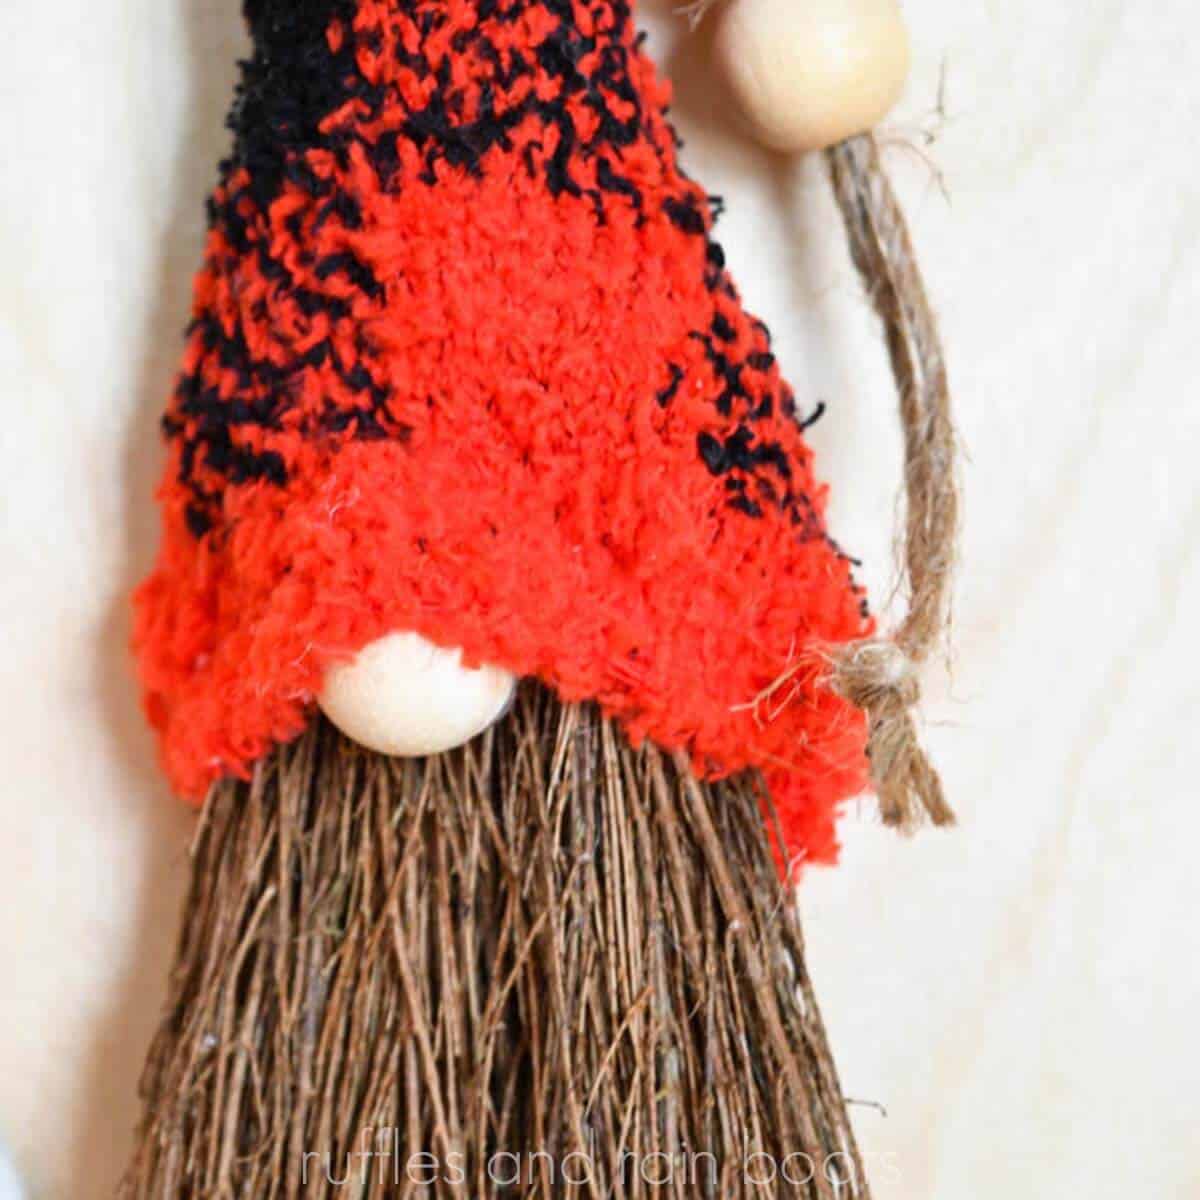
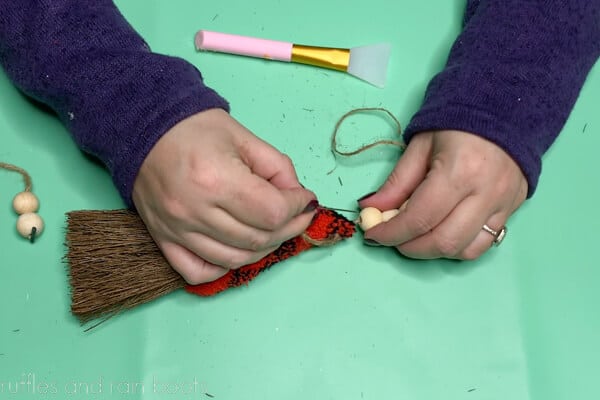
- Secure a wood bead to the front of the gnome just under the brim of the hat.
- Glue down the back of the hat, taking care to go very high in the back side. Glue down the brim of the hat to the top of the gnome nose. Glue down the sides.
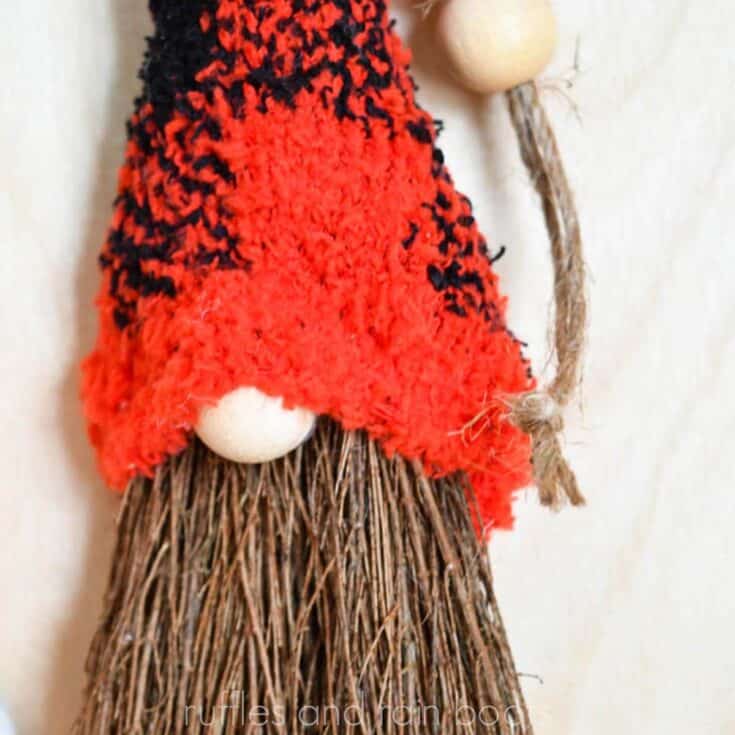
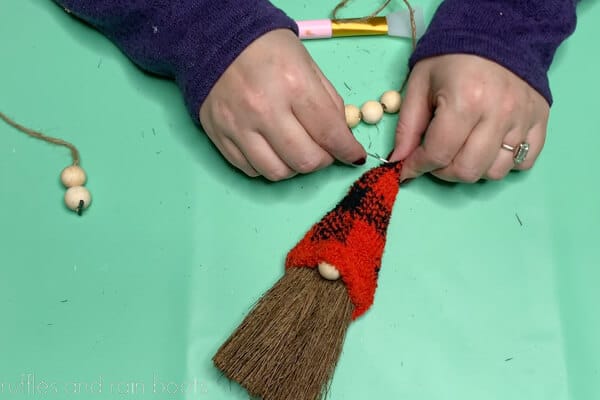
- Thread the needle with twine and slide on the remaining three wooden beads. Thread it through one side of the top of the hat (about 1/2 - 3/4 of an inch away from the tip) and out the other.
- Thread the needle with twine through the bottom of the bottom most bead and then up through the rest. Secure the twine at the top for a hanger.
Notes
For more gnome ornament crafts, visit Ruffles and Rain Boots .com and search "gnome ornament."
Recommended Products
As an Amazon Associate and member of other affiliate programs, I earn from qualifying purchases.
More Quick Christmas Crafts
- Dollar Tree Gnome Tree Topper Using Tinsel Trees – You have to make these! They are my favorite craft from last year’s holiday season.
- Dollar Tree Christmas Wreath – When you see this, you will not believe this full and gorgeous wreath is made with dollar store finds.
- Christmas Gnome Ornaments with Curtain Rings – You’ve seen both the cotton mop heads and the plastic curtain rings at the Dollar Tree, right? Grab them and make these!
- Fall Wall Decor with Scented Broom – Amber with The Maker’s Map takes you through creating this fun and festive DIY.
Please Save or Share This Easy Christmas Craft Idea
Your shares are how this site grows and I am sincerely grateful. Please save this to a DIY pin board or share it with a crafty group on Facebook. Everyone can use more Dollar Tree craft ideas, right?
Meet the Creator
Hi there, I’m Sarah Nenni-Daher. I’m a crafty gal and always have at least 14 projects going at once. I am a crafter, designer, DIYer, and pattern maker. I share my creations here and in the Ruffles and Rain Boots® Shop.
Here at Ruffles and Rain Boots®, you’ll find DIY gnomes, crafts, gifts, cupcakes, laser crafts, and so much more. I love sharing video tutorials over on YouTube and chatting with other crafters in my Facebook groups. We’d love to have you!