
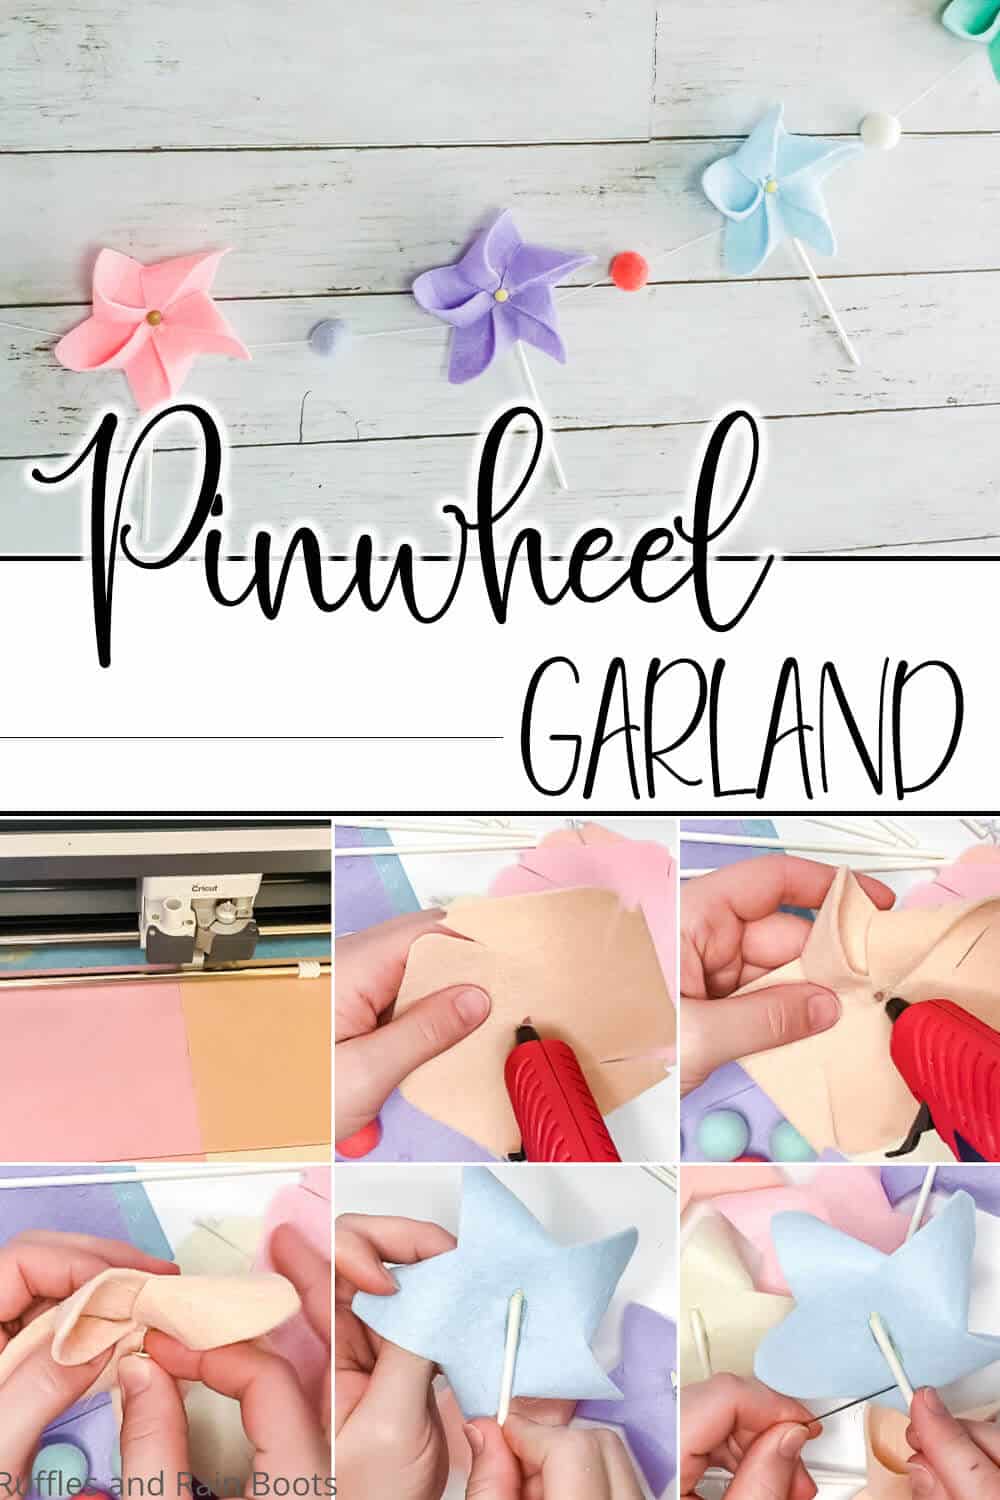
This Awesome Pinwheel Garland & Pinwheel Magnet Are Epic Fun!
Summer demands fun pinwheels and the best way to bring the fun indoors is with an awesome pinwheel banner or pinwheel magnet set! Make either in minutes with this fun pinwheel template SVG set!
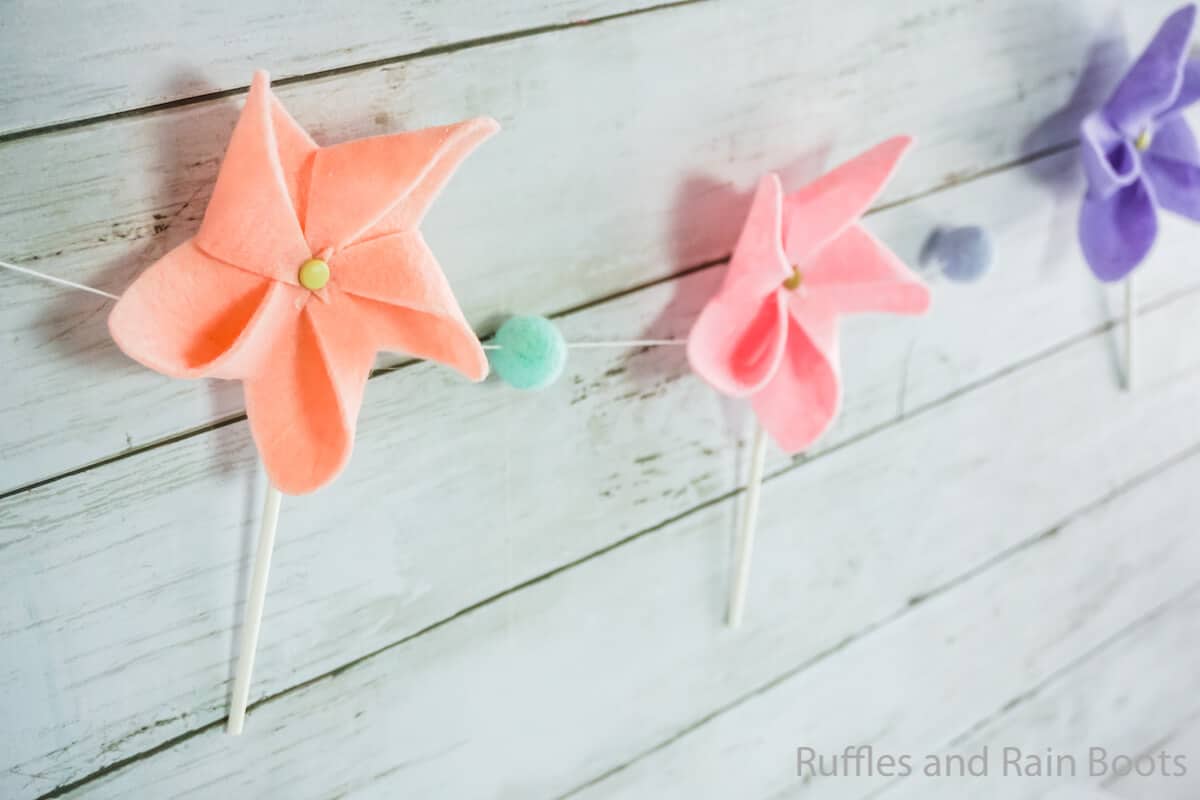
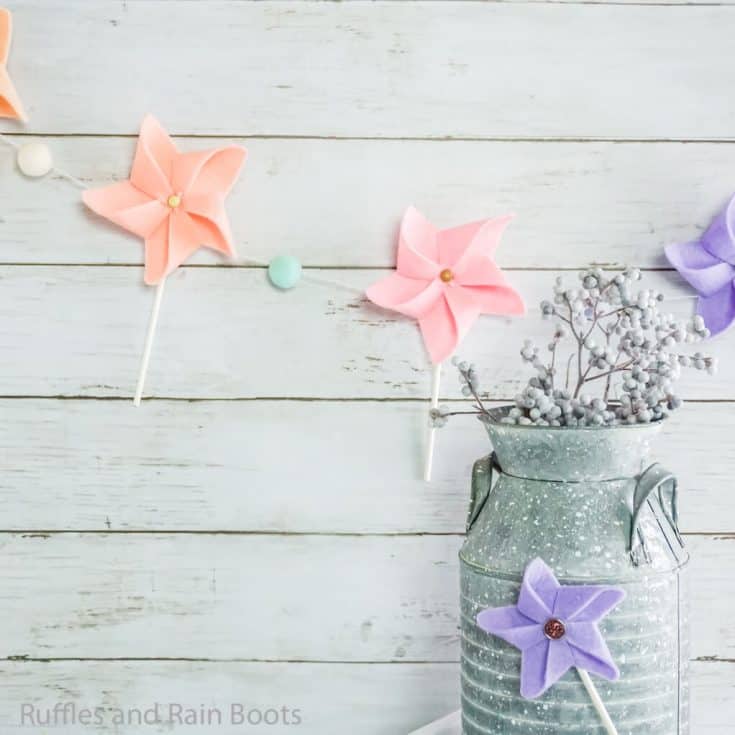
Pinwheel Banner & Magnet
Here at Ruffles and Rain Boots, I adore the summer. I mean, that’s easy to do when you live somewhere with cooler summers like Seattle but even in the heat, it’s a great season. We kind of celebrate the first heatwave of the year by making DIY pinwheels.
One of our favorites is this DIY kid-safe pinwheel (no pins) that spins faster than most commercial pinwheels! This year, my daughter is older so we’re making more of a decor piece with this pinwheel banner and pinwheel magnet set.
RELATED READING: TODDLER SAFE PINWHEEL TUTORIAL
They’re super simple to make and really SUPER cute. But the best part is that they’re totally customizable so you can make your pinwheel garland or pinwheel magnets anyway you’d like. If you’re ready to make a fun summer garland, let’s get started.
No Time to Make This Now? Save it for Later
You’re busy, I get it. Pin this to your favorite easy DIY crafts pin board on Pinterest or share it on to a fun Facebook group.
As an Amazon Associate, I can earn from qualifying purchases.
Tips to Make a Pinwheel Magnet or Banner
- Start by grabbing a fun rainbow set of craft felt like this cool set here. I didn’t use a ton of it, so there’s plenty of felt left for other fun projects. But the deal is that rainbow colors make everything more fun. I know this because that’s what the kiddo told me.
- Once you’ve got your felt, don’t forget to make sure to grab the pinwheel template here. Whether or not you choose to make the cuts with your Cricut or Silhouette, having the template in hand to follow will make getting your pinwheels perfect SO MUCH EASIER.
- Then, it’s all about having fun. Seriously, this is such a low-stress project. Don’t overthink it. It’s simple, fun, and you just need to relax, let the kids help, and enjoy.
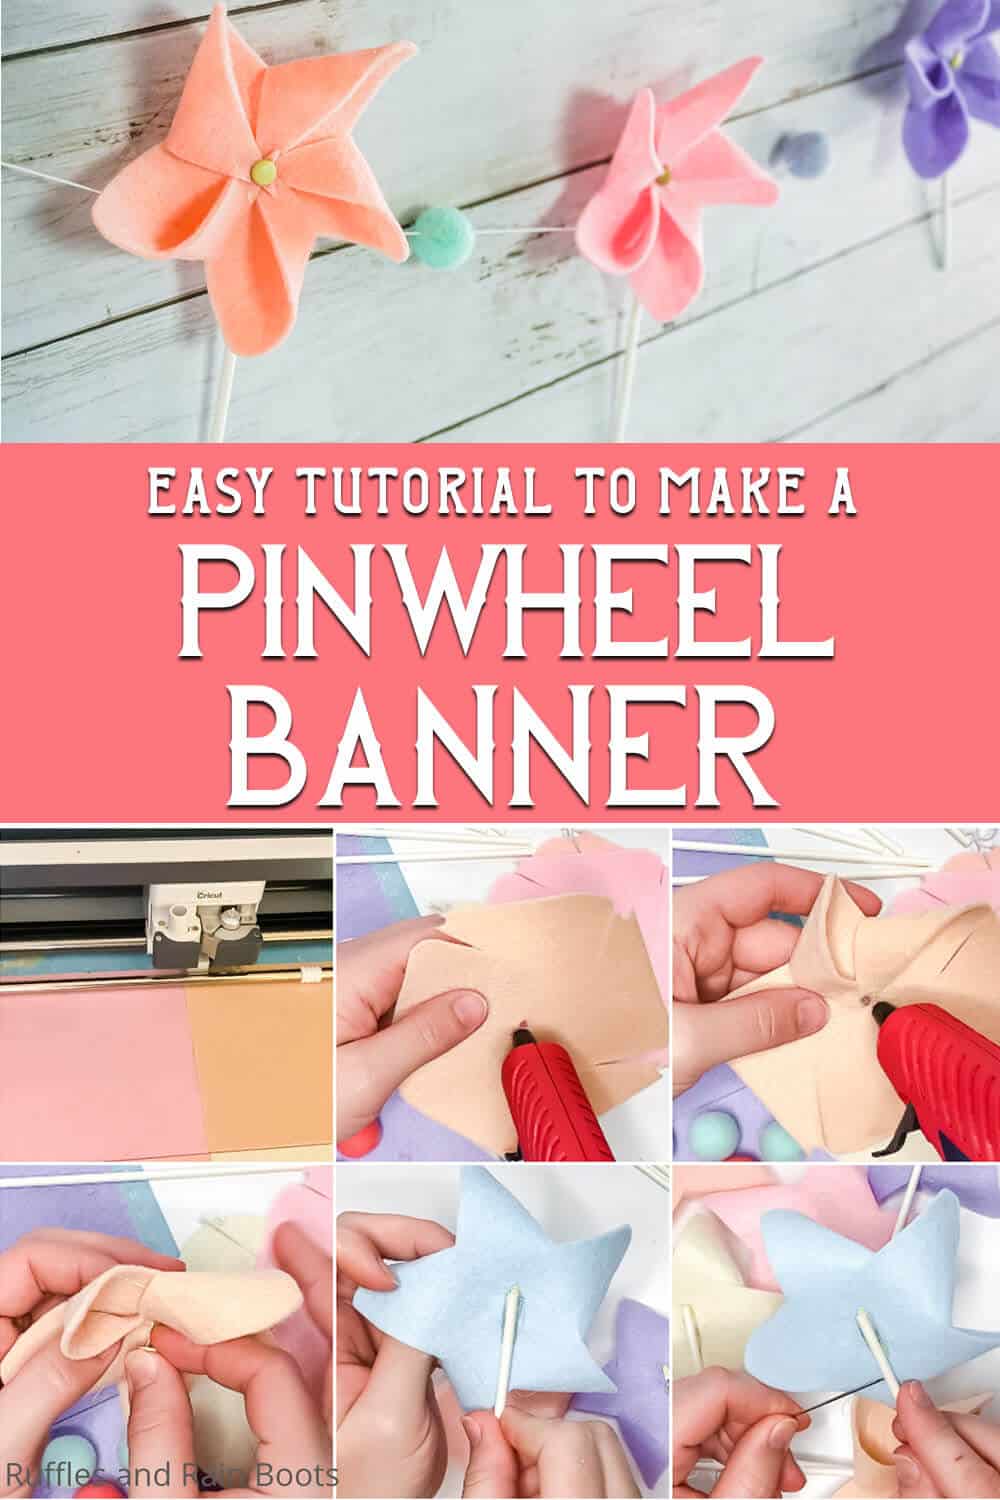
How Do I Make this Pinwheel Banner & Magnet?
I’m so glad you asked. Below is our written tutorial. You can watch the full Cricut pinwheel garland tutorial here on YouTube.
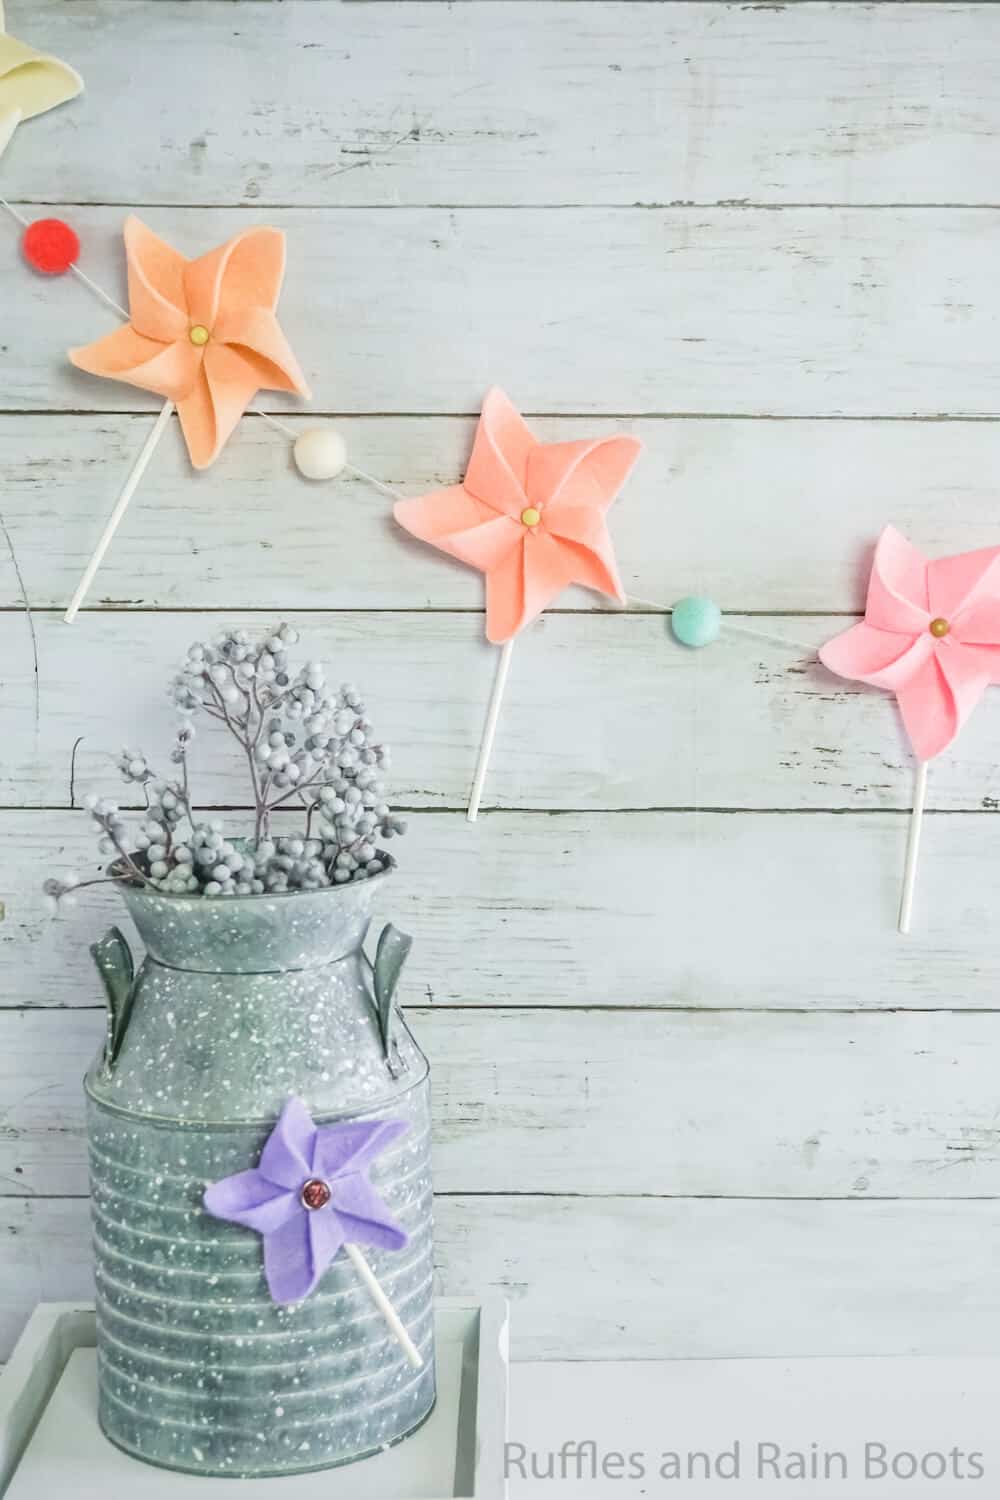
Pinwheel Banner and Pinwheel Magnet
I love summer, making pinwheels, and my Cricut machine. And because it is so easy, I figured why not combine all three? Download the free pinwheel SVG and create your own felt pinwheel banner made with your cutting machine.
Materials
Pinwheel Banner
- 5-8 6x6 Squares Rainbow-colored Craft Felt
- 6-8 Felted Wool Balls
- 4-6 Feet of Embroidery Thread
- 5-8 Small Brads
- 5-8 Cake Pop Sticks
Pinwheel Magnet
- 1 4x4 Square Craft Felt
- 1 Cake Pop Stick
- 1 Magnet
- 1 Brad
Tools
- Hot Glue Gun & Glue
- Embroidery Needle
- Cricut Maker or Cricut Explore Air 2
Instructions
- To make the pinwheel banner: Download the pinwheel template and load it to Cricut Design Space.
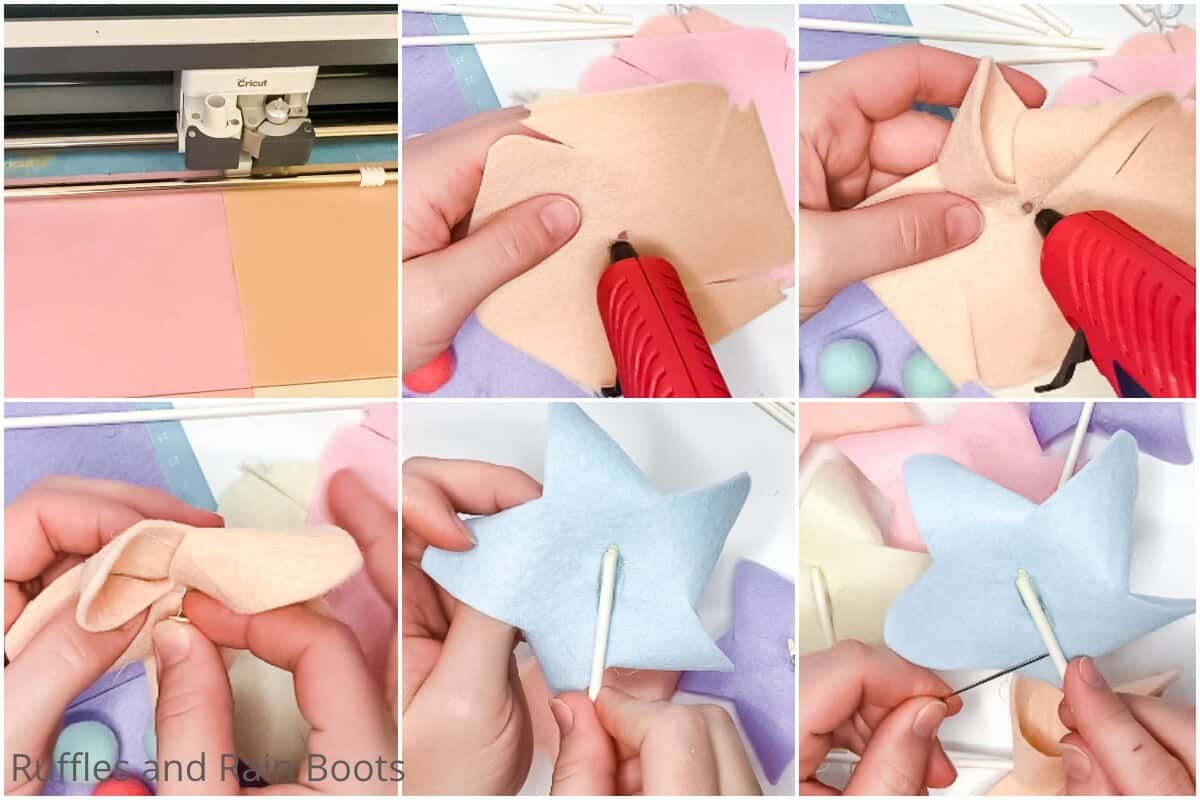
- Place felt squares on the fabric grip mat and load the rotary cutting tool into your Cricut, if applicable.
- Set Design Space to the material you're using and cut the material.
- Carefully weed the pinwheels from the mat. Take extra care around the hole in the points. However, if one breaks through or pulls right off, do not worry. Because you are hot gluing these in place and adding the brad, this will hold them in place. Additionally, since these pinwheels won't spin around, this will not be necessary to have the holes.
- Press one corner inward toward the center and line it up with the hole in the middle of the pinwheel. Hot glue it in place.
- Continue around the pinwheel, hot glueing each "petal" inward, lining it up with the center hole.
- When all of the "petals" of the pinwheel are turned inward, thread the brad into the center hole and snugly press the brad "legs" apart behind the pinwheel.
- Hot glue a cake pop stick to the brad "legs" on the back of the pinwheel.
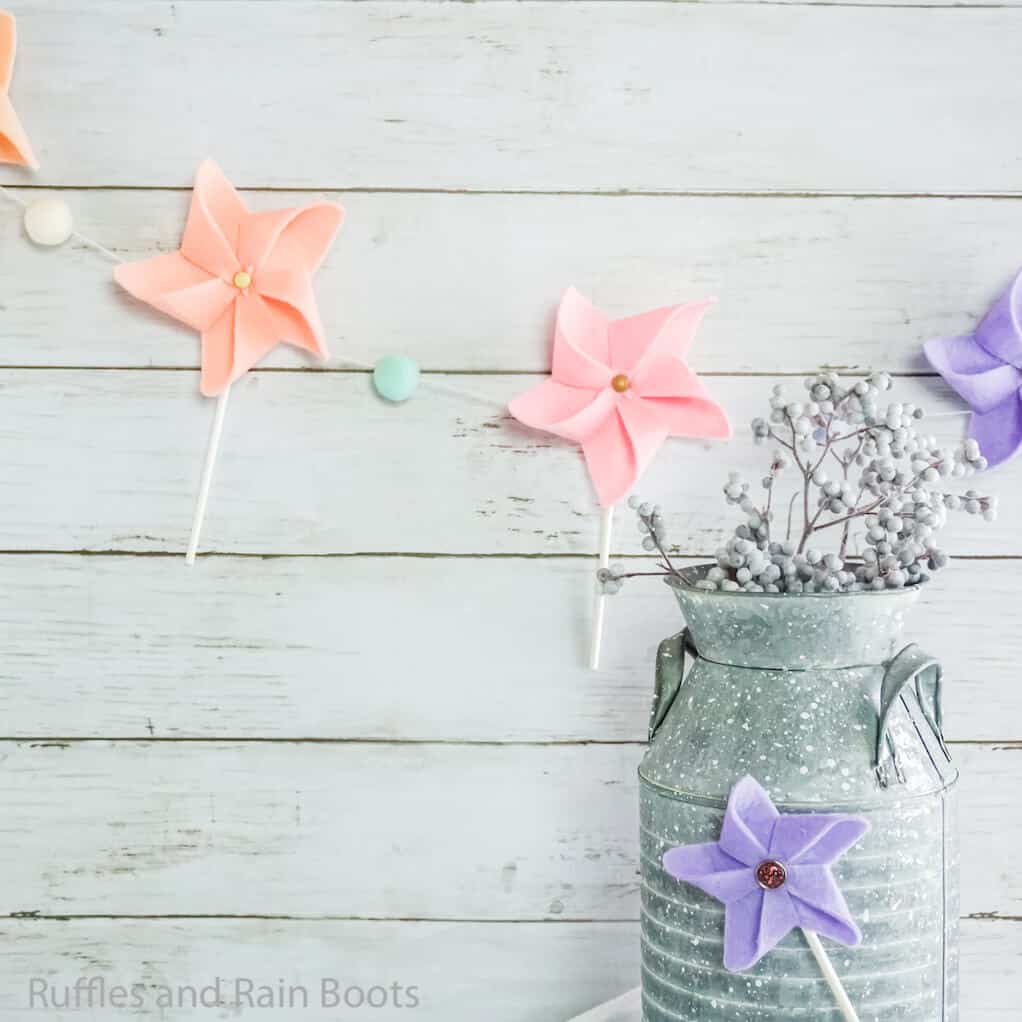
- Thread the needle with the embroidery thread and then thread the pinwheels and felt balls in alternating order onto the embroidery thread then enjoy!

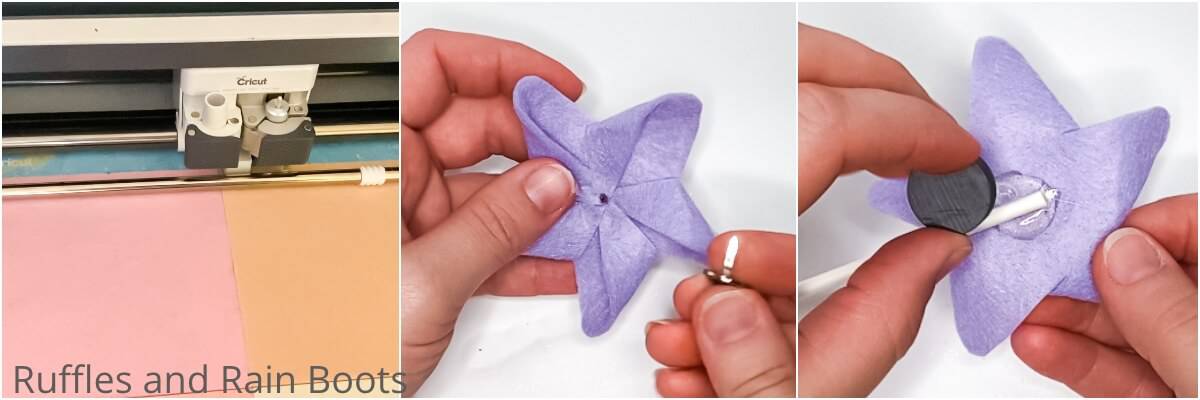
- To make the pinwheel magnet, download the pinwheel template and load it to Cricut Design Space.
- Place felt square on the fabric grip mat and load the rotary cutting tool into your Cricut, if applicable.
- Set Design Space to the material you're using and cut the material.
- Carefully weed the pinwheel from the mat. Take extra care around the hole in the points. However, if one breaks through or pulls right off, do not worry. Because you are hot gluing these in place and adding the brad, this will hold them in place. Additionally, since these pinwheels won't spin around, this will not be necessary to have the holes.
- Press one corner inward toward the center and line it up with the hole in the middle of the pinwheel. Hot glue it in place.
- Continue around the pinwheel, hot glueing each "petal" inward, lining it up with the center hole.
- When all of the "petals" of the pinwheel are turned inward, thread the brad into the center hole and snugly press the brad "legs" apart behind the pinwheel.
- Hot glue a cake pop stick and magnet to the brad "legs" on the back of the pinwheel. I decided to trim my cake pop stick, but that is totally up to you. Enjoy!

Notes
Watch the full video tutorial here: https://youtu.be/iSHFjHXtcrw
For more fun summer activities, visit Ruffles and Rain Boots!
Creativity, Delivered
Would you like inspiration delivered right to you each week? Sign up for the once-weekly Ruffles and Rain Boots newsletter and you’ll get that and more! Get access to the exclusive libraries full of free SVGs, hand lettering practice, and so much more.
More Fun Summer Crafts You Might Like
- Awesome Fruit Coasters – These are such a fun project–they can be sewn or a no-sew project for kids. But either way, they brighten up a room in seconds!
- Flamingo SVG Set – The most epic and fun SVG set you’ll find for summer! All sorts of pink, one legged and super cute!
- Watermelon Tote – Made with infusible ink, this tote is insanely fun and cool–and you can make it in minutes!
Please Save or Share This
Your shares are how this site grows and I am sincerely grateful. Know a friend who’d like this? Please share it on Facebook or save it to your favorite fun summer crafts pin board.
Meet the Creator
Hi there, I’m Sarah Nenni-Daher. I’m a crafty gal and always have at least 14 projects going at once. I am a crafter, designer, DIYer, and pattern maker. I share my creations here and in the Ruffles and Rain Boots® Shop.
Here at Ruffles and Rain Boots®, you’ll find DIY gnomes, crafts, gifts, cupcakes, laser crafts, and so much more. I love sharing video tutorials over on YouTube and chatting with other crafters in my Facebook groups. We’d love to have you!