
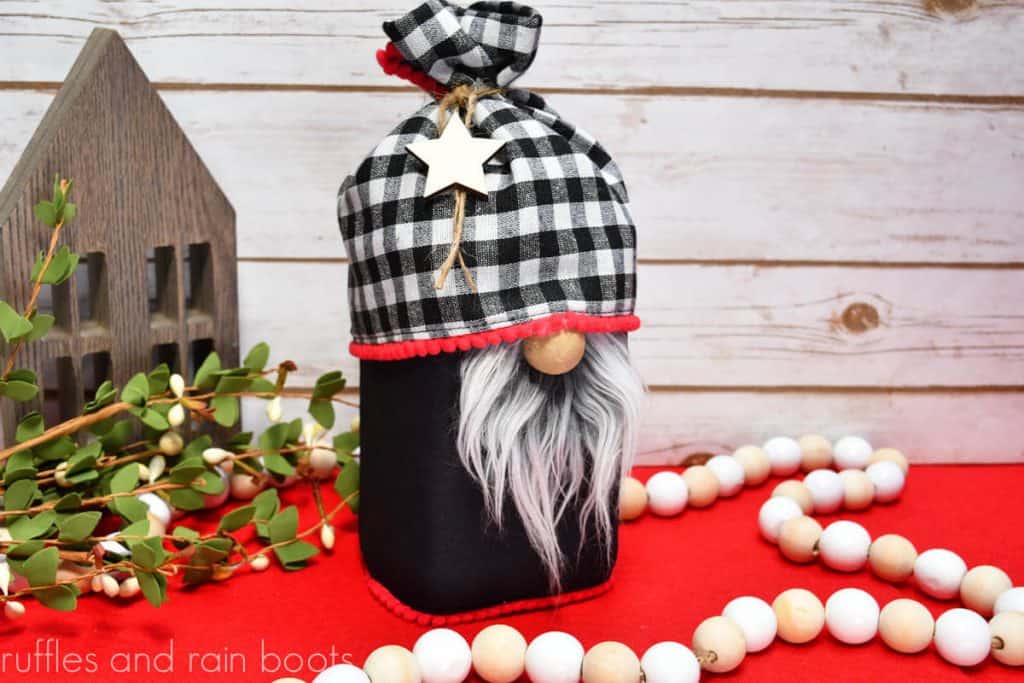
Easy Gnome Treat Jar Using a Placemat
In about 10 minutes, you can make this impressive gnome treat jar wrap using a pre-made placemat and your hot glue gun. This is honestly one of the cutest Christmas gnome crafts I’ve ever made!
RELATED READING: Gnome Jar Topper
What You'll Find On This Page
Gnome Jar Wrap – An Easy and Quick Gnome Craft
Here at Ruffles and Rain Boots, I am inspired by so many things I see at craft stores. ‘Normal’ items are displayed in a way which triggers your brain to start putting things together: paint, brushes, and wood in a holiday display, for example.
But what about placemats? Stay with me… The thing I love about pre-made placemats is that they usually have two different fabrics: the fancy side and the plain side. Well, we’re going to use both to make the easiest Christmas gnome craft ever. Let’s get started.
Save This, Share This
Your shares are how this site grows. If you think this free craft is a good one, please share it to your favorite group on Facebook. Speaking of, be sure to join our group here.

As an Amazon Associate, I could earn from qualifying purchases. There could be affiliate links within this article.
Tips for Making a Gnome Treat Jar
- Get a contrasting-sided placemat and your work is basically done for you. :) If you can’t find one, determine a way to delineate the body from the hat: a ribbon trim, decorative stitching, etc.
- Make sure the wrap fits the body snuggly. This is the part which will stay on the gnome so we want it secure.
- For the hat, it should be loose so that it is easy to slip on and off. Adding a bit extra in the hem allowance is the best way to do this.
- I used Velcro® sticky-back for fabric ovals for this project, however, you can use the strips, as well. Just make sure you use the sticky backed ones for fabric.
- I used a larger jar for this project (picked up at the Dollar General) which is just bigger than the quart mason jar. That would work very well for this project, too.
How to Make a Gnome Treat Jar Wrap
Friends, this is a quick and easy craft. If you’d like the written tutorial, scroll down (note that you can print it, as well). For those who are visual learners like me, here is the full gnome treat jar wrap tutorial on YouTube. Pssst: while you’re there, go ahead and subscribe – I share fun stuff.
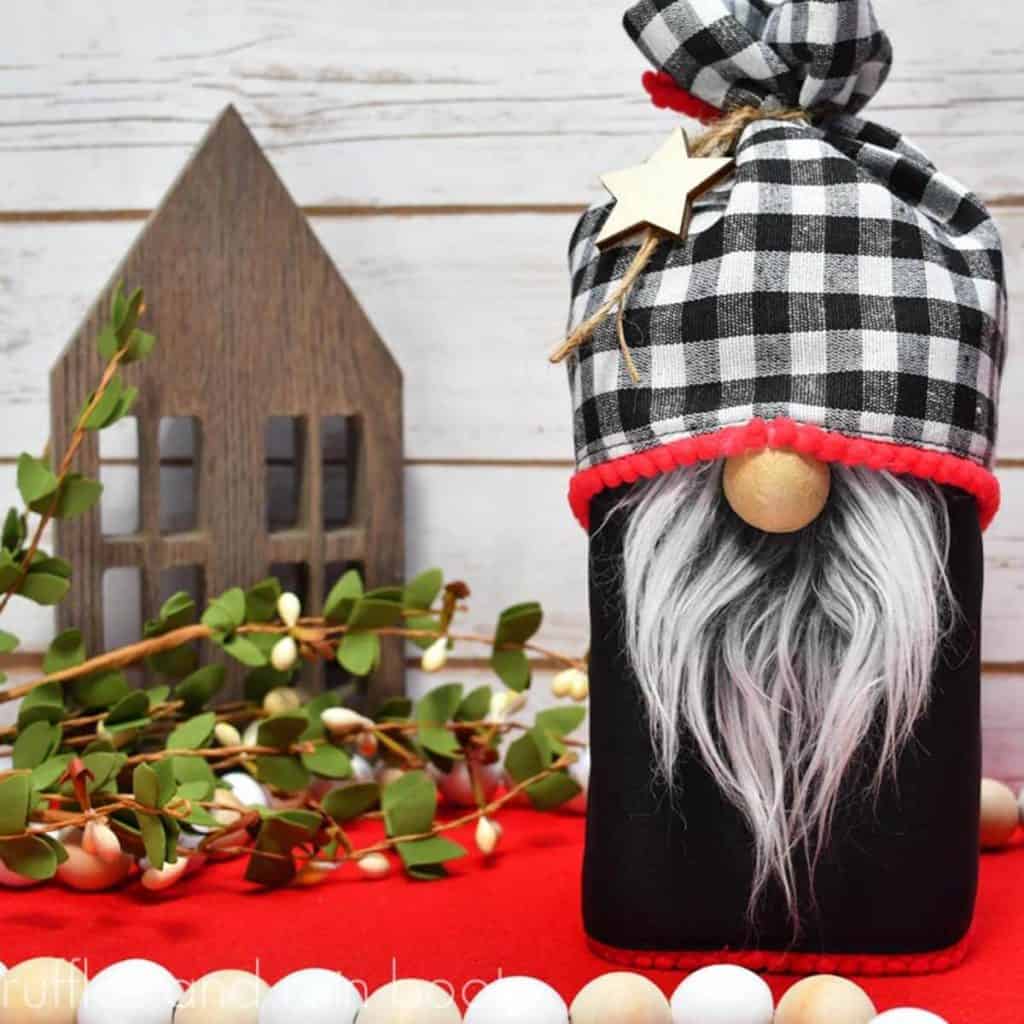
Gnome Jar Wrap (Placemat)

You can make any vessel into the most adorable gnome jar wrap using a pre-made placemat. Grab you glue gun and we can start making an adorable Christmas gnome gift.
Materials
- Pre-Made Placemat
- Sticky-Back Fabric Velcro®
- Faux Fur (or Other Beard Material)
- 1 Inch Wood Round (or Other Nose)
- Twine
- Star Accent
Tools
- Hot Glue Gun and Glue Sticks
- Gold Paint (optional)
Instructions
- Wrap placemat around jar making it quite snug, add 1 inch for the seam allowance and Velcro® closure, and cut to size. The body piece should fit very tightly. Hem all open edges.
- Wrap the body piece around the jar and affix the Velcro®.
- Decide where to place the hat, cut the faux fur for the beard, and adhere near the top of the body piece.
- Split the fur to the fabric backing, add a generous portion of hot glue, and affix the nose.
- Cut the hat to size adding a bit more to your size because it should be loose. Hem all open edges.
- Wrap the hat around the jar, placing it just on top of the nose. Affix the Velcro® and tie up the top with twine.
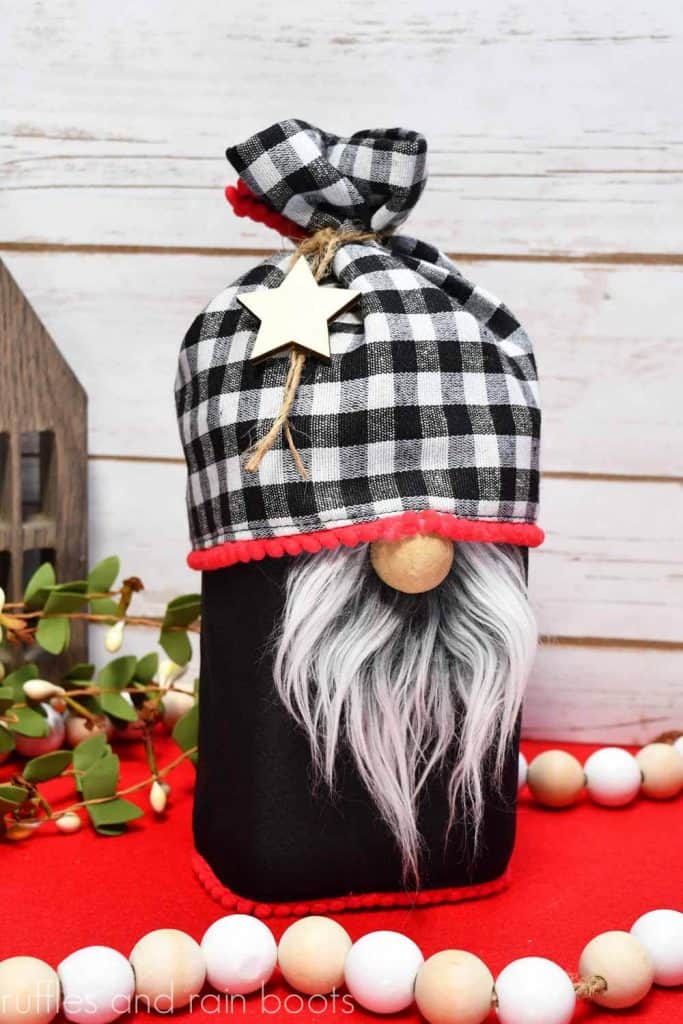
- Add decoration and the gnome jar wrap is ready for gifting!


Notes
For more no-sew gnome crafts, visit RufflesandRainBoots.com.
More Gnome Crafts You Might Like
- Sock Gnome Santa – In less than 10 minutes, make this guy who will impress everyone!
- Santa Hat Gnome – Using a pattern, hot glue your way to an adorable Christmas gnome with arms.
- Gnome Treat Jar Topper – If you want to cover a small jar, this 5 minute craft is just the thing.
Please Save or Share This
Your shares are how this site grows and I am sincerely grateful. Please share this to your favorite Facebook crafting group if you found this tutorial fun!
Meet the Creator
Hi there, I’m Sarah Nenni-Daher. I’m a crafty gal and always have at least 14 projects going at once. I am a crafter, designer, DIYer, and pattern maker. I share my creations here and in the Ruffles and Rain Boots® Shop.
Here at Ruffles and Rain Boots®, you’ll find DIY gnomes, crafts, gifts, cupcakes, laser crafts, and so much more. I love sharing video tutorials over on YouTube and chatting with other crafters in my Facebook groups. We’d love to have you!