
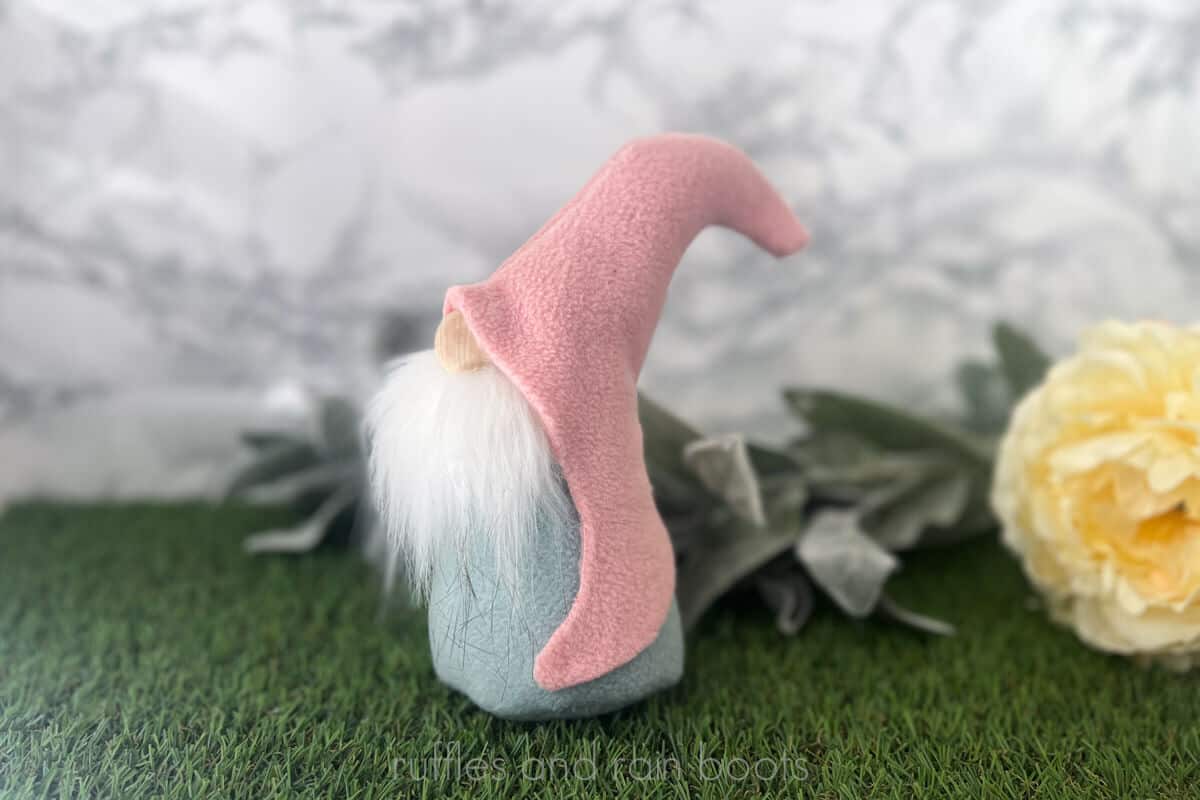
Free Hook Hat Gnome Pattern
This hook hat gnome pattern is so quick to assemble with hot glue or a sewing machine. Add a bit of whimsy with this adorable little gnome DIY and decorate as a Christmas gnome, Valentine’s Day gnome, or a gnome for any occasion.
You will need fleece, faux fur, and something for a nose to finish off this pattern, along with a fill and a stuffing. Scroll below for the DIY gnome free pattern and video tutorial.
RELATED READING: Wood Shelf Sitter Gnome with Dangling Legs
What You'll Find On This Page
DIY Gnome Pattern, Free for Subscribers
Here at Ruffles and Rain Boots, our newsletter subscribers are treasured friends. As a thank you, I wanted to create an exclusive gnome pattern just for you in addition to all of the DIY gnome patterns I’ve shared.
Subscribers can download this free gnome pattern by scrolling below, accessing the library, and downloading the hat and body piece patterns. If you’re not a subscriber, sign up and the password to the library is at the bottom of every email I send.
If you want to make this cutie but can’t get started just now, save or share this page. Either way, it will make it easy to find when you’re ready to begin.
As an Amazon Associate, I could earn from qualifying purchases. There could be affiliate links within this article.
Please note: this pattern is a thank you for subscribers. Do not share, publish, or distribute this pattern as the copyright and all ownership rights stay with Ruffles and Rain Boots, SND Developments, LLC.
RELATED READING: DIY Grinch Gnome Tutorials (Free Patterns)
Hook Hat Gnome Pattern Video Tutorial
As with all of my gnome DIYs, I have made the hook hat gnome video tutorial. While you’re watching, be sure to subscribe to the channel on YouTube. We have a lot of fun!

Materials Needed for This Hook Hat Gnome
Below are the materials I used to create all of the gnomes in this series. You should use fleece (or another stretchy material) to make assembly easy. You can add cotton or specialty fabric accents, however, ensure the base material has stretch.
- fleece (in two colors)
- faux fur
- gnome nose (I used a 1 inch wood round)
- fill and weight
- hot glue gun and glue sticks
- scissors
- hook hat gnome pattern (linked below)

RELATED READING: Faux Flower Gnome Pattern (Free)
How to Assemble This Free Gnome Pattern
As this is a pattern exclusive to subscribers, there will be no images shared of construction. Please refer to the video above.
First, download and print the pattern pieces. Use scissors or a rotary cutter to cut 2 hat pieces and 2 body pieces from fleece.
Next, place the hat pieces right-sides together and assemble with hot glue (or sew with a narrow seam allowance of 1/8th, or up to 1/4 inch). Note that you will only glue or sew between the indicated bars on the pattern.
Place the large body piece right sides together, lining up the side edge. Glue or sew. Attach the bottom of the body (with front of fabric facing into the body).
Add weight and fill to the body after turning it right-sides out. Add fill to the hat after turning it right sides out.
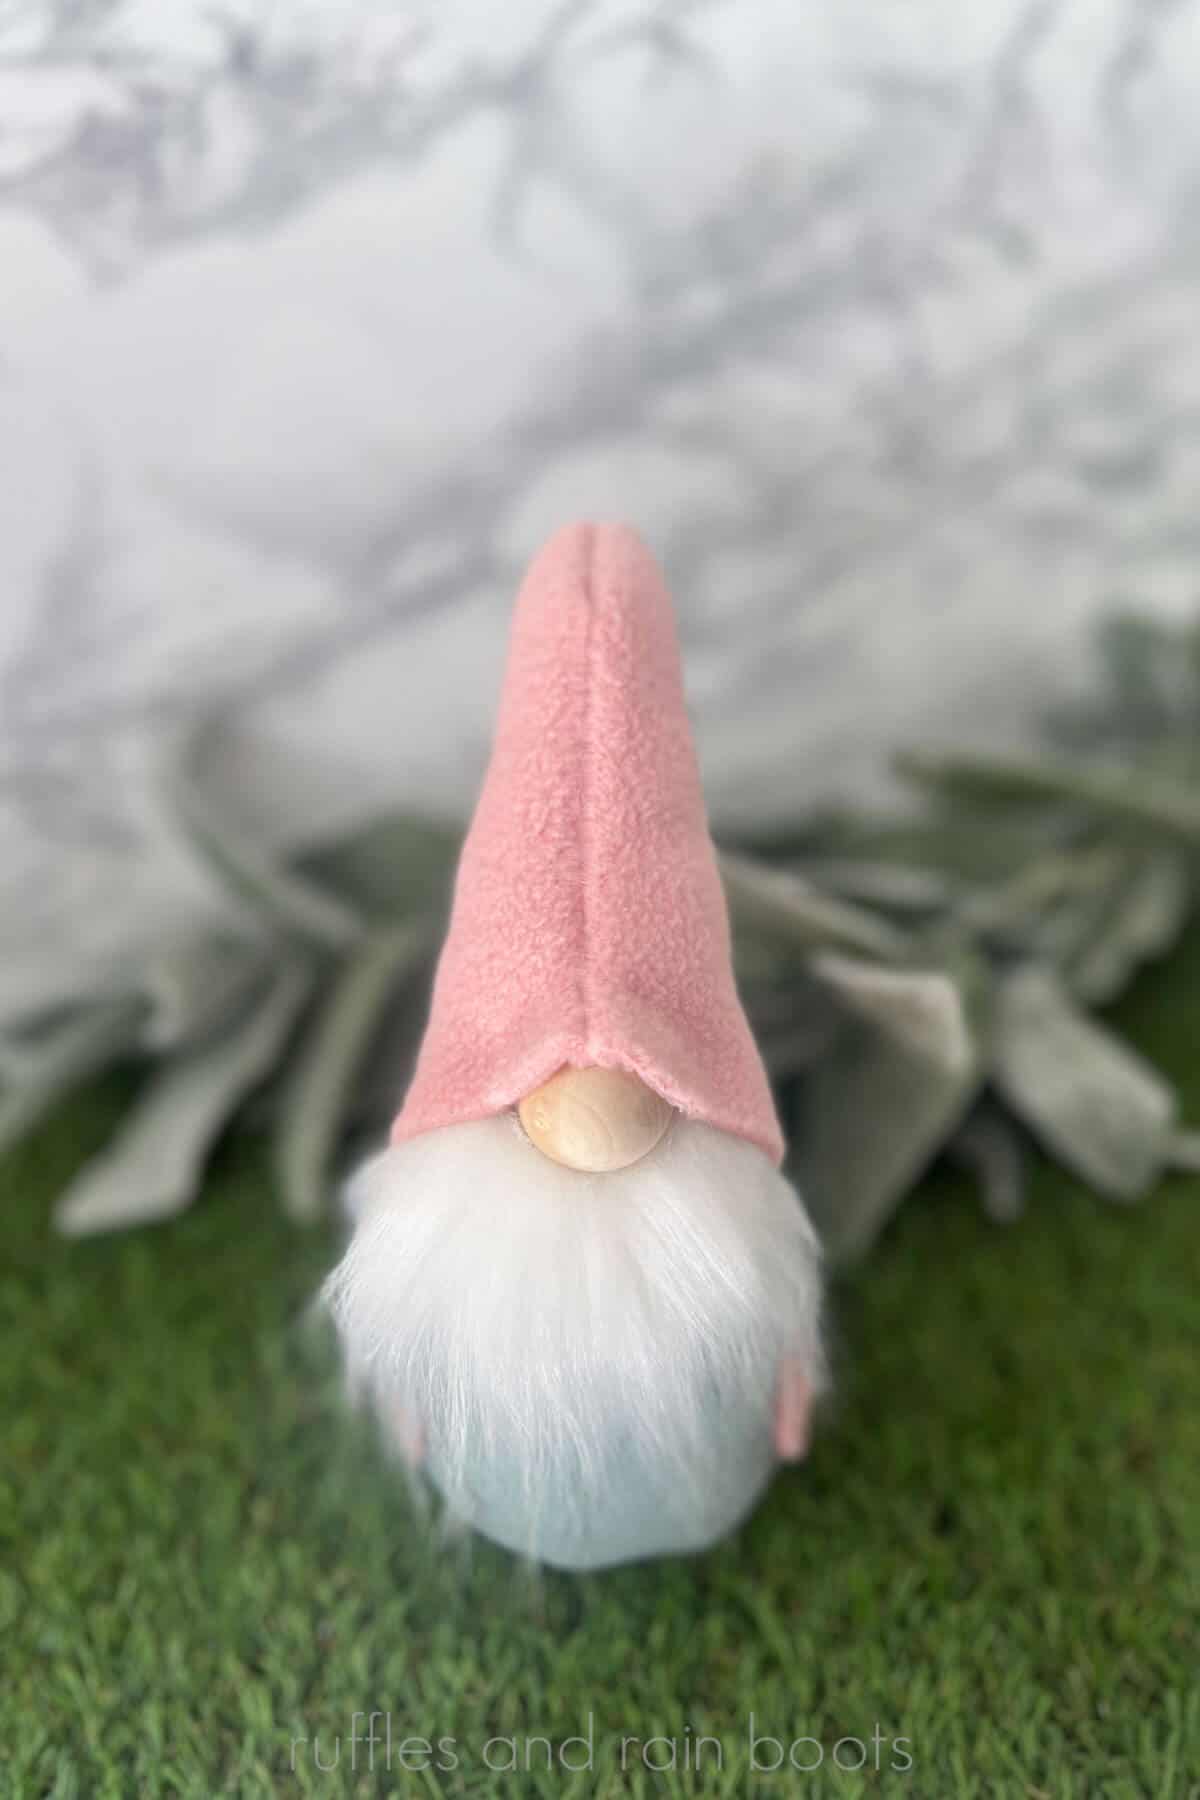
Cut a piece of faux fur in your desired beard shape and size which can be determined after slipping the hat onto the body. Glue the fur beard on as well as the nose.
Finally, secure the gnome hat to the body. Take care to add glue just over the nose to adhere the front point of the hat. Decorate and display!
Some inspiration (will be added to) is below…
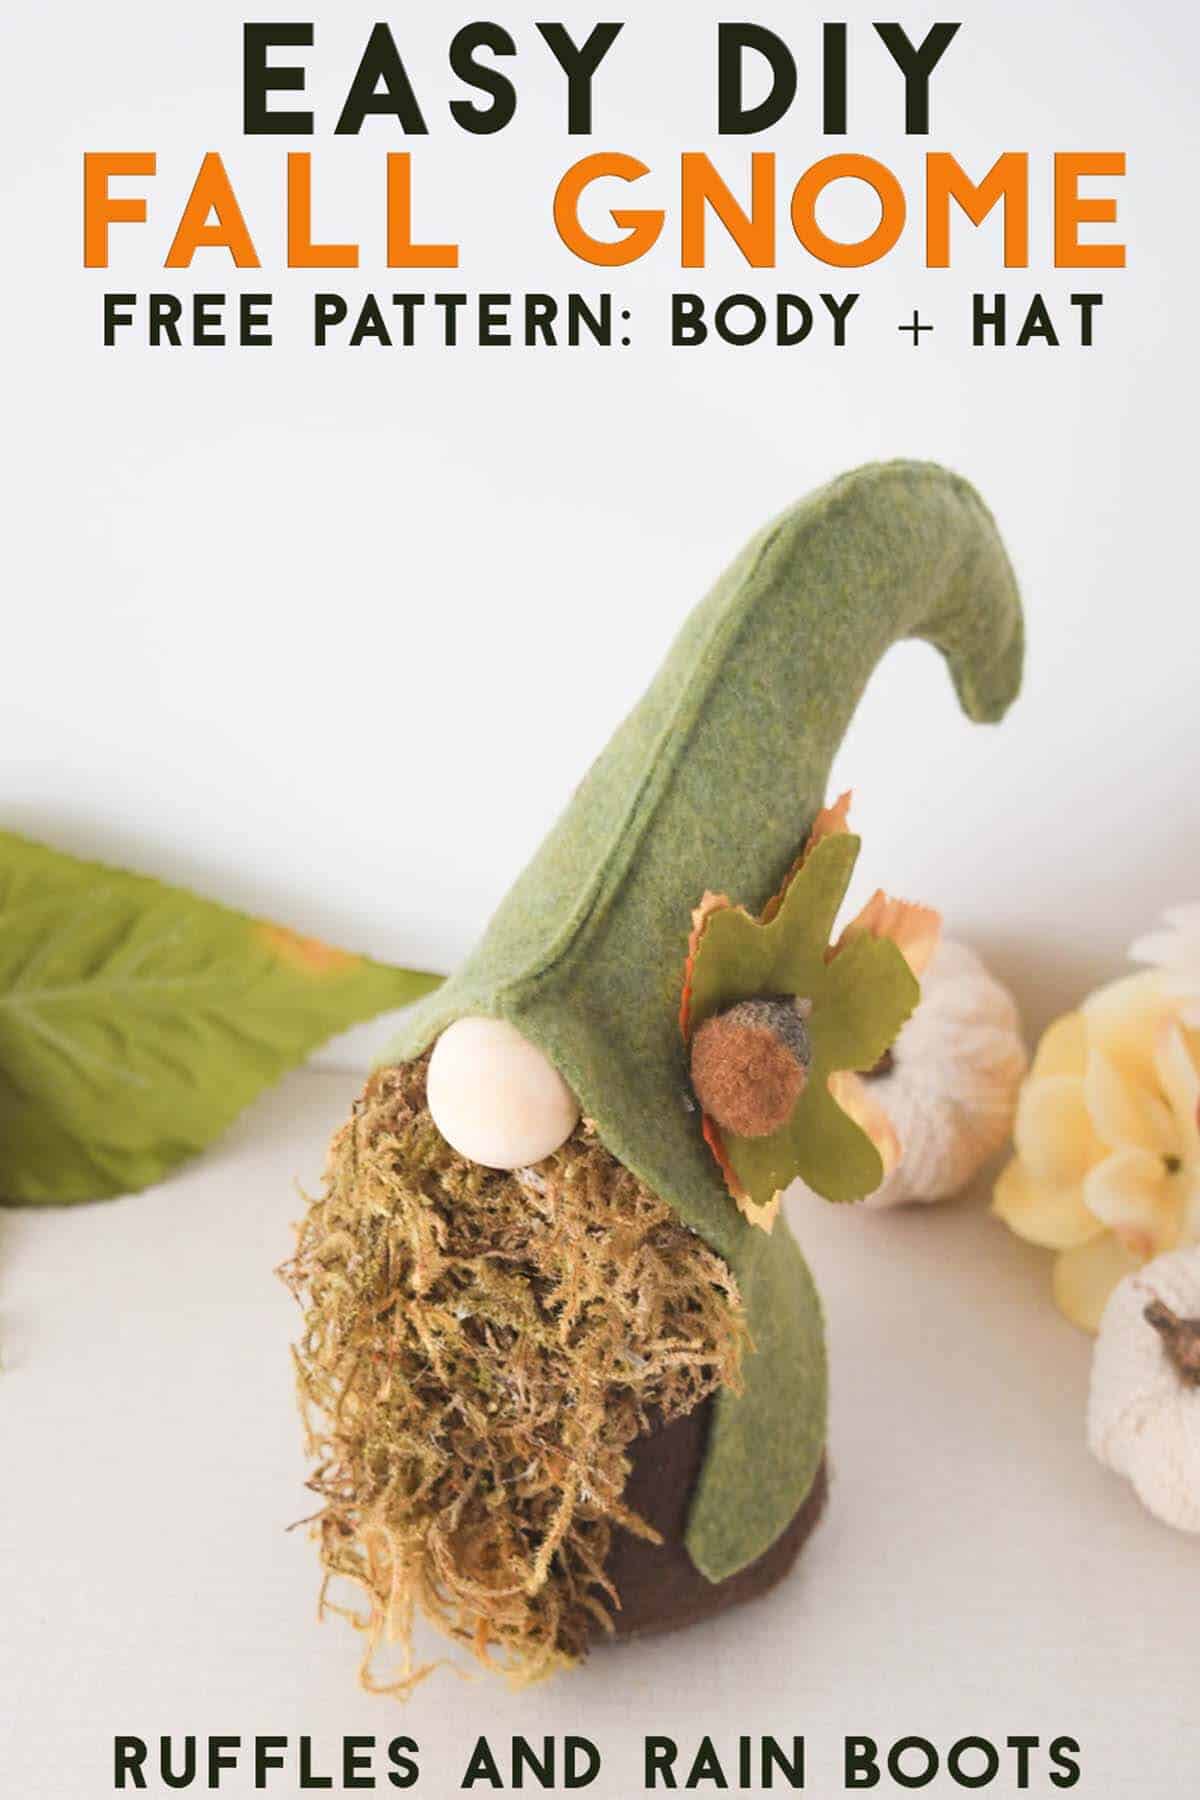
Fall Gnome with a Moss Beard
I love the moss beards on fall and woodland gnomes and this one is so easy to make! You can also watch the fall hook hat gnome pattern video tutorial made with this free pattern.
More Gnome Crafts You Might Like
- Easy Standing Reindeer Gnome DIY – Oh, this guy is too cute to not make!
- Adorable Gnome or Santa Pillow (Dollar Store DIY) – This only takes 15 minutes and people will fight over it.
- How to Make a Gnome from a Sweater – The chunky goodness is overflowing.
Please Save or Share This DIY Gnome Pattern
Your shares are how this site grows and I am sincerely grateful. Please save this to a gnomes pin board or share it with a crafty group on Facebook.

Hook Hat Gnome Pattern
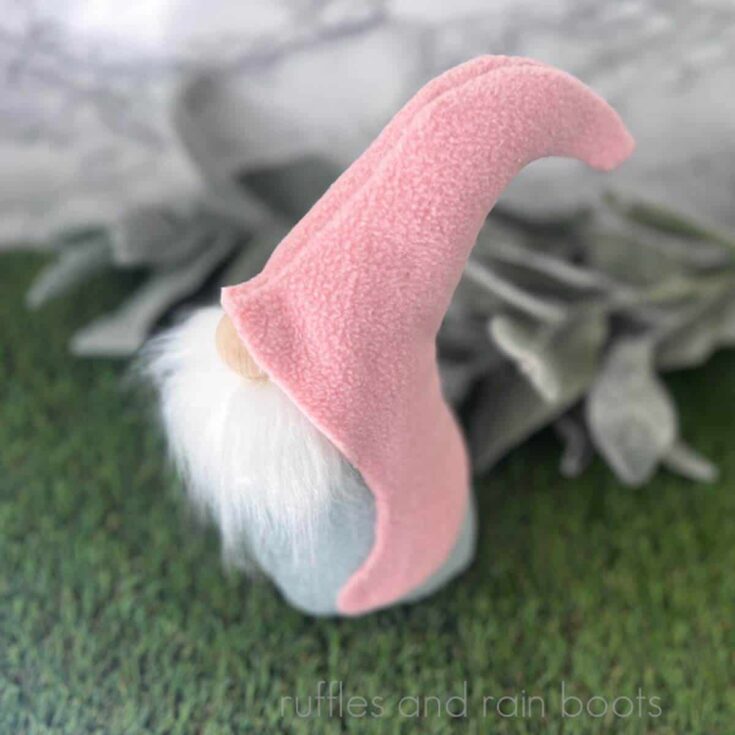
Use hot glue or a sewing machine to assemble this free hook hat gnome pattern from Ruffles and Rain Boots. To make this adorable gnome, you will need fleece, a small amount of faux fur, and something for a nose. The free gnome pattern will have two hat pieces and two body pieces that will take about 15 minutes to assemble, leaving you time to decorate for Christmas, Valentine's Day, a birthday, or any theme or occasion.
Materials
- fleece
- faux fur
- 1 inch wood round
- Poly Pellets
- Poly Fill
- pattern (see instructions above on how to download)
Tools
- hot glue gun and glue sticks
- scissors
Instructions
- First, download and print the pattern pieces making sure the 1 inch box measures 1 inch after printing.
- Use scissors or a rotary cutter to cut 2 hat pieces and 2 body pieces from fleece.
- Next, place the hat pieces right-sides together and assemble with hot glue (or sew with a narrow seam allowance of 1/8th, or up to 1/4 inch). Note that you will only glue or sew between the indicated bars on the pattern.
- Place the large body piece right sides together, lining up the side edge. Glue or sew. Attach the bottom of the body (with front of fabric facing into the body).
- Add weight and fill to the body after turning it right-sides out. Add fill to the hat after turning it right sides out.
- Cut a piece of faux fur in your desired beard shape and size which can be determined after slipping the hat onto the body. Glue the fur beard on as well as the nose.
- Finally, secure the gnome hat to the body. Take care to add glue just over the nose to adhere the front point of the hat. Decorate and display.
Notes
Note: this gnome can be sewn using a 1/8 to 1/4 inch seam allowance.
Recommended Products
As an Amazon Associate and member of other affiliate programs, I earn from qualifying purchases.


Hi Sarah,
I have been a subscriber for years, but for some reason I did not receive the Hook hat gnome pattern. Do I need to subscribe to the newsletter to receive things like this?
Thanking you in advance
Hey there, Mickey – it seems you’re still on the list. Because you have gMail, it could be ending up in your promoted or spam folders, though. The password for the library where the exclusive pattern is stored is at the bottom of every email. I’ll send you a direct email and you can add me to your contacts list to try and make gMail happy. :)
Hi Sarah,
I am a subscriber but for some reason I cannot get the Hook hat gnome pattern. Can you tell me how to get it
Thanking you
Hi there, Alice. Go to any email that was sent from Ruffles and Rain Boots. Get the password for the “Subscriber Library” and put it here on this page: https://rufflesandrainboots.com/exclusive-subscriber-content/
It will be the first thing that comes up on the page. Click the link and download from there. :)