
DIY Halloween Witch Gnomes for Easy Decor
Today I’m using up some craft room staples to make these easy Halloween witch gnomes. They’re quick and fun to make and perfect to tuck into any spot that needs a little spookifying.
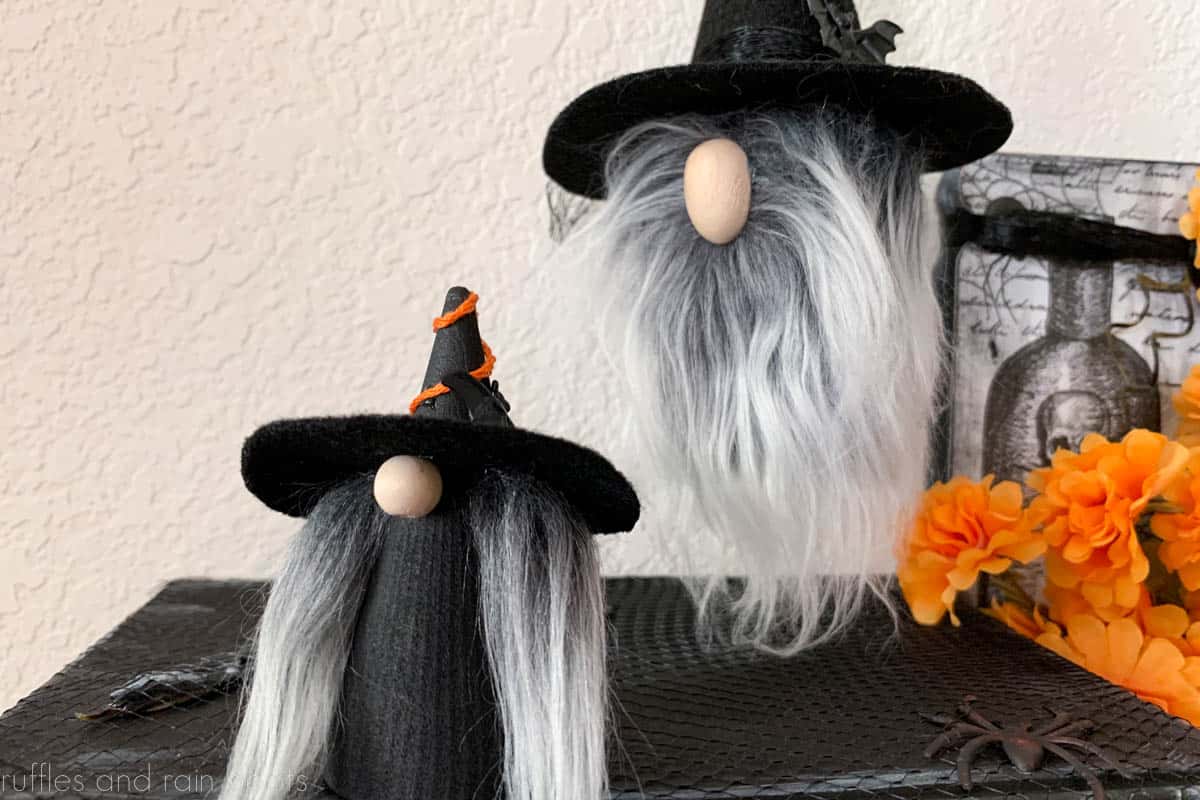
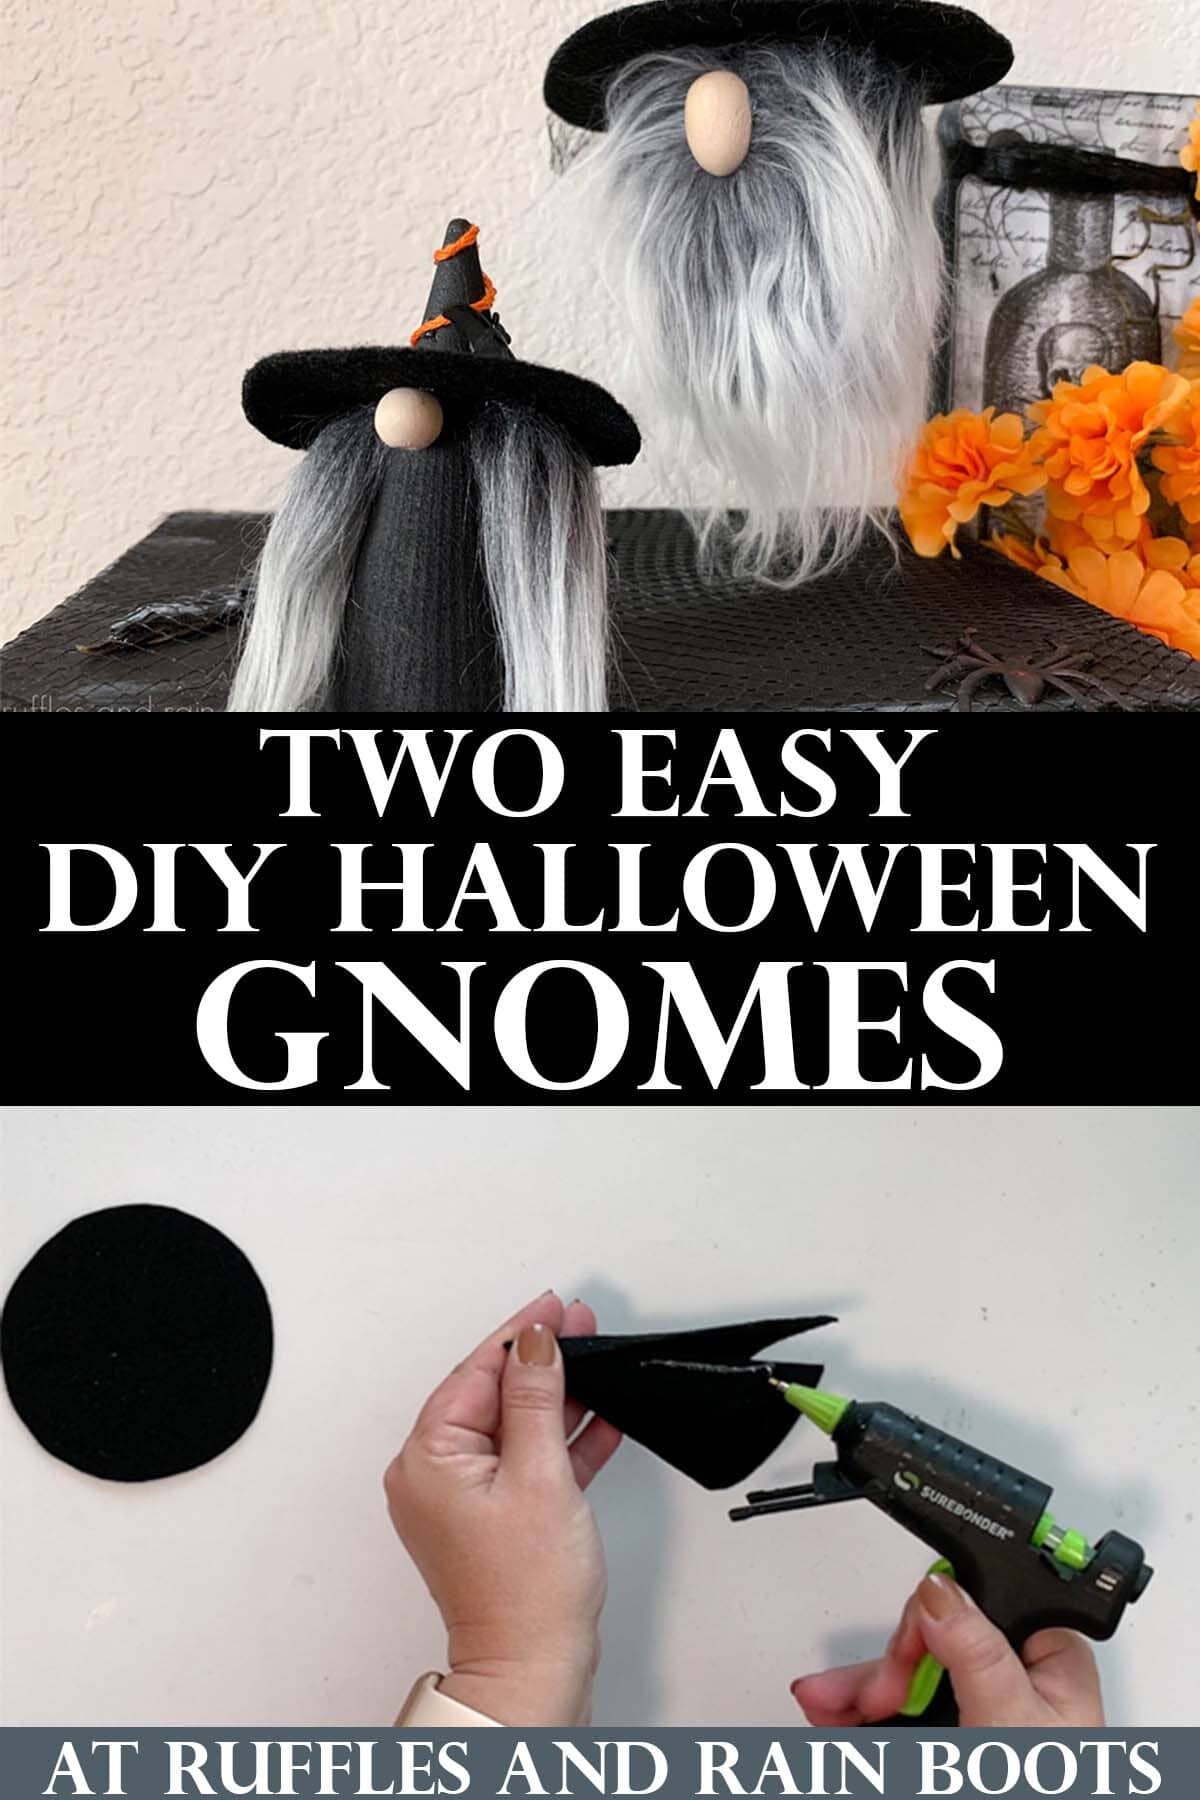
These mini witch gnomes are perfect for tiered trays, dough bowls, and even placed alongside existing Halloween displays. You will need fur, felt, a glue gun, and some scissors to get started.
RELATED READING: Halloween Gnomes You Will LOVE
Halloween Witch Gnomes
Here at Ruffles and Rain Boots, I’m almost finished setting up my craft room after moving from Seattle, Washington to Austin, Texas. It’s been… a challenge. Going from a much larger space, I’ve had to spend quite a bit of time figuring out where to put my craft-store-sized stash.
This week, I tackled small wood item storage, including wooden beads, wood balls, split rounds, and well, everything you can think of that is small and made of wood. Let me just share – it’s a LOT over here.
But when I pulled out the split eggs and the miniature wood cone, I knew instantly what I needed to make today to bolster my Halloween home decor. Paired with a bit of felt and fur, these cuties were made in about 30 minutes.
No Time to Make These Now? Save or Share for Later
If you need to raid your craft stash or head to the store for some supplies, save this to a DIY Halloween pin board or share it on Facebook. Either really helps this site and it will make it easier to find when you’re ready to begin.
As an Amazon Associate, I could earn from qualifying purchases. There could be affiliate links within this article.
RELATED READING: DIY Sanderson Sisters Gnomes for Halloween
Tips for Making These Adorable Witch Gnomes
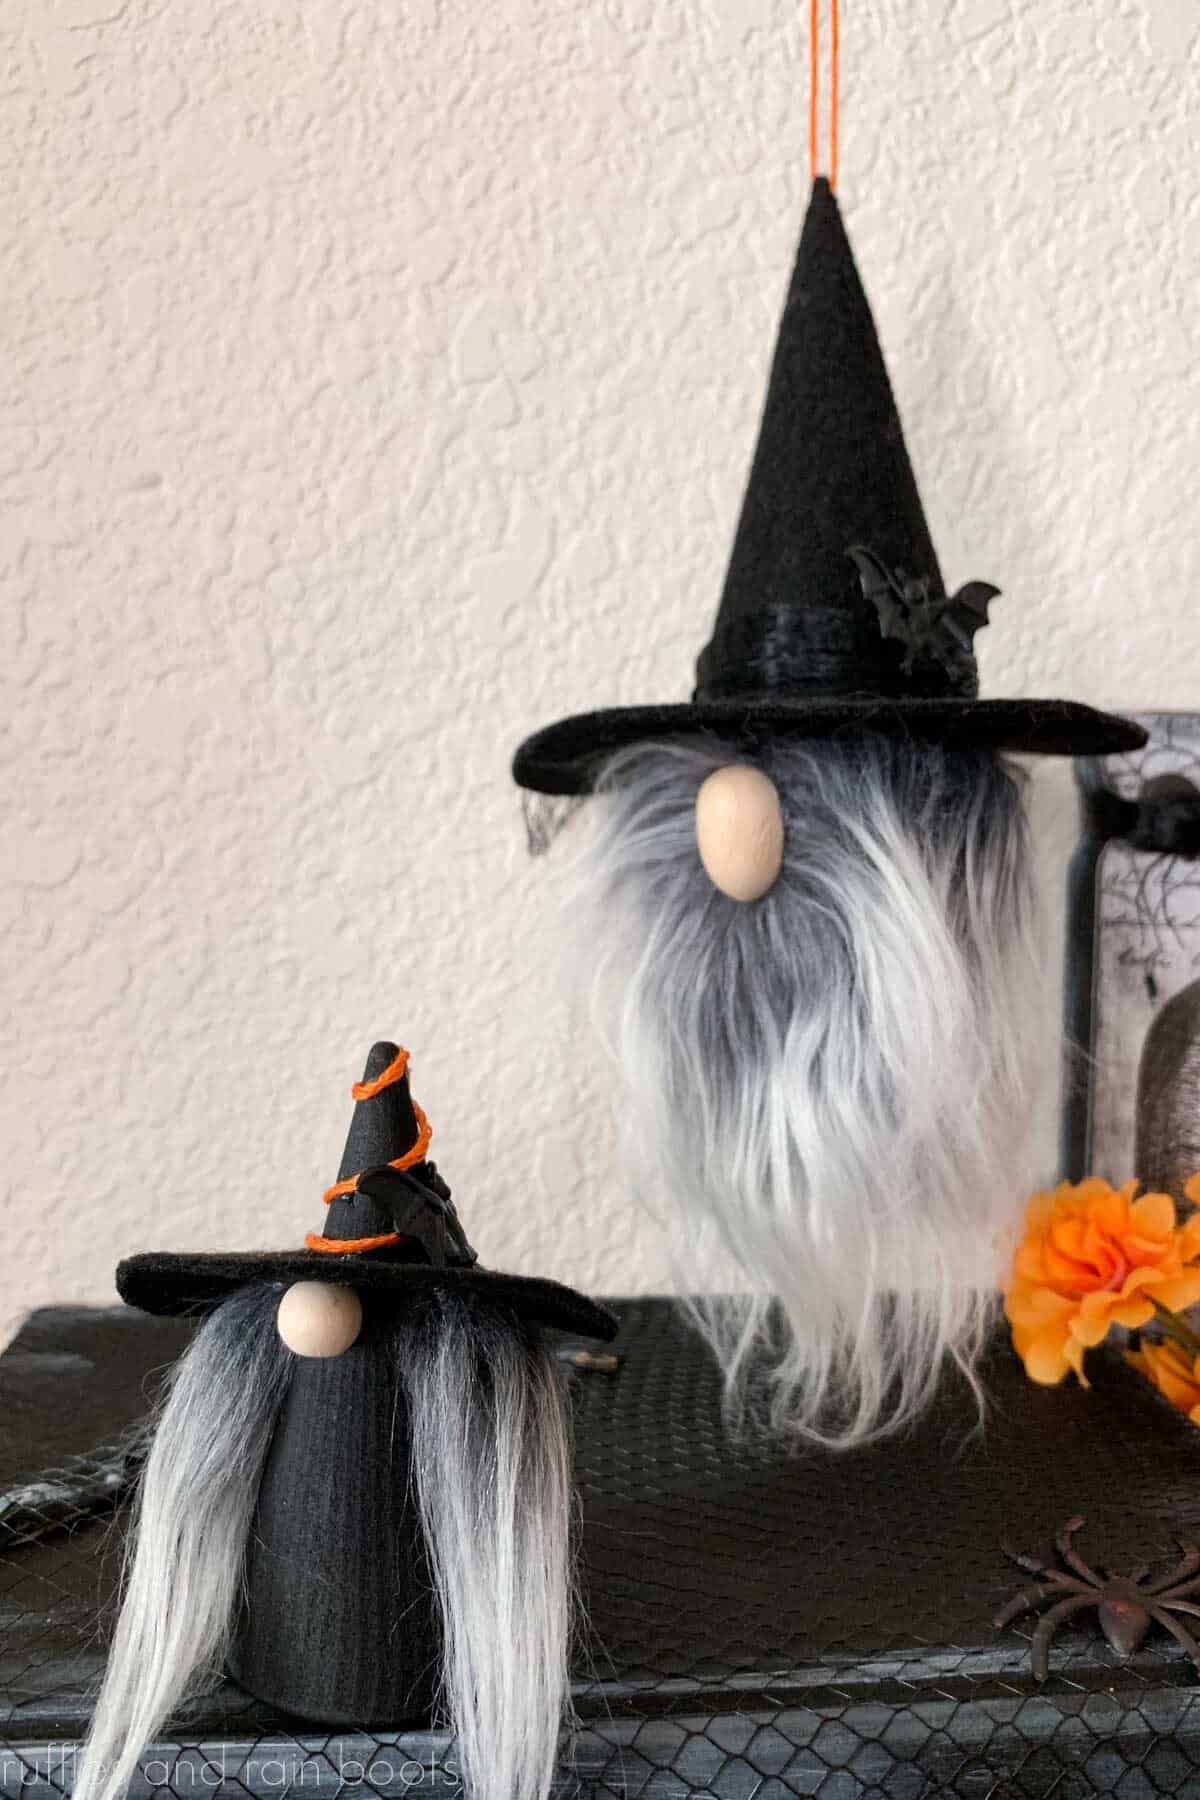
- Make the hanging gnome for a doorknob or cabinet pull like I did or put it as the centerpiece in a fun and festive Halloween wreath. You can use these in any of your Halloween decorations – just tuck them in into tiered trays, dough bowls, and in between your pumpkins.
- If you’re having a Halloween party, add these little gnomes along the dessert table display or to gift bags.
- To make a witch gnome hat, it’s all about proportions. Use the brim of hat to determine the height of the cone portion and you will always have a perfectly-proportioned witch hat.
- Watch the gnome video tutorial if you want to use scraps of faux fur and learn how to piece them together. It’s an easy process and it really helps to stretch the most expensive craft item we use when making gnomes.
- For the gnome nose, use what you have on hand. I often use up scraps of polymer clay and roll it into balls or just use wooden beads or balls for the noses. For the larger hanging witch, however, I chose a split miniature Easter egg I picked up on Amazon here. It looks so cool!
- If you don’t have wooden cones for the mini gnome body like I used, no problem. Pick up the 4 inch mini paper maché cones and craft with those, instead, or make your own cone from a sturdy paper or poster board.
- I use a detailed tip hot glue gun for this project (and so many others). While you don’t need it for most gnome crafts, I do recommend it for anything small-scale like this.
RELATED READING: DIY Christmas Gnome Crafts You Should Make This Year
How to Make a Set of Mini Witch Gnomes
Below is the written and printable tutorial I put together. If you’re a visual learner like I am, watch the quick mini Halloween gnomes video tutorial here on YouTube.
Be sure to use the comments section here or on YouTube for any questions. I also am really involved in the free Facebook group here (it’s such a kind and welcoming place).
Mini Halloween Gnomes

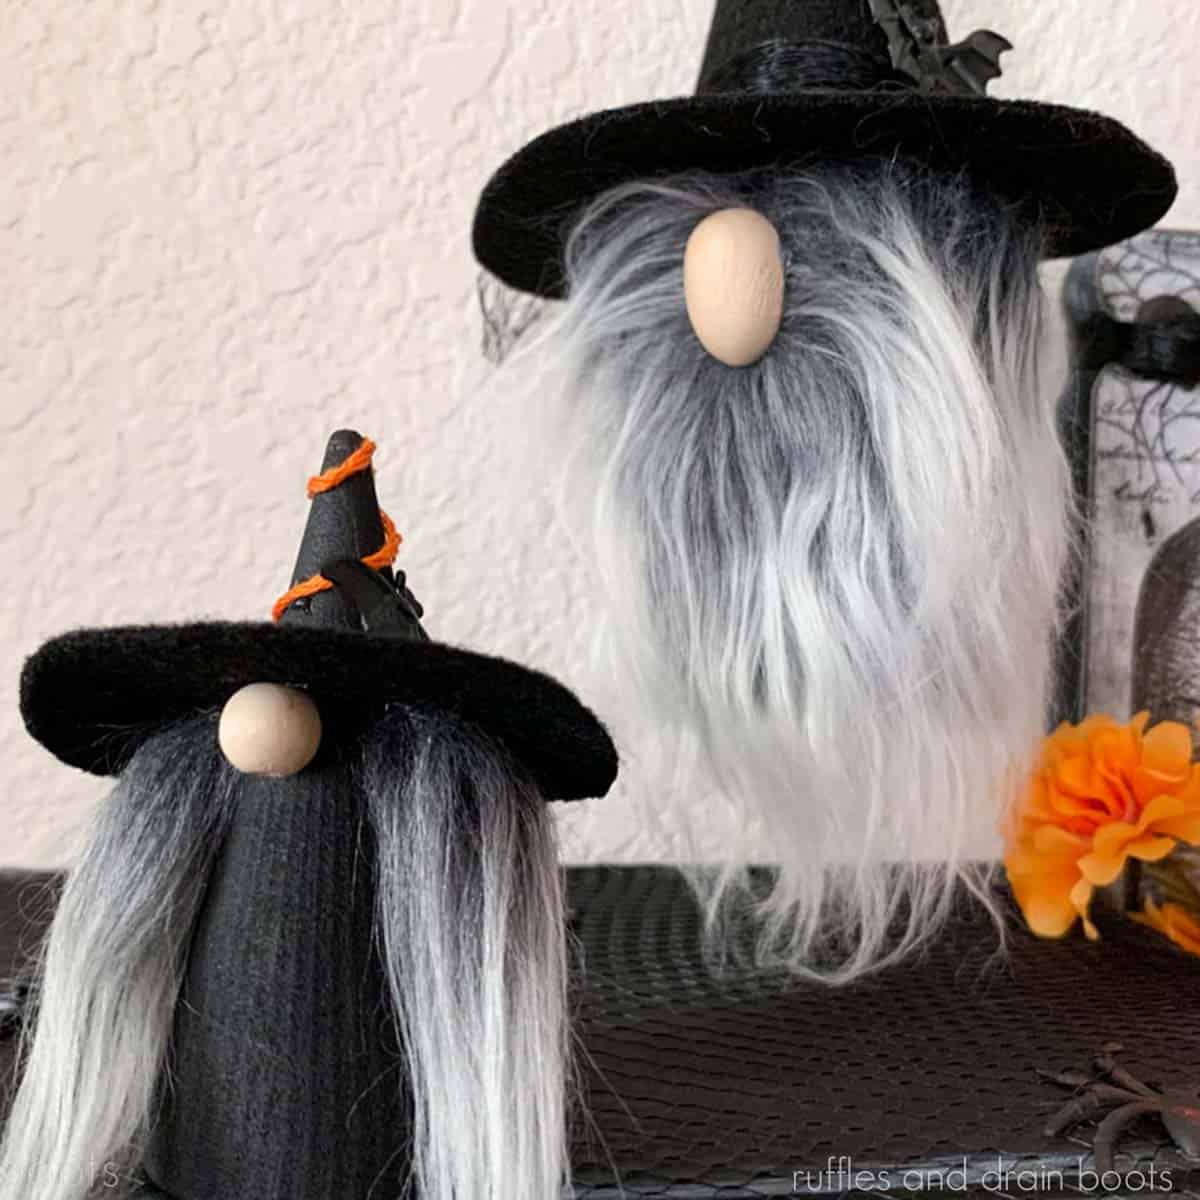
Create cute and spooky decor and make one or both of these mini Halloween gnomes using basic craft supplies like felt and fur. Make a hanging gnome or a shelf sitter using these methods.
Materials
- stiff black felt
- faux fur in frosted gray
- wood ball or wood half egg (or any noses)
- Styrofoam® ball (2")
- orange embroidery thread
- decorations (I used rings from the Dollar Tree)
- ribbon or sponge brush (Dollar Tree)
- mini wooden cone (3 inch)
Tools
- hot glue gun and glue sticks
- scissors and an X-acto knife or blade
- black paint and brush
- pencil
- needle
- something round to trace
Instructions
For Hanging Witch Gnome
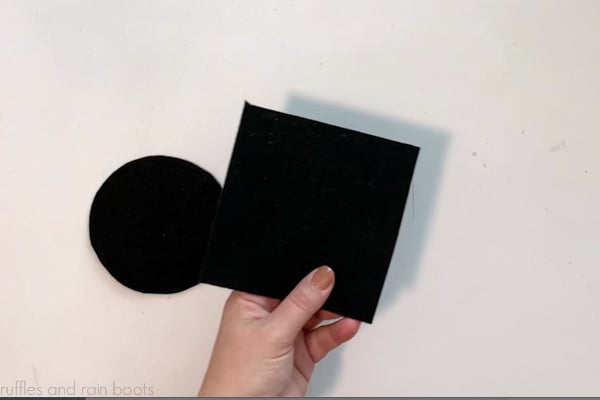
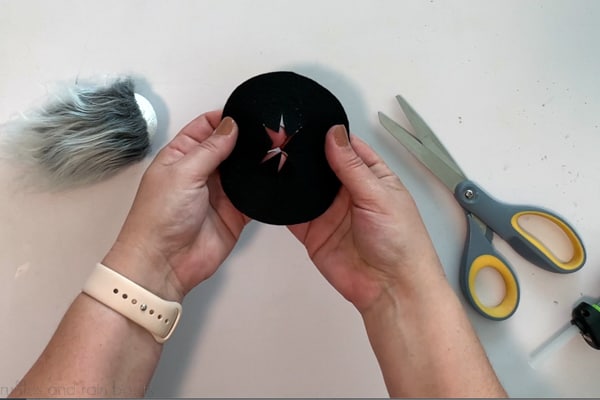
- Draw or trace a 4 inch circle onto black felt and cut out (this is the hat brim). Make a small X-cut in the center of the hat (only about a 1/2 inch).

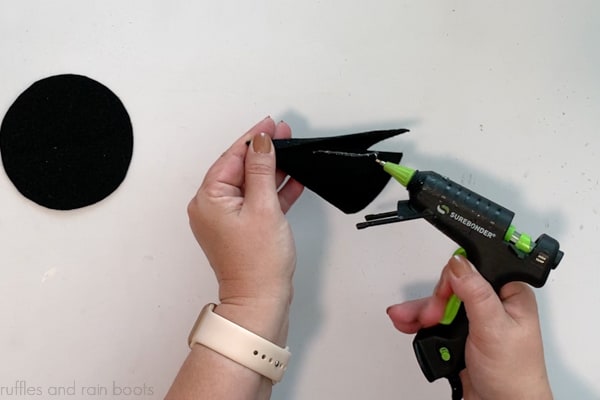
- Use the hat brim's width to determine the minimum height of the cone and cut a square from the black felt.
- Roll the black felt around something cylindrical and shape it into a cone proportional to the brim. Glue it together and let it set fully before trimming the bottom flat.
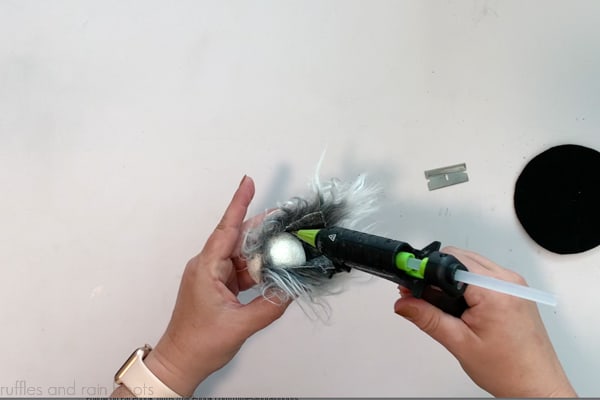
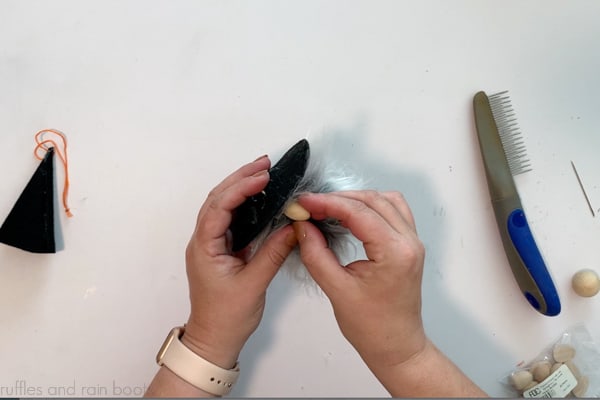
- Measure the ball you're using for the 'body,' and cut a piece of faux fur to surround it entirely while also hanging down about 2 inches from the bottom. Glue it near the top of the ball and glue the fur backing under the ball together to secure it.
- Cut the brim's inner section into triangles wide enough to fit the top of the Styrofoam ball just above the fur line. Glue it down to the ball and glue down the cut pieces.
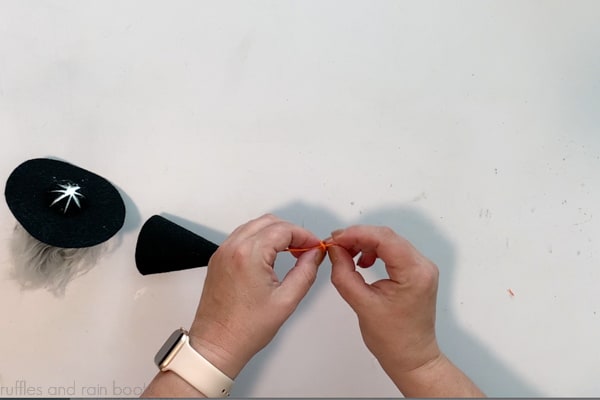
- Add a hanger to the cone piece by threading the embroidery needle with the thread and going through the top join in the hat. Tie it off securely.
- Glue on a nose: split the fur to the fabric backing, add glue, and press the nose into it until secure.
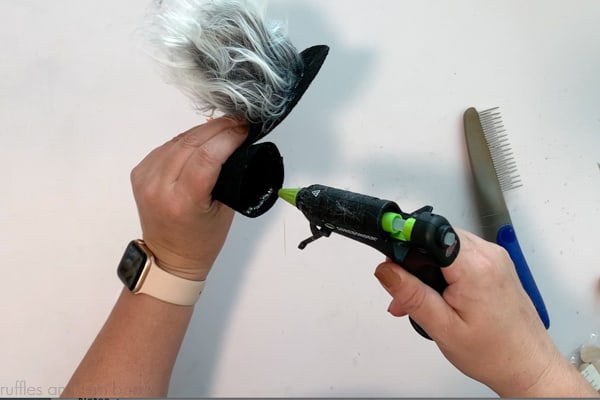
- Glue the cone to the hat brim by adding glue on the raised portion of the Styrofoam® ball and to the inside brim of the cone. Press the base of the cone into the head piece and set aside until secure.
- Cut ribbon (or the sponge brush) enough to tie onto the brim of the witch had and add a bat or other decoration. Display by hanging from a wreath, a doorknob, or a hook.


Mini Wooden Witch Gnome Shelf-Sitter
- Trace the base of the cone onto the stiff black felt, add a half inch around it, and cut it out for the witch hat brim. Paint the 3" wooden cone black and let dry.
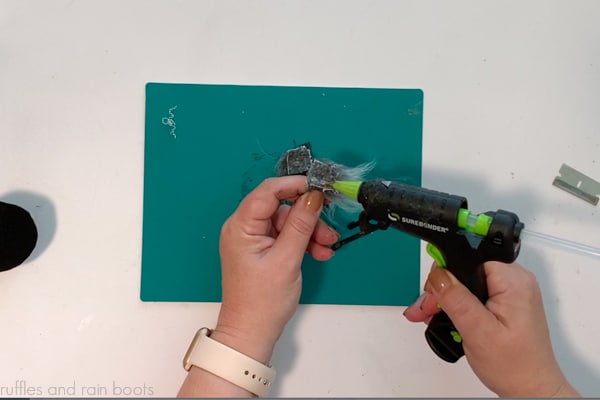
- Cut two one inch squares of scrap fur. On each, secure the fabric backing together and glue to the sides of the cone.
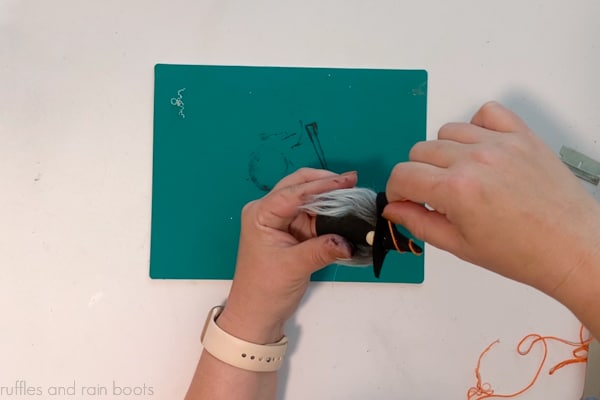
- Cut a small slit in the brim and slide onto the witch hat, securing in place over the fur to hide the tops and glue on a small wood bead for a nose.
- Add decorations: I used a small piece of embroidery thread to make a spiral and a bat ring to finish her off.


Notes
These are just two ideas for fun and easy Halloween gnomes shared by Ruffles and Rain Boots. Be sure to follow along for more!
Recommended Products
As an Amazon Associate and member of other affiliate programs, I earn from qualifying purchases.


More Halloween Gnome Crafts You Might Like
- DIY Witch Gnome – This fun little gal is a standing gnome with arms and legs and can be sewn or hot glued.
- Mummy Gnome for Halloween – Oh. My. Word. This is one of my favorite gnome crafts of all time because he’s so much fun to make!
- Hocus Pocus Gnomes – Grab a few fun socks and get to work making these Sanderson Sisters gnomes inspired by one of my favorite movies.
Please Save or Share This
Your shares are how this site grows and I am sincerely grateful. Please save this DIY Halloween gnome craft to a Halloween pin board or share it with a craft group on Facebook.
Meet the Creator
Hi there, I’m Sarah Nenni-Daher. I’m a crafty gal and always have at least 14 projects going at once. I am a crafter, designer, DIYer, and pattern maker. I share my creations here and in the Ruffles and Rain Boots® Shop.
Here at Ruffles and Rain Boots®, you’ll find DIY gnomes, crafts, gifts, cupcakes, laser crafts, and so much more. I love sharing video tutorials over on YouTube and chatting with other crafters in my Facebook groups. We’d love to have you!