Princess Merida Bath Bombs Inspired by Disney’s Brave
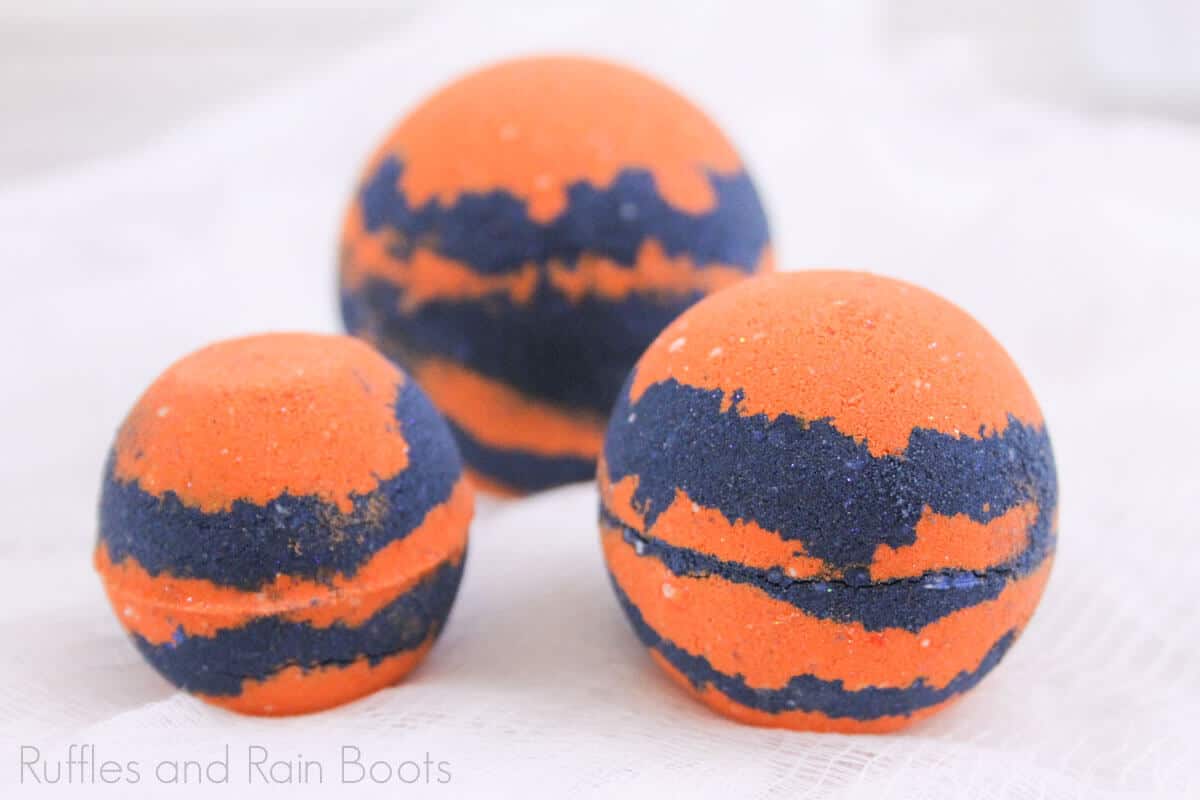
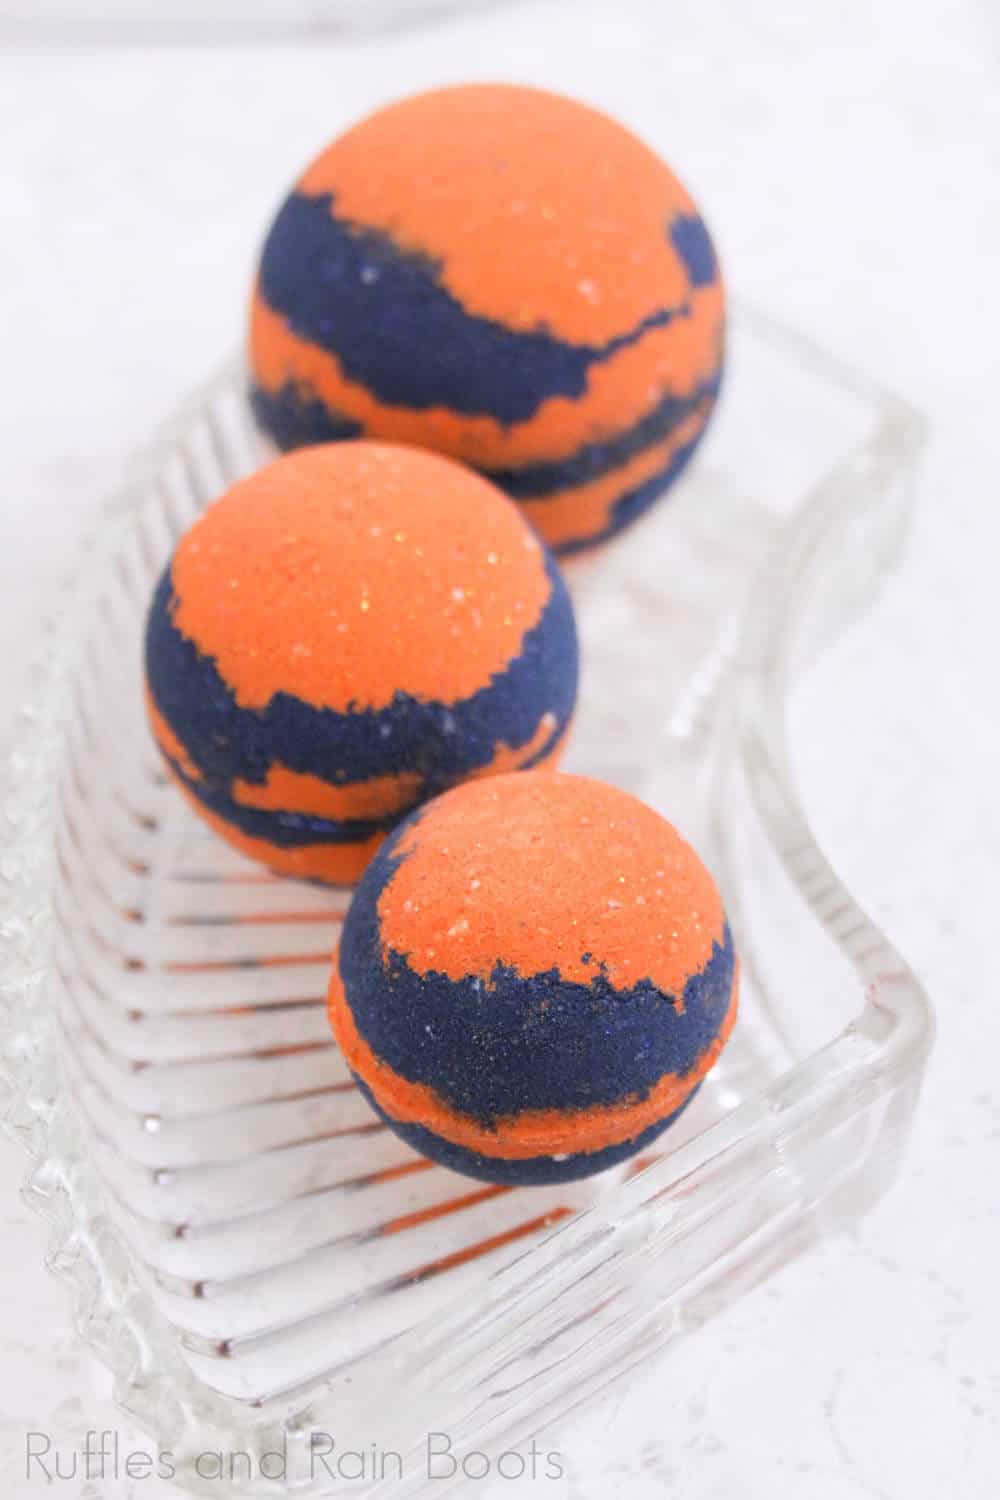
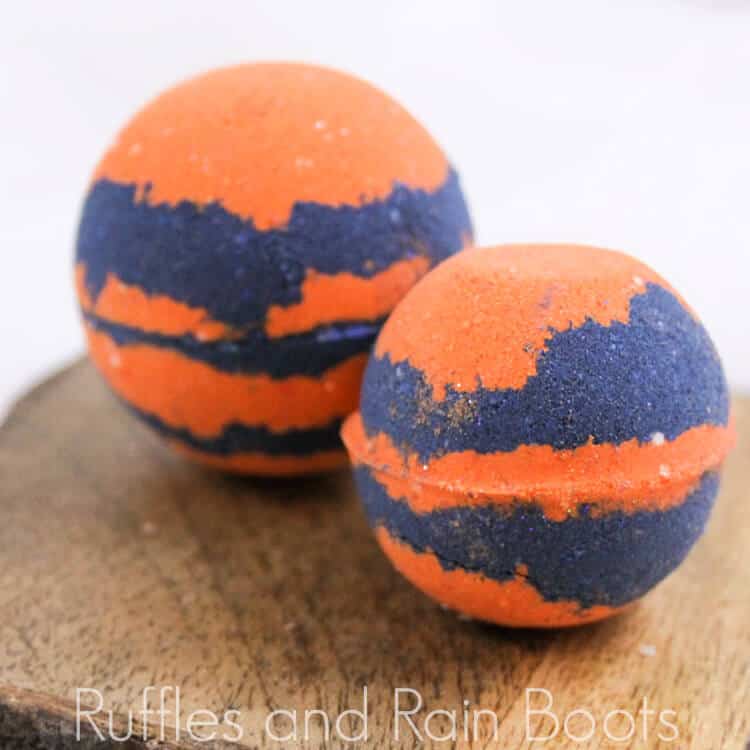
These Princess Merida bath bombs celebrate how brave Merida really was in the movie. We are using these fun bath fizzies to countdown to Disney!

Merida Bath Bombs
Here at Ruffles and Rain Boots, I am more than a little in love with Disney Princess bath bombs. They make the best favors for any Disney princess party and, frankly, the kids just don’t ever stop loving a fun bath.
Around here, Princess Merida rocks. She’s the strong girl my little one is and I hope she stays. The story, if you haven’t seen it, is about rebellion, mistakes, and forgiveness, all rolled into the most beautiful Disney movie I’ve ever seen. Let’s get started.
No Time to Make This Now? Pin it for Later
Gathering supplies? Pin this to your favorite bath bombs board on Pinterest and it’ll be here for when you’re ready.
Tips to Make these Brave Bath Bombs
- Do not use food coloring for the Brave bath bombs. It will make your bath bombs bright but it could stain your tub.
- You can mold this recipe in any flat-backed design so they will be safe for use as Princess Merida shower fizzies, too.
- Use any scents you want, any brand of oils, and any brand of soap colorant or mica powder.
- If your bombs crumble, see this article on trouble-shooting bath bombs and shower fizzies to find out your options to remake them.
- There is an ingredient which is optional, Polysorbate 80. The purpose of this emulsifier is to limit the oils and butters from pooling at the top of the water, as well as to reduce mica from adhering to the walls of the tub.
- If you want to use your Merida bath bombs immediately, great! Be sure to let the Disney princess bath bombs dry for at least 24 hours to get the most fizz for your bath. Plus, if there’s a little mix-up in your mix, a dry bath bomb will usually work that out.
- To keep your bath bombs at top-peak-fizzy-potential, keep them in an air-tight container in your bathroom. Humidity is bad for bath fizzies.
How Do I Make these Merida Bath Bombs?
I’m so glad you asked. Below is our written tutorial. If you’re making a Disney crafts playlist on YouTube, here is our Merida bath bombs video tutorial.
Princess Merida Bath Bombs

These Princess Merida bath bombs celebrate how brave sh really was in the movie. I chose the bold colors of orange and blue, but any colors will work.
Materials
- 2 cups baking soda
- 1 cup citric acid
- 1/4 cup cornstarch
- 1/4 cup dead sea salts
- 1/4 cup white kaolin clay (optional)
- 1/3 cup coconut oil
- 1 teaspoon polysorbate 80, optional
- 1 teaspoon Irish Spring scented oil
- Dark blue, red and orange or soap colorant but can use mica powder
- 1 teaspoon dark blue and orange cosmetic glitter
Tools
- Stainless steel bath bomb molds
- Spray bottle filled with rubbing alcohol (will not use unless mix is too dry)
- 1 large mixing bowl
- 2 small mixing bowls
Instructions
- In a large mixing bowl, add the baking soda, citric acid, Epsom salts, white kaolin clay and cornstarch. Whisk dry ingredients together.
- Add the essential oil to the coconut oil. Add the coconut oil to the dry ingredients. This binds all the ingredients together, so you bath bombs don’t crumble when you touch them!
- Add the polysorbate 80. This helps the coconut oil disperse more evenly in your bath water and prevents the mica from sticking to the side of the tub. Mix the ingredients together. I use my hands to break down any lumps and make sure everything is really mixed in there. The mixture is perfect when it holds together when you press it into your hands and feels like wet sand. Separate mixture into 2 small bowls.
- Add 1-2 drops of the dark blue color to one bowl. Don’t add more than that at a time because it will make the mixture foam up. Mix well. If the mix is not dark enough add 1-2 more drops, but no more or it will be too wet. Add 1-2 drops of the orange color and 1 drop of the red to one bowl. Mix in the blue glitter to the one bowl and the orange glitter in the other.
- Layer the colors with each side of the mold slightly overflowing with mix. Press both sides of the mold together firmly, grinding together to get rid of the excess mixture.
- Tap both sides of the mold and gently release the bomb. Allow to dry a minimum of 24 hours. If your climate is wet or cold, allow an additional 24 hours. My rule of thumb is that when it is hard to the touch, they are ready for the tub! Store in an airtight container until ready for use.

Notes
For more awesome Disney bath bombs, visit RufflesandRainboots.com
More Disney Bath Bombs You Might Like
- Ultimate List of Disney Princess Bath Bombs – If you love Disney bath bombs, this is the perfect set of Disney Princess bath bombs you will ever find!
- Rapunzel Bath Bombs – She’s the most underrated, amazing princess ever. And all that hair…
Please Save This to Pinterest
Your shares are how this site grows and I am sincerely grateful. Know a friend who’d like this? Please share it on Facebook or save it to your favorite Disney crafts board on Pinterest.


