
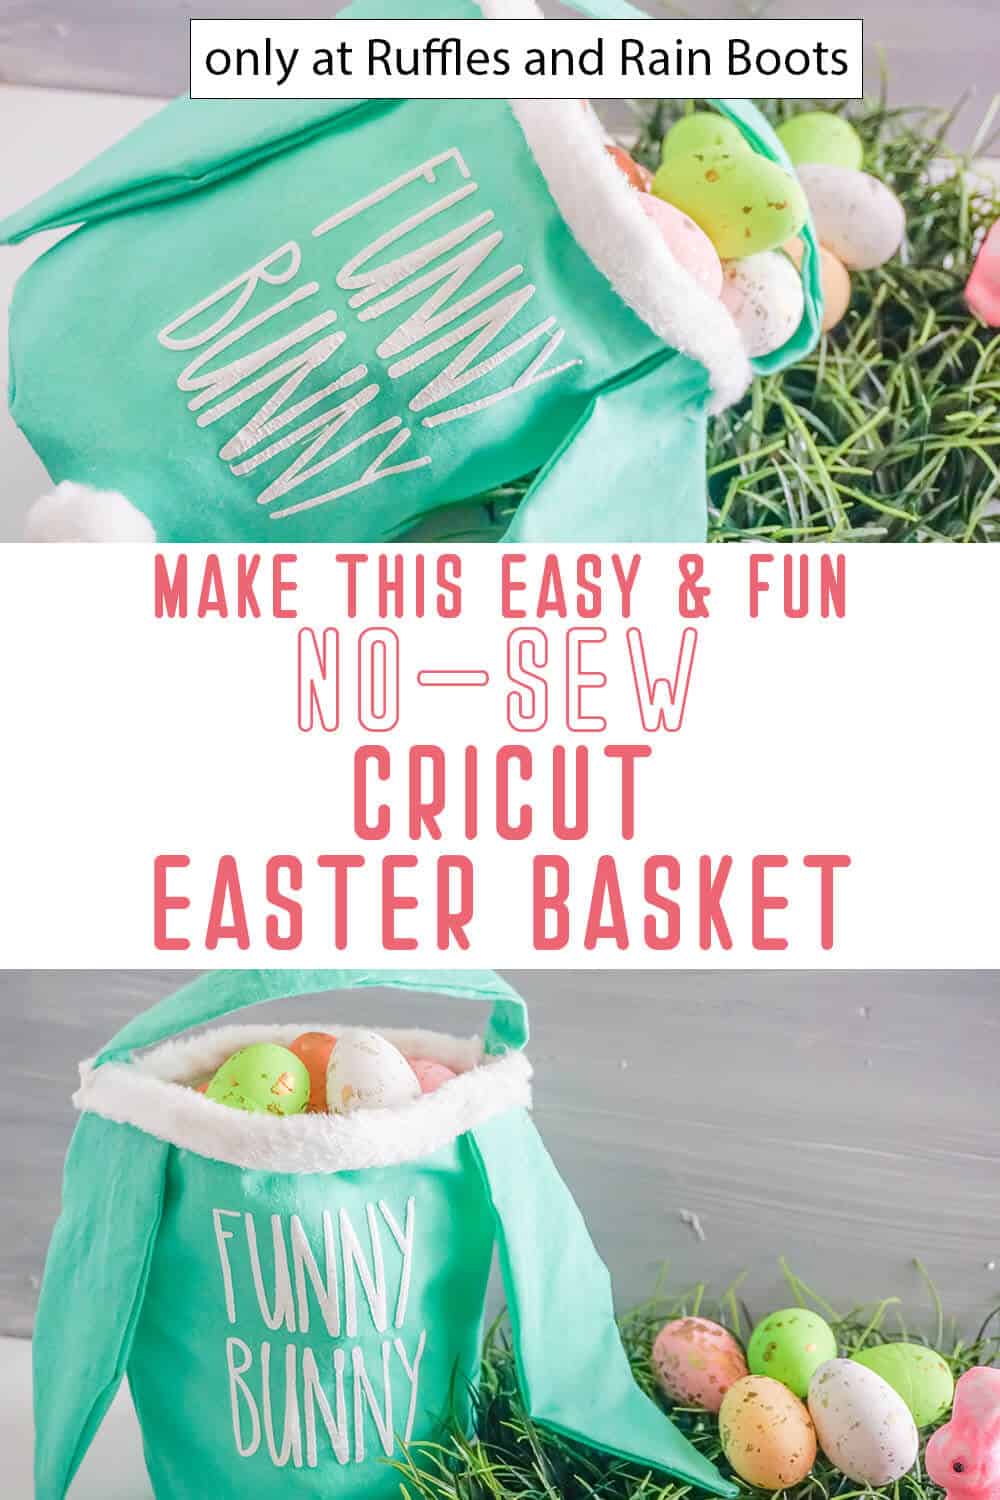
Make a No-Sew Easter Basket with these Cut Files for Cricut or Silhouette!
I got a fluffy idea of how to make a no-sew Easter basket with cut files files for Cricut or Silhouette and made the funnest Easter craft!
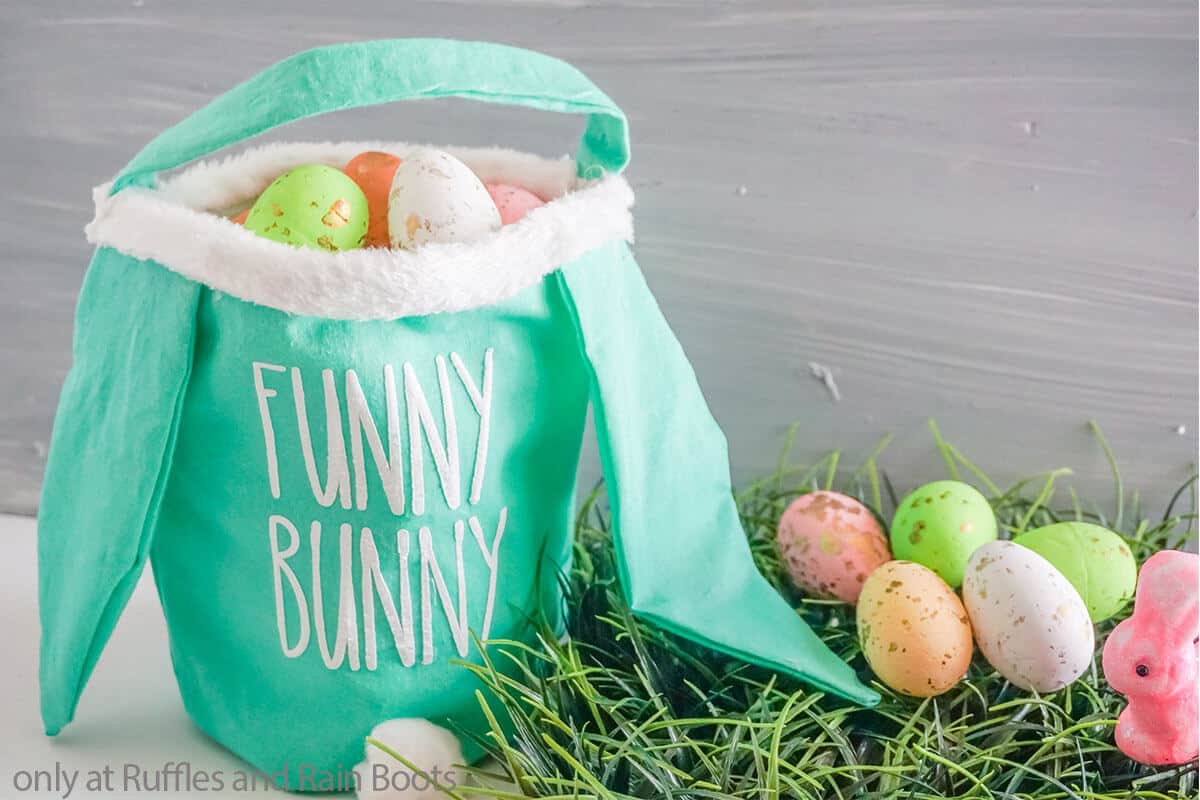
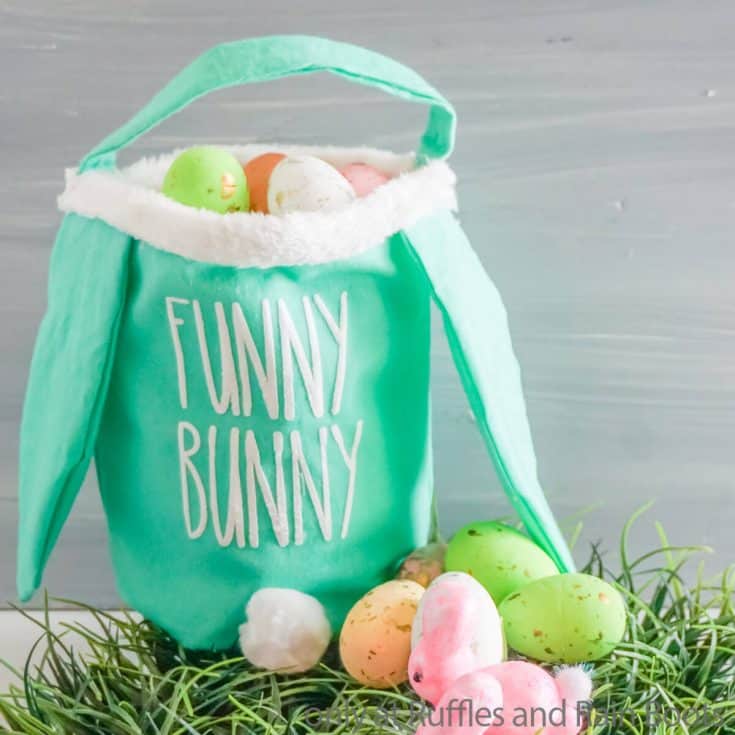
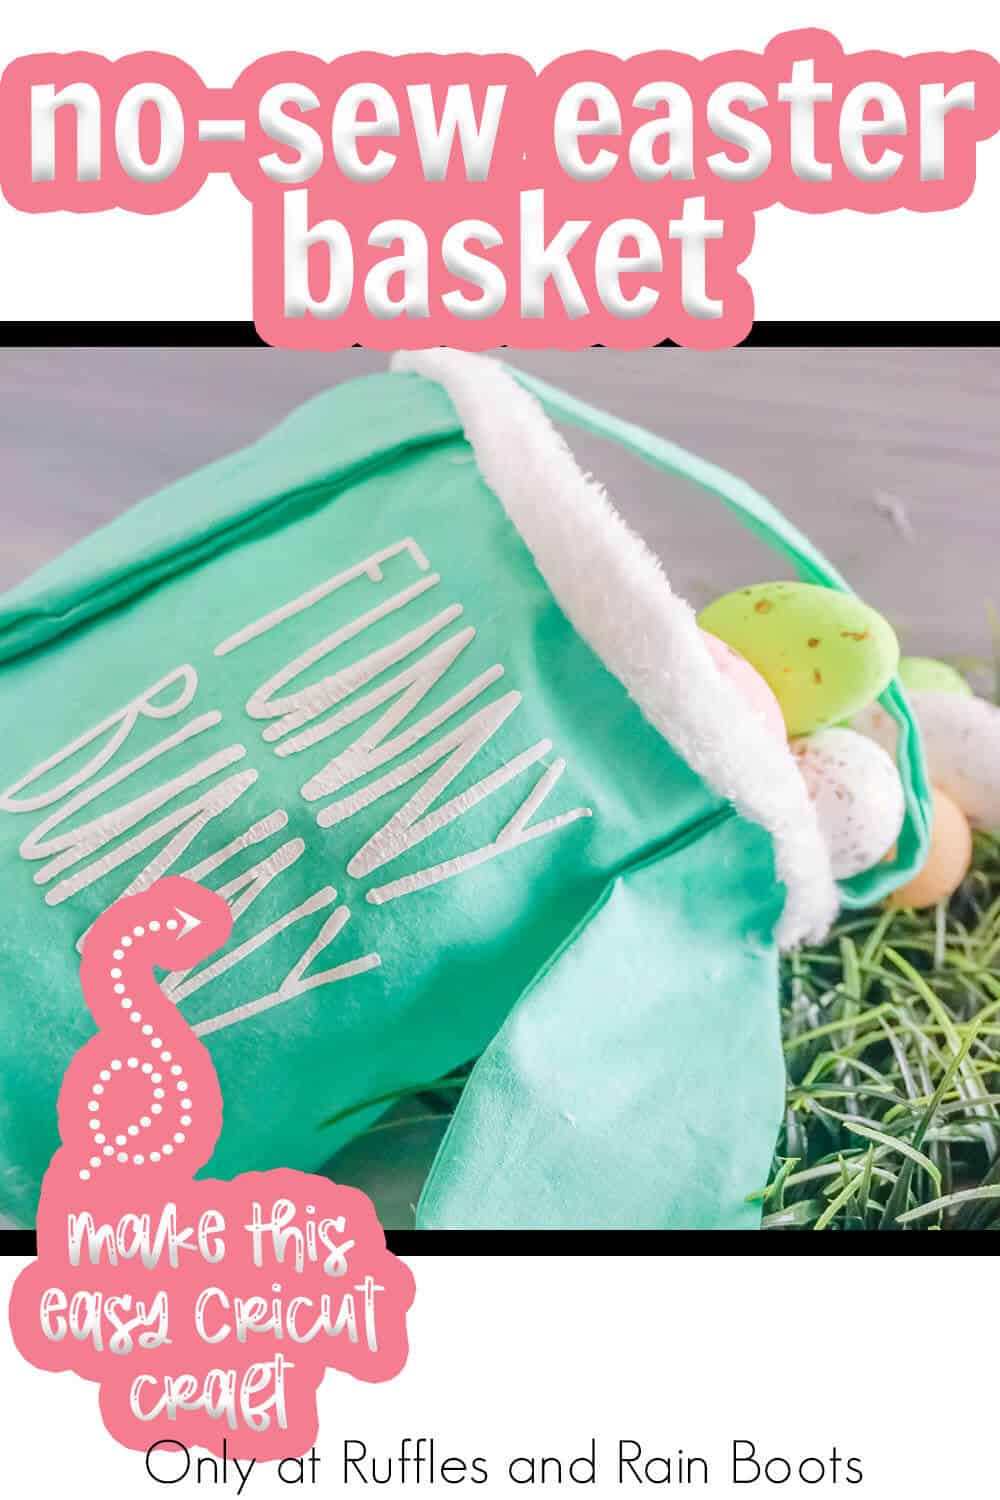
No-Sew Easter Basket
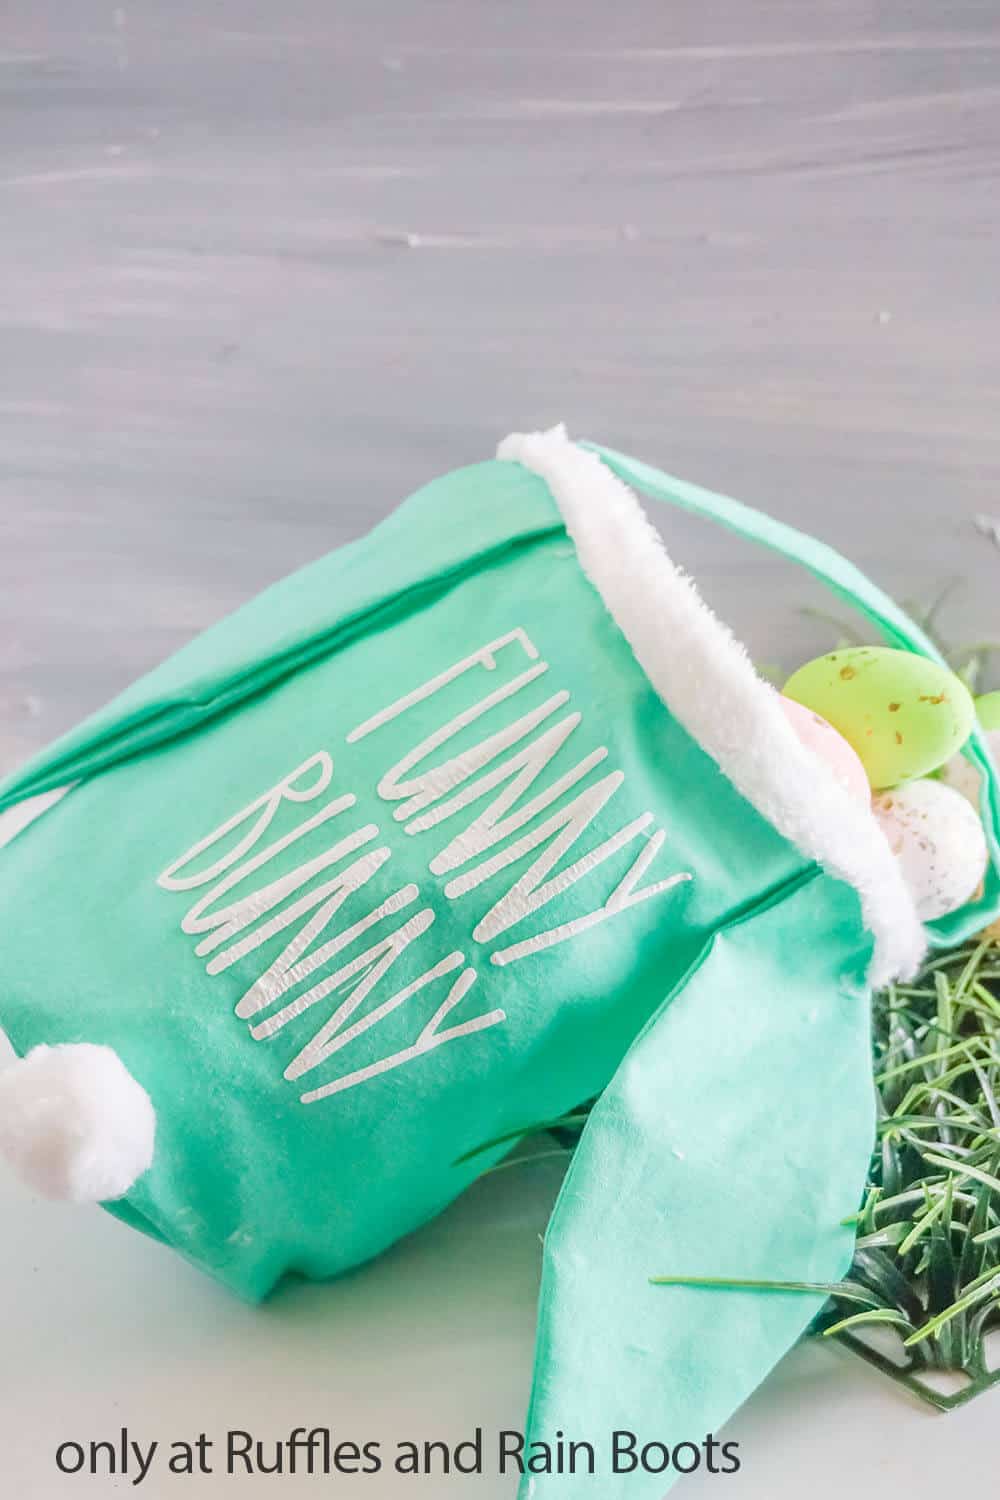
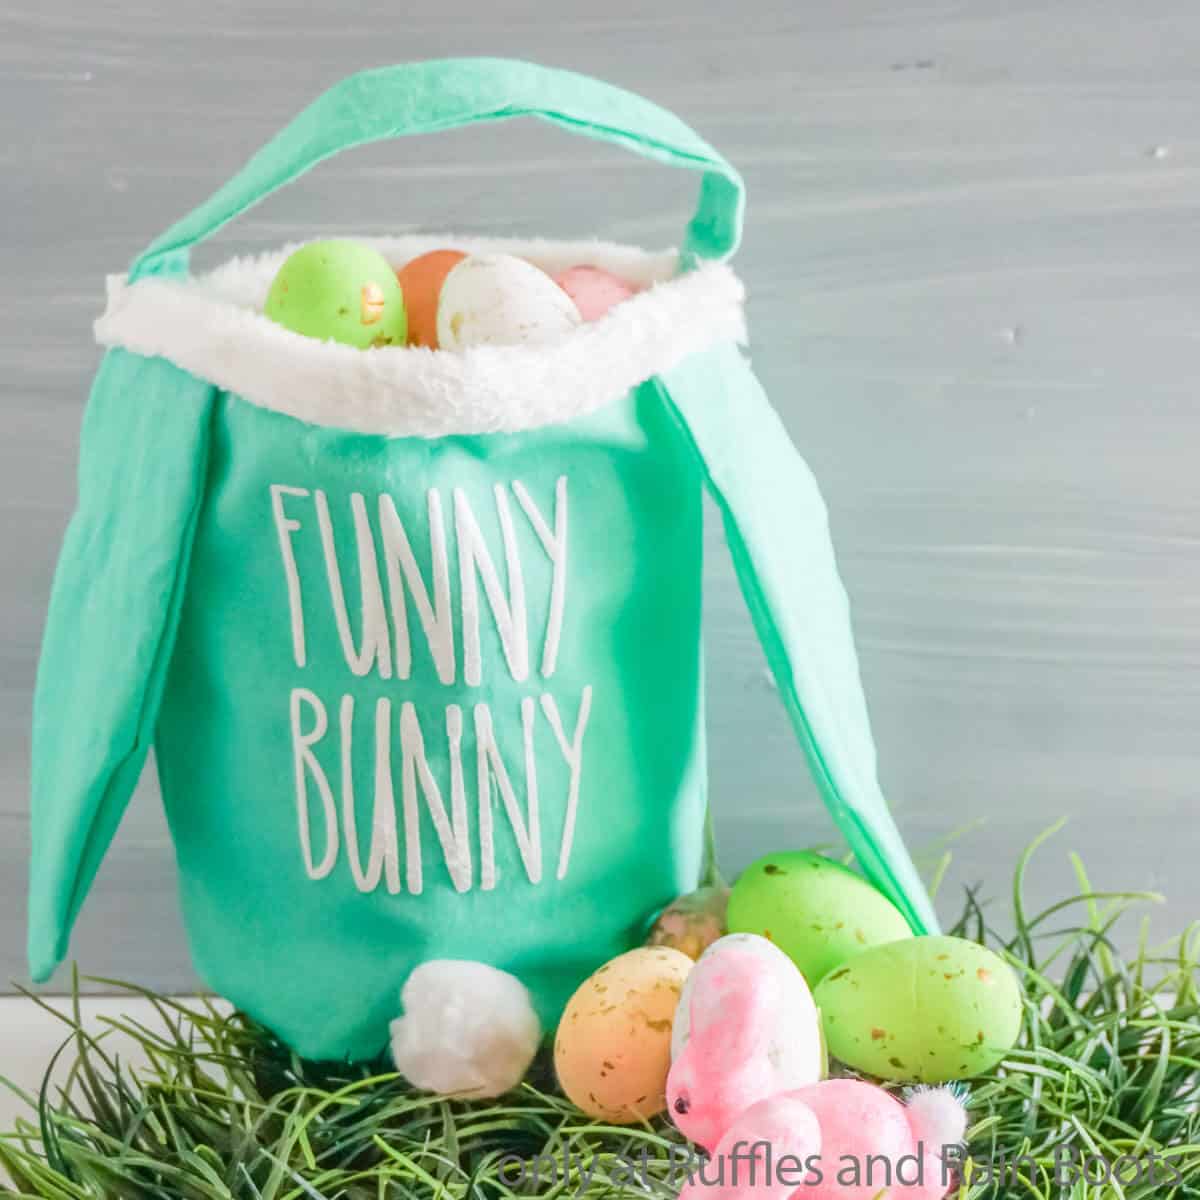
Here at Ruffles and Rain Boots, we love Easter crafts. They’re so bright and airy, inherently fun, and they involve BUNNIES! I love bunnies and their puffy tails, long ears and just the general fluff of them. So when I had this idea for a no-sew Easter basket that had, well, a puffy tail, long ears and general fluff, I just had to get crafting!
RELATED READING: EASY DIY EASTER BUNNY GNOME
It took a surprisingly short amount of time to make this easy DIY Easter basket. And now the kiddo won’t stop swinging it around and singing about her new basket named ‘Fluffy’. If you’re ready to make a DIY Easter basket, let’s get started.
No Time to Make This Now? Pin it for Later
You’re busy, I get it. Pin this to your favorite Easter crafts board on Pinterest and it’ll be here when you’re ready.
As an Amazon Associate, I can earn from qualifying purchases.
Tips to Make this Easter Craft
- First, start by grabbing the no-sew Easter basket cut file set here. You don’t have to cut the elements using a Cricut or Silhouette, you can certainly cut them by hand just by printing out the pattern pieces using the JPG file. But, there are a lot of intricate cuts and I just found it way easier to make this Easter basket with my Cricut.
- Now, I would like to point out that this no-sew Easter basket is NO-SEW. I did that not with hot glue (although I did use a little hot glue), but I decided to try out some no-sew hem adhesive strips I found in my craft drawer. They worked PERFECTLY! I was so impressed, because it had been so long since I used them, I had forgotten how well they work and how fast, too. I can’t wait to use them again on the next project.
- The final “surprise” this project has in store? I used PUFFY heat transfer vinyl like this. So my “funny bunny” is PUFFY! I love it. I can’t get over how fun it is to have puffy lettering!
How Do I Make this No-Sew Easter Basket?
I’m so glad you asked. Below is our written tutorial.
No-Sew Easter Basket
You can make this no-sew Easter basket in your favorite colors, giving it your own personal twist - but it's all made with these easy cut files for Cricut or Silhouette!
Materials
- 1/4 yard Cotton Fabric, teal for exterior
- Small Amount Puff Heat Transfer Vinyl
- 1/4 yard Cotton Fabric, white for liner inside
- Scraps White Sherpa Fabric
- 1 1-inch Pom Pom
- Iron-On Adhesive Hem Strip
- Cut File Set
Tools
- Cricut or Silhouette with Fabric Cutting Blade
- Light Grip Cutting Mat
- Scissors
- Hot Glue Gun & Glue
- Iron
- Pins, optional
Instructions
- Download the cut file set and upload them to Cricut Design Space. Follow the prompts to prepare each of the cuts. From the teal fabric, cut: 1 large circle base piece, 2 large rectangle pieces, 4 ear shapes, and 2 long/skinny rectangle pieces for the handle. From the white fabric, cut: 1 small circle base piece and 2 medium rectangle pieces. From the puff heat transfer vinyl, cut: 1 set of "Funny Bunny".
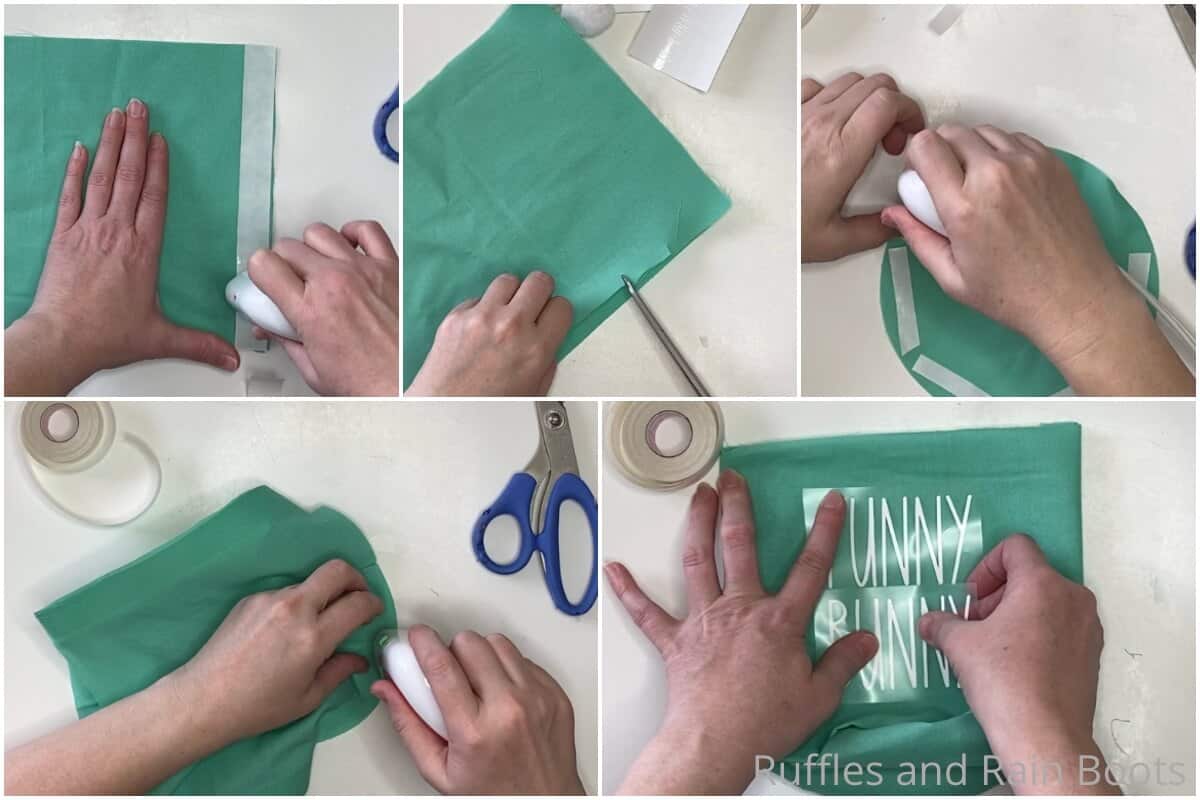
- When the pieces are all cut, place a piece of iron-on adhesive hem strip along one short edge, on the right-side, of one of the large teal rectangle pieces. Use your iron to activate the adhesive strip and allow to cool. Repeat applying another adhesive strip to the opposite short-edge of the rectangle. Once cool, remove the paper backing from the adhesive.
- Place the second large teal rectangle piece on top of the first, lining up the edges, right-side to right-side. Use the iron to activate the adhesive strip and allow to cool. This will create a tube.
- Once cooled completely, cut tabs into the bottom side (either long side, it doesn't matter which) at about 1-inch intervals. Flip the tabs outward and set aside.
- Apply 2-3 -inch sections of adhesive strip to the outer edge of the right-side of the teal base circle piece. Use your iron to activate the adhesive strip and allow to cool. Once it's cool, remove the paper backing from the adhesive.
- Fit the teal tube on the base circle piece, turning the tabs outward to facilitate the two pieces fitting together. Use the iron to activate the adhesive strip and allow to cool. This will cap the tube on one end, creating the outer portion of the basket.
- Turn the teal outer portion of the basket right-side out, then lay it flat, exposing the center of the basket so you can determine placement of the "funny bunny" wording. Weed the "funny bunny" lettering and place on the center of the basket. Use your iron to apply the vinyl to the front of the basket. Allow the vinyl to cool completely, then remove the transfer sheet and discard. Set aside the OUTER portion of the basket.

- Make the ears by cutting down the center of a long section of hem adhesive to create a thinner strip. Place 2-3 -inch sections of this thinner a iron-on adhesive hem strips along one long edge, on the right-side, of one of the teal bunny ear pieces. Use your iron to activate the adhesive strip and allow to cool. Repeat applying another adhesive strip to the opposite long-edge of the bunny shape. Once cool, remove the paper backing from the adhesive.
- Place the second teal bunny ear piece on top of the first, lining up the edges, right-side to right-side. Use the iron to activate the adhesive strip and allow to cool. Turn your bunny ear right-side out and iron the hem edges to neaten the bunny ear edges. Repeat with the other two ear shapes to create two bunny ears. Set aside.
- Place a piece of iron-on adhesive hem strip along one short edge, on the right-side, of one of the medium white rectangle pieces. Use your iron to activate the adhesive strip and allow to cool. Repeat applying another adhesive strip to the opposite short-edge of the rectangle. Once cool, remove the paper backing from the adhesive.
- Place the second medium white rectangle piece on top of the first, lining up the edges, right-side to right-side. Use the iron to activate the adhesive strip and allow to cool. This will create a tube.
- Once cooled completely, cut tabs into the bottom side (either long side, it doesn't matter which) at about 1-inch intervals. Flip the tabs outward and set aside.
- Apply 2-3 -inch sections of adhesive strip to the outer edge of the right-side of the white base circle piece. Use your iron to activate the adhesive strip and allow to cool. Once it's cool, remove the paper backing from the adhesive.
- Fit the white tube on the base circle piece, turning the tabs outward to facilitate the two pieces fitting together. Use the iron to activate the adhesive strip and allow to cool. This will cap the tube on one end, creating the INNER portion of the basket.
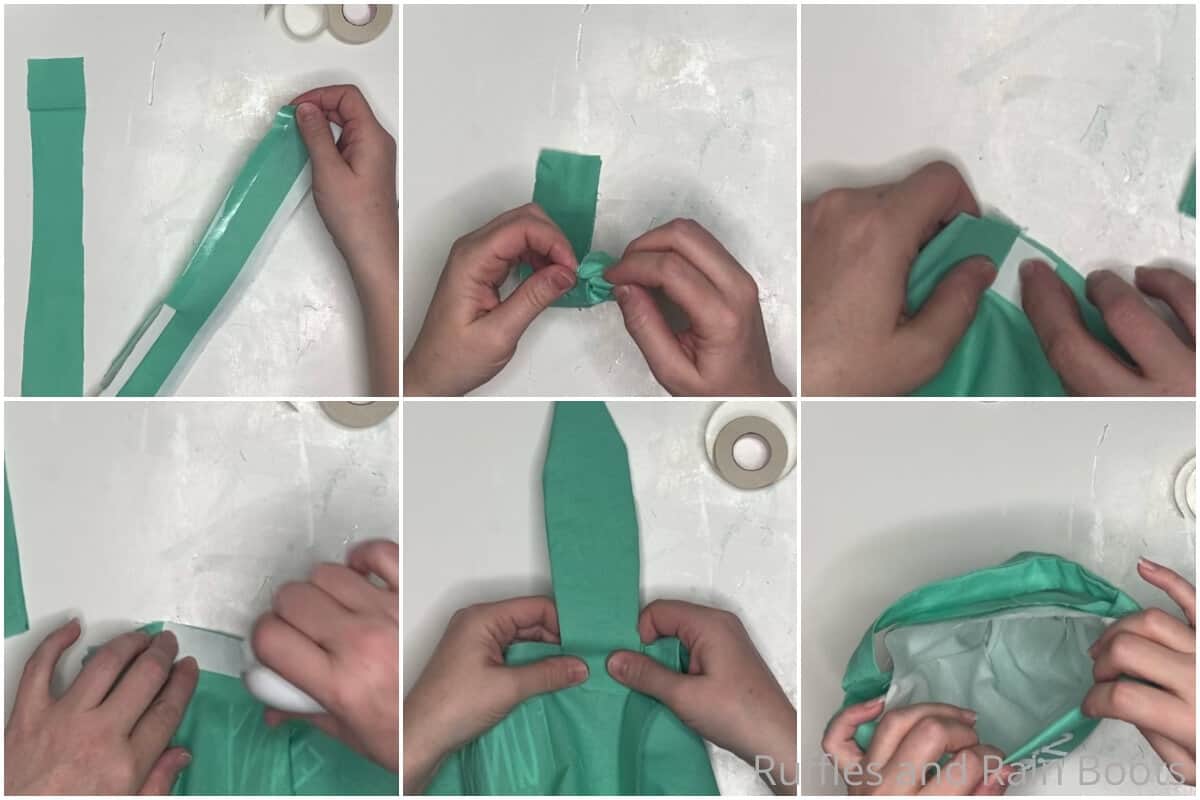
- Make the handle by placing a piece of iron-on adhesive hem strip along one long edge, on the right-side, of one of the small teal rectangle pieces. Use your iron to activate the adhesive strip and allow to cool. Repeat applying another adhesive strip to the opposite long-edge of the rectangle. Once cool, remove the paper backing from the adhesive.
- Place the second small teal rectangle piece on top of the first, lining up the edges, right-side to right-side. Use the iron to activate the adhesive strip and allow to cool. This will create a tube. Once cooled completely, turn the tube right-side out and iron it flat.
- Cut a 1-inch wide section of adhesive hem strip and place it on the wrong-side of the OUTER portion of the basket (the teal portion) at the hemline where the two halves of the basket come together along the top edge of the basket. Use the iron to activate the adhesive strip and allow to cool, then remove the paper backing. Place one end of the handle on top of this adhesive strip and use the iron to activate the adhesive strip again. Allow the glue to cool completely, then repeat to attach the other side of the handle to the other side of the basket.
- Cut a 2-inch wide section of adhesive hem strip and place it on the wrong-side of the OUTER portion of the basket (the teal portion) 1-inch from where the handle is attached, toward the front of the basket (so that the ear can hang over the front of the basket when attached). Use the iron to activate the adhesive strip and allow to cool, then remove the paper backing. Place the open end of an ear shape on top of this adhesive strip and use the iron to activate the adhesive strip again. Allow the glue to cool completely, then repeat to attach the other ear to the other side of the basket.
- Tuck this inner portion of the basket inside the outer portion of the basket. Take care to line up the side hem lines on each side of the basket and the tops of the two baskets as well.
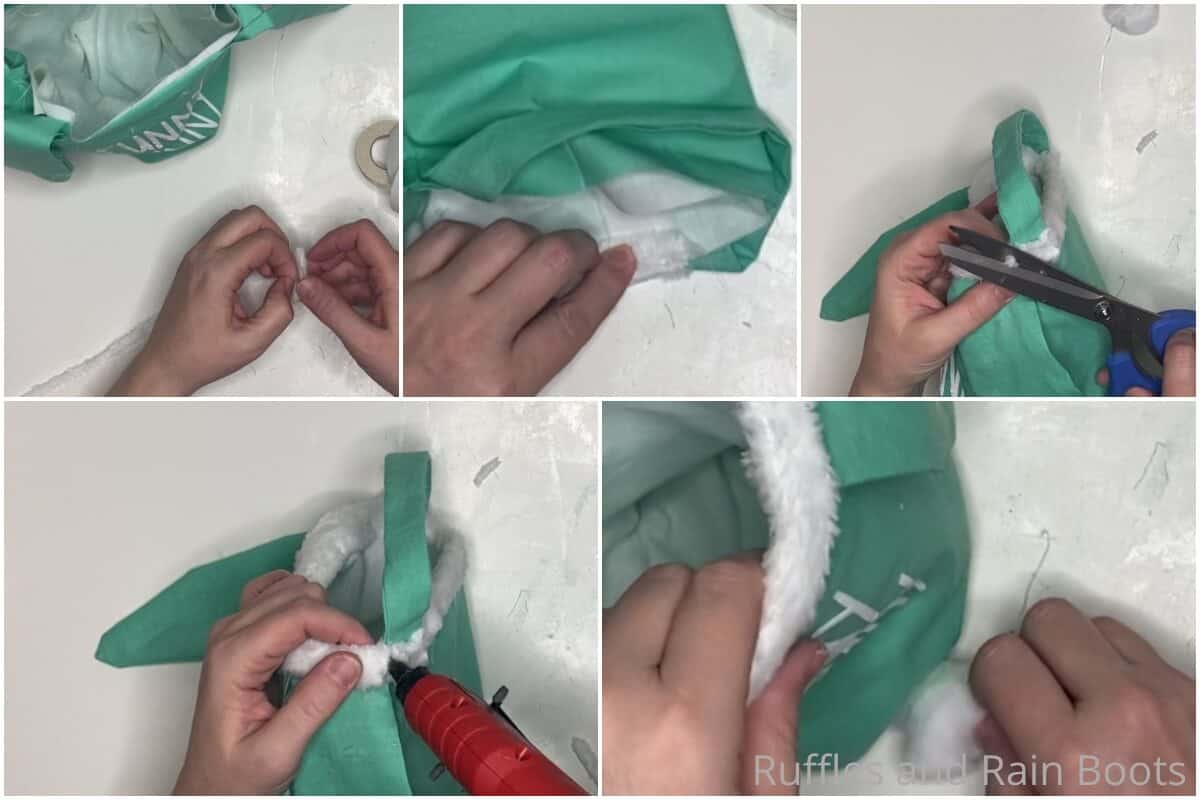
- Cut two 1 1/4-inch wide strips of sherpa fabric about 12-inches long. Place a piece of iron-on adhesive hem strip along the back, on the wrong-side, of this sherpa fabric strip. Use your iron to activate the adhesive strip and allow to cool. Once cool, remove the paper backing from the adhesive.
- Wrap the sherpa fabric strip around the exposed cut edge of the easter basket to close the open edge and create an edging. You may have to trim the length to compensate for the roundness of the top. Do not overlap with the handle, but do overlap the ears. Use the iron on both sides of the sherpa fabric strip to activate the adhesive hem again. Repeat until the entire top lip of the basket is covered with the exception of the handle area.
- Cut two 1-inch long, 1 1/4-inch wide strip of sherpa fabric. Hot glue each of these strips on the outside of the basket where the handle attachments are located to complete the top of the basket.
- Hot glue the pom pom to the bottom of the basket in the center, below the lettering and enjoy!

Notes
For more fun Easter crafts, visit Ruffles and Rain Boots!
Recommended Products
As an Amazon Associate and member of other affiliate programs, I earn from qualifying purchases.

More Easter Crafts You Might Like
- Bunny in a Pot Craft – They’re SUPER easy, cute and fun, and these itty bitty bunny bottoms sticking out of tiny pots are the silliest!
- Free and Fun Easter Cut Files – So many fun and easy crafts you can make with these awesome cut files that are so cute!
- Bunny Butt Hot Cocoa Bombs – I may have to admit that I am seriously in love with itty bitty bunny bottoms. And these hot cocoa bombs scream bunny butt!
Please Save This to Pinterest
Your shares are how this site grows and I am sincerely grateful. Know a friend who’d like this? Please share it on Facebook or save it to your favorite no-sew crafts board on Pinterest.
Meet the Creator
Hi there, I’m Sarah Nenni-Daher. I’m a crafty gal and always have at least 14 projects going at once. I am a crafter, designer, DIYer, and pattern maker. I share my creations here and in the Ruffles and Rain Boots® Shop.
Here at Ruffles and Rain Boots®, you’ll find DIY gnomes, crafts, gifts, cupcakes, laser crafts, and so much more. I love sharing video tutorials over on YouTube and chatting with other crafters in my Facebook groups. We’d love to have you!