
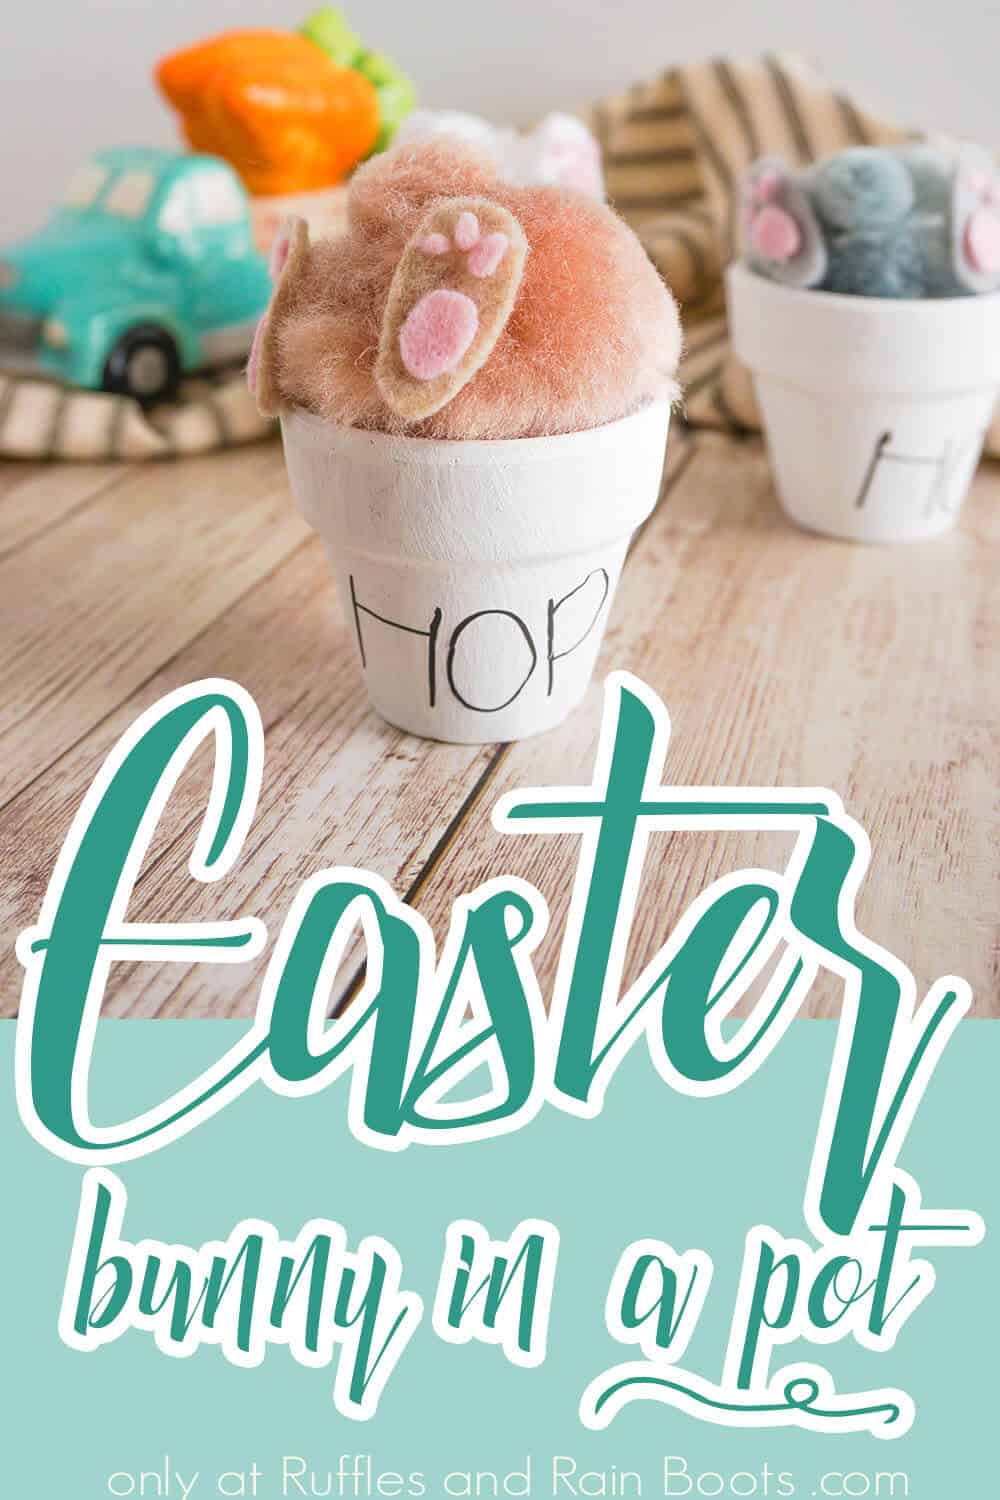
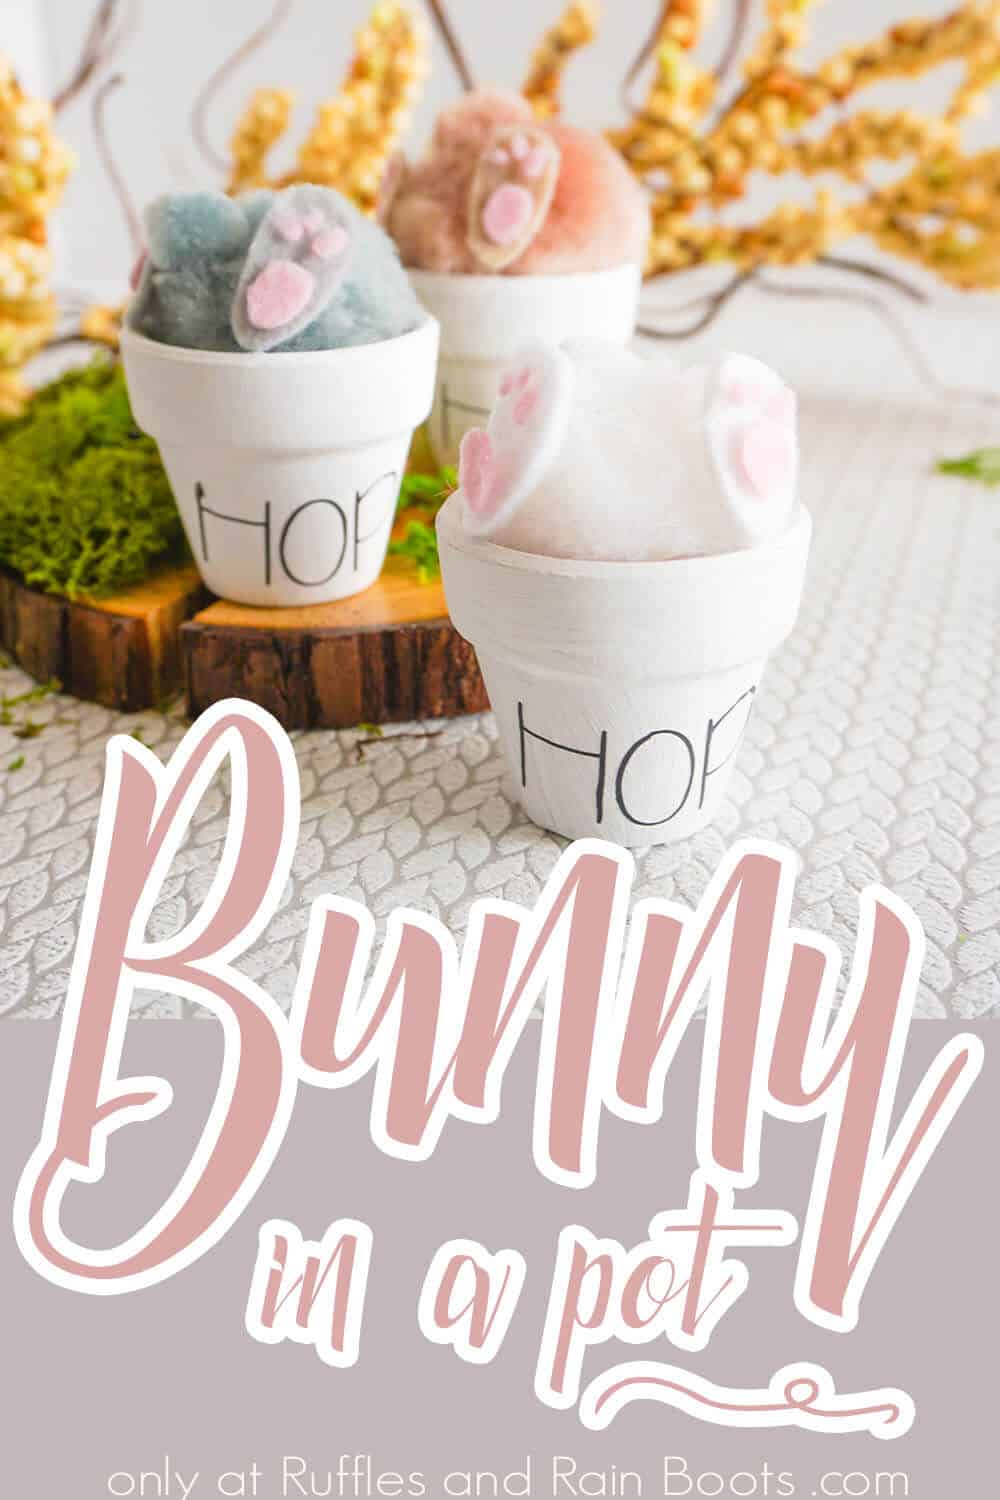
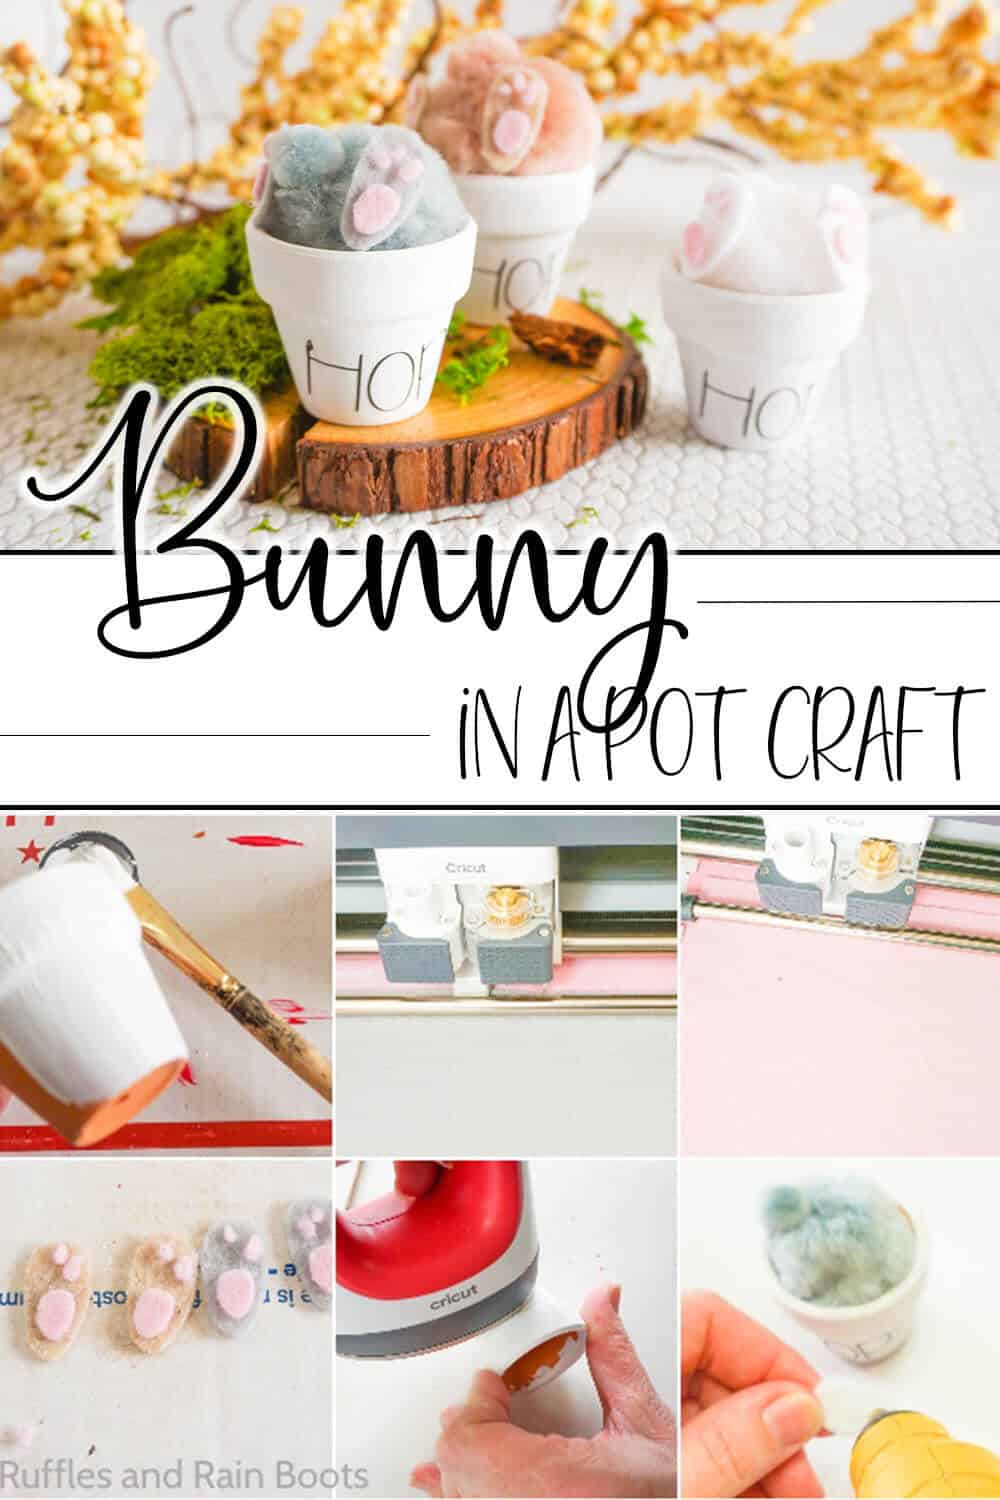
This Bunny Butt Craft is the Cutest, Quickest Easter Craft
This insanely adorable bunny in a pot craft is so fun and quick to make, you could literally have a whole warren of adorable bunnies digging in pots in just a few minutes. I used Dollar Tree and craft store items, as well as my cutting machine and heat press to make these but you can use anything you have on hand.
What You'll Find On This Page
Bunny in a Pot Craft
Here at Ruffles and Rain Boots, I need a quick craft to take my daughter’s mind off a wild storm we were having. the right little thing to make our farmhouse decor really pop–especially for the holidays. I typed in a few materials I had on hand and these cute little bunnies in a pot from Southern in Law popped-up!
I just knew what we would be making after seeing them but didn’t have everything she used. With the storm, I didn’t want to run to the store so I gave my clay pot bunny my own little twist.
RELATED READING: FARMHOUSE EASTER EGG DECORATING IDEAS
We made a few of them and I had the idea to use this in my Easter tray and added a Rae Dunn look to the pot. Since I was turning on the Cricut to cut the lettering, I figured I might as well turn the whole thing into a Cricut project for Easter. Let’s get started.
No Time to Make This Now? Save or Share It for Later
If you need to gather up supplies, save this to your favorite Easter crafts pin board or share it on Facebook. It will be easy to find when you’re ready to start crafting.
As an Amazon Associate, I can earn from qualifying purchases. There could be affiliate links within this article.
Tips to Make a Clay Pot Bunny
- First, click here to grab the free cut files for this adorable clay pot bunny craft.
- If using vinyl, let the paint on the clay pots dry completely before applying the vinyl If the paint isn’t completely dried, it makes the paint kind of yellow where the heat touches.
- Remember to MIRROR the image if you’re using HTV. If you opt for permanent, do NOT mirror the image in your design software.
- The cuts for the toes are very tiny, so be really careful with your hot glue. I even used tweezers at one point to make sure that I wasn’t going to burn my fingers.
- I had a very limited selection of pom poms and I was kind of frustrated at one point because I lost the ONLY little tiny white pom pom I had. Frustration was boiling over and then the little one had a great idea: trim one of the bigger pom poms down to make a tiny one (it worked).
How Do I Make This Bunny in a Pot Craft?
Below is the written and printable tutorial. If you have questions on using the design files or anything else, please use the comment section below. As always, I would love it if you shared this craft with me – just give me tag.
Bunny in a Pot Craft

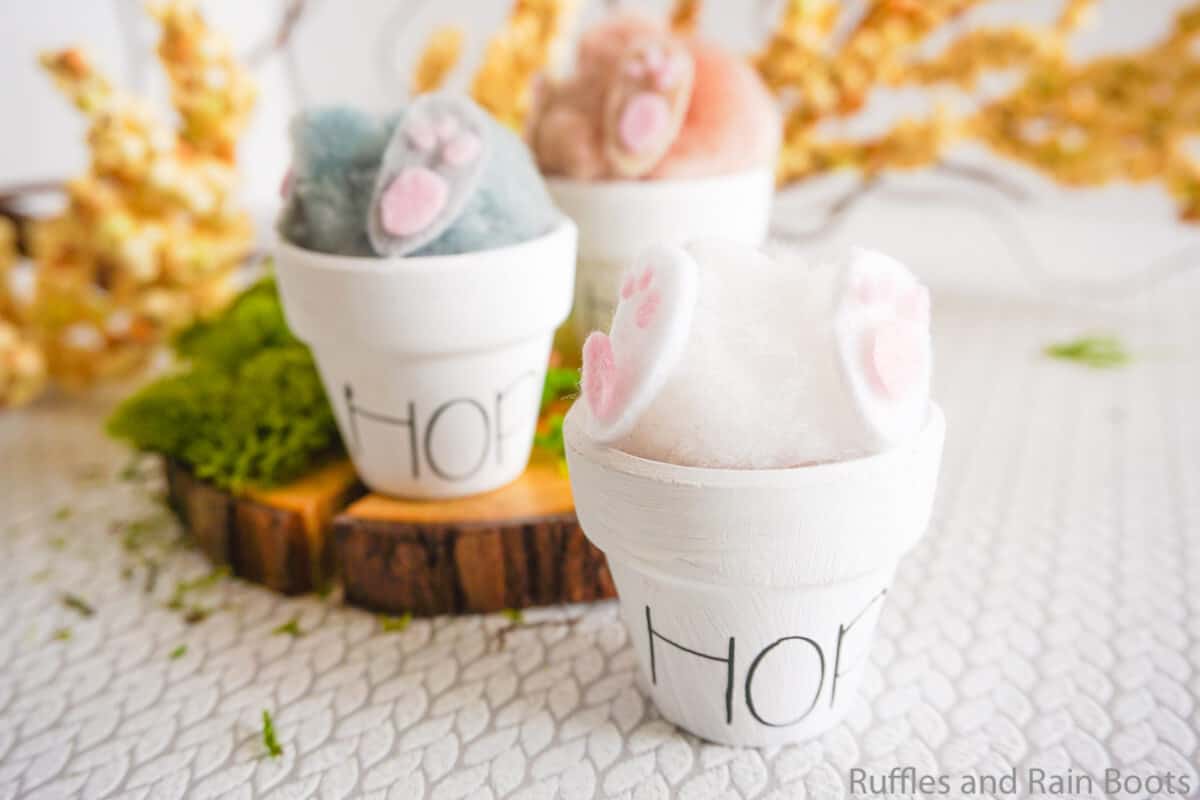
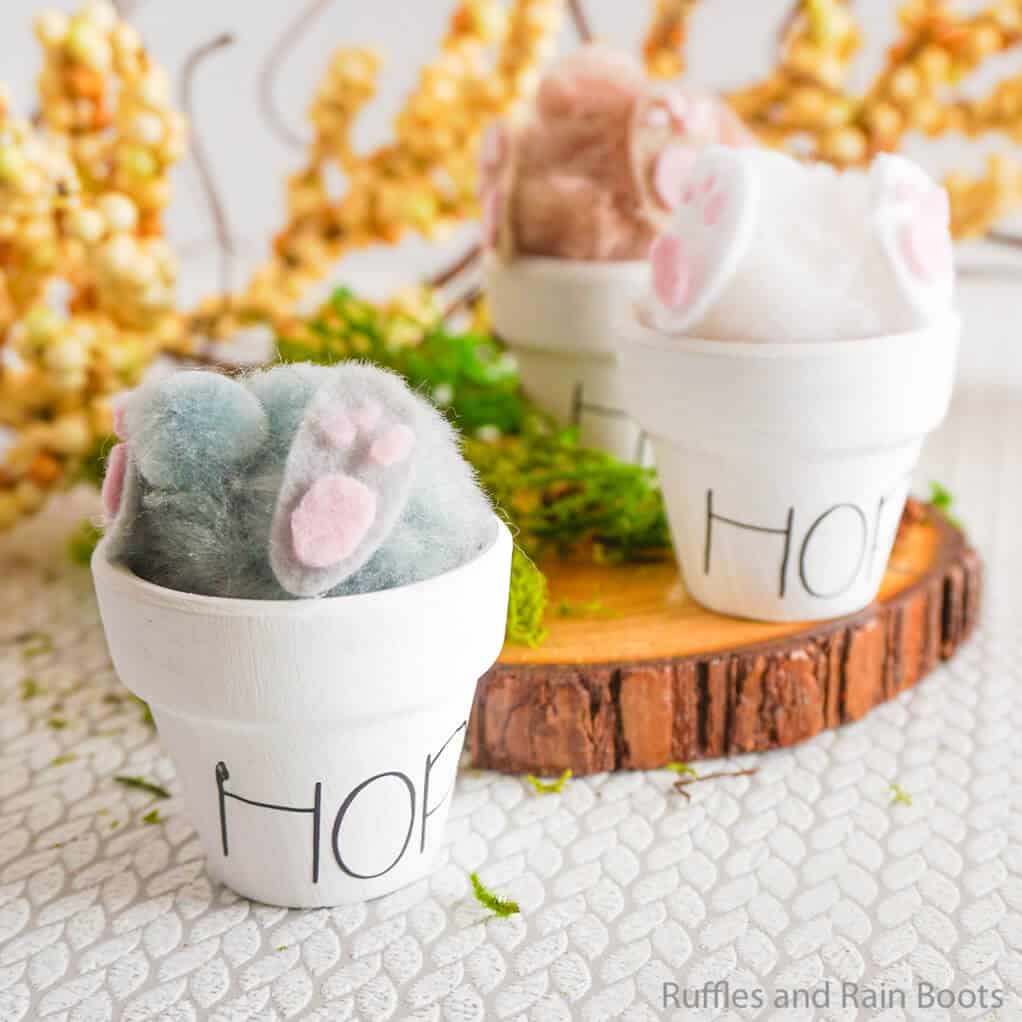
You're not going to find a more perfect farmhouse easter craft than this adorable bunny in a pot craft. It's so fun and simple, you definitely need to make a clay pot bunny--or ten!
Materials
- Three Tiny Terracotta Pots
- 3 Medium-Sized Pom Poms (brown, grey and white)
- 3 Tiny-Sized Pom Poms ( brown, grey and white)
- Craft Felt to Match Pom Poms and Pink for Toes
- Black Heat Transfer Vinyl
- White Acrylic Craft Paint
Tools
- Cricut Cutting Machine
- Cricut EasyPress Mini
- Hot Glue Gun & Glue
- Paintbrush
Instructions
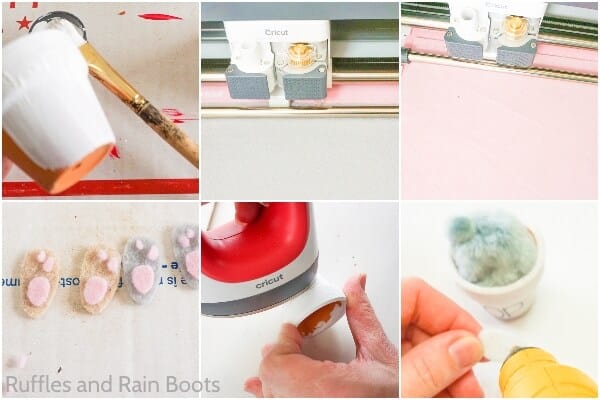
- Paint the terra cotta pots and allow them to dry completely.
- Upload the cut file to Cricut Design Space and size the “HOP” text and bunny foot fit your terra cotta pots (I used a 1-inch height on “HOP” text and ½-inch height on the foot). Be sure to attach the lettering so you don’t have to deal with all the separate letters.
- Copy the “HOP” text twice to make 3 “HOP”s. Also, copy the bunny foot 5 times to make 6 bunny feet. To cut the different color felt to match the different colored pom poms, adjust the colors of the feet pairs in Design Space to match.
- Go through the steps in Cricut Design Space to “Make It”.
- Load and cut your material to cut the felt feet and toes, as well as the “HOP” text. Be sure to mirror the text, since we’re using HTV.
- Weed each of the designs.
- Use an iron or your EasyPress Mini to apply the “HOP” onto to the front of each terra cotta pot.
- Put together each of the the bunny feet by hot gluing the toes and foot pad to each foot.
- With the hot glue gun, glue a larger pom pom in the top of a terra cotta pot.
- Affix a tiny pom pom with glue on top of the larger pom pom for a tail.
- Hot glue the bunny feet onto the side of the large pom pom below the tails and enjoy!

Notes
For more fun easter crafts, visit Ruffles and Rain Boots!
More Easter Crafts You Might Like
- Adorable Easter Egg Chick Craft – This is seriously a fun craft to do with the kids–and you get a whole flock of baby easter chicks for the big hunt!
- DIY Dollar Tree Bunny Coaster – These are downright cute and so easy. Raid. your stash or hit up everyone’s favorite craft store and make these on a rainy day.
- Easter Gnome Bunny DIY Project – I adore this gnome, he’s so cute and I can’t wait to put him out for my easter farmhouse decor this year!
- Woodland Animal Easter Egg Decorating Tutorial – I can’t get over the cuteness factor of this amazingly adorable set of woodland animal easter eggs.
Please Save or Share This
Your shares are how this site grows and I am sincerely grateful. Please share this to a fun and crafty Facebook group or save it to your favorite Easter crafts pin board.

These are so adorable! They will make great basket stuffers for Easter this year. Thank you for sharing.