
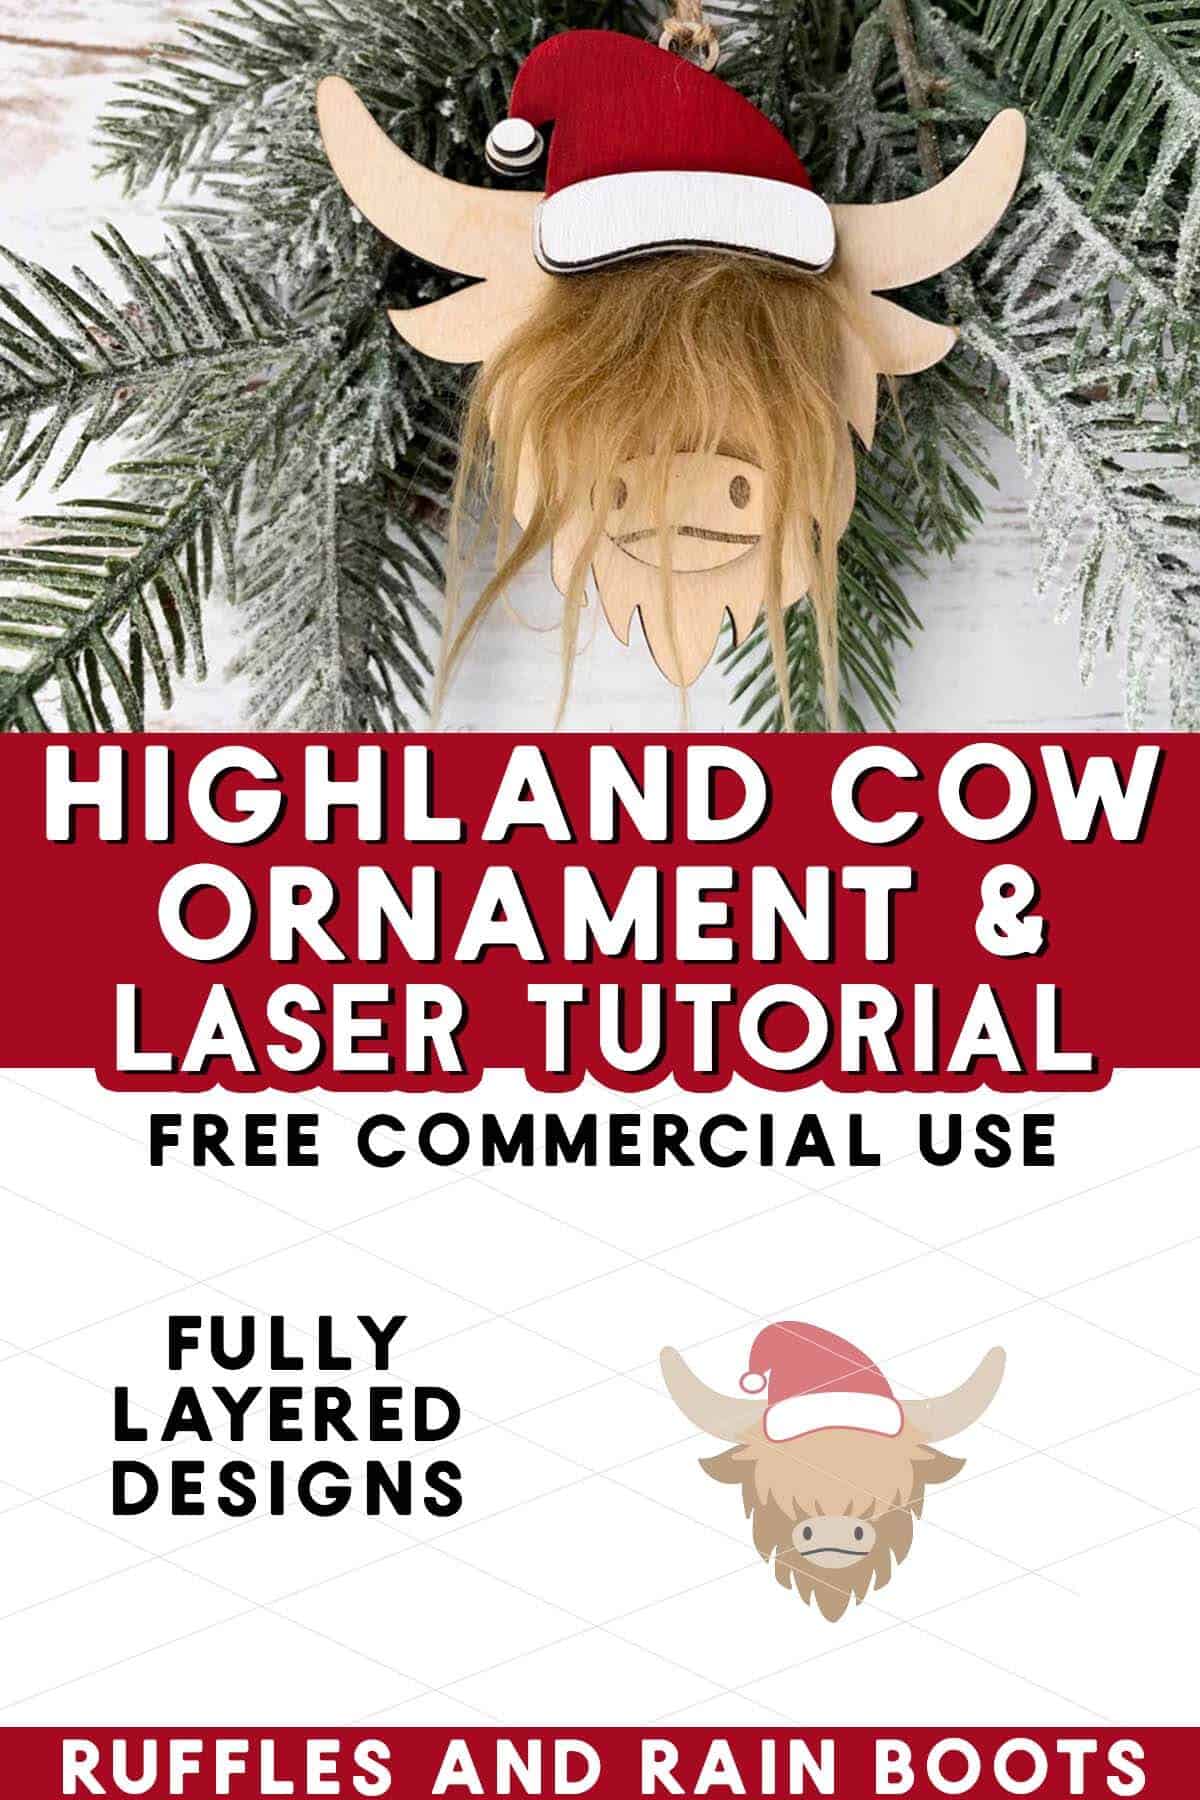
DIY Highland Cow Ornament and SVG
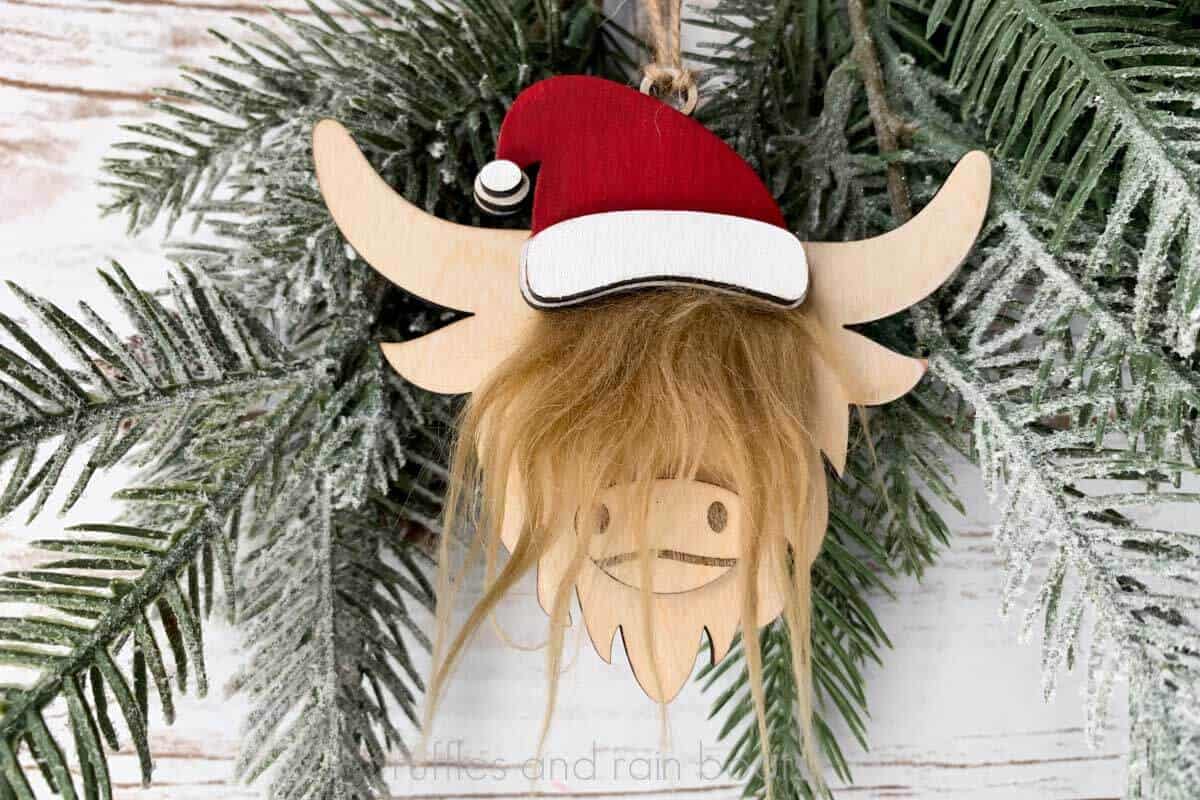
You can make this adorable Christmas cow ornament with faux fur using my highland cow ornament SVG. He’s wearing a Santa hat and has so much dimension with the fur!
This beginner laser project idea is perfect for those learning to use the xTool M1 or Glowforge Aura. Gather up some basswood plywood, paint, and a scrap of fur to get started.
RELATED READING: Highland Cow Door Sign DIY
As an Amazon Associate, I could earn from qualifying purchases. There could be affiliate links in this article.
What You'll Find On This Page
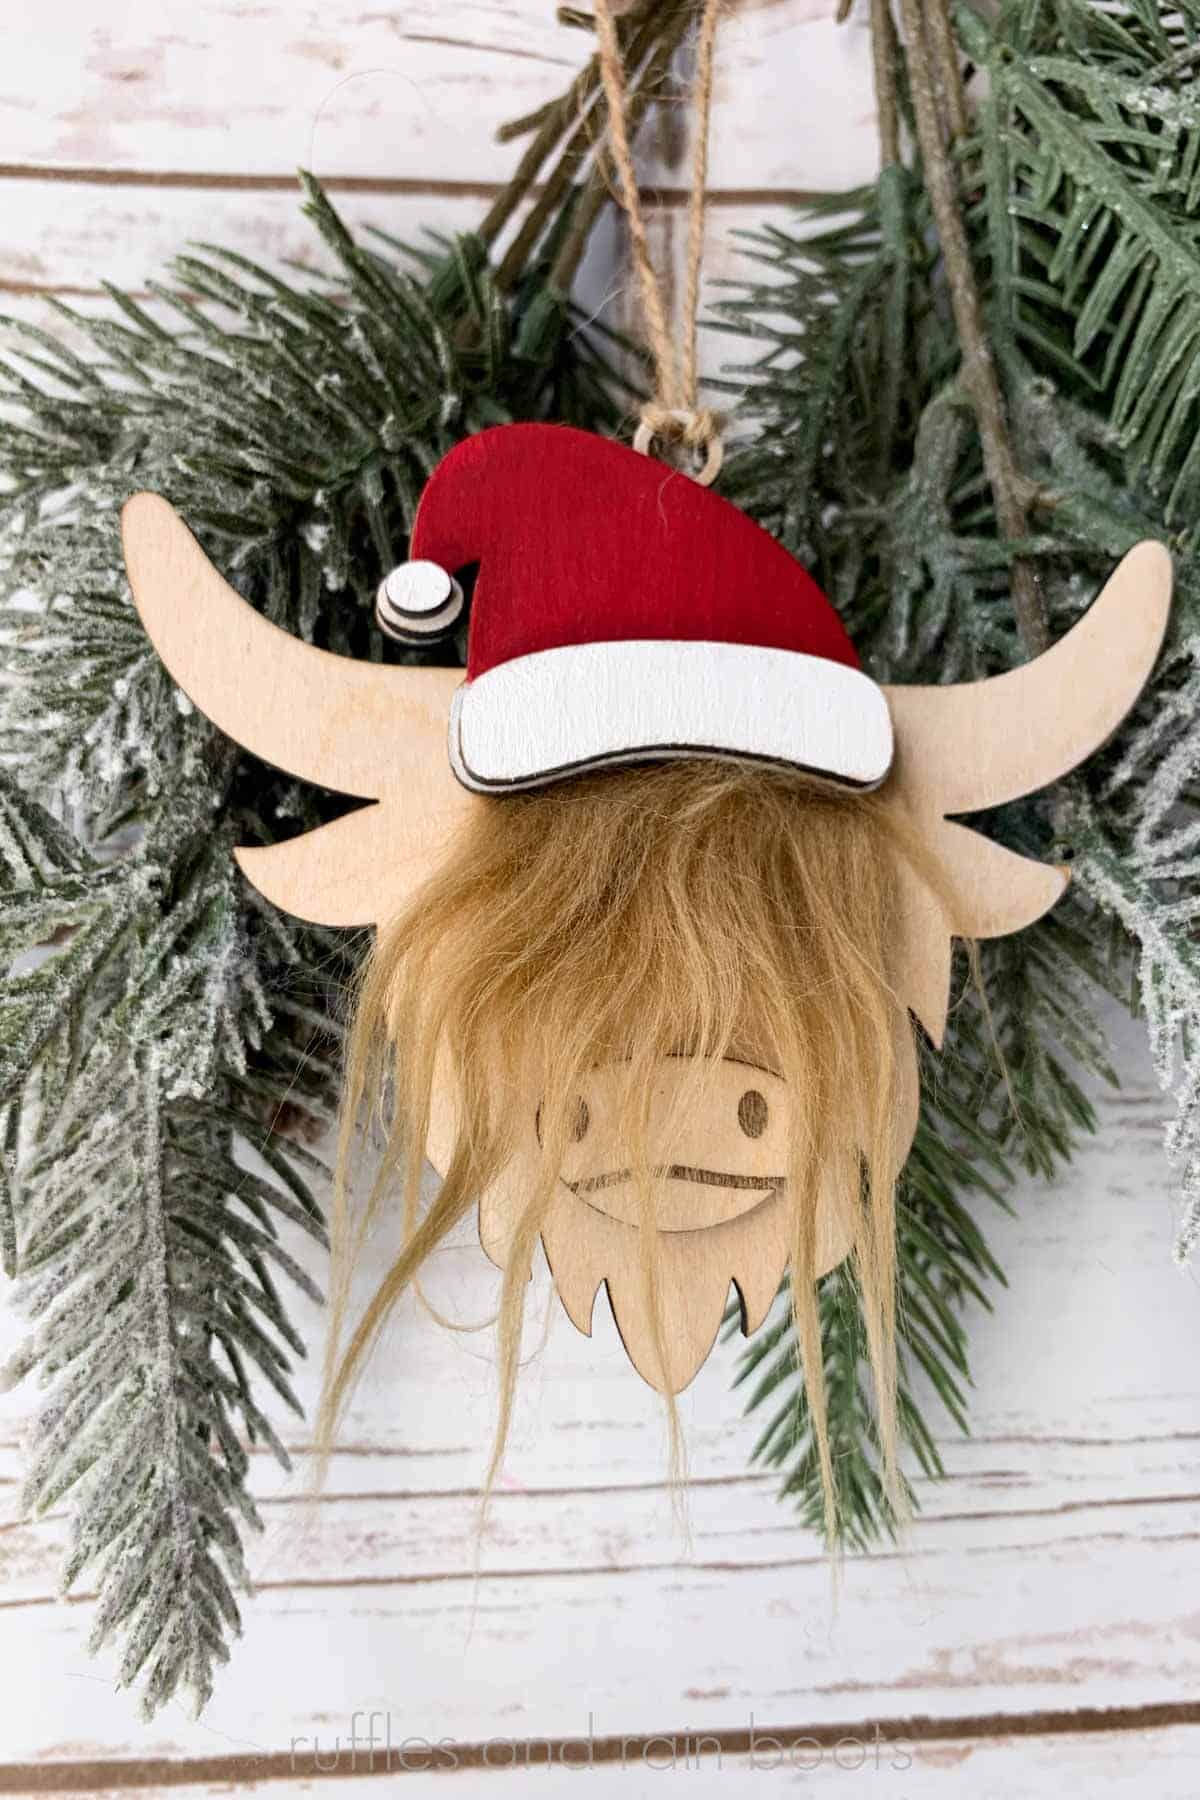
DIY Highland Cow Ornament with Faux Fur
Here at Ruffles and Rain Boots, I’ve been creating SVG files for Cricut, Silhouette, and hand crafters for years. Today, I created the cutest little fuzzy cow in a Santa hat and had to make something with him using my xTool M1 laser and blade cutting machine.
And if you don’t have a laser (or the really cool laser and blade combo), don’t worry! You can use this highland cow SVG with a Cricut, Silhouette, Brother, or any other cutting machine. You can also use the PNG version of this design and cut it out from paper or thin balsa wood by hand.
If you are loving this fuzzy cow ornament but can’t get started on it right now, please save it to a DIY Christmas ornament pin board or share it on Facebook. Either way will make it easy to find when you’re ready to begin.
RELATED READING: Adorable Highland Cow Made with a Pool Noodle!
Laser Cut Highland Cow Ornament
For those new to lasers, hi – I’m new to lasers, too. As a designer, I’ve had my files used for lasers for years but I’ve only started laser cutting this year. If you’re new, know that you can absolutely make this!
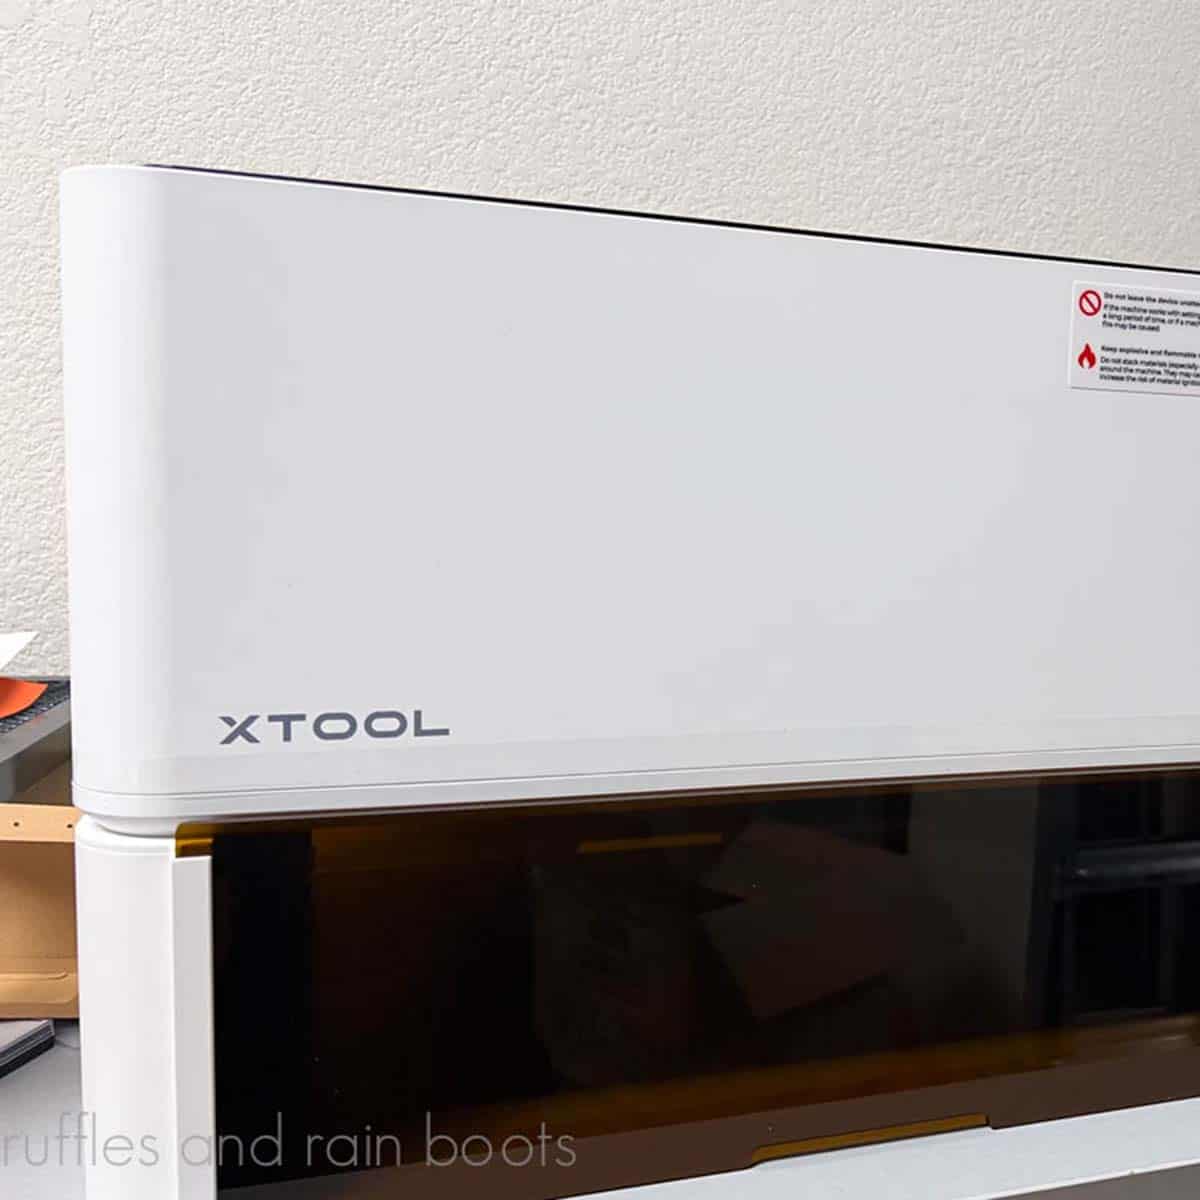
If you have any xTool laser (I’ll be using the xTool M1 for this project), you can import the XCS file included in the download below. If you have a Glowforge, Thunder, or any other type of laser, use the SVG and follow the steps in the video tutorial to get only the layers you need.
RELATED READING: Is the xTool M1 Laser the Best for Crafters?
What Laser Should You Get?
I own three types of lasers right now: CO2, diode, and fiber (infrared). Below are summaries of each and suggestions on materials. If you have questions, please ask! Not all lasers are right for those looking to start a business or side hustle. If that’s you, choose the P2 or the S1.
- xTool P Series – A fully-enclosed CO2 laser, perfect for cutting acrylic and wood. This is an unrestricted laser when it comes to acrylic, wood, slate, etc. and it’s my top choice.
- xTool S1 – The option I have is a 40 watt diode laser which cuts some acrylic, wood and does amazing engravings. This laser has some acrylic restrictions (no clear, mirror, translucent; primarily opaque) but powers through wood.
- xTool M1 ULTRA – The updated version of the ground-breaking xTool M1 shows up to the party with a printer (can print on wood), a laser, a set of blades, foil, and embossing, as well as a pen tool. Great for crafters!
- xTool F2 – This dual laser is portable! It’s the best-selling, landmark setting laser that contains a diode and an infrared laser. It’s perfect to take to shows, markets, and events.
- WeCreat Vista – This is a fun tool to have if you’d like to work primarily with tumblers or wood. The patented FlipLaser design turns the laser head 90 degrees, allowing you a great tumbler engraving experience.
Highland Cow Christmas Ornament Video Tutorial
If you’re a visual learner, I have created a step by step video to walk you through the process of making this adorable laser cut Christmas highland cow ornament. I even show you how to cut faux fur the right way!
While you’re there watching, be sure to subscribe. We have a lot of fun on the channel and I like to keep my videos quick and concise.

How to Make This Laser Cut Ornament Idea
Below are the written step by step instructions with images to guide you. If you prefer to follow the directions without images, scroll down and print off the written tutorial.
How to Use an SVG in XCS Software
First, create a new canvas, select import, and upload the highland cow in a Santa hat SVG file. Make sure everything is selected and size the piece to 4.5 inches.
Remove excess pieces (as shown in the video tutorial – horns, hair, and face only). Select cut items and set the nostrils and smile to engrave.

Create a circle at .4 inches and another at .25. Select both circles, center the circles both horizontally and vertically and select Combine > Subtract.
Position the ornament hanger you created from the circles just right of the center of the silhouette piece (the horn and head piece) and select Combine > Unite.

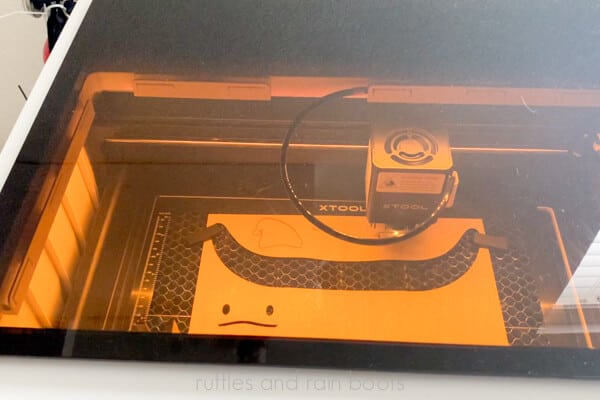
Turn on the xTool M1 laser and blade cutter and position the basswood in so the laser dot is on the material. Pin down and close the lid to get a picture of the workspace. Move the pieces onto the basswood play.
Select the mode (open plane if using the honeycomb; prisms if using the base) and then select 3mm basswood from the materials drop down.

Auto-measure and set cut pieces and engrave pieces to Output. Make sure they are positioned onto the wood. Frame the selection.
Process the job (mine took about 4.5 minutes) and wipe down the outside of all pieces with a dry microfiber cloth. Sand anything with charring and wipe clean.
How to Assemble the Highland Cow Ornaments with Faux Fur
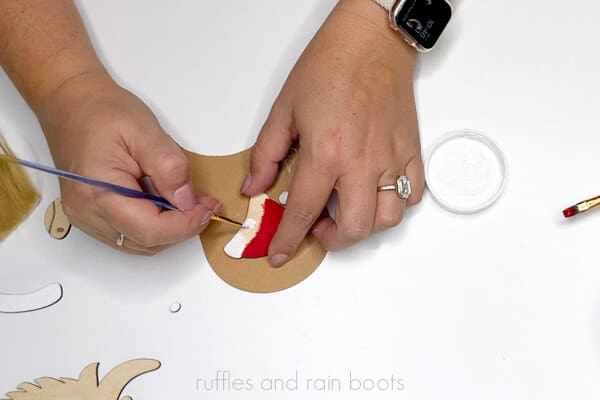
Use the paintbrush to paint the hat pieces red and white. Set aside to dry or use a heat gun to set.
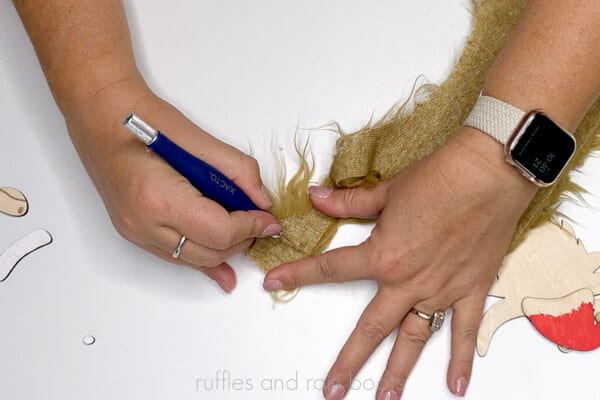
Use the X-Acto knife to cut the fur backing only into a piece of faux fur 1.5 inches wide by .5 inches tall. Set aside.
Go outside and spray the on all the pieces following the directions.
Use super glue to adhere the front of the faux fur piece to the back of the painted hat silhouette. Put wood glue and super glue on the hat piece with the fur and press in place onto the horn / head silhouette piece. Clamp, if desired.
Alternate wood glue and super glue with all wood pieces. Do not overlap the glue.

Add a piece of twine for a hanger and the highland cow ornament is done!

More Laser Crafts You Might Like
- Highland Cow Door Sign – Use this easy xTool M1 tutorial and highland cow cut file set to make the cutest little farmhouse ready cutie.
- Christmas Bookmarks – If you need a quick M1 laser project, these holiday bookmarks are just the thing to use some scrap wood.
- Christmas Laser Crafts to Make and Sell – Want to earn some money with your laser? Turn to this list and free printable for ideas.
- DIY Wine Charms – This is the perfect beginner laser project and any theme or SVGs can be used to customize them!
Please Save or Share This Fun Christmas Ornament Idea
Your shares are how this site grows and I am sincerely grateful. Please save this to a DIY Christmas ornament pin board or share it with a crafty group on Facebook.
Laser Cut Highland Cow Ornament

Make an adorable highland cow ornament for the tree or create Christmas signs, cards, decor, and gifts. Use this cute highland cow SVG in a Santa hat and the free beginner laser tutorial.
Materials
- 3mm Basswood Plywood (12x12)
- Faux Fur (I used this)
- Paint in White and Red
- Wood Glue
- Super Glue Pen (I love these)
- Twine
Tools
- xTool M1 / M1 Ultra
- Honeycomb and Air Assist, Optional
- Sandpaper, Optional
- Small Paintbrush
- Scissors and X-Acto or Craft Knife
Instructions
How to Use SVG in XCS Software
- Create a new canvas, select import, and upload the highland cow in a Santa hat SVG file.
- Make sure everything is selected and size the piece to 4.5 inches.
- Remove excess pieces (as shown in the video tutorial), select cut items, and set the nostrils and smile to engrave.
- Create a circle at .4 inches and another at .25. Select both circles, center the circles both horizontally and vertically and select Combine > Subtract.
- Position the ornament hanger just right of the center of the silhouette piece (the horn and head piece) and select Combine > Unite.
- Turn on the xTool M1 and position the basswood in so the laser dot is on the material. Pin down and close the lid to get a picture of the workspace.
- Select the mode (open plane if using the honeycomb; prisms if using the base) and then select 3mm basswood from the materials drop down.
- Auto-measure and set cut pieces and engrave pieces to Output. Position them onto the wood and frame.
- Process the job (mine took about 4.5 minutes). and wipe down the outside of all pieces with a dry microfiber cloth. Sand anything with charring and wipe clean.
How to Assemble the Highland Cow Ornaments with Faux Fur
- Use the paintbrush to paint the hat pieces and set aside to dry or use a heat gun to set.
- Cut a piece of faux fur 1.5 inches wide by .5 inches tall. Set aside.
- Use the spray sealant, following the directions to seal all pieces before assembling.
- Use super glue to adhere the front of the faux fur piece to the back of the painted hat silhouette. Put wood glue and super glue on the hat piece with the fur and press in place onto the horn / head silhouette piece. Clamp, if desired.
- Alternate wood glue and super glue with all wood pieces.
- Add a piece of twine for a hanger and the highland cow ornament is done!

Hi Sarah,
I’m 81 and would love to make your laser cut ornaments BUT I don’t have the machine to do the cutting and honestly not able to. My question—-do you have precut pieces for this funny little cow?
Oh, I don’t have them, Frances, I’m sorry. I was looking into selling a kit because others have asked but it won’t be until the New Year.