
Halloween Laser Cut Ghost Sign
Make this fun Halloween laser cut ghost sign using basic materials and some paint. This fun beginner laser project idea is great for a quick cut laser craft and a fun painting project.
RELATED READING: Patriotic Door Tags – A Modern 4th of July Laser Craft
What You'll Find On This Page
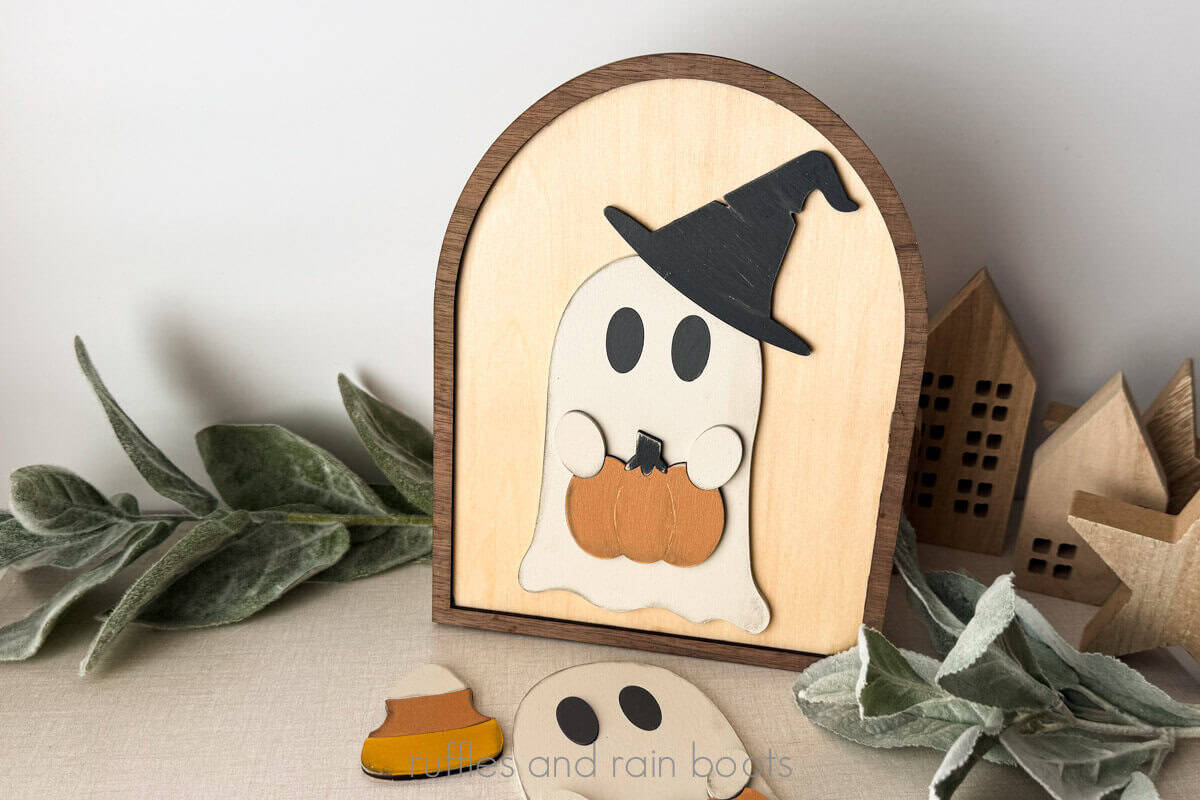
Laser Cut Ghost Shelf Sitter
Here at Ruffles and Rain Boots, I’ve been yearning for the cooler days of Fall. Here in the South, however, mother nature has had other plans. While we’re pining for an Autumn breeze, I have been making a few laser files to ring in the new season.
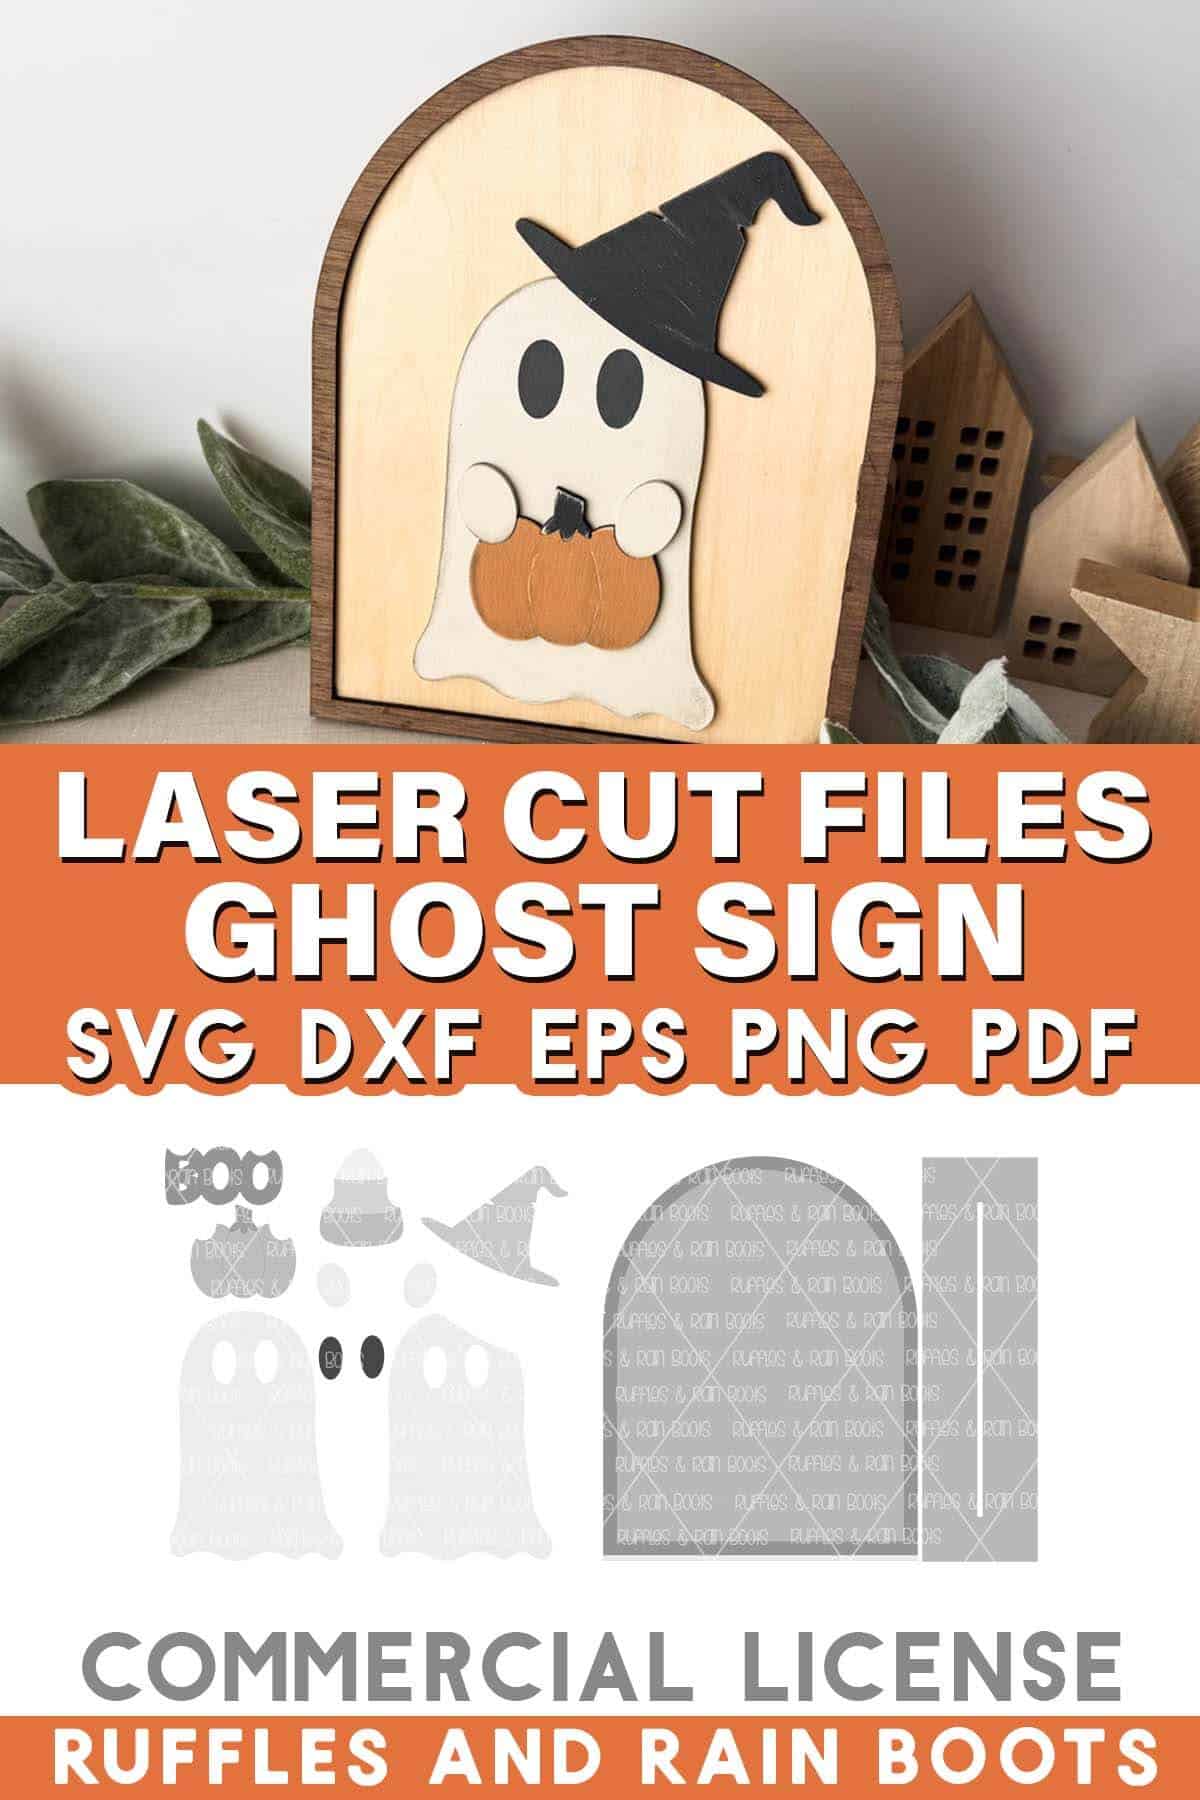
Today I’m sharing a FULL SET that can be used as a door sign, a wreath adornment, or even a shelf sitter. As always, it comes with a commercial license for those who sell. Inside the file are:
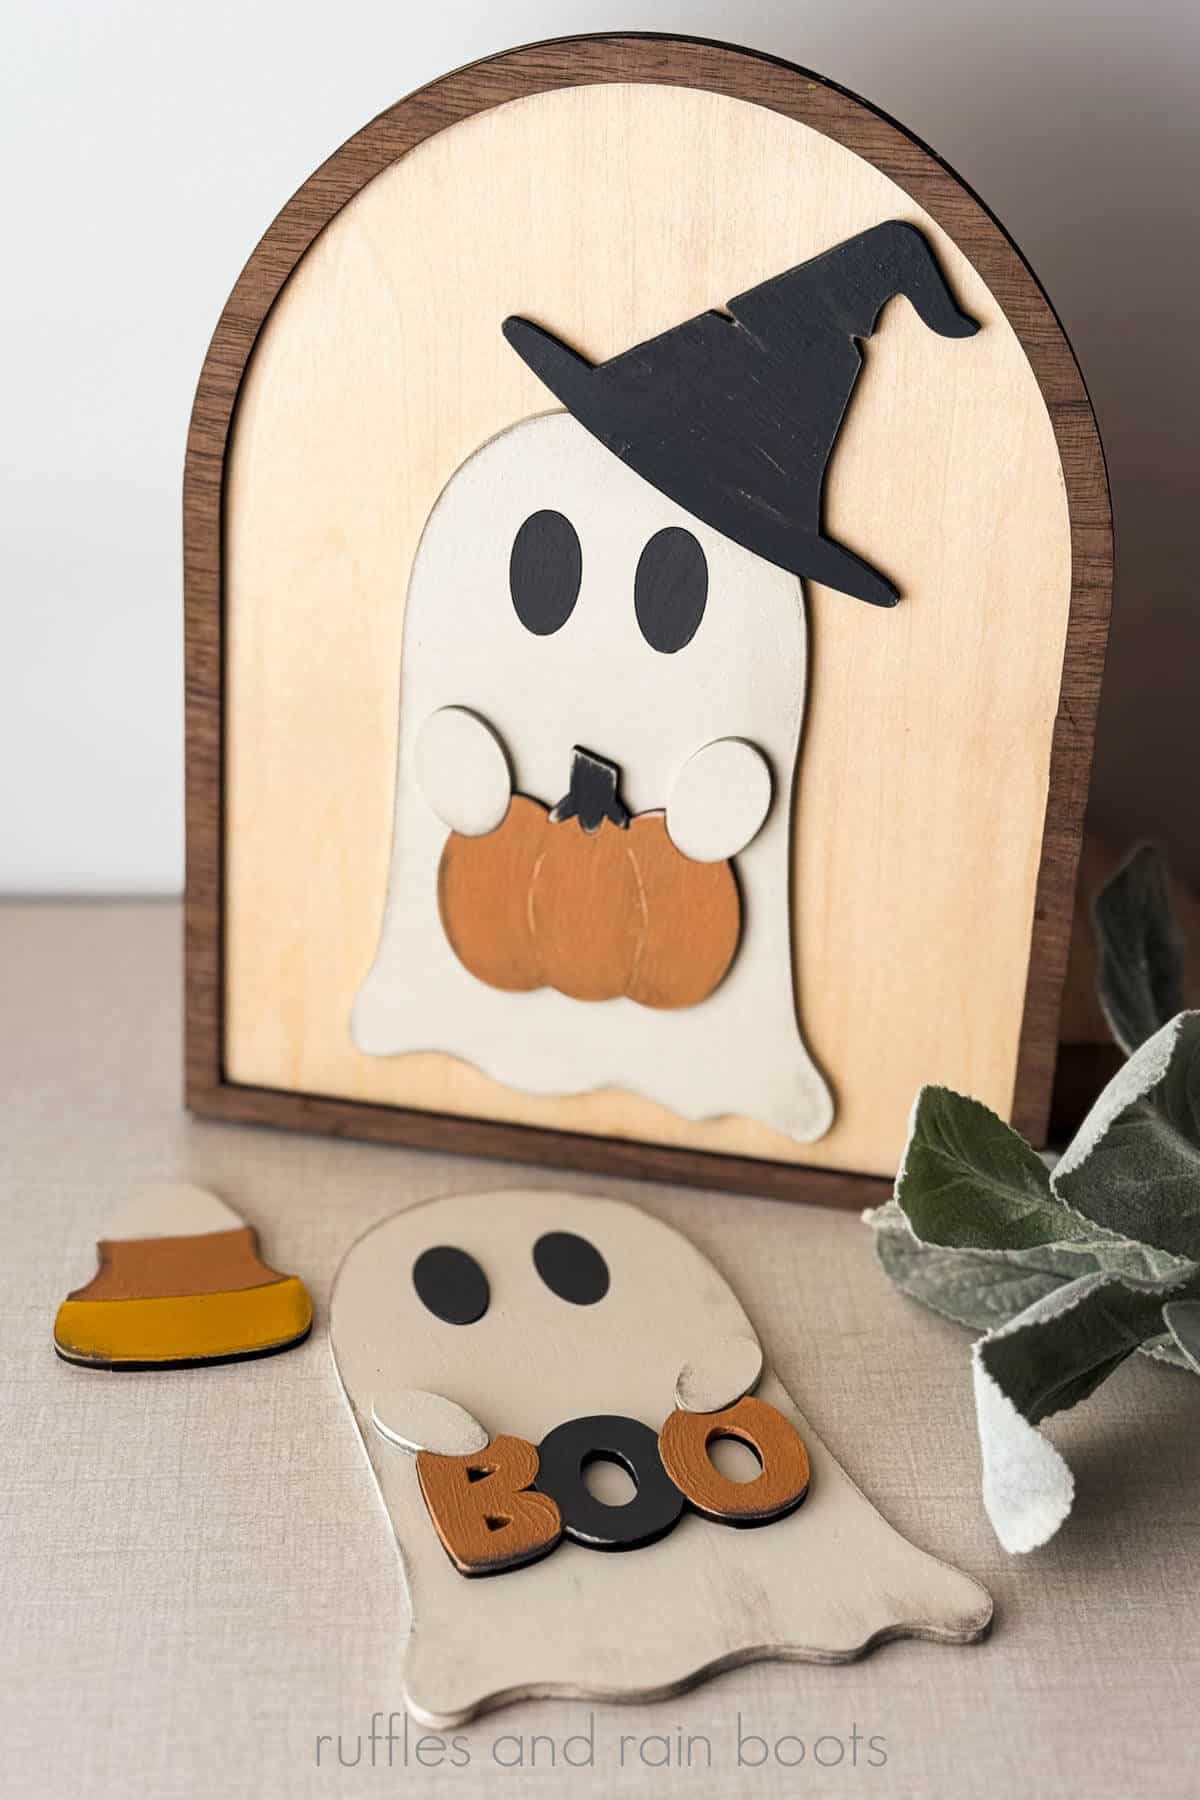
- two ghosts, one with a perfectly-placed, scrunched witch hat
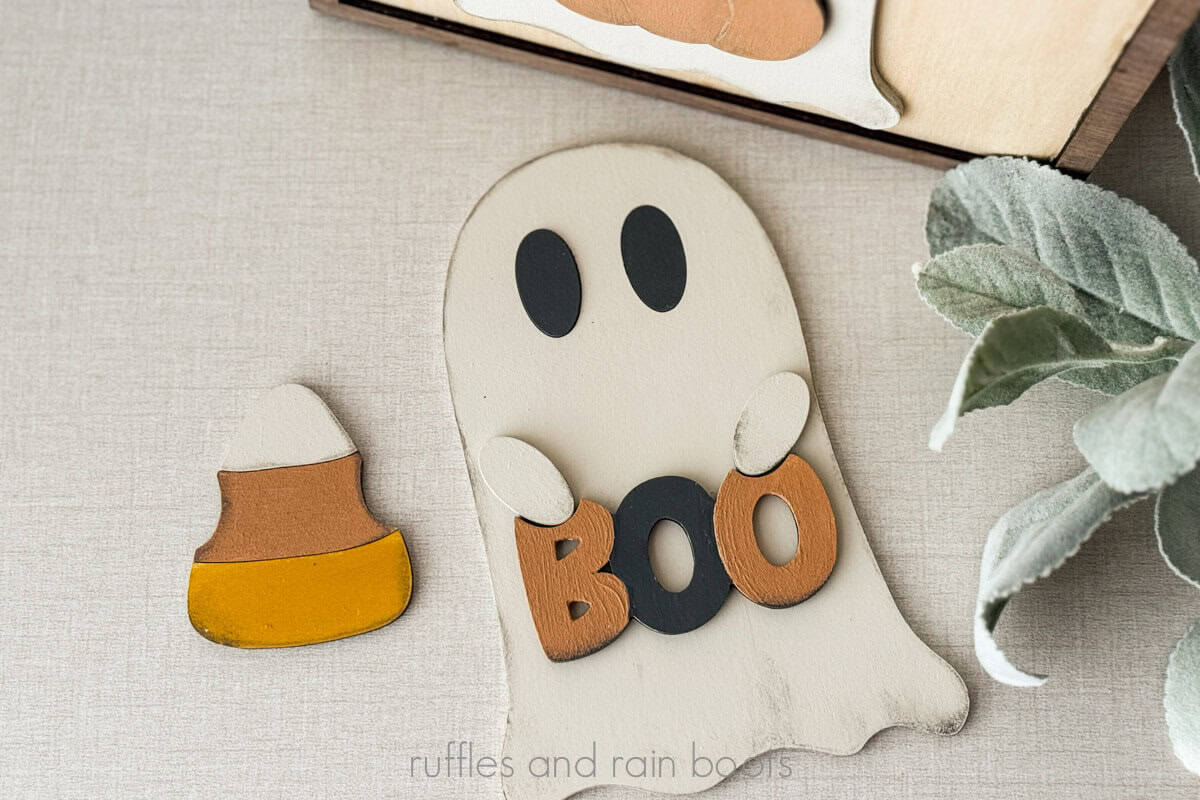
- ghost eyes and ghost hands to hold items
- multiple items for the ghosts to hold (pumpkin, BOO, and candy corn)
- a backer piece
- a frame piece
- a stand (3mm)
If you love this project, but can’t get started right now, save this page to a laser crafts pin board or share to social media. Either way will make it easy to find when you’re ready to begin.
As an Amazon Associate, I could earn from qualifying purchases. There could be affiliate links within this article.
Ghost Sign for Halloween Video Tutorial
If you’re a visual learner like I am, watch the short DIY ghost laser cut sign video tutorial. While you’re there, be sure to subscribe to the channel – we have a lot of fun.

RELATED READING: How to Laser Engrave Canvas and Jean Material
Materials Needed for This Craft
I am using an M1 Ultra 10 watt laser for this easy Halloween laser project idea. You can use any laser (diode or CO2).
- Halloween Ghost Sign SVG Bundle (includes SVG EPS PNG PDF DXF and commercial license)
- M1 Ultra 10 watt laser
- AP2 (Air Purifier), optional
- Smart Air Assist (makes cuts cleaner), optional
- 3mm basswood plywood
- acrylic paint
- roller and brushes
- sealant (I prefer this spray sealant)
- hanger choice, if making a sign (see below)
How to Cut and Assemble This Fun Halloween Ghost Sign
First, bring in the files and decide on your options. In this tutorial, I’ll be making the framed sign version (to hang inside a large wreath), but you can choose the shelf sitter option, as well.
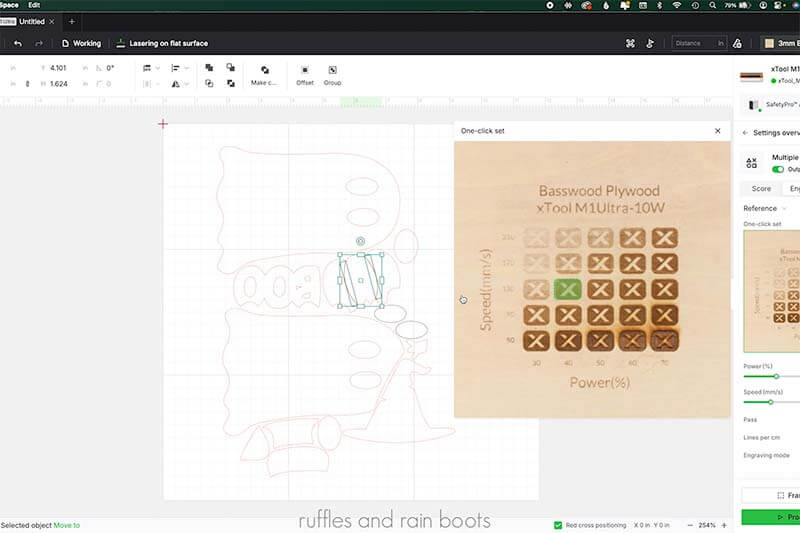
Set Up the File: There are only 2 lines on the pumpkin which are engrave and the rest is cut. This is a VERY quick project for the laser to process.
NOTE: Please consider how you’re going to hang this if you’re making this into a sign versus a shelf sitter. I have options listed below with brief instructions.

Load material into the bed (I use the honeycomb) and position the crosshairs over the material. Select “Auto-Measure” in XCS and then mark the area.
Set material parameters; please note I’m sharing my settings, however, you should test for your materials. My 10 watt engraved plywood well at 40 power and 130 speed. My cut settings were 90 power and 5 speed with 1 pass.
Process the following cuts (at a minimum) and process them per your settings.
- ghost (with or without hat)
- ghost hands and ghost eyes
- an item to hold
- backer and frame OR backer and stand*
Note: if you have not determined your laser’s kerf, please do that before cutting the stand so you can have a snug fit.
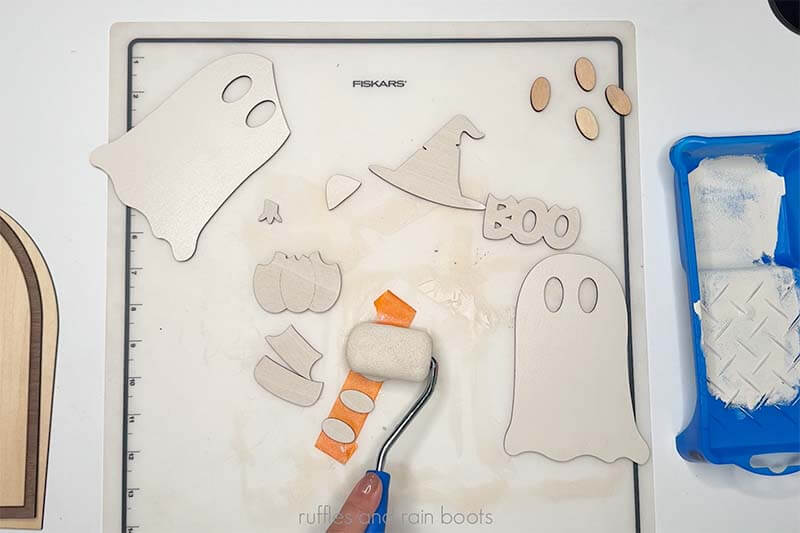
Once all pieces have been processed, wipe all edges. Prep and paint. I sanded the ghosts in between paint layers to get the smoothest finish, while I used a heavy chip brush on the other items to add a lot of texture.
Seal all items and assemble. I will be putting this adorable friend on the back of mine cut with a second frame (my hanger will be hidden under the back frame piece).
Sign Hanging Options
If you’re new to laser crafting, there are a few ways to hang this. All of them are easy enough for a beginner to create but if you have questions, ask them below.
- The easiest option it to affix a hanger to the back. Options are a small sawtooth hanger or a piece of rope, twine, or picture wire.
- My favorite option for hook and nail hanging is to create a second backer piece and cut a keyhole shape into it. Glue each backer piece together.
- You can also add holes into the backer piece (make sure to consider the frame piece, if using) – either one in the center or two on either edge.
- The final option is to create two backer pieces and sandwich a hanger in between.
More Laser Projects You Might Like
- Easy Wooden Christmas Wine Tags – Whether you love to bring a bottle or want to set up a product to offer this holiday season, these are very well received.
- Laser Cut Highland Cow Door Hanger – The cutest door hanger you’ve ever seen (complete with faux fur that has everyone wanting to pet it)!
- How to Engrave a Gradient Patch – Learn how to set up a file to make engraved gradient patches (these look so cool).
Please Save or Share This Fun Halloween Laser Craft Idea
Your shares are how this site grows and I am sincerely grateful. Please save this to a DIY laser crafts pin board or share it with a crafty laser group on Facebook.
Meet the Creator
Hi there, I’m Sarah Nenni-Daher. I’m a crafty gal and always have at least 14 projects going at once. I am a crafter, designer, DIYer, and pattern maker. I share my creations here and in the Ruffles and Rain Boots® Shop.
Here at Ruffles and Rain Boots®, you’ll find DIY gnomes, crafts, gifts, cupcakes, laser crafts, and so much more. I love sharing video tutorials over on YouTube and chatting with other crafters in my Facebook groups. We’d love to have you!