
How to Laser Engrave Canvas (Wine Bag)
Learn how to laser engrave canvas – we’ll be using a canvas wine bag and any laser. From prep to clean up, you will learn how to create a beautiful laser engraving on a canvas wine bag for the holiday season.

RELATED READING:
As an Amazon Associate, I could earn from qualifying purchases. There could be affiliate links within this article.
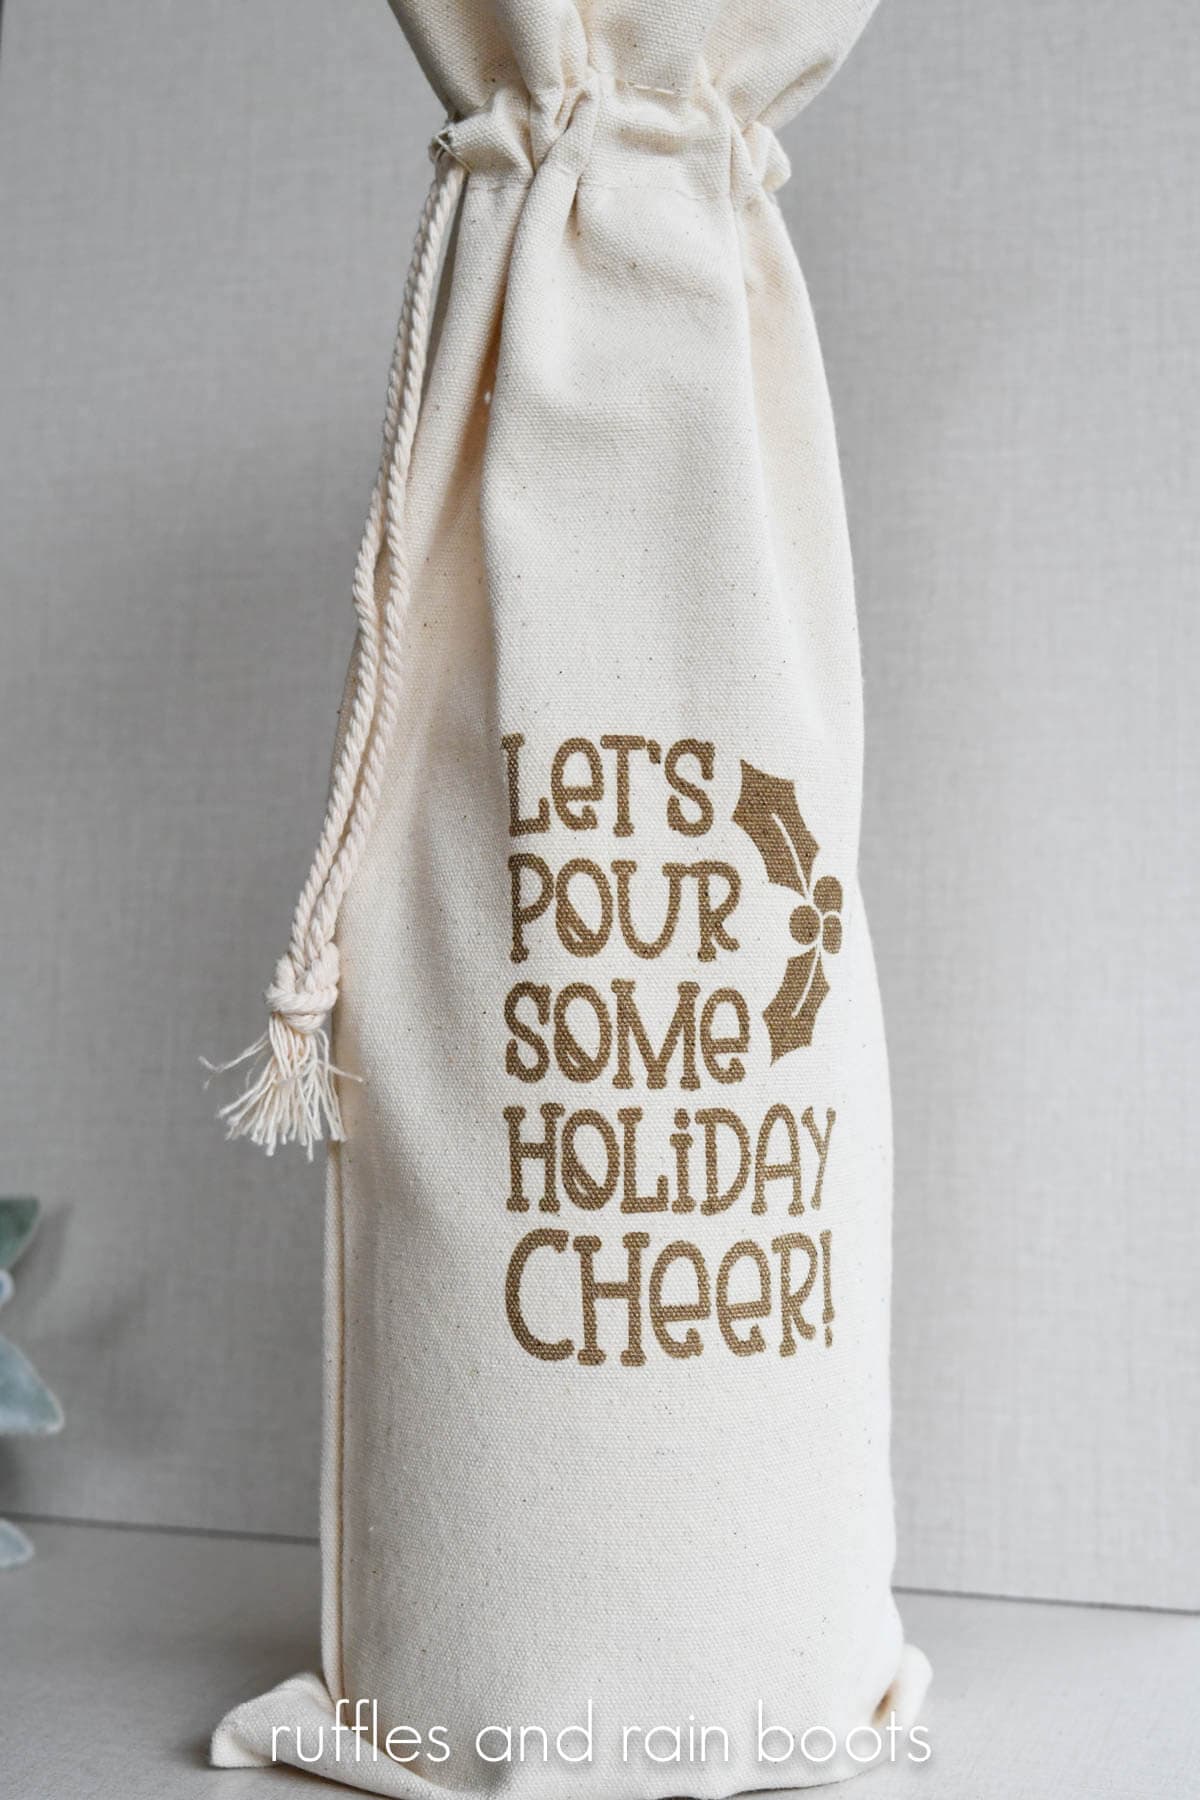
Laser Engraved Wine Bag DIY
Here at Ruffles and Rain Boots, I’ve been working with my newest laser, the xTool M1 Ultra. I love, love, love the versatility of this machine and have been using it for a ton of gifts!
If you’re unfamiliar, the xTool M1 Ultra is (in my humble opinion) the best laser for crafters. It has a laser engraver, a laser cutter, an inkjet printer, a blade cutter (fine point, knife blade, and a rotary), a foil tool, pen tool, and you can make tumblers with it when using the rotary!
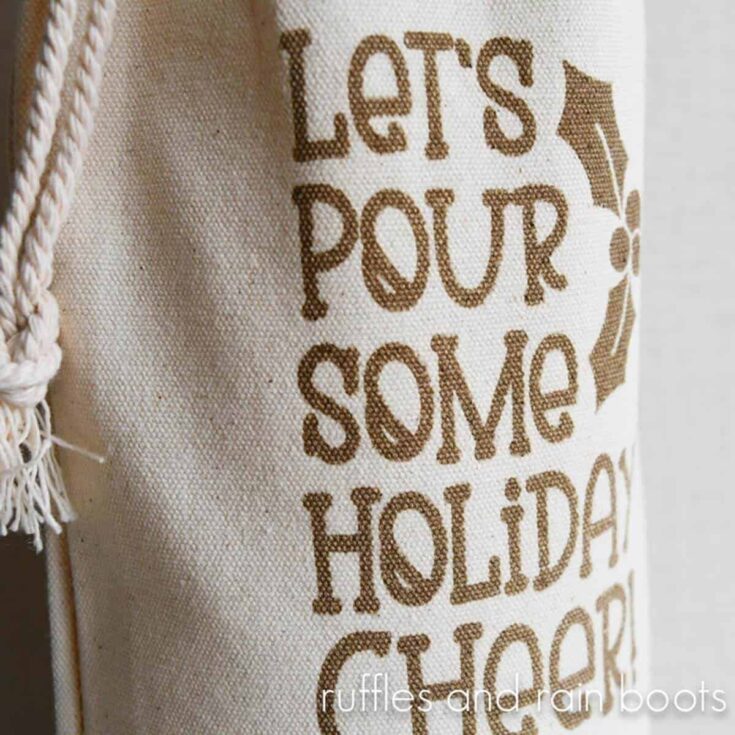
Anywho… As you can see, I have a lot of options. But today, I’m sharing how I laser engraved a cotton wine bag to deliver a bottle in style this holiday season. The best part is that the set up is EASY and quick.
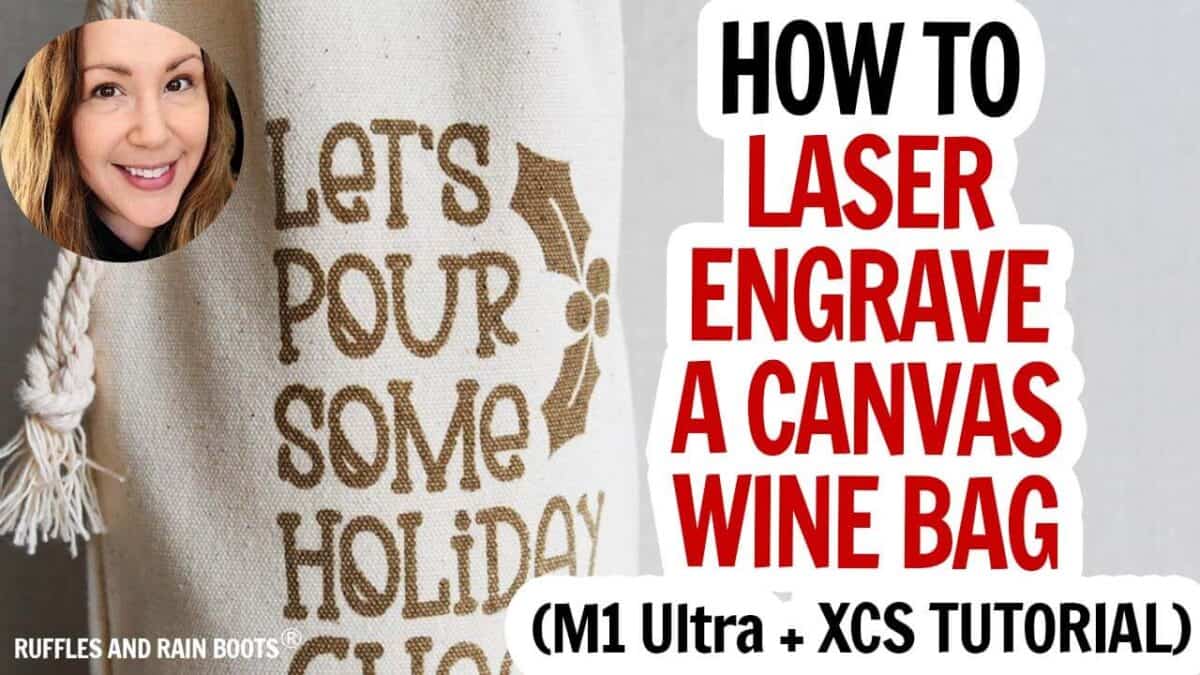
Laser Engraved Wine Bag Video Tutorial
If you’re a visual learner, watch the step by step laser engraved wine bag video tutorial on YouTube. I publish projects there which will never appear here.
While you’re there, subscribe because we have a lot of fun on the channel.
How to Set Up and Engrave Canvas in xTool’s XCS Software
Measure the area and placement for the design onto the wine bag. Watch the video or see the note below on measuring the true working area for a bag.
Iron or use a heat press to smooth out the canvas wine bag.
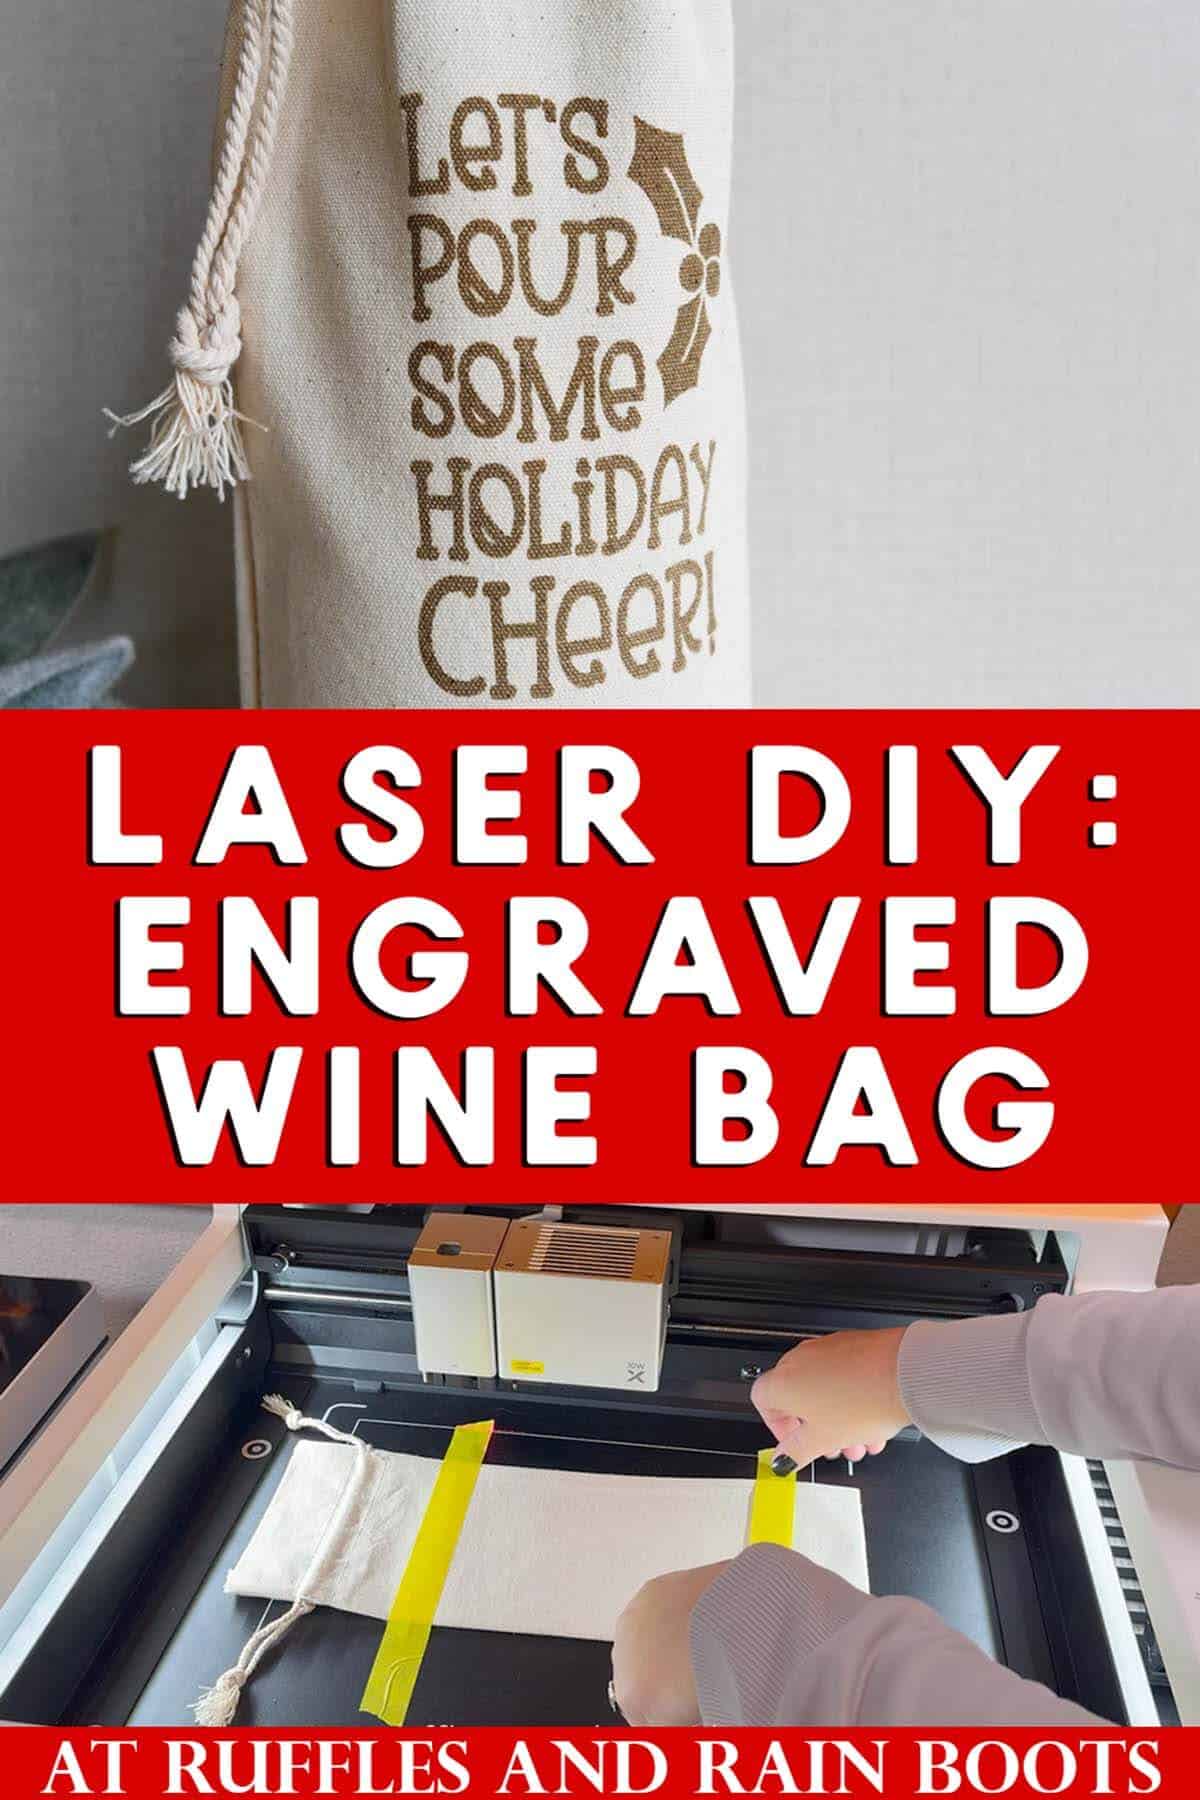
Place the bag horizontally on the laser bed to maximize the travel of the laser and secure with tape.

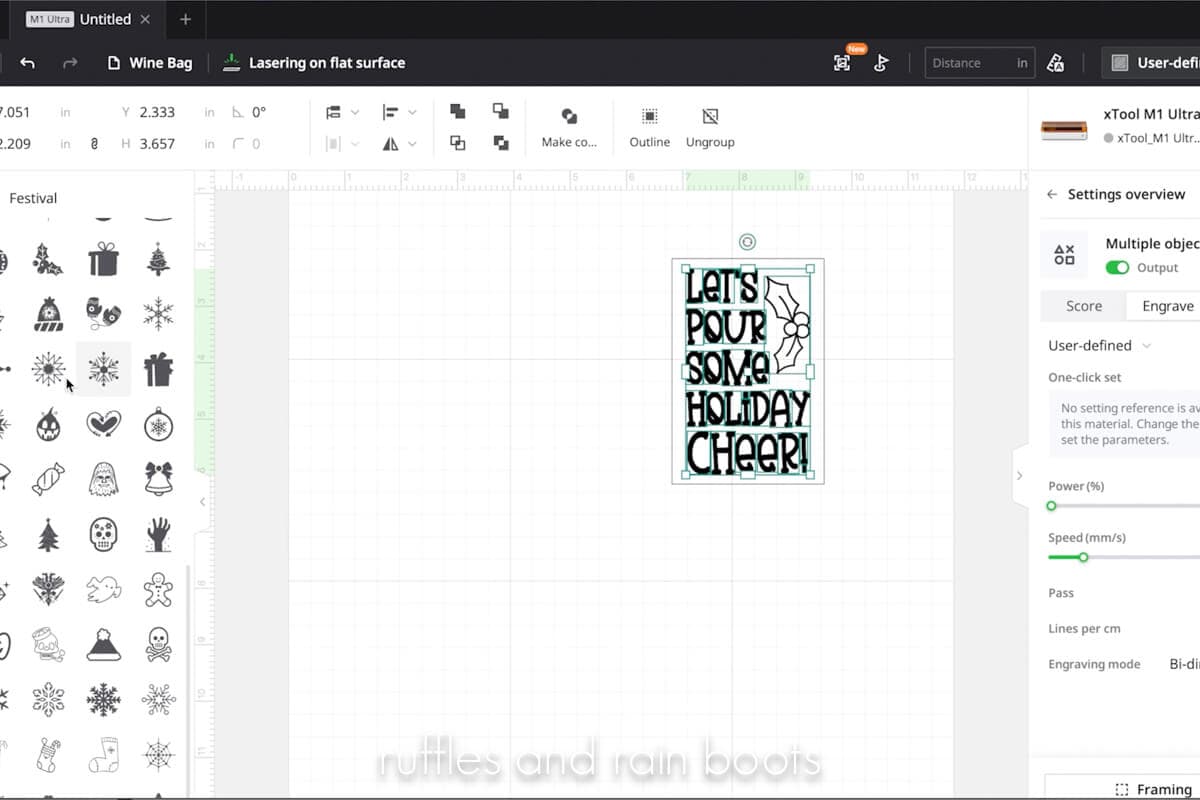
Open the software and drag in or create the design. Create a rectangle of the working area (measured above) and size the design to fit the bag.
Place the crosshairs over the bag, close the lid, and press the Auto-Measure feature on the top menu bar.
Once that has been entered, select “Mark Processing Area” and the rectangle shape. Open the lid and place the crosshairs at the upper left-most area to be processed.
Press the white button on the front of the machine and move the crosshairs to the bottom right-most area to be processed. Press the white button again to get the rectangle, select end marking, and then done to lock it in.
Enter settings by selecting on the design (10 watt M1 Ultra: 12, 50, 1, 100), choose engrave, and the item can be framed, if desired.

Run the job by sending the file to the laser and pressing start on the machine. Remove the tape and use it to remove any kerf / detritus from the front of the wine bag.
Fill the bag with a wine bottle and give it to your favorite someone. Note: these look great when delivered with a Christmas wine tag (tutorial and file).
More Laser Projects Ideas You Might Like
- Make a Laser Cut Sun Catcher (Flex Material) – Create a stunning suncatcher using this special material.
- How to Create a Christmas Ornament (WeCreat Vista) – The 10 watt Vista is a powerful machine but large files should be converted to ornaments using these tips.
- Laser Engraved and Laser Cut Christmas Wine Tags – Use this easy to follow tutorial and the wine tag designs to create gift-worthy wine this holiday season.
Please Save or Share This Laser Engraving Project Idea
Your shares are how this site grows and I am sincerely grateful. Please share this Christmas laser engraving project idea with a crafty laser group on Facebook or save it to a DIY laser crafts pin board.
Engraved Wine Bag
Learn how to laser engrave a wine bag for the holiday season or any occasion. This quick laser craft idea is a fun and beginner friendly way to get started with the xTool M1 Ultra or any other laser.
Materials
- Canvas Wine Bag
- Design (Mine is Here)
- Masking Tape
Instructions
- Measure the area and placement for the wine bag. See note below.
- Iron or use a heat press to smooth out the canvas wine bag.
- Tape the wine bag horizontally to the bed of the laser, securing it well.
- Auto-measure the distance and mark the area using the rectangle shape.
- Size the design to fit the bag (use a rectangle shape to get it right) and turn it horizontally to maximize the travel of the laser.
- Enter settings (10 watt M1 Ultra: 12, 50, 1, 100) and frame, if desired.
- Run the job by sending the file to the laser and pressing start on the machine.
- Remove the tape and use it to remove any kerf / detritus from the front of the wine bag.
- Fill with yummy wine and gift.
Notes
Note on Measuring Working Area: You can lose a couple of inches at both the bottom and top of the bag, so to get the working area, insert a bottle and then measure.
Settings on the 10 Watt M1 Ultra: 12 power, 50 speed, 1 pass, and 100 lines per centimeter
Optional: place foil into the wine bag to prevent any "robust" settings from affecting the back of the bag.
Meet the Creator
Hi there, I’m Sarah Nenni-Daher. I’m a crafty gal and always have at least 14 projects going at once. I am a crafter, designer, DIYer, and pattern maker. I share my creations here and in the Ruffles and Rain Boots® Shop.
Here at Ruffles and Rain Boots®, you’ll find DIY gnomes, crafts, gifts, cupcakes, laser crafts, and so much more. I love sharing video tutorials over on YouTube and chatting with other crafters in my Facebook groups. We’d love to have you!