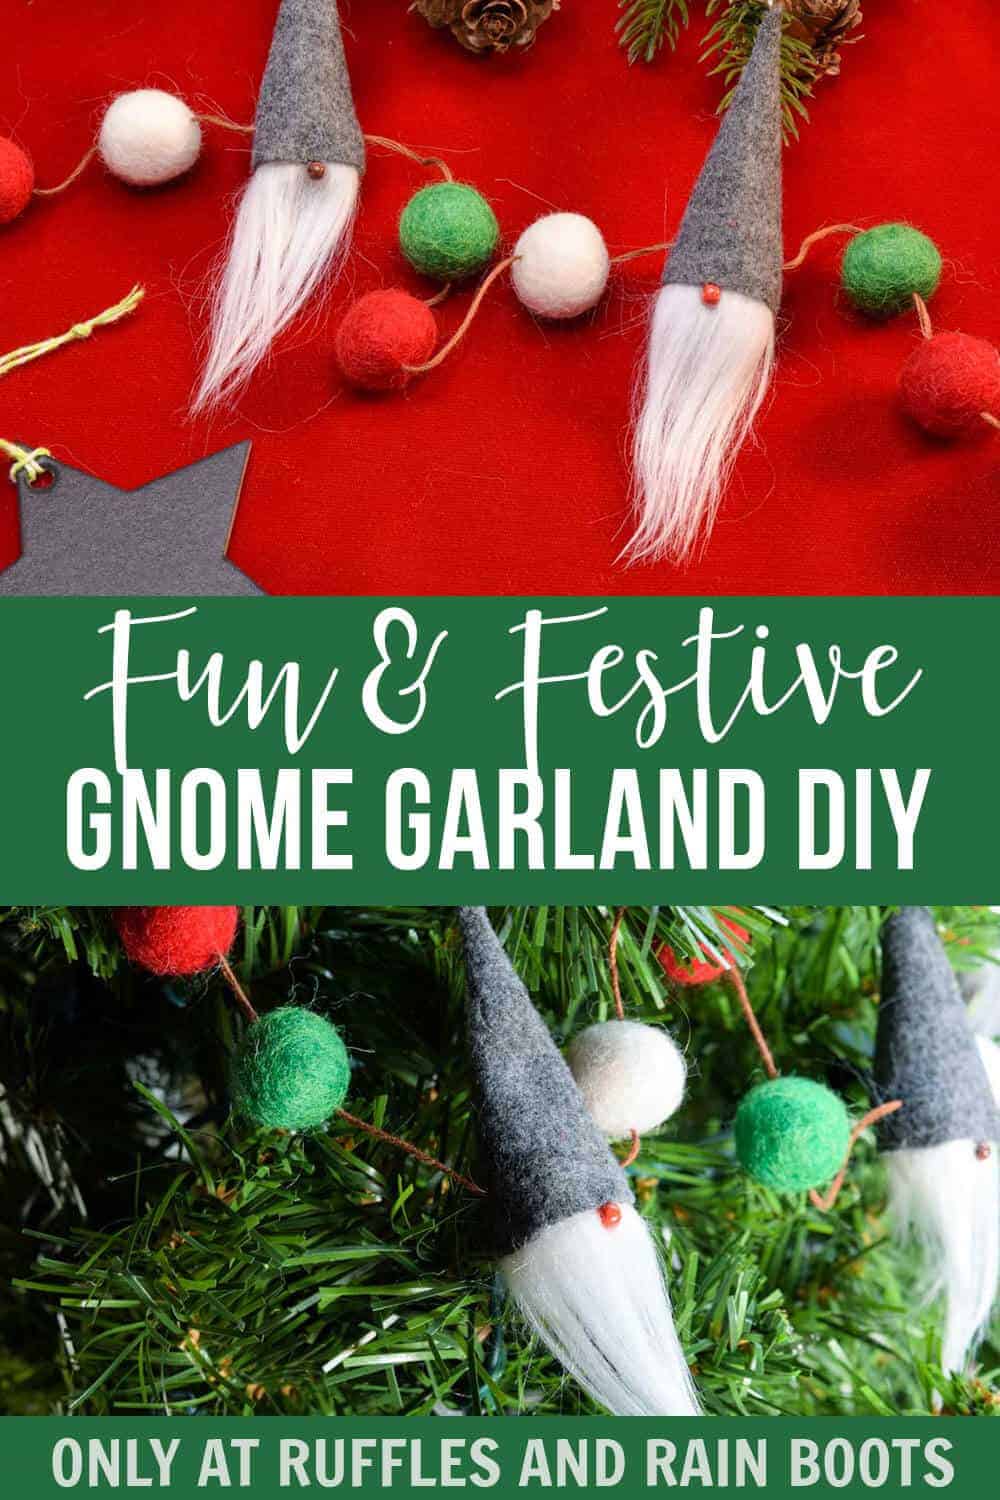
Make This Beautiful Gnome Garland in 15 Minutes!
When I sat down to make this gnome garland, I had no idea how easy and fun making this Christmas garland would be. I used a few “cheater” craft supplies and it was so fast to make.
What You'll Find On This Page
Christmas gnome Garland
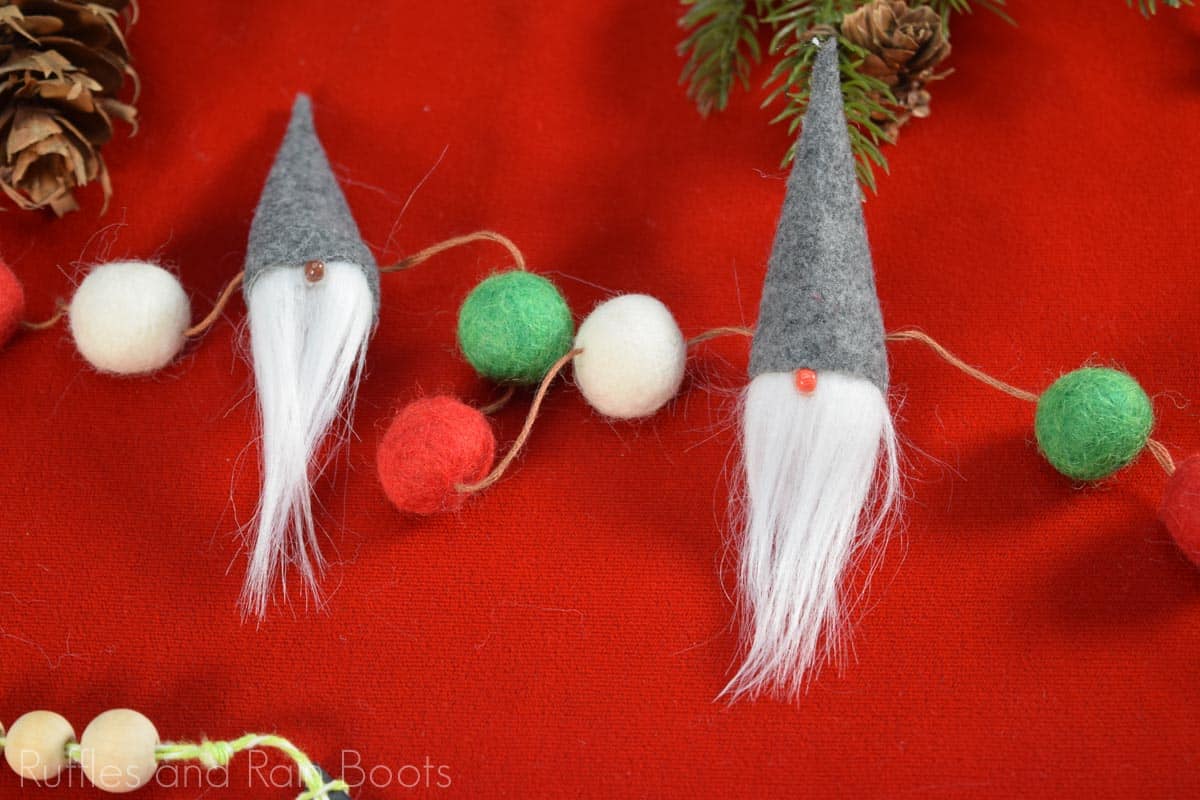
Here at Ruffles and Rain Boots, we have a wealth of fun holiday gnome crafts. They’re all so fun and each one is cooler than the last. I can’t get over how much fun I have making gnomes. Take this gnome Christmas garland for example. It’s silly, fun and just cute as all get out.
RELATED READING: EPIC GNOME ORNAMENTS
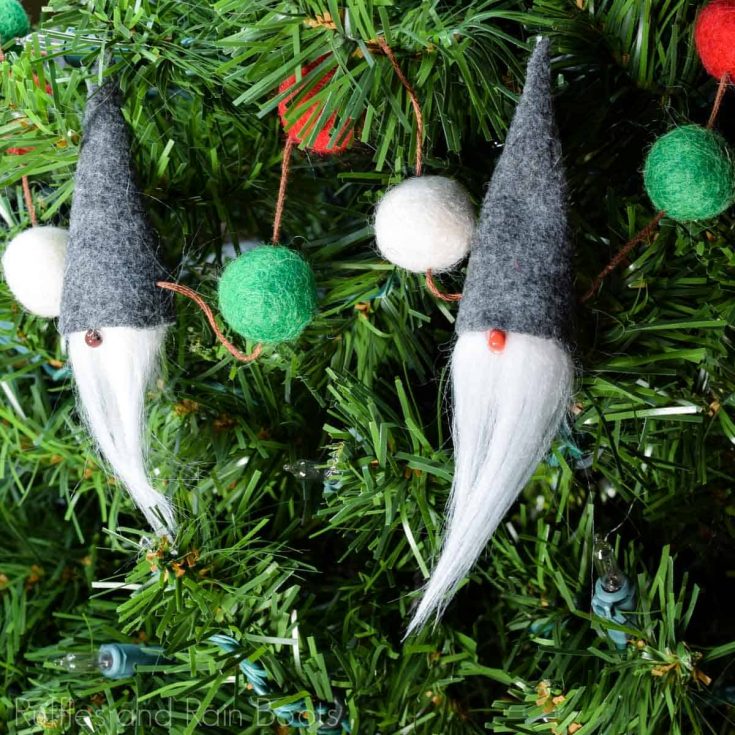
Besides being cute and fun, this adorable garland is a great addition to any Christmas tree, which, frankly, needs a few more gnomes, if you ask me. If you’re ready to start layering gnomes on top of gnomes for your holiday decor, let’s get started.
DIY Christmas Gnome Tutorials
If you’re looking for the best DIY Christmas gnome tutorials, you have come to the right place. Check out all of my favorite tomte tutorials for the holidays!
No Time to Make This Now? Pin it for Later
You’re busy, I get it. Pin this to your favorite DIY Christmas crafts board on Pinterest and it’ll be here for when you’re ready.

As an Amazon Associate, I can earn from qualifying purchases.
Tips to Make a Christmas Garland With Gnomes
- Take your time – the entire thing only took me 15 minutes, but the placement of the fur and hat can make all the difference.
- Making each gnome should be an individual activity. Each gnome can be a little different to add a bit of character to the gnome garland. Use different colored beads, slightly shorter beards, taller hats, whatever you can think of if you’d like to make each gnome unique.
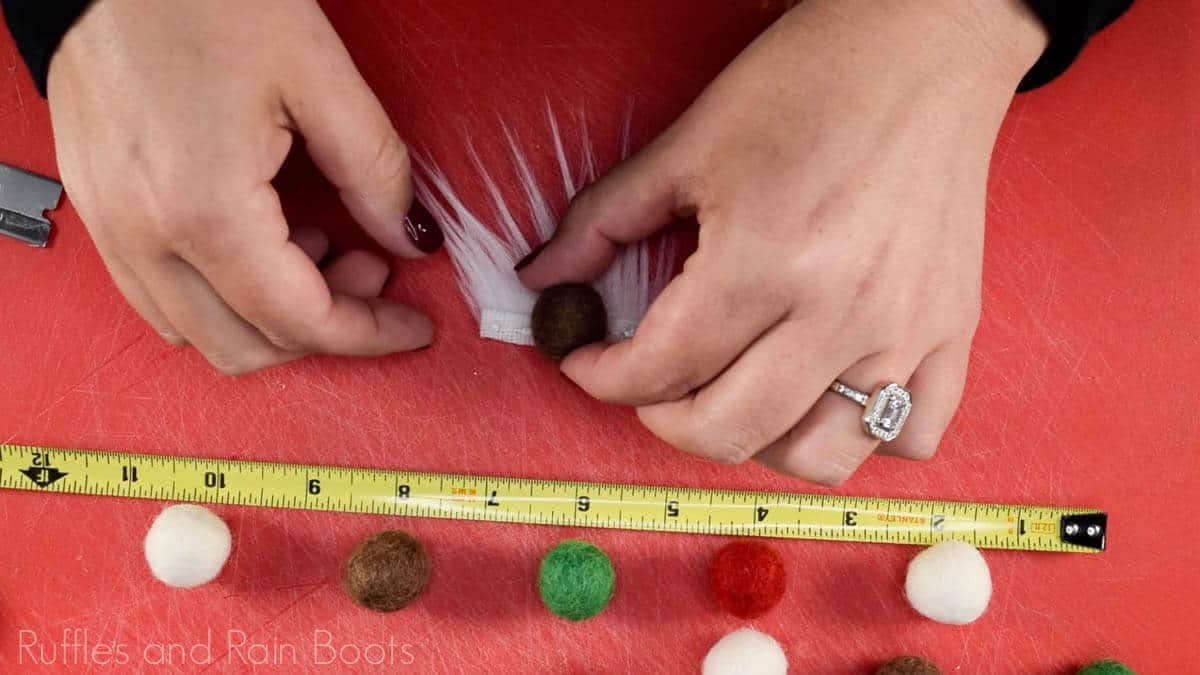
- If you have never cut faux fur before or you’ve hated how it turned out, I have a treat for you! You can’t just whip out your scissors and start cutting as that will leave a sharp edge on the fur. Instead, flip over the fur and, with a razor blade or Exacto knife, cut only the fabric and then pull the cut piece away from the whole. This will leave you with a beautiful drape on the beard and you’ll love it. I show you how to cut faux fur in the video.

How Do I Make this Gnome Garland?
I’m so glad you asked. Below is our written tutorial. If you’re making a Christmas crafts playlist on YouTube, here is our gnome garland video tutorial.
Gnome Garland
This adorable gnome garland is a perfect addition to any Christmas decor. See how you can create this holiday garland in just minutes.
Materials
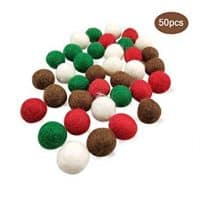
- 3/4 inch felted wool balls
- felt for hat
- faux fur
- embroidery thread for garland
- small beads for noses
Tools
- large needle
- glue gun and glue sticks
- razor blade and scissors
- ruler
Instructions
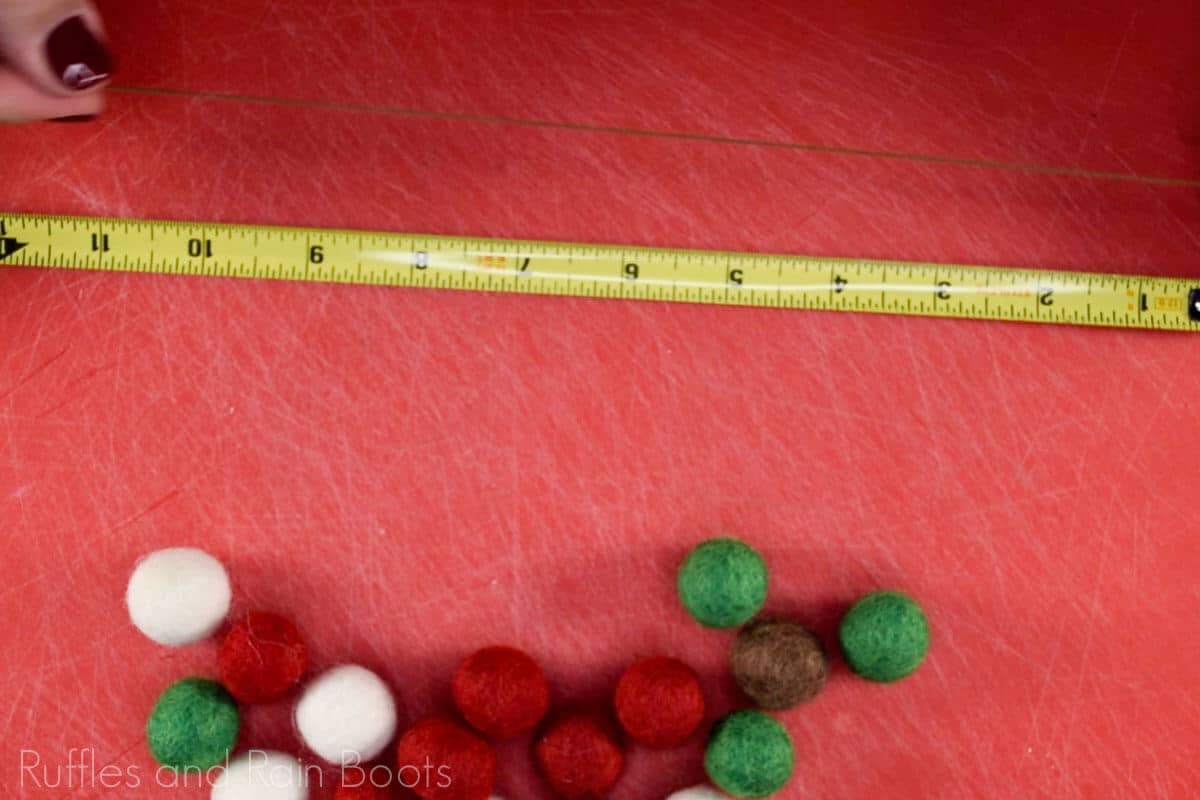
- Measure 4 feet of embroidery thread. Tie a knot at one end about 4 inches from the end. Thread the needle on the other side.

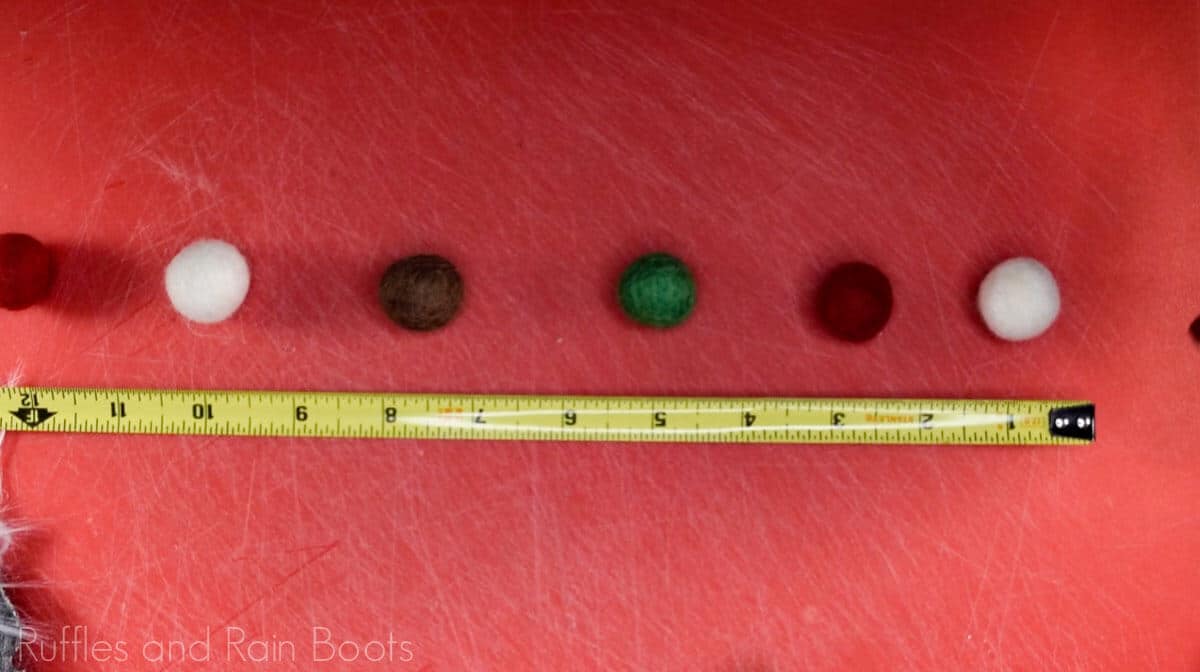
- Lay out your ruler and develop your pattern (ours was 3 balls then a gnome).

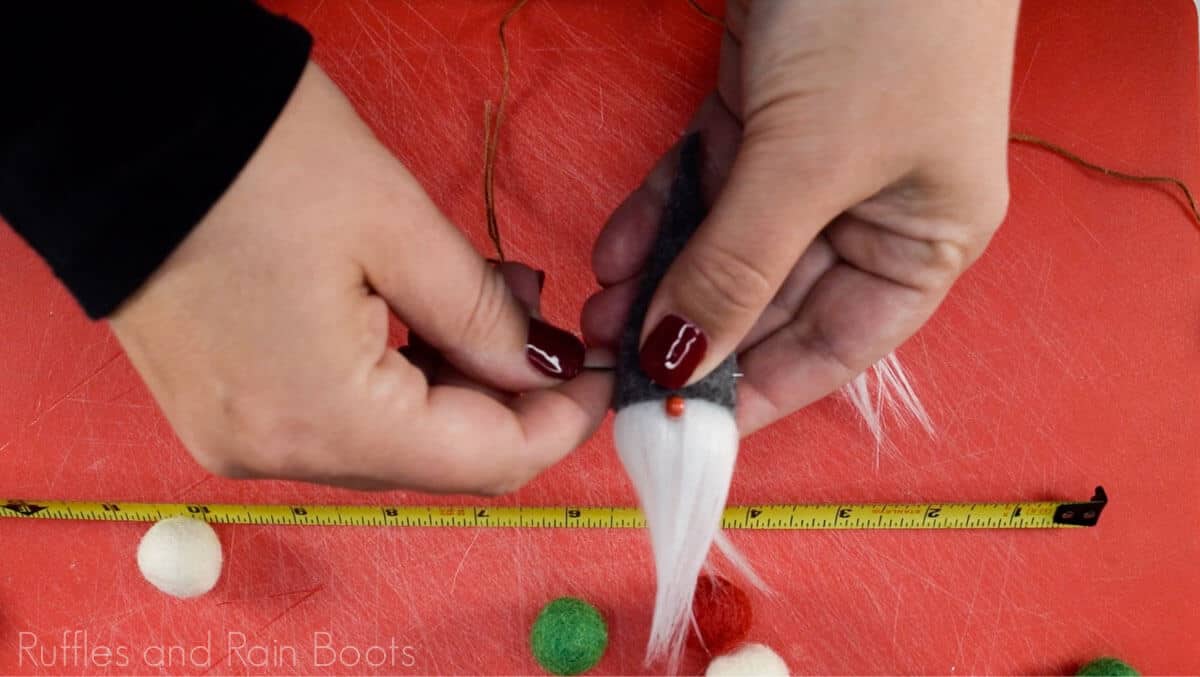
- Use a razor blade to cut a very small rectangle of faux fur so that it goes mostly around your wool ball. Hot glue in the middle of the ball.

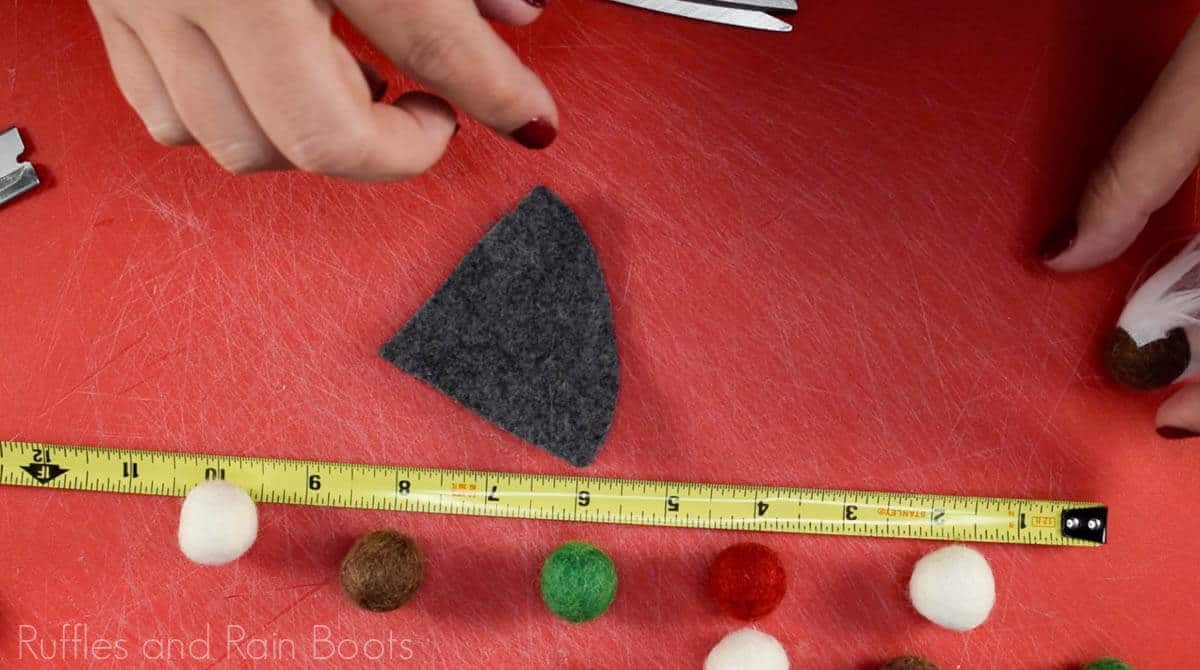
- Cut a small square of felt (mine were 3-inches), fold it in half, and cut a rounded bottom (see the video). From the non-folded side, cut a triangle shape back to the fold (it will look like a triangle with a rounded off bottom).

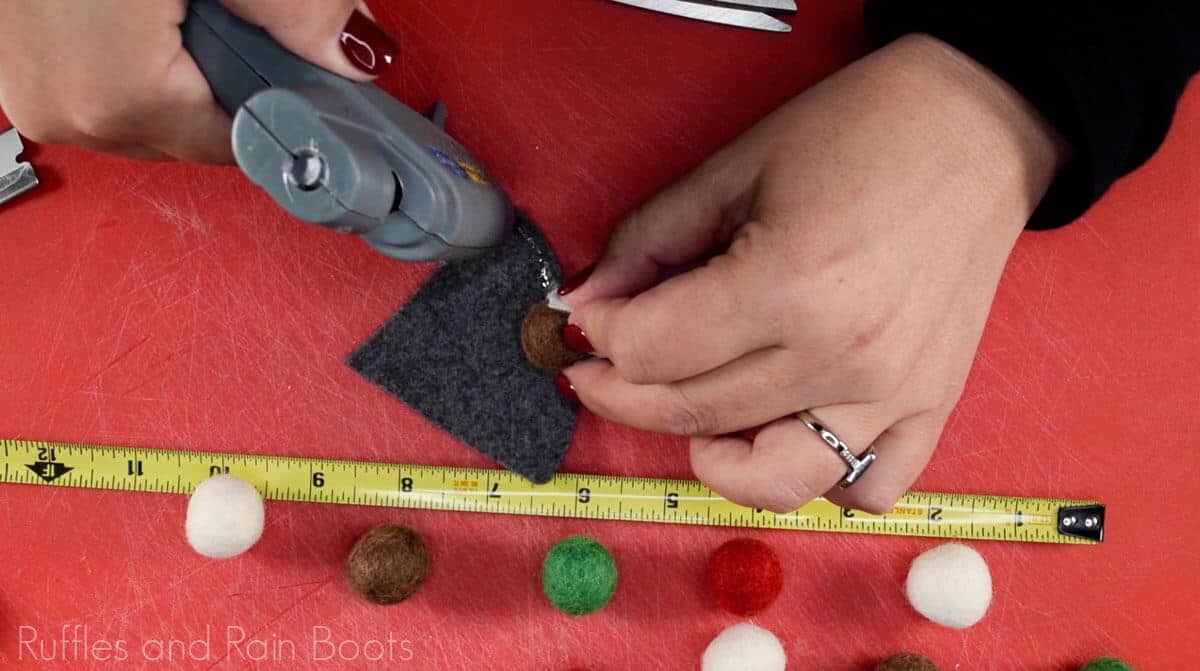
- Add a dab of hot glue in the center of the hat at the bottom and place it in the center of the wool ball, covering the top of the faux fur line. Fold over one edge and glue directly to the ball and then join the the top of the hat with a dab of glue. Finally, close the full hat with glue.

- Add a small bead, pompom, or button for the nose by gluing it in the center.

- Once you have the gnomes made for your pattern, thread the felted balls and the gnomes through the embroidery thread. Tie off the end at about 4 inches.


Notes
For a ridiculous amount of gnome crafts, visit Ruffles and Rain Boots.
- If you are making garlands for a large space, use a 3-4 inch space between the felted wool balls.
- For large trees, make multiple 4 foot garlands so that all gnomes will face forward.
Recommended Products
As an Amazon Associate and member of other affiliate programs, I earn from qualifying purchases.


More DIY Gnome Tutorials You Might Like
- DIY Farmhouse Gnome – A beautiful and traditional gnome, this makes a gorgeous addition to any entryway, shelf or winter decor scheme you can imagine.
- Christmas Gnome Ornaments – Every tree ever needs to have at least one (if not a ton) of these beautiful ornaments.
- Wooden Gnome Ornaments – So much fun and SUPER fast to make these easy ornaments.
Please Save This to Pinterest
Your shares are how this site grows and I am sincerely grateful. Know a friend who’d like this? Please share it on Facebook or save it to your favorite holiday crafts board on Pinterest.