
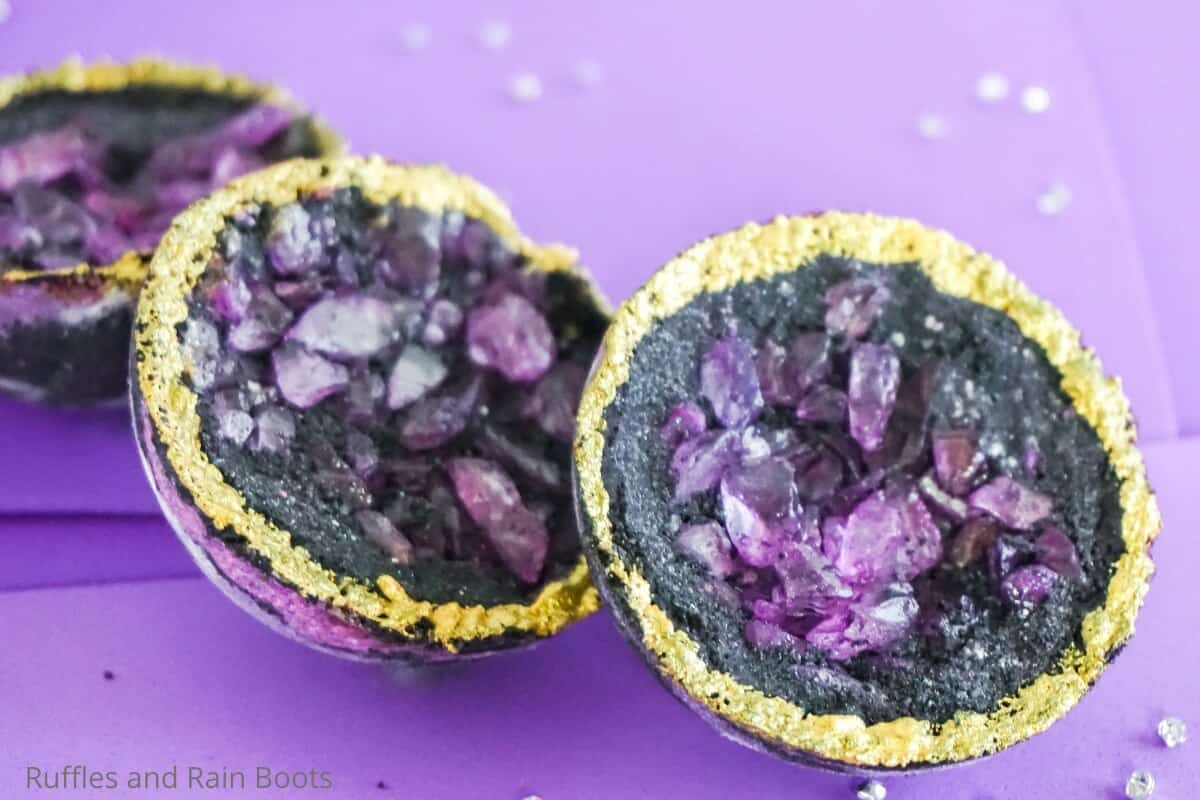
These Geode Bath Bombs are So Crazy Easy, You’ll Love Them!
Making geode bath bombs became a kind of goal in my mind for a while now–and this easy recipe is so simple, it’s insanely cool and the bath bombs rock! Heh.
What You'll Find On This Page
Geode Bath Bombs
Here at Ruffles and Rain Boots, we have the best time making bath bombs at home. It’s seriously become one of those activities that the kiddo expects to do together. Like our own little craft idea. But when she asked for geode bath bombs (she saw some YouTube video, I guess), I was not impressed with how hard they looked. Until…I found a cool “cheat” to get the crystals embedded in the bath bomb without all the heartache of making them myself!
RELATED READING: INVIGORATING COFFEE BATH BOMBS
The trick is in using crystal sprinkles. I don’t know why I didn’t think of it before–it’s honestly genius. So, if you’re ready to make easy geode bath bombs, let’s get started.
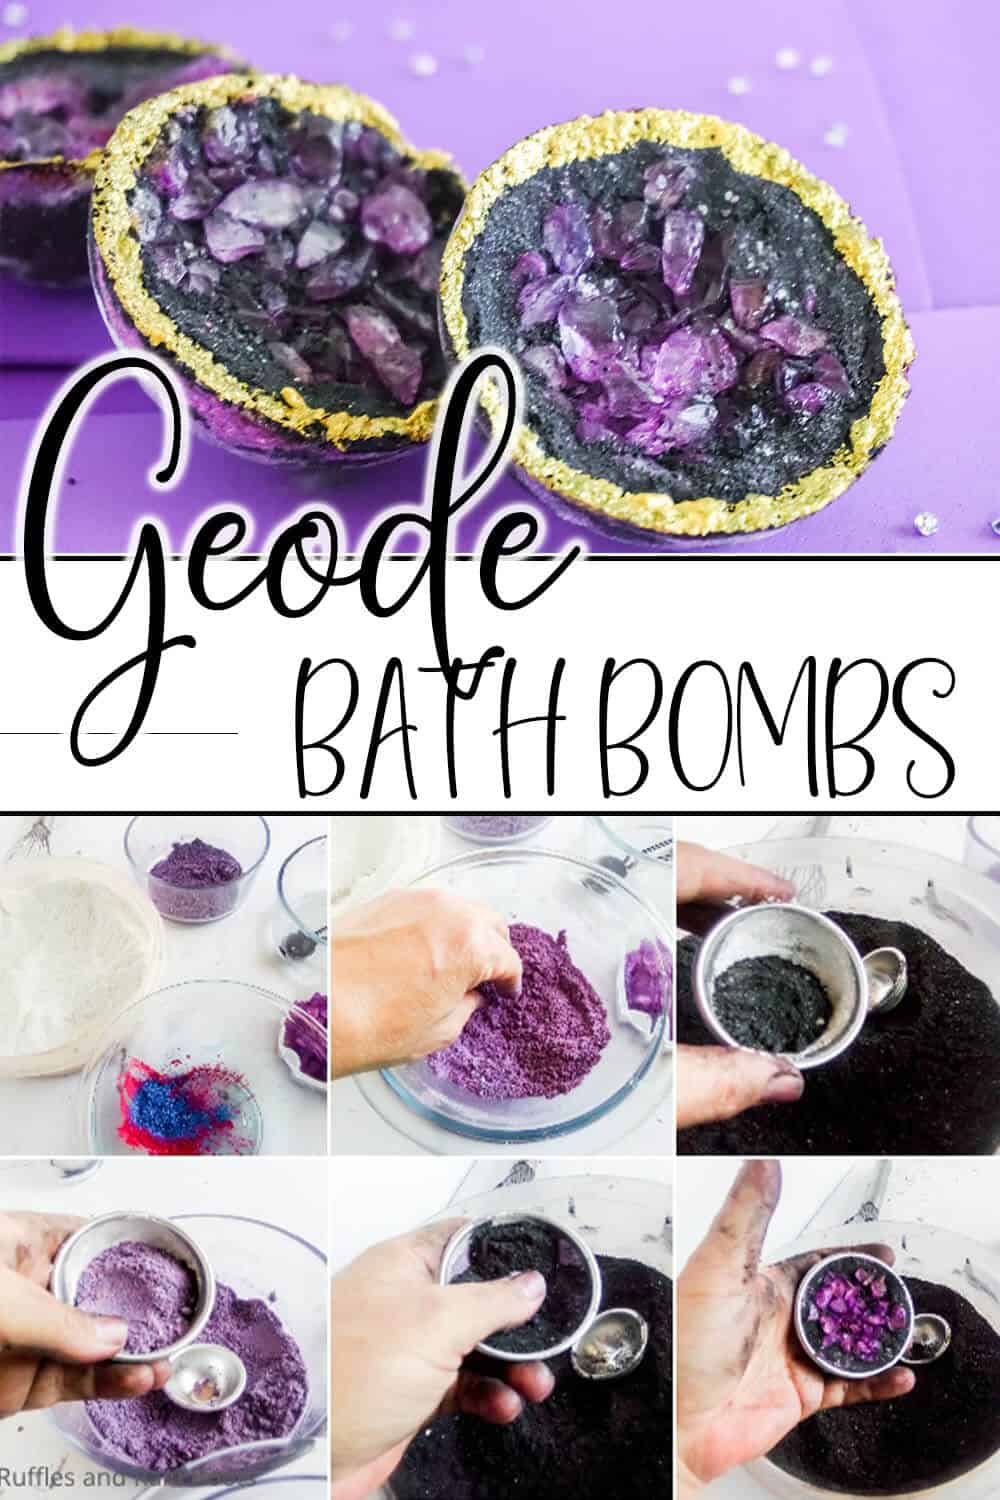
No Time to Make This Now? Pin it for Later
You’re busy, I get it. Pin this to your favorite DIY self care ideas board on Pinterest and it’ll be here for when you’re ready.

As an Amazon Associate, I can earn from qualifying purchases.
Tips to Make Crystal Bath Bombs
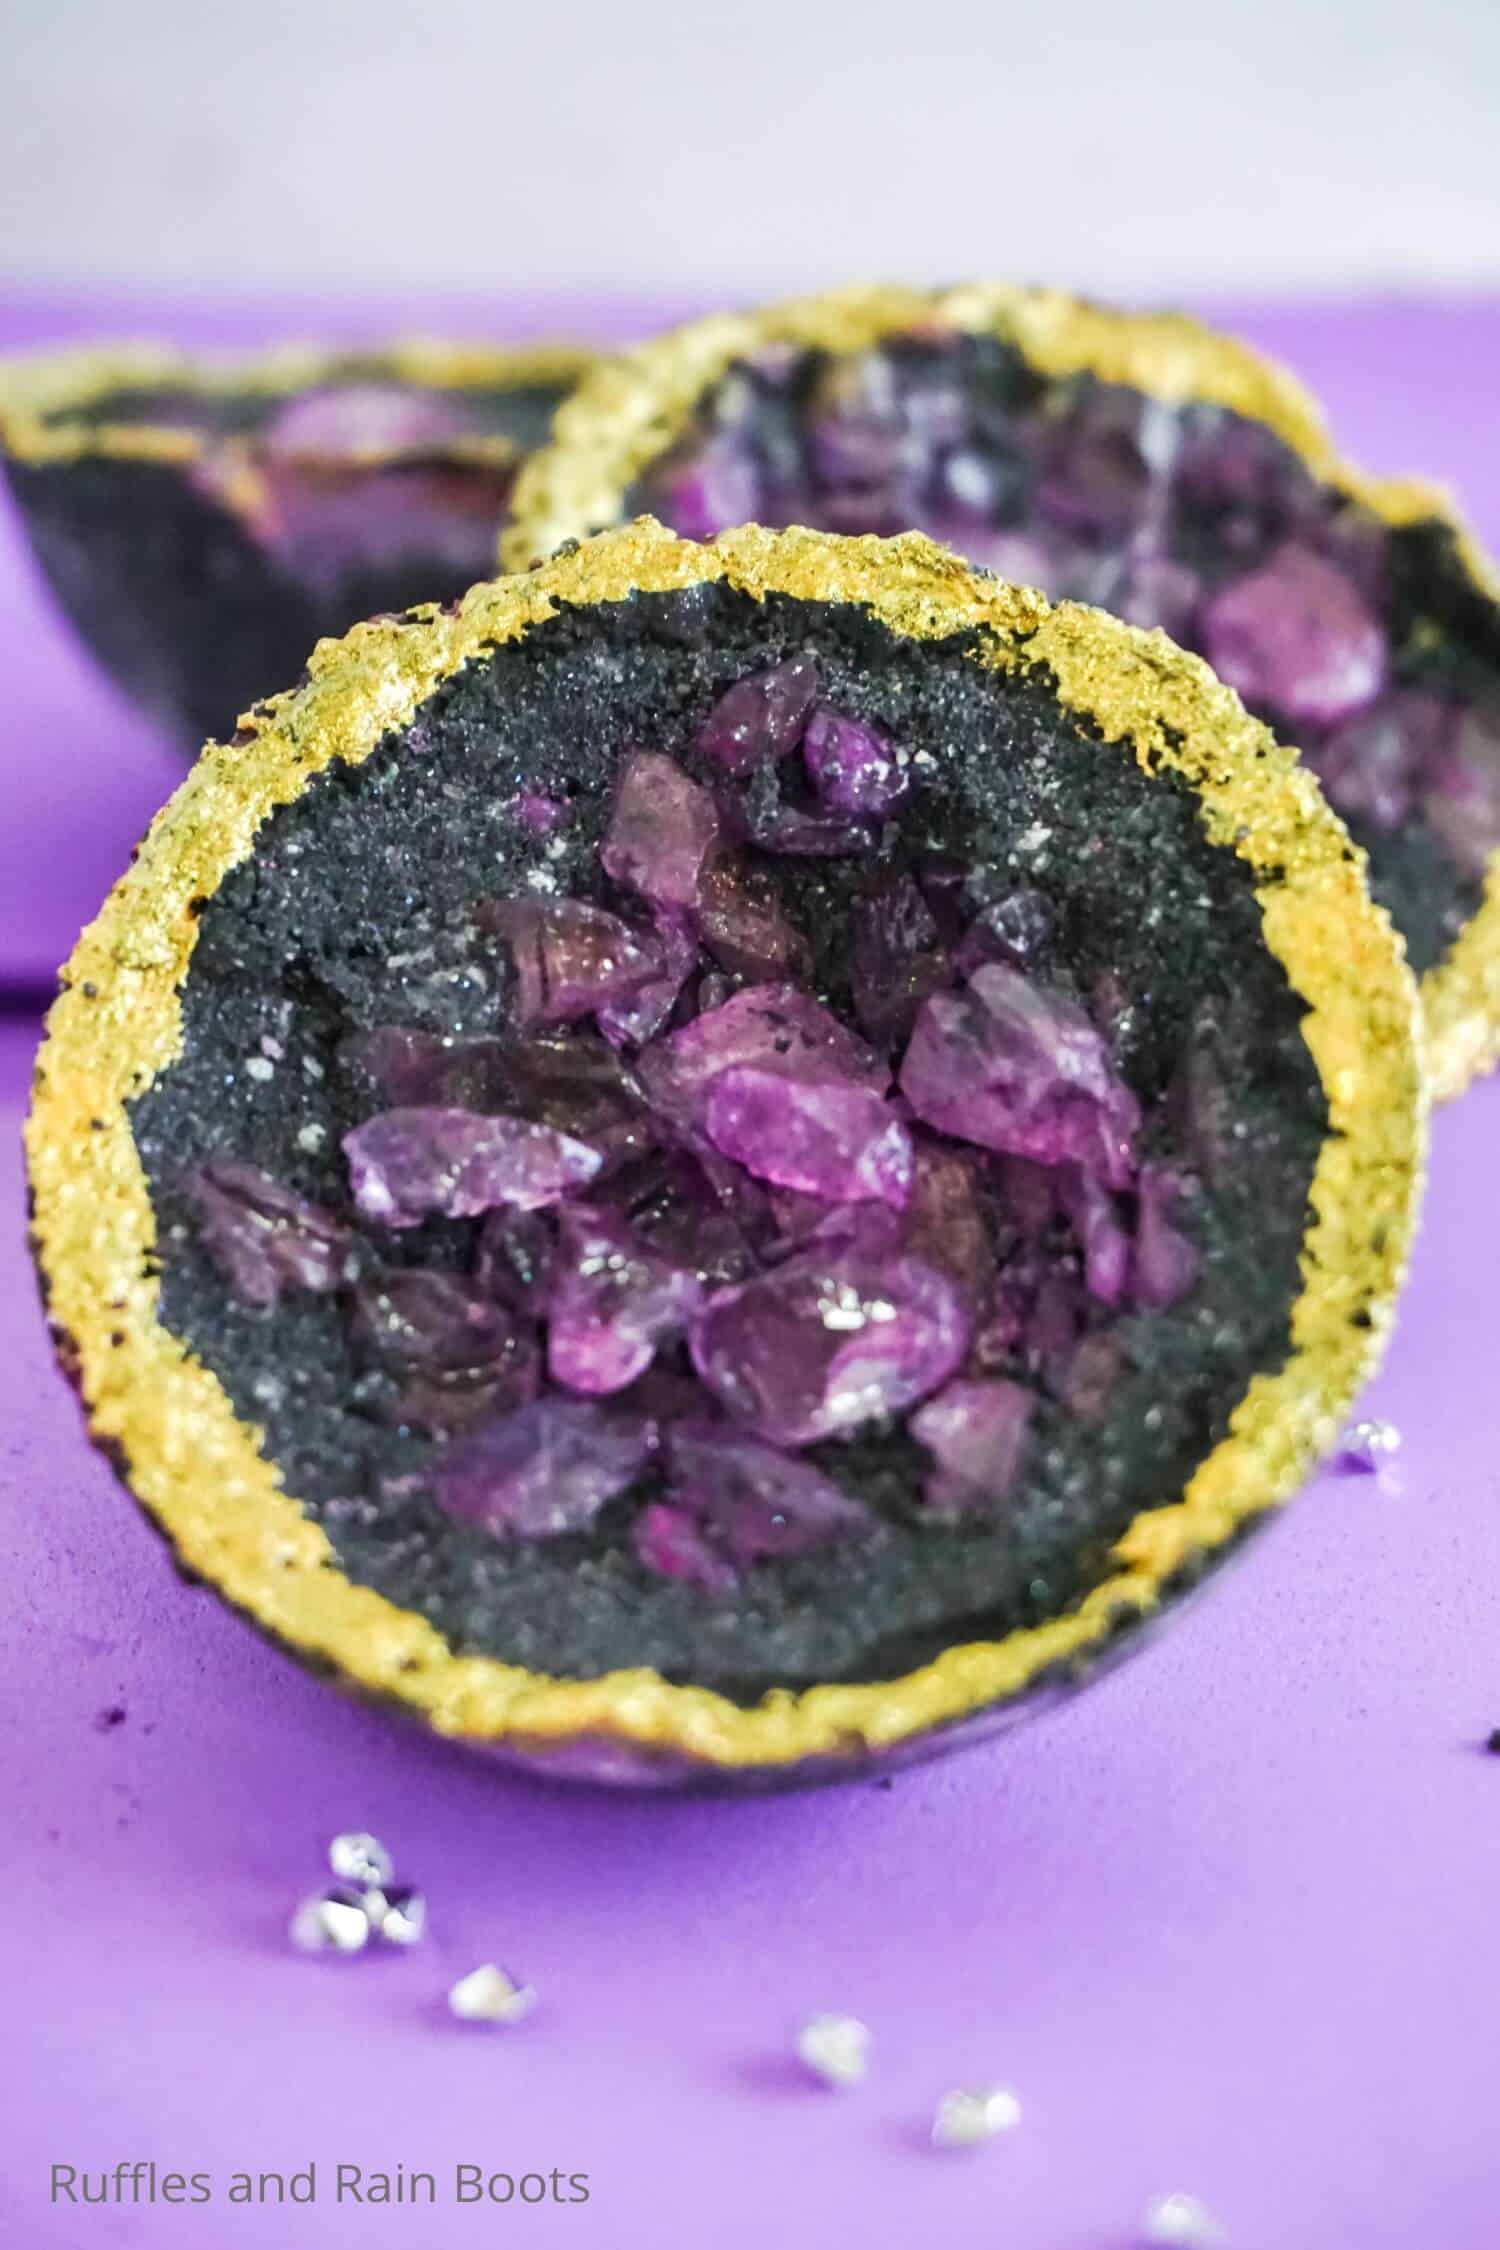
- Start by grabbing the AWESOME crystal sprinkles here. They’re what make these fun crystal bath bombs pop. Obviously. That’s the whole point of a geode, right?!
- To get a really bright edge on your geode bath bombs with the gold edible glitter, either make the mix really thick or plan on doing a couple of coats. Because the bath bomb mixture is so dark, it takes some attention. If you want to use the gold edible glitter, grab it here.
- Definitely plan on letting your bath bombs dry out for at least 24 hours before using them so that you get the fizziest fizz for the effort. Plus, letting them dry for that long, if for some accidental reason or whatever, the mixture maybe got a bit wetter than necessary, you’ll still achieve peak fizz.
- Keep your Lush-inspired bath bombs at top-fizziness peak for longer by storing them in an air-tight container like a mason jar, Tupperware or top-seal plastic bag. And keep in mind, if you plan on giving them as a gift, you should keep them in an airtight container and maybe tell your recipient too.
- You can put as much or as little fragrance or color into your geode bath bombs as you want-–they’re your bath bombs and it’s your bath–make a whole rainbow for all I care, I just liked purple because that’s what went with my sprinkles. But never ever use food coloring–not only will you color your skin, but you’ll color the bathtub, too. So, even though it might be a bit less convenient, use either soap colorant or mica powders–it’s worth it in the long run.
- These geode crystal bath bombs are made-up of essential oils, citric acid, and a bit of water (with some other stuff but that’s the basic recipe), just like all of my bath bombs. So, if you’re having trouble getting your bath bombs to hold their shape, they’re probably not wet enough–the mixture is intended to be a bit dry. Just add a little spritz of water and try again. But if you keep having trouble, check out this article on trouble-shooting bath bombs and shower fizzies.
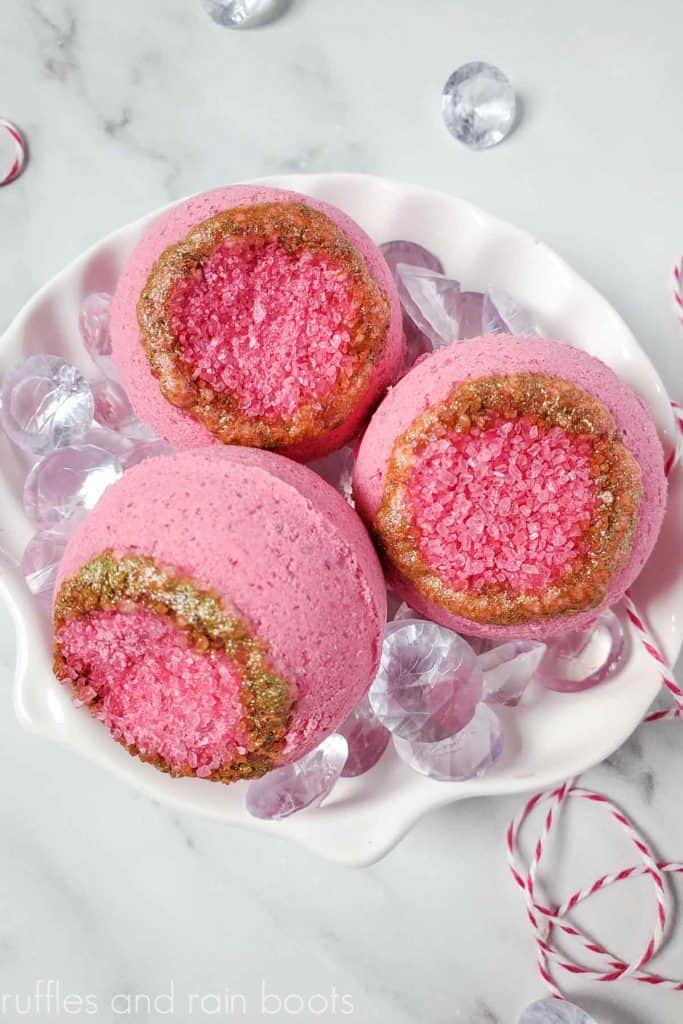
A Different Type of Geode Bath Fizzy
If you can’t find the crystals, consider making these ridiculously easy geode bath bombs with sea salt. They are fun to make with little ones and you can get some really fun colors.
How Do I Make Geode Bath Bombs?
I’m so glad you asked. Below is our written tutorial.
Geode Bath Bombs
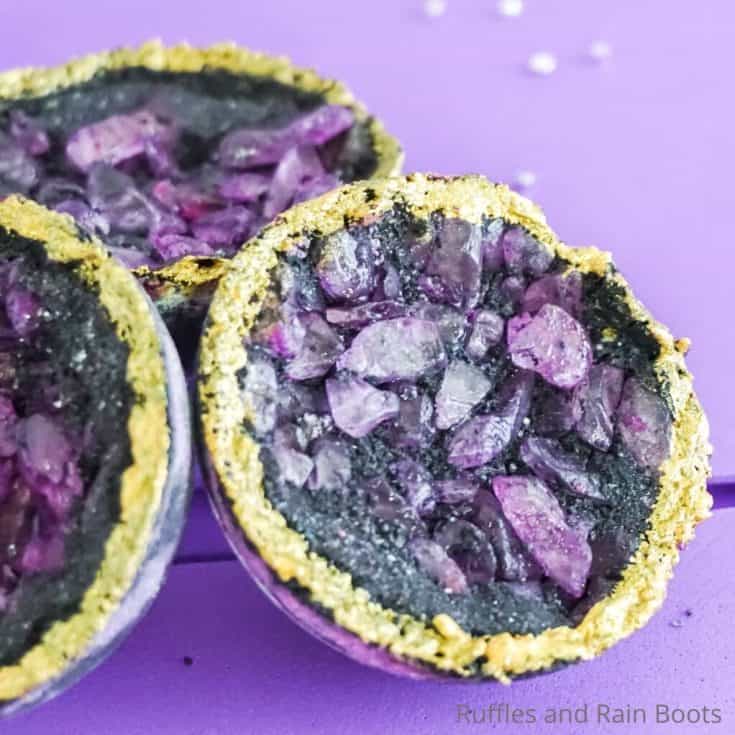
These easy geode bath bombs are such a fun way to craft with the kiddo and the resulting bath bomb is so cool, you'll definitely want to be giving them away as gifts!
Materials
- 1 cup baking soda
- 1/2 cup citric acid
- 1/2 cup cornstarch
- 1/4 cup epsom salts
- 2 tbsp melted coconut oil
- 2 tsp witch hazel
- 1 tsp pink mica powder
- 1 tsp blue mica powder
- 5-6 tablespoons geode sprinkle mix
- ¼ cup activated charcoal
- Gold edible glitter
- 1/2 tsp alcohol
Tools
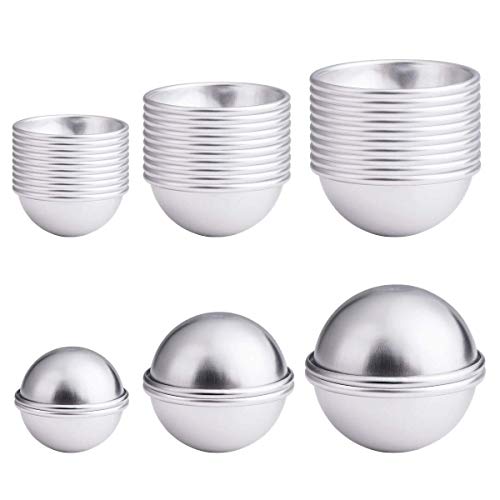
- Bath Bomb Molds
- Assorted Bowls
- Small Spray Bottle of Water
Instructions
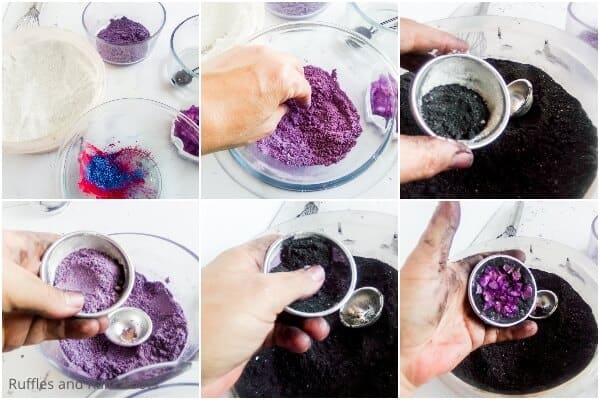
- Combine the baking soda, citric acid, cornstarch and epsom salts.
- In another bowl, stir together the melted coconut oil and witch hazel.
- Add the wet ingredients, about 1 tsp at a time, to the dry ingredients, stirring slowly so as not to kick up the fizzing.
- Separate about 1/2 of the mixture into a second bowl.
- To one bowl, add both the pink and blue mica powders and stir together to get it purple throughout. In the other bowl, add the charcoal and stir together.
- Dust a bath bomb mold with cornstarch.
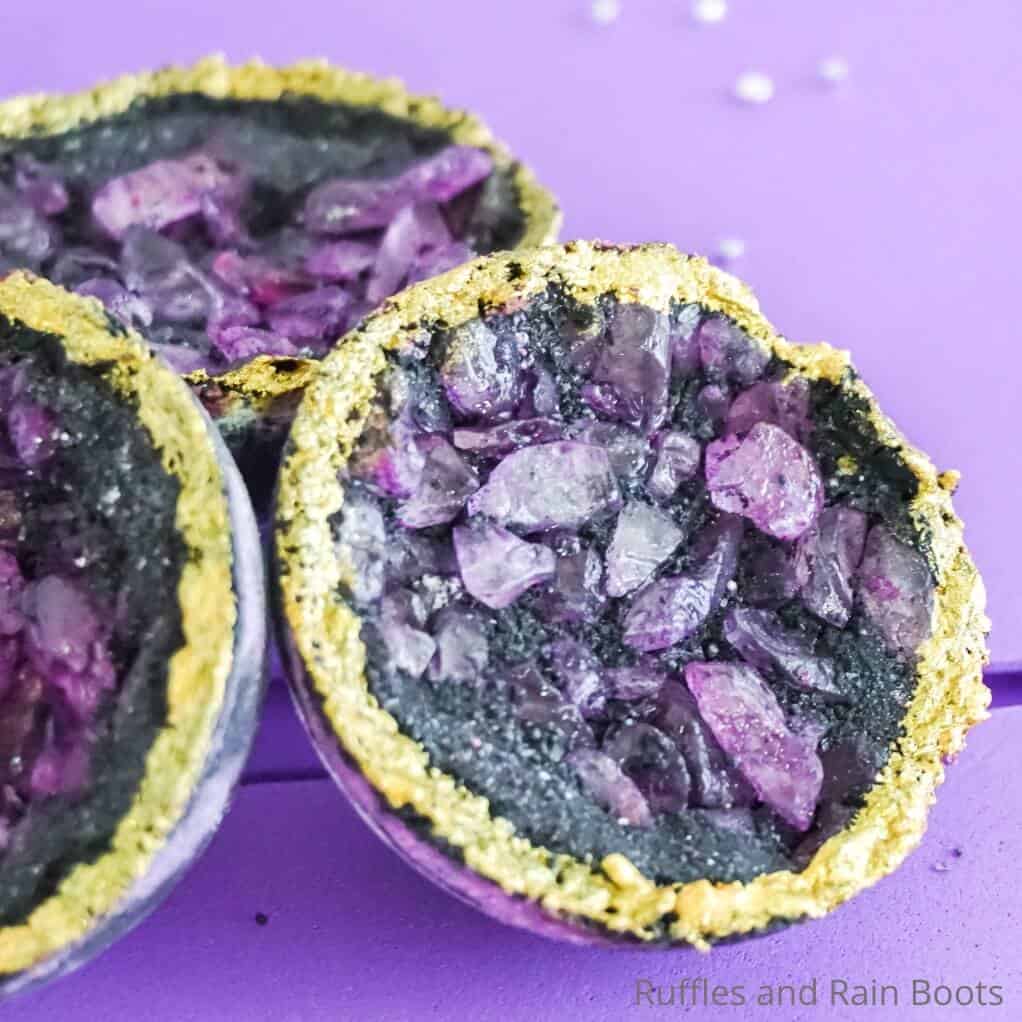
- Pack the bath bomb mold, starting with the charcoal mixture, along the edges, about ¼-inch thick. Add a layer of the purple mixture, most of the mold. Press the mixture into the mold solidly.
- Add about a half tablespoon of the crystal sprinkles, pressing them into the mixture to help them stay in the bath bomb.
- Allow your mostly-complete bath bombs to dry in the mold for up to 24 hours. When dried, gently tap the side of the mold to get the bath bomb to release.
- Combine the gold glitter spray and alcohol, then paint on a stripe to the top of each bath bomb.
- Use your bath bombs immediately or store in an airtight container until you’re ready to use!

Notes
For more fun bath bomb DIYs, visit Ruffles and Rain Boots!
Recommended Products
As an Amazon Associate and member of other affiliate programs, I earn from qualifying purchases.

More DIY Bath Bomb Recipes You Might Like
- Adorable Donut Bath Bombs – These donut bath bombs are everything. They’re cute, fun and really quick to make–and the kid loves them!
- Glow in the Dark Bath Bombs – If you’re looking for a fun craft to make with the kid and some fun times in the dark bathroom, these glow in the dark bath bombs are where it’s at.
- Fresh Lemon Bath Bombs – Need a refreshing start to your bath time? This. Bomb. Is. It. Get the easy recipe and get fresh!
Please Save This to Pinterest
Your shares are how this site grows and I am sincerely grateful. Know a friend who’d like this? Please share it on Facebook or save it to your favorite easy DIY bath bomb recipe board on Pinterest.
Meet the Creator
Hi there, I’m Sarah Nenni-Daher. I’m a crafty gal and always have at least 14 projects going at once. I am a crafter, designer, DIYer, and pattern maker. I share my creations here and in the Ruffles and Rain Boots® Shop.
Here at Ruffles and Rain Boots®, you’ll find DIY gnomes, crafts, gifts, cupcakes, laser crafts, and so much more. I love sharing video tutorials over on YouTube and chatting with other crafters in my Facebook groups. We’d love to have you!