
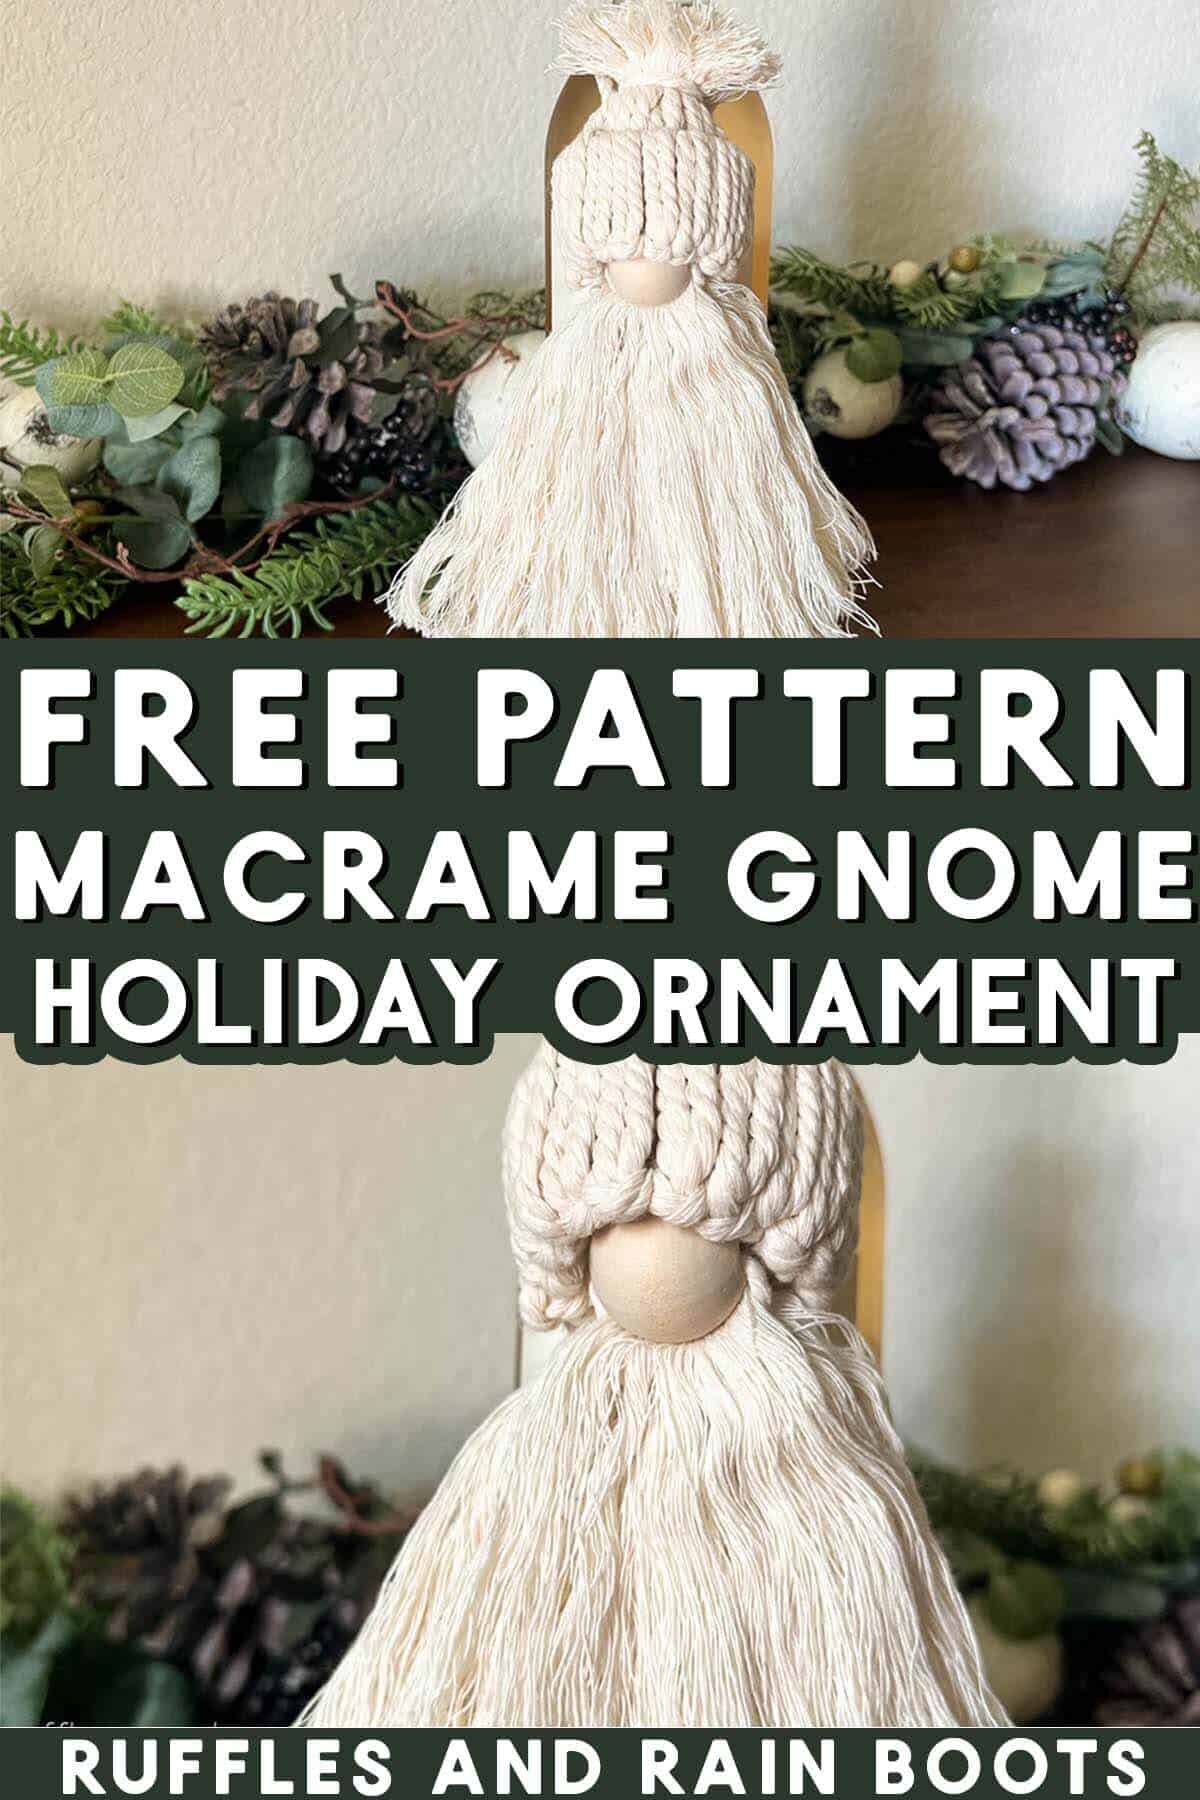
Macrame Gnome Ornament – Free Pattern
This free macrame gnome ornament pattern will put those idle hands to great use and will WOW everyone this holiday season. The best part? This handmade ornament idea uses only a few basic craft supplies.
For this easy Christmas craft, you will need macrame cord, a paper towel roll, and a wooden bead. Grab some scissors and let’s get started.
RELATED READING: More Gnome Ornament Tutorials (Free Patterns)
As an Amazon Associate, I could earn from qualifying purchases. There could be affiliate links within this article.
Macrame Gnome Pattern and Tutorial
Here at Ruffles and Rain Boots, I like to challenge myself with new craft mediums and this year, I’ve taken a shine to macramé (the art of knotting cord or string to make decor and art). I’m still a beginner, so you can be guaranteed this is an easy macrame project!
I’ve shared another macrame project for Christmas here (it’s adorable and uses ALL Dollar Tree items). If you’re new to this, check that out because it’s even easier than this Christmas macramé.
And even though the Taffleberry video (linked below) is made very differently, I had the idea for this macrame gnome because that hat was TOO cute. So, I ordered up some cord, put on an Audible book, and got to work!
Think This is Awesome and Others Will Like It? Please Save or Share
It’s no secret that your shares are how this site grows and I am sincerely appreciative of each and every one. If you think this is pretty great free macrame pattern and holiday craft idea, save it to a DIY pin board. Better yet, share it on Facebook to your feed or to a crafty group you’re a member of – they’ll love this!
As an Amazon Associate, I could earn from qualifying purchases. There could be affiliate links within this Christmas macrame article.
RELATED READING: DIY Macrame Ghost (Rope Ghost)
Easy Beginner Macrame Ideas: Tips and Project Hints
- The only macrame knot you’ll need to know is the lark’s head knot. It’s a simple loop, so nothing too fancy. If you’re unfamiliar, I show you step by step how to make a lark’s head knot in the video tutorial.
- The size of the cord or yarn will matter. Most of the time, the thickness determines the length of time it takes, but also is used to create a certain look.
- In this Christmas ornament tutorial, I used this 6 mm cord for the beard and the chunky width allows the beard to retain its shape without the need for a stiffening spray.
- The easy hat can be made with yarn or thinner cord (3 or 4 mm is best; I used this). Macrame cord comes in a variety of colors, so don’t feel you’re limited to a monochromatic look like I’ve made.
- The nose will fit and stay via friction, but if you’re selling these (or sending them via the mail), use a bit of hot glue to secure it to the inside of the hat.
- Add decorations to the hat or the hanging string. Miniatures at craft stores allow you to really hone in on a gift recipient and there are tons of options available.
Ornament Pattern and Tutorial
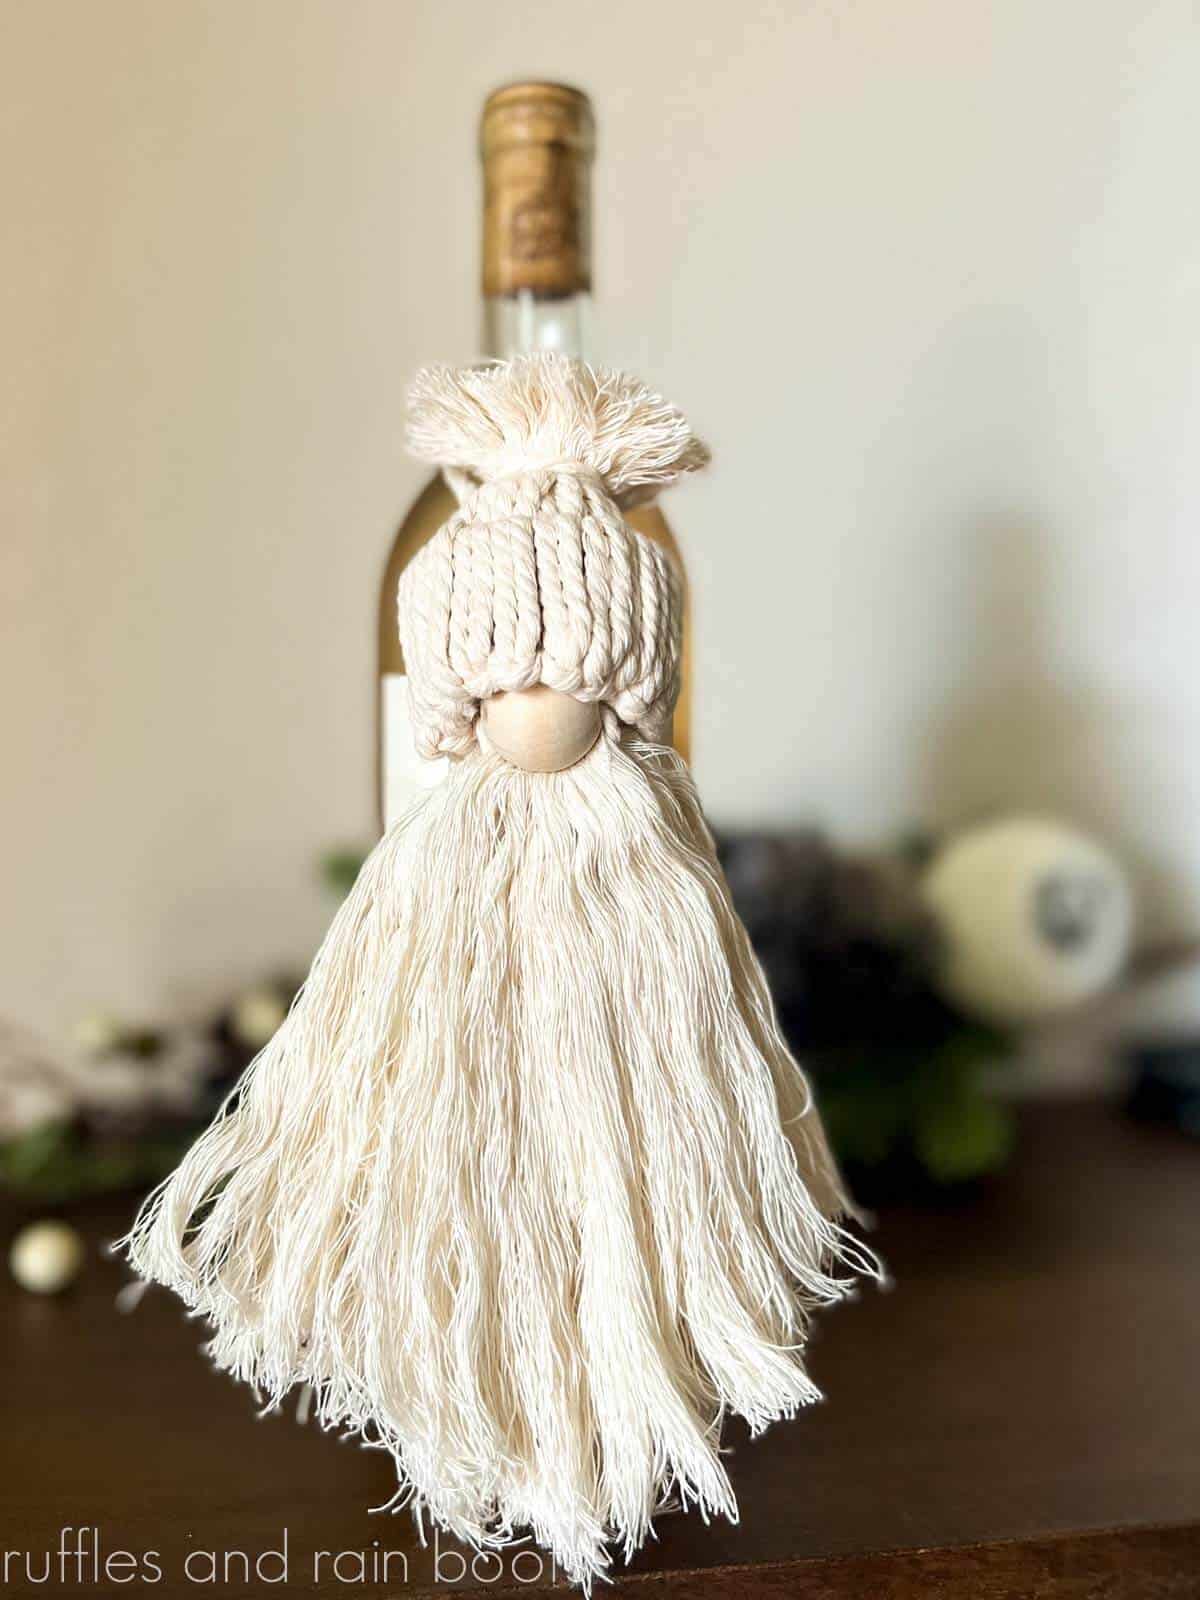
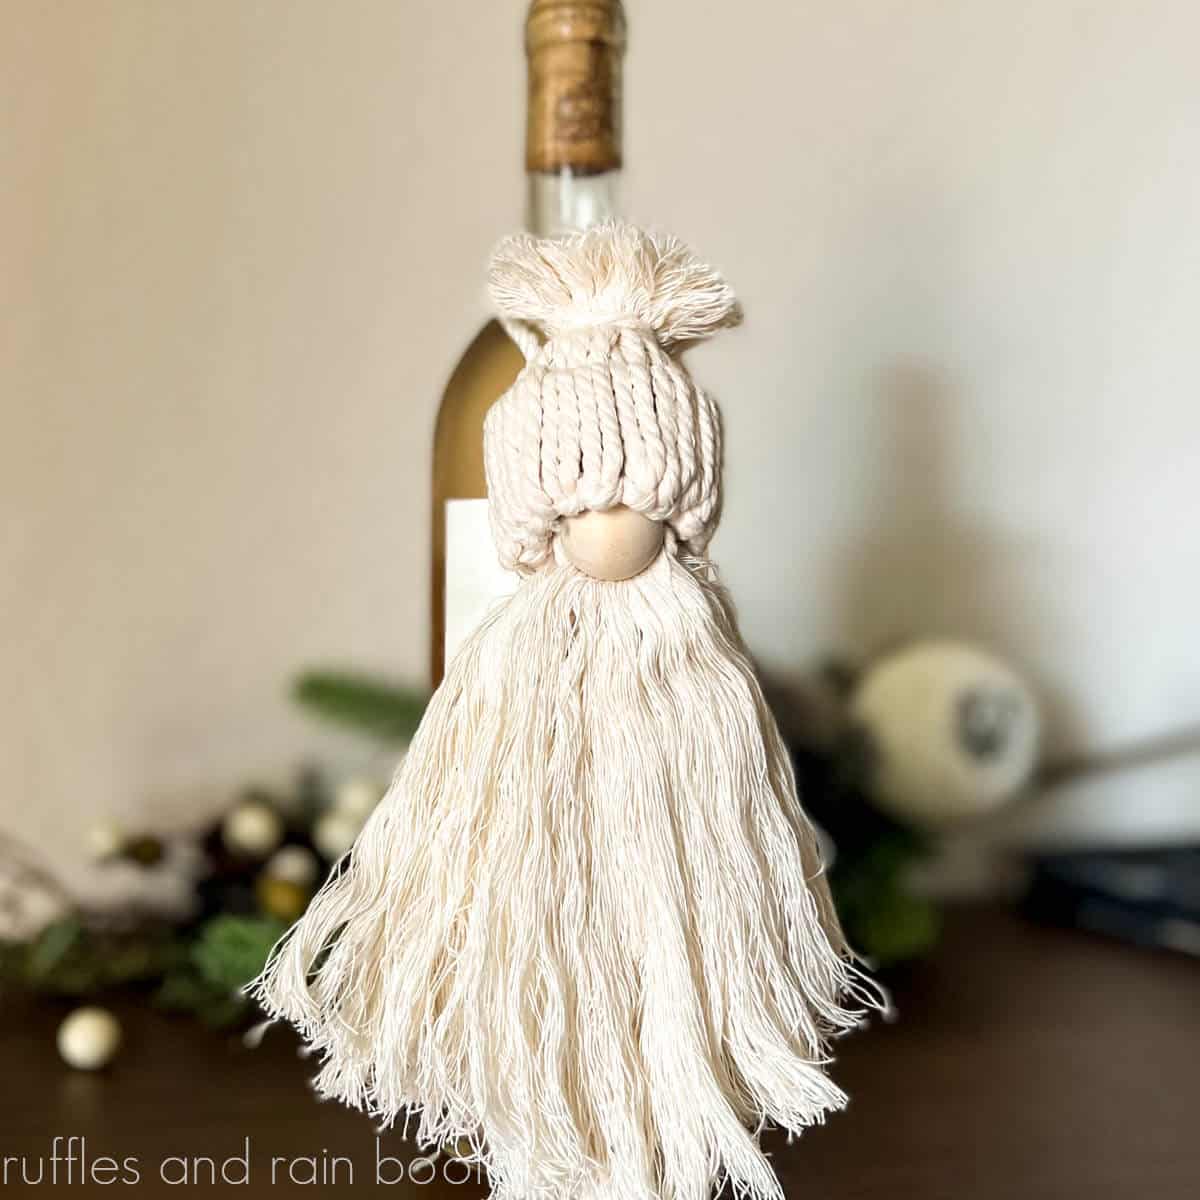
Below you will find the printable, step by step tutorial for this easy holiday craft idea. In it, I’ll share how to make a package (or wine bottle) decoration AND give you measurements for a gnome ornament or door knob hanger.
If you’re a visual learner like I am, watch the quick macrame gnome ornament tutorial here on YouTube. While you’re there, be sure to subscribe – we have a lot of fun!
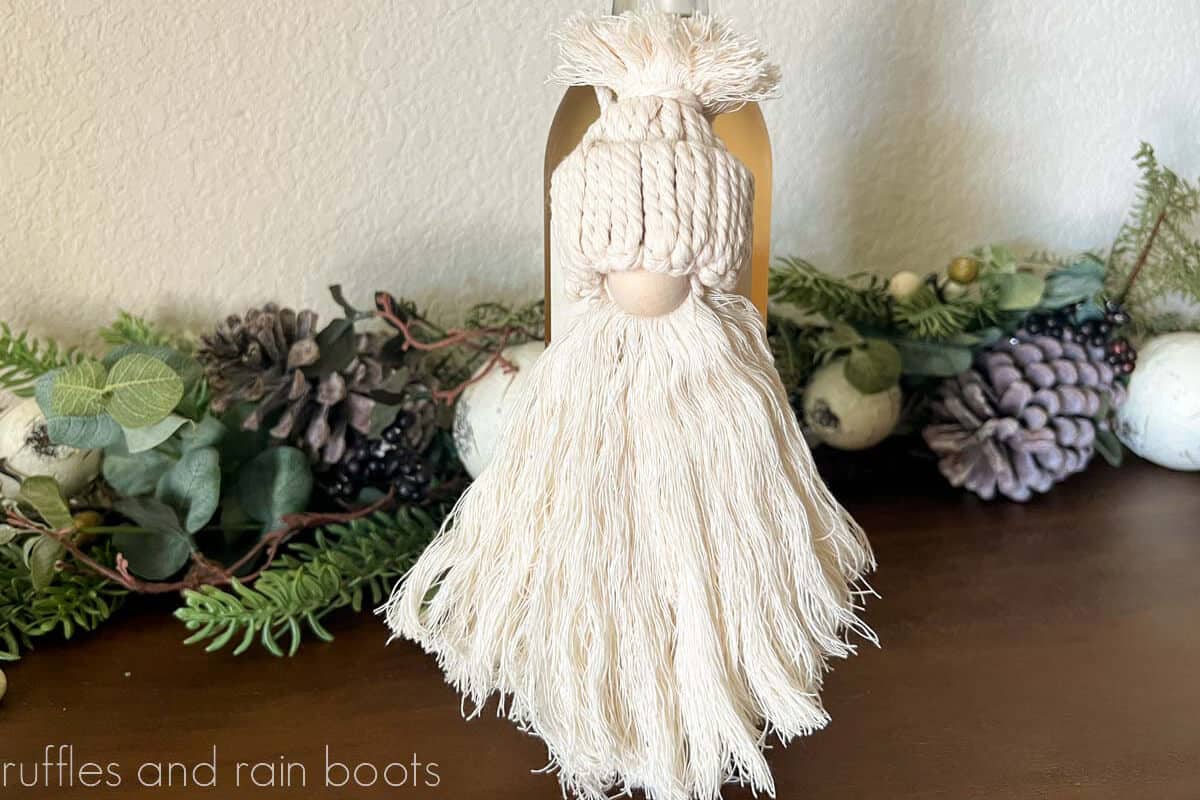
DIY Macrame Gnome Ornament Tutorial

This adorable beginner macrame gnome ornament comes together with minimal effort and just a few basic craft supplies. Grab you scisosrs and learn how to create an adorable gnome wearing a winter hat.
Materials
- 6mm macrame cord
- 3 or 4 mm macrame cord or yarn
- 3/4 or 1 inch wooden bead
- paper towel roll
Tools
- scissors and rotary cutter (optional)
- ruler
- slicker brush
- craft tape
- cutting board or protected surface
- optional, hot glue gun and glue sticks
Instructions
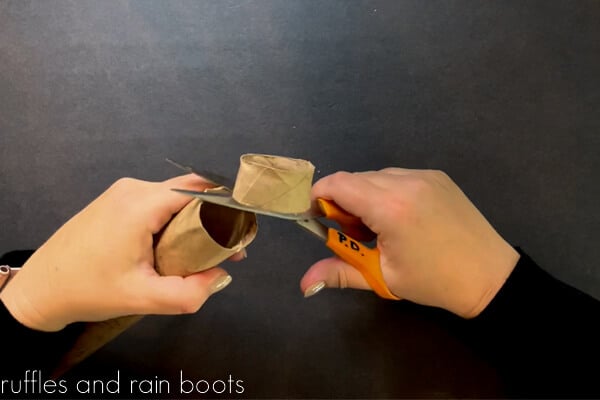
- Use the scissors to cut 1-inch from the paper towel roll.

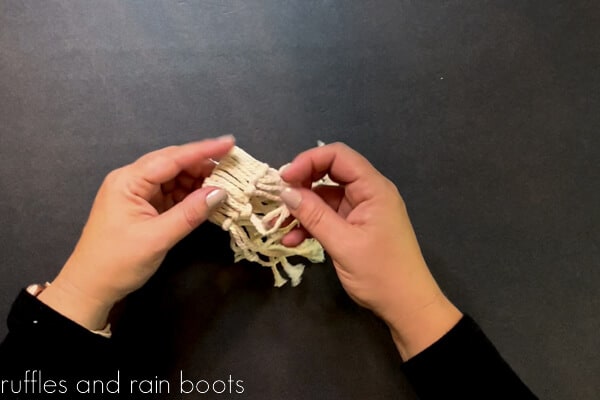
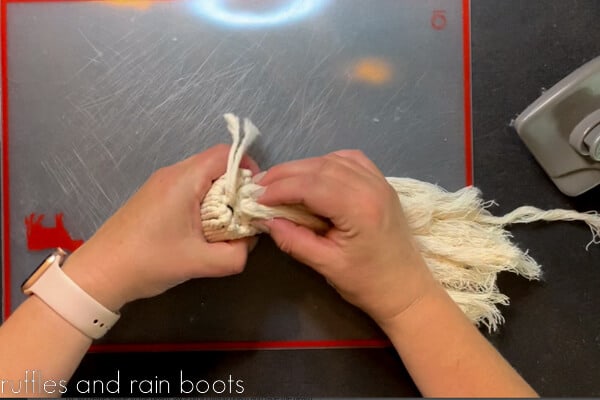
- Lay out the ruler. Measure and cut 20, 12-inch long pieces of the thinner cord for the hat. Use a lark's head knot to cover the entire hat with these cords, lining all the knotted sides up with the edge of the paper roll.
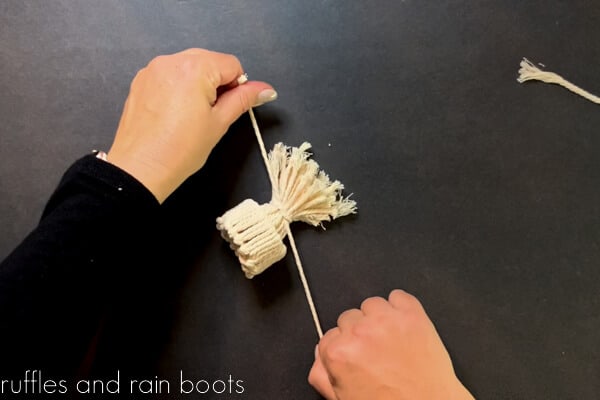
- Tuck all of the ends of the cords into the center of the hat, pulling them through the other side. Cut a piece of 12 inch cord (or yarn) and use a double knot to tie off all hat cords about 1-inch above the brim. Pull tight and thread the ends into the center of the hat to hide them. Cut the top with the scissors to form a pouf.
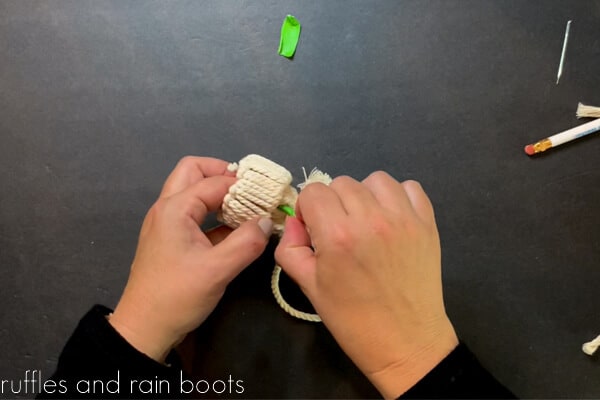
- Lay out the ruler. Measure and cut 1, 14-inch long piece of the thinner cord. Thread it through the back of the hat (up through the center and out through the center) and tie it in place to create the hanger. NOTE: For a longer drop (such as an ornament), cut an 18 to 20-inch piece.
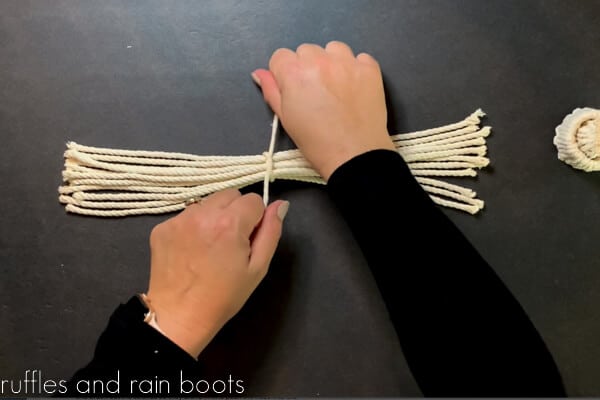
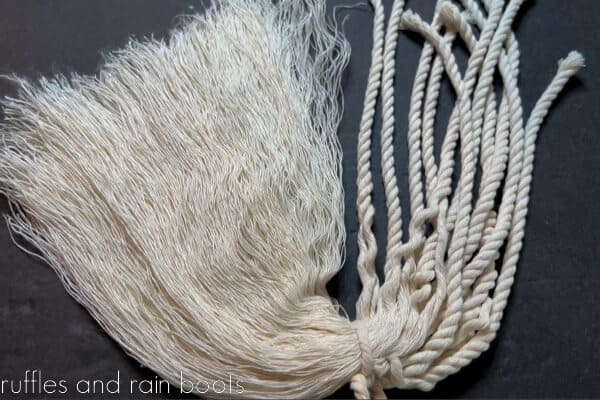
- Lay out the ruler. Measure and cut 11, 14-inch long pieces of the thicker cord for the beard and 1, 12-inch cord to tie them together in the center with a double knot.
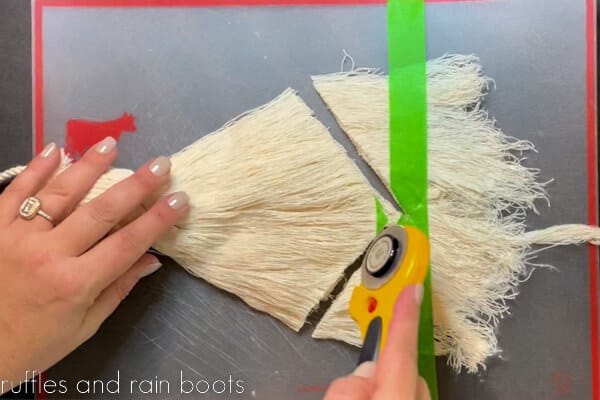
- Unravel each of the beard cords. Place the beard on a cutting mat and brush them out with the slicker brush, holding the center join so that no cords are pulled through.
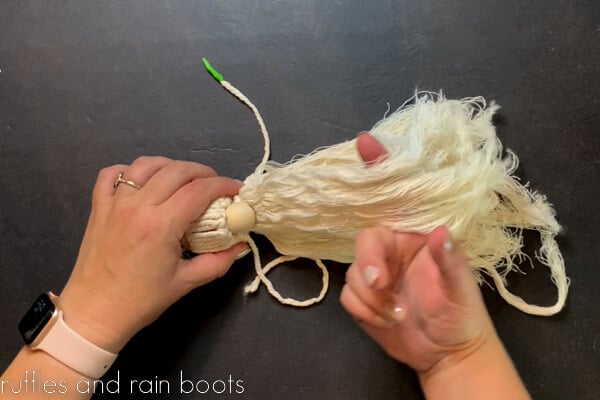
- Use the center cord to thread the beard through the center of the hat, tying it in a double knot at the back of the hat near the brim. Be sure to pull the beard as far as it can go into the hat. Tuck the leftover strands into the center of the hat.
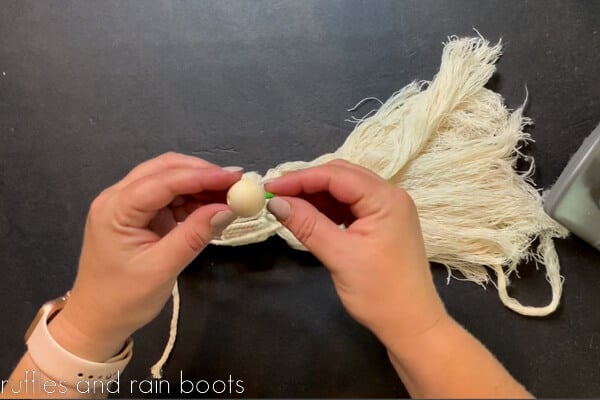
- Use the tape to tightly secure and cover one end of a 14-inch piece of the thinner cord. Thread it through the center of the wooden bead.
- Lift part of the beard in the front, and tie on the nose underneath, securing very tightly and pushing the knot as high as it can go. Unravel and brush out the strands so they blend in and push the nose into the hat. It should fit with friction, however, you can secure it with hot glue.
- To create shape to the beard, lay it on a cutting board and tape the beard down with crafter's tape. Use a rotary blade or scissors to cut the beard into your desired shape. NOTE: a v-shaped beard looks great and holds it's form well, however, a u-shaped beard is also an option.
Notes
Use any yarn in place of the macrame cord.
This piece uses friction and knots to keep everything in place, however, you can opt to glue the nose into the hat for additional security.
The creation of the hanger (step 5 above) can be skipped if a long (20-inch, at least) cord is cut to join the center of the beard pieces together. To use, simply create the beard and tie it through the hat. Note: this will produce a visible knot at the top.
More Gnome Ornament Ideas You Might Like
- Viral Christmas Gnome Ornaments – Years ago, these went BANANAS and are still going strong as one of the most popular styles of DIY Christmas gnomes.
- Farmhouse Style, Simple Gnome Ornaments – Featured by a few magazines, these make quick works of those fabric and fur scraps you have lying around.
- Pompom Gnome Ornament by Taffleberry Lane – This is a quick and adorable craft made with yarn.
Please Save or Share This Fun Holiday Craft
I sincerely appreciate each and every share, so thank you. Please save this simple macrame beginner project to a holiday pin board or share it on Facebook for others to enjoy. And stay tuned – I can’t wait to share my DIY macrame wall hanging tutorials with yoU!

I asked my aunt “if you had to pick, would you choose angel or gnome?” I was hoping she said angel since I know how to make those, but she said gnome. So here I am on christmas eve making my first gnome. Thanks for the tutorial, super easy to understand!
I’m so glad I could help, Sam. I hope you and your Aunt have a very Merry Christmas!