
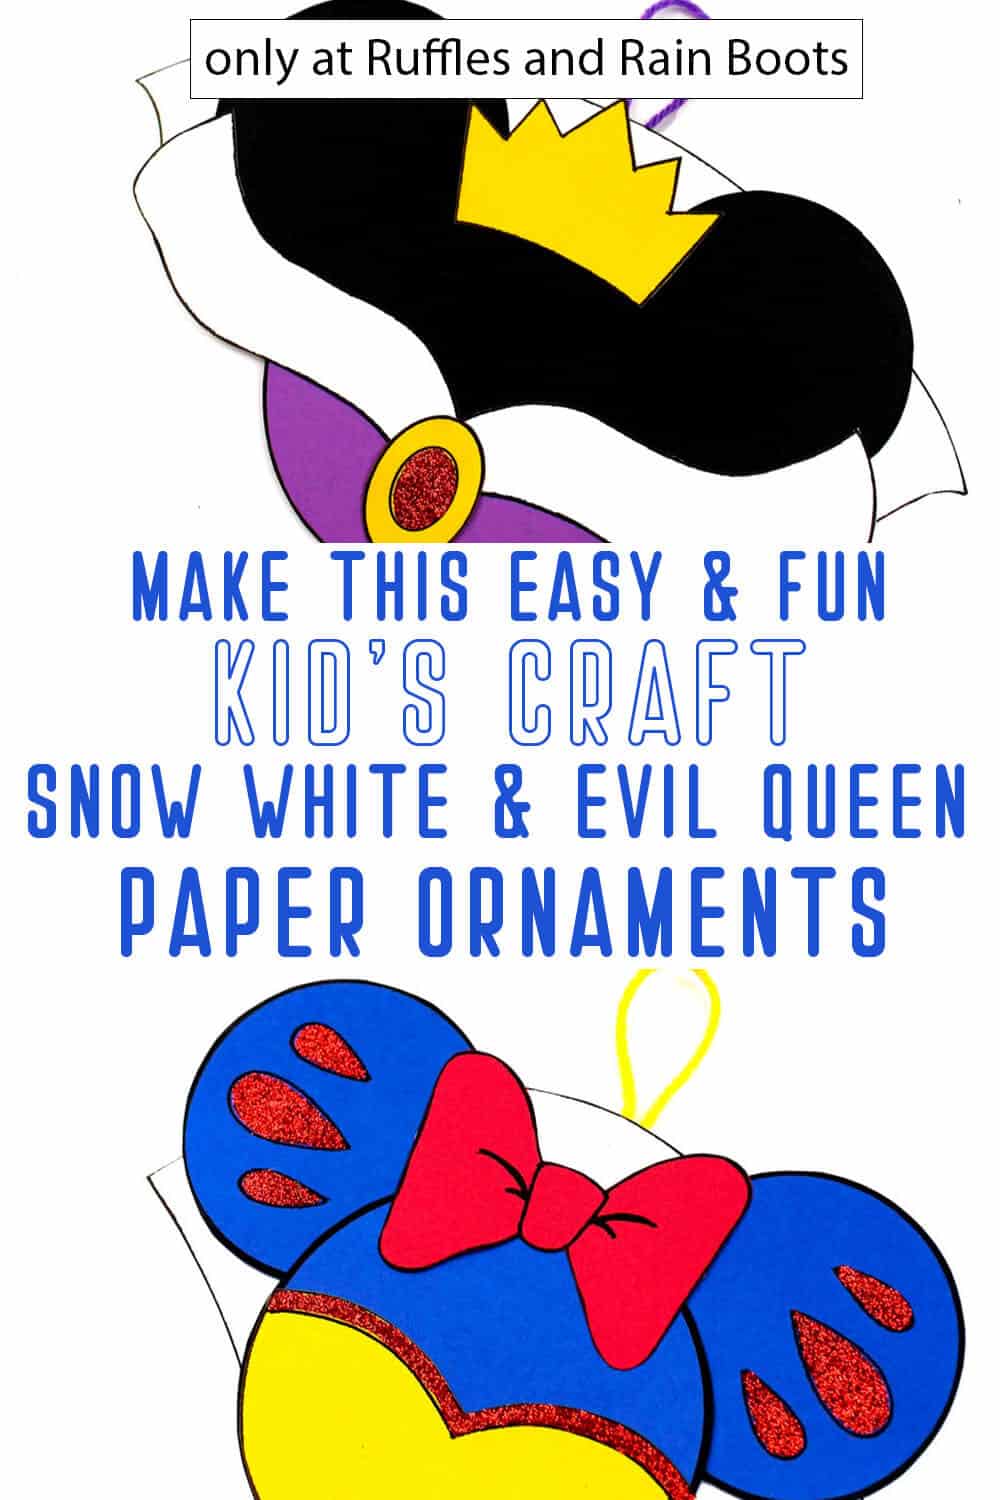
Evil Queen and Snow White Ornaments are a Fun Kids Paper Craft!
We needed a quick and fun kids paper craft for a boredom buster this week and these Evil Queen and Snow White ornaments were perfect!
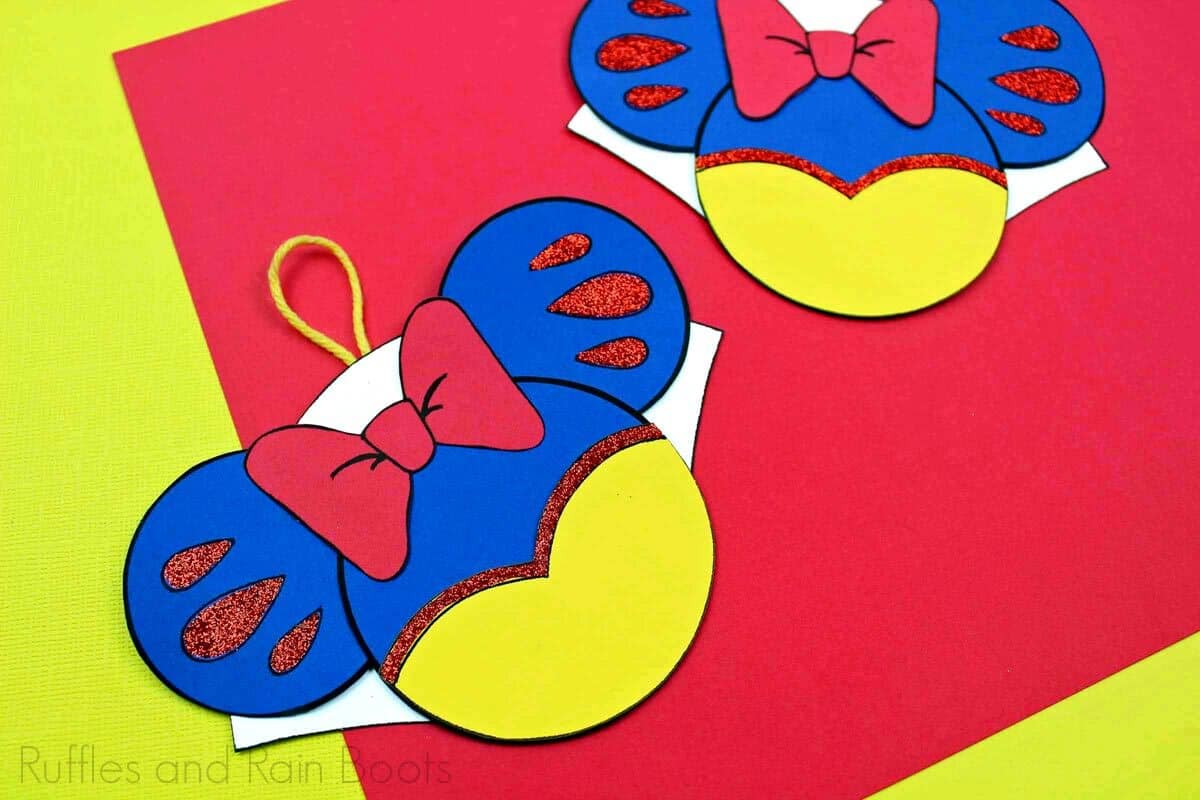
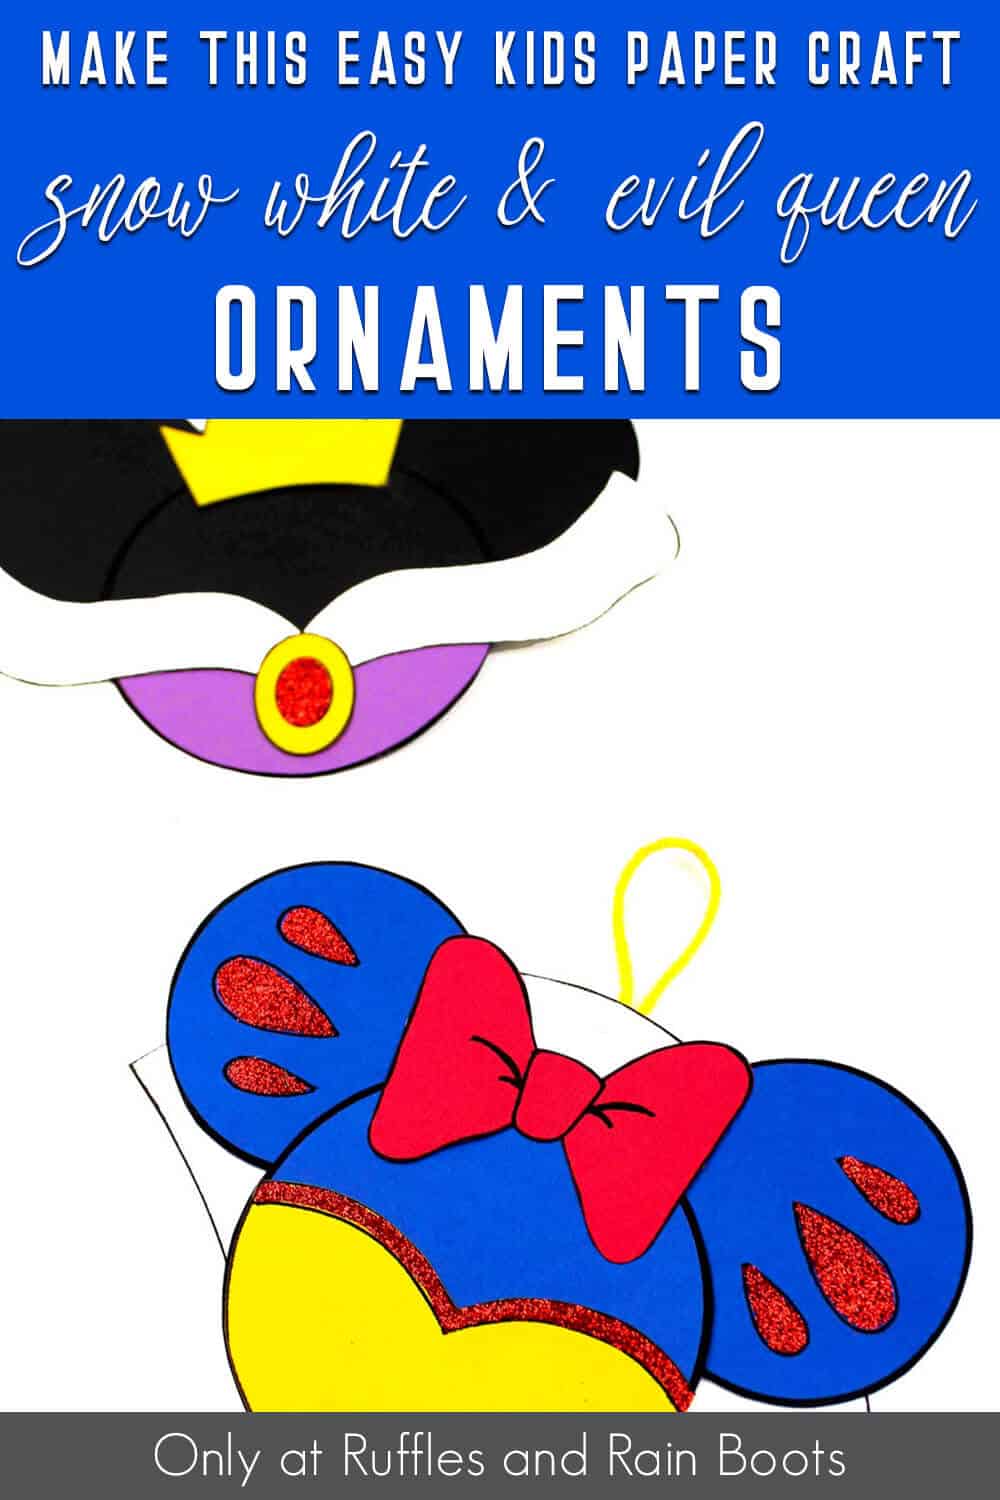
Evil Queen and Snow White Ornaments
Here at Ruffles and Rain Boots, we love making paper crafts with the kiddo. And one of our favorite activities is making ornaments! Whether they’re for the Christmas tree or a fun way to jus decorate for no other reason than it’s fun to make and decorate, the kiddo is always up for it. So, we sat down and made these fun Snow White and Evil Queen ornaments this week and it was so easy!
RELATED READING: FARMHOUSE MICKEY CENTERPIECE CRICUT CRAFT
Just a few minutes with a few pieces of paper and a glue stick and the kiddo had a piece of artwork to display on her door or on the tree! If you’re ready to make an easy kids paper craft, let’s get started.

No Time to Make This Now? Pin it for Later
You’re busy, I get it. Pin this to your favorite easy kids’ crafts board on Pinterest and it’ll be here for when you’re ready.
As an Amazon Associate, I can earn from qualifying purchases.
Tips to Make Disney Ornaments
- Click here to get these Snow White and Evil Queen ornament printables.
- At some point, I’m sure we’ll make a matching set of Seven Dwarves ornaments, but for now, you’ll just have to be content with these Evil Queen and Snow White ornaments.
- If you’re planning to go on a cruise, you can definitely take these paper ornaments on your Disney cruise or any Disney vacation to decorate your door–they will also make fun fish extender gifts.
How Do I Make These Evil Queen and Snow White Ornaments?
I’m so glad you asked. Below is our written tutorial.
Evil Queen and Snow White Ornaments

These fun Evil Queen and Snow White ornaments are a fun paper craft for kids that you can hand them, then let them create their favorite Snow White movie characters.
Materials
- Paper in Black, Purple, White, Red, Yellow and Blue
- Glitter
- String or Ribbon
- Ornament Template
Tools
- Glue Stick
- Scissors
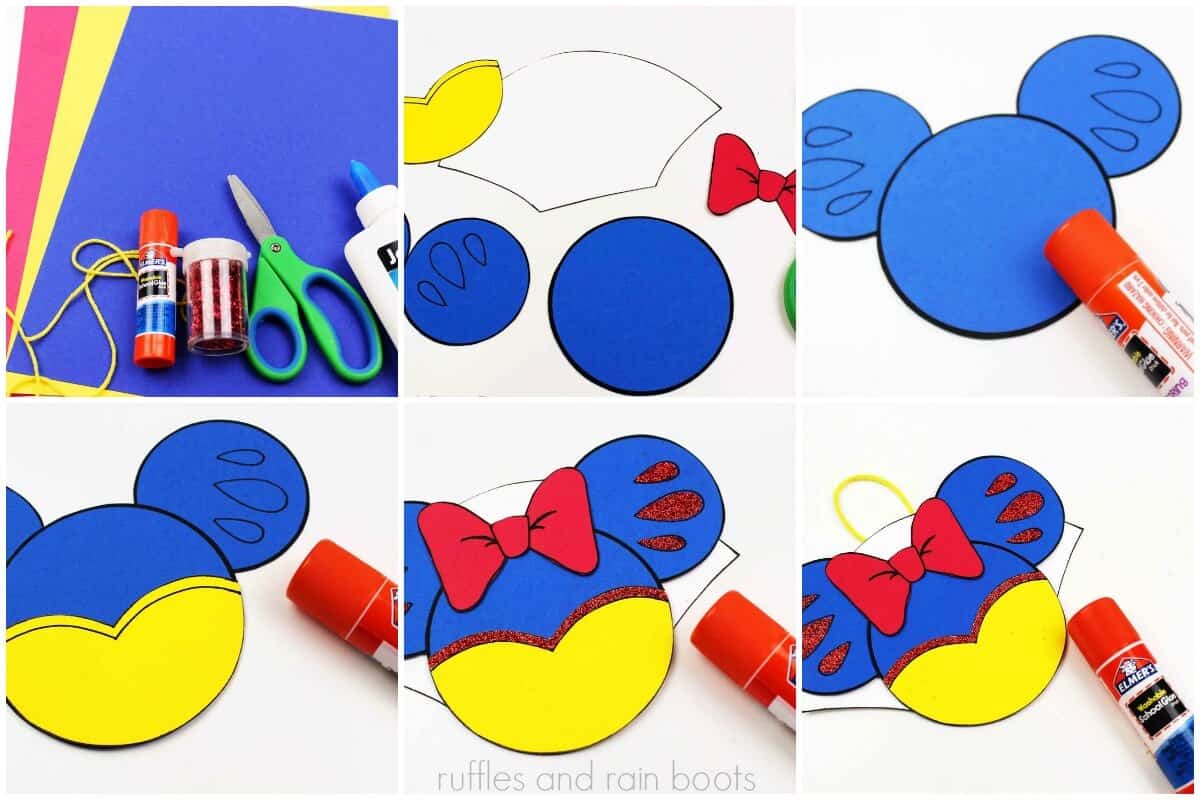
Instructions
- To make the two ornaments, download the templates, then cut out the pieces of the templates to use as a stencil.
- Draw each piece of the Evil Queen and Snow White ornaments on the colors of paper shown, then cut them out.
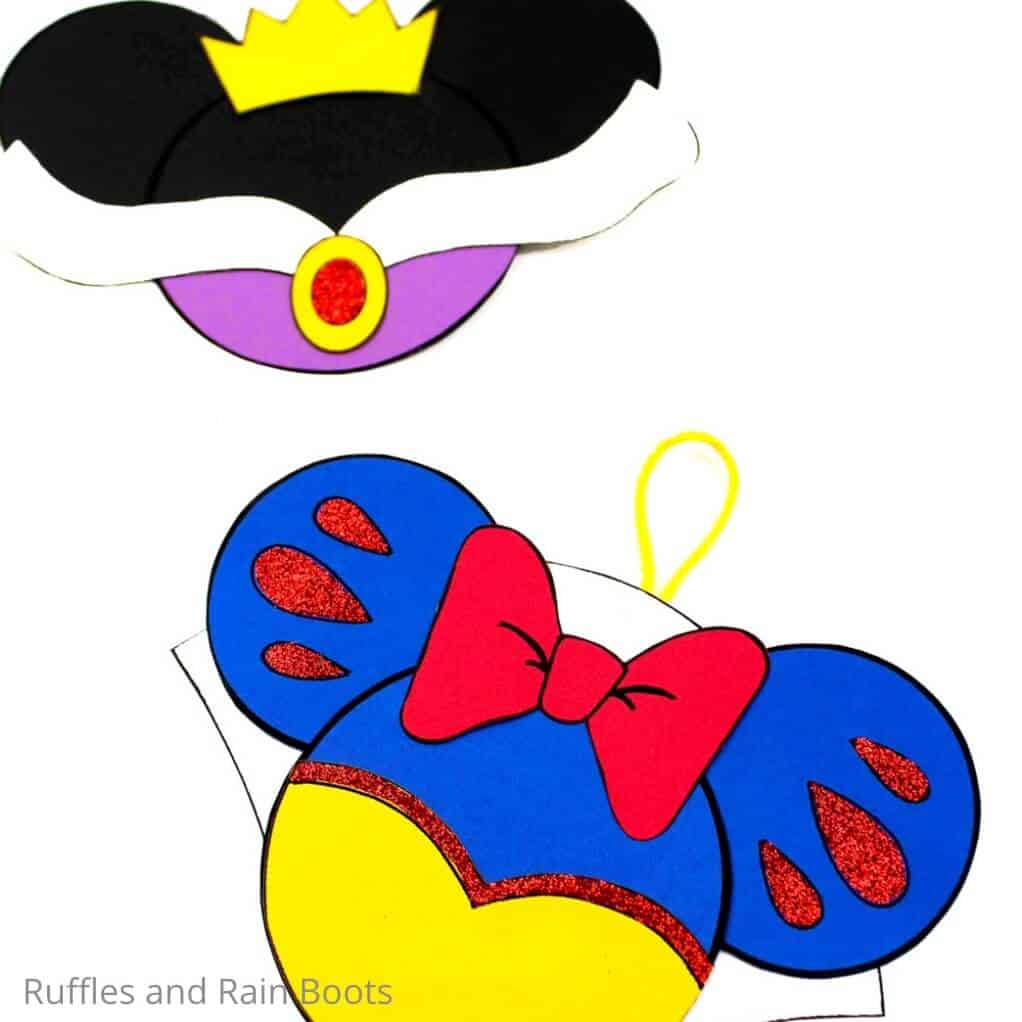
- Assemble each ornament as shown in the photos, gluing them together between each layer. Allow the glue to dry.
- Add glue to the queen's necklace medallion and the highlights on Snow White's sleeves and then add glitter on top. Allow the glue to dry.
- Add a 4-inch length of string to the back, glued in place. Allow the glue to dry.
- Hang your ornament and enjoy!

Notes
For more fun kids paper crafts, visit Ruffles and Rain Boots!
More DIY Disney Ornaments You Might Like
- Lady and the Tramp Paper Ornaments – So cute, I think I might need a little puppy-movie action to just finish off the crafting fun!
- Frozen Ornaments Kids Can Make – All the best characters from Frozen made into little paper ornaments the kids can put together in minutes!
- Jack Skellington Paper Ornaments (2 Ways!) – He’s my favorite Disney halloween character pseudo-villain that he is and this set of ornaments captures Jack perfectly.
Please Save This to Pinterest
Your shares are how this site grows and I am sincerely grateful. Know a friend who’d like this? Please share it on Facebook or save it to your favorite paper crafts board on Pinterest.
Meet the Creator
Hi there, I’m Sarah Nenni-Daher. I’m a crafty gal and always have at least 14 projects going at once. I am a crafter, designer, DIYer, and pattern maker. I share my creations here and in the Ruffles and Rain Boots® Shop.
Here at Ruffles and Rain Boots®, you’ll find DIY gnomes, crafts, gifts, cupcakes, laser crafts, and so much more. I love sharing video tutorials over on YouTube and chatting with other crafters in my Facebook groups. We’d love to have you!