
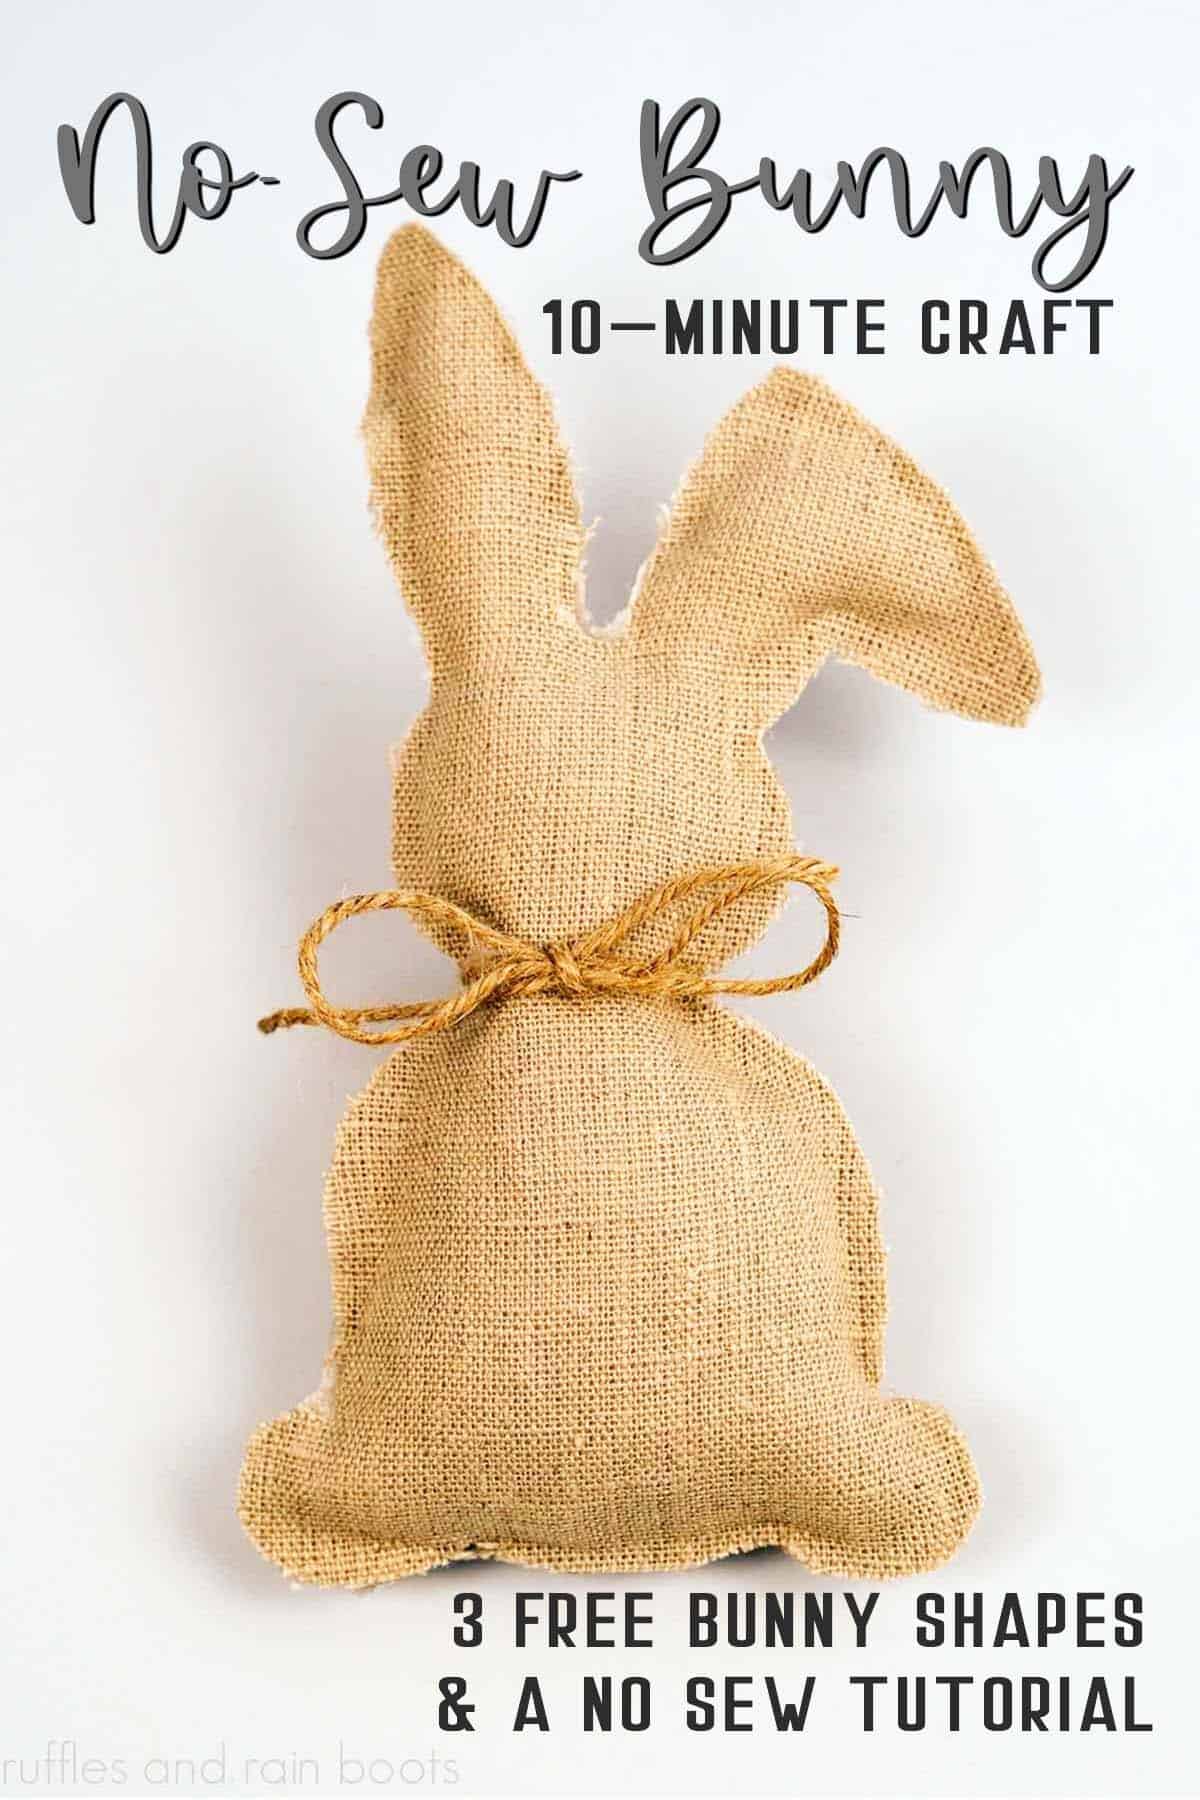
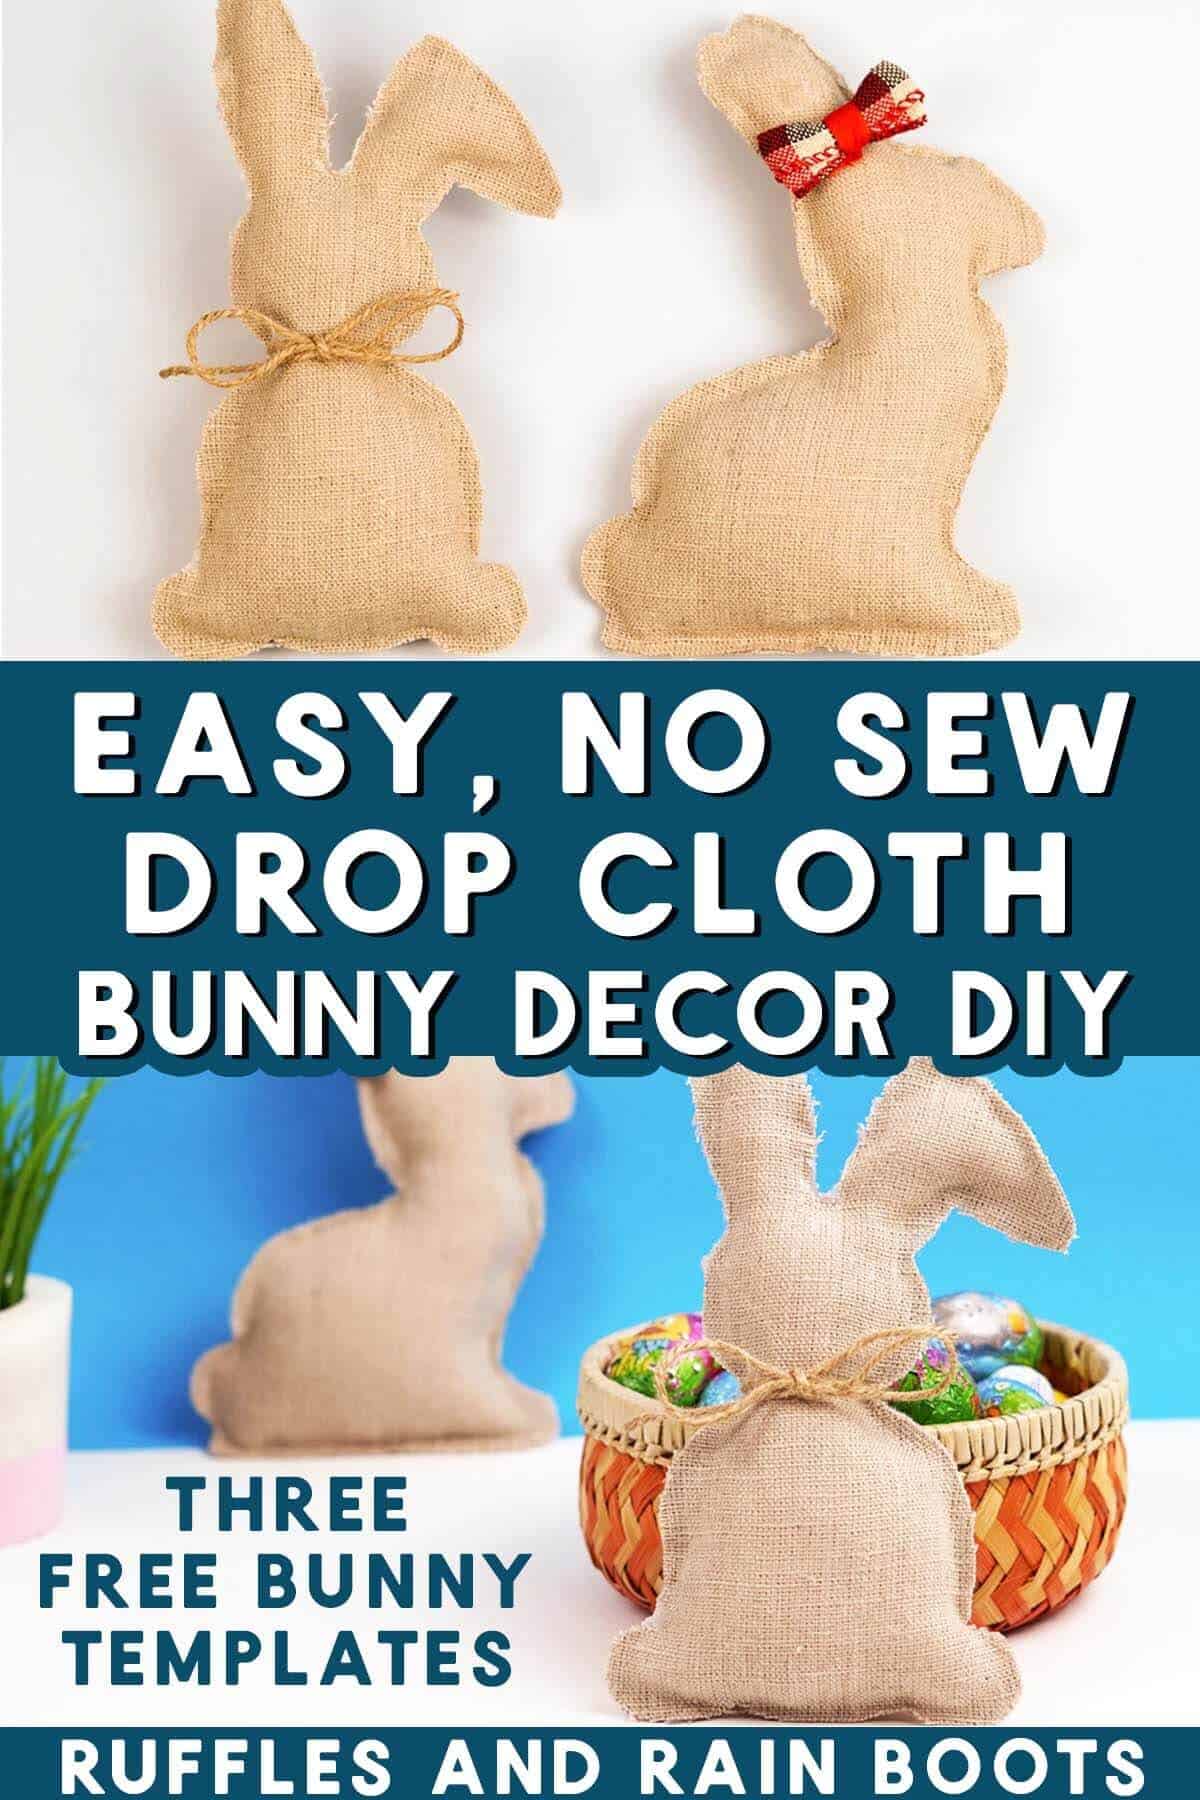
Drop Cloth Bunny for Farmhouse Tiered Tray and More
Learn how to make drop cloth bunny pillows for tiered trays, Spring displays, and more. Get the free patterns to create any size Easter bunny or rabbit creation.
RELATED READING: Hand Lettered Easter Eggs (They are So Simple)
What You'll Find On This Page
DIY Drop Cloth Rabbit Craft
Here at Ruffles and Rain Boots, I start decorating for Easter in March because I like to do all of Spring and Easter at the same time. This year, I’m using a natural drop cloth in some of my displays for a natural, neutral look with a farmhouse feel.
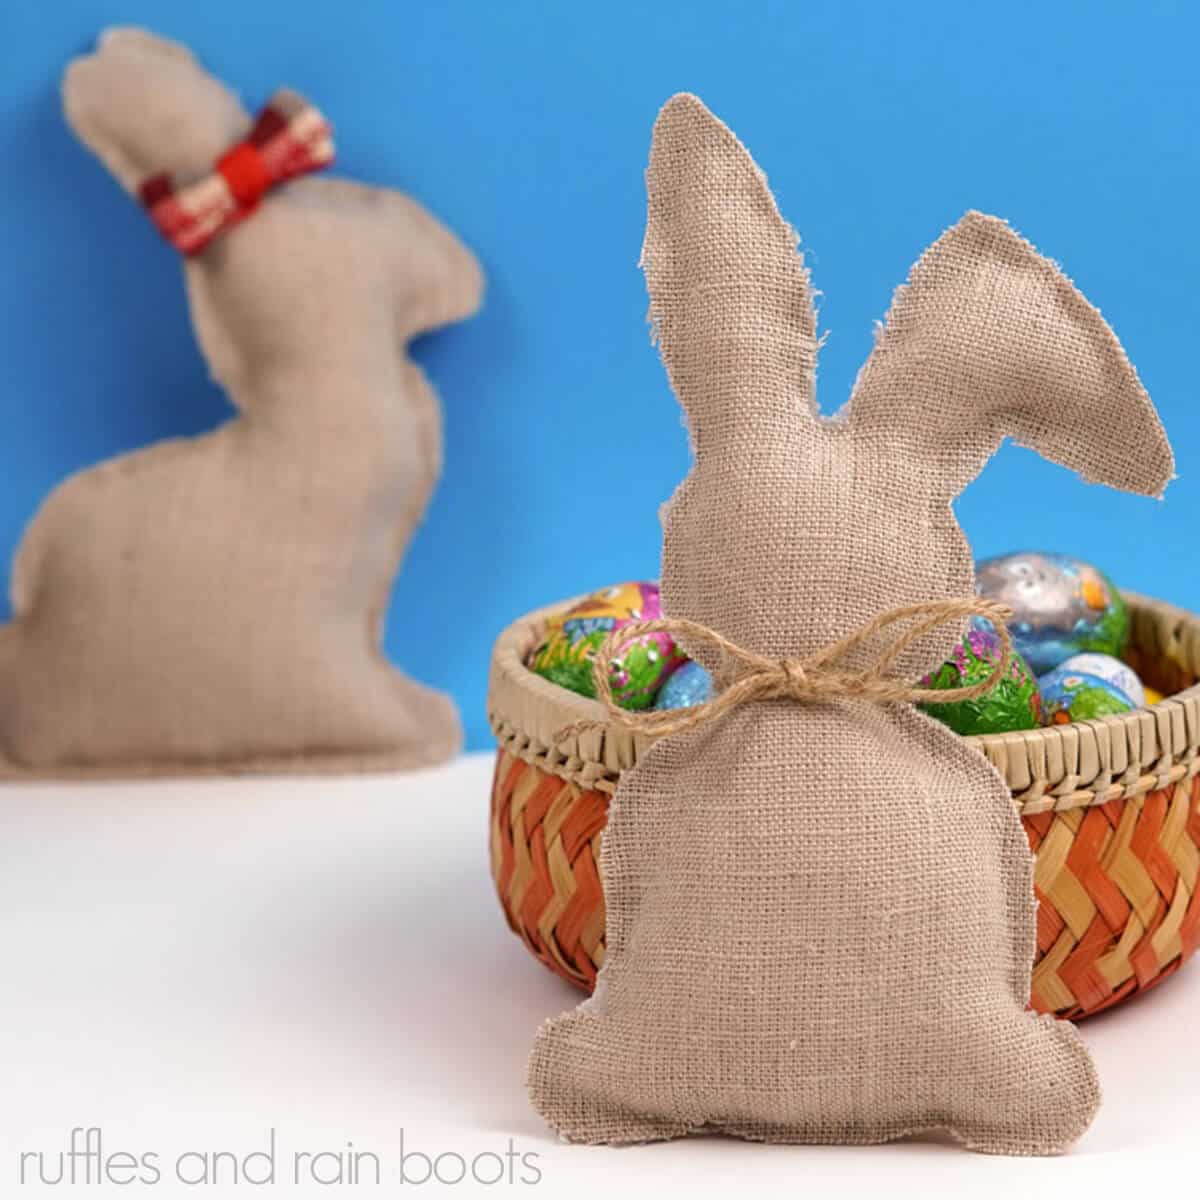
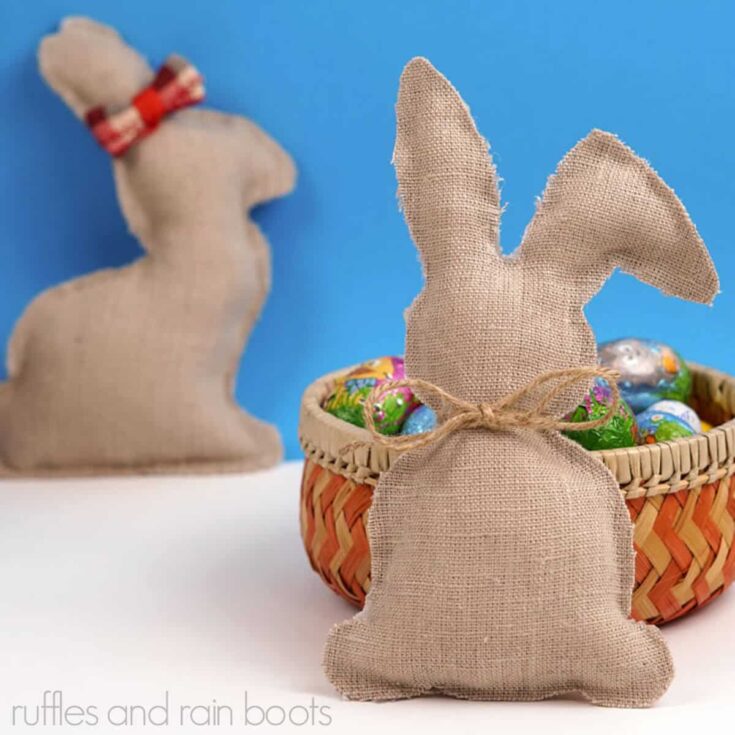
For these easy Easter bunny crafts, I am weighting some to be used in my trays and tucked into book cases and a larger one to put on the front door in the center of my Spring wreath. I can remove it easily and go from Easter decor to Spring in about a minute.
If you need to gather some supplies or wait closer to the season to make these, save this to a Spring ideas pin board or share it on Facebook. Both will make it easier for you to find this later and start crafting with the free bunny templates.
As an Amazon Affiliate, I could earn from qualifying purchases. There could be affiliate links within this article.
Tips for Making DIY Bunny Pillows
- How to Sew Drop Cloth Bunnies – You can take these patterns to the sewing machine – leave the bottom between the legs open for turning and stuffing. If sewing, use a jeans needle (110/16 or 110/18) on drop cloth.
- Weigh Down the Canvas Bunny – No matter how you assemble these drop cloth bunnies, add weight. Some will stand up but mostly the weight is to help them stay upright. You can use small rocks or Poly Pellets.
- How to Stuff the Canvas Bunny Pillows – Use Poly Fill purchased from a craft store, the inside of repurposed stuffed animals or pillows, or go to a big box store and get inexpensive stuffed bed pillows. When stuffing, be sure to fill the form enough that it bounces back to its original shape when squeezed.
RELATED READING: Drop Cloth Gnome, Carrots, and Easter DIYs
Instructions and Patterns for DIY Easter Craft
Below is the written and printable tutorial for this easy craft I recommend you watch the video tutorial for these farmhouse drop cloth bunny pillows here on YouTube (the final project). While you’re there, please subscribe – we have a pretty good time over there.
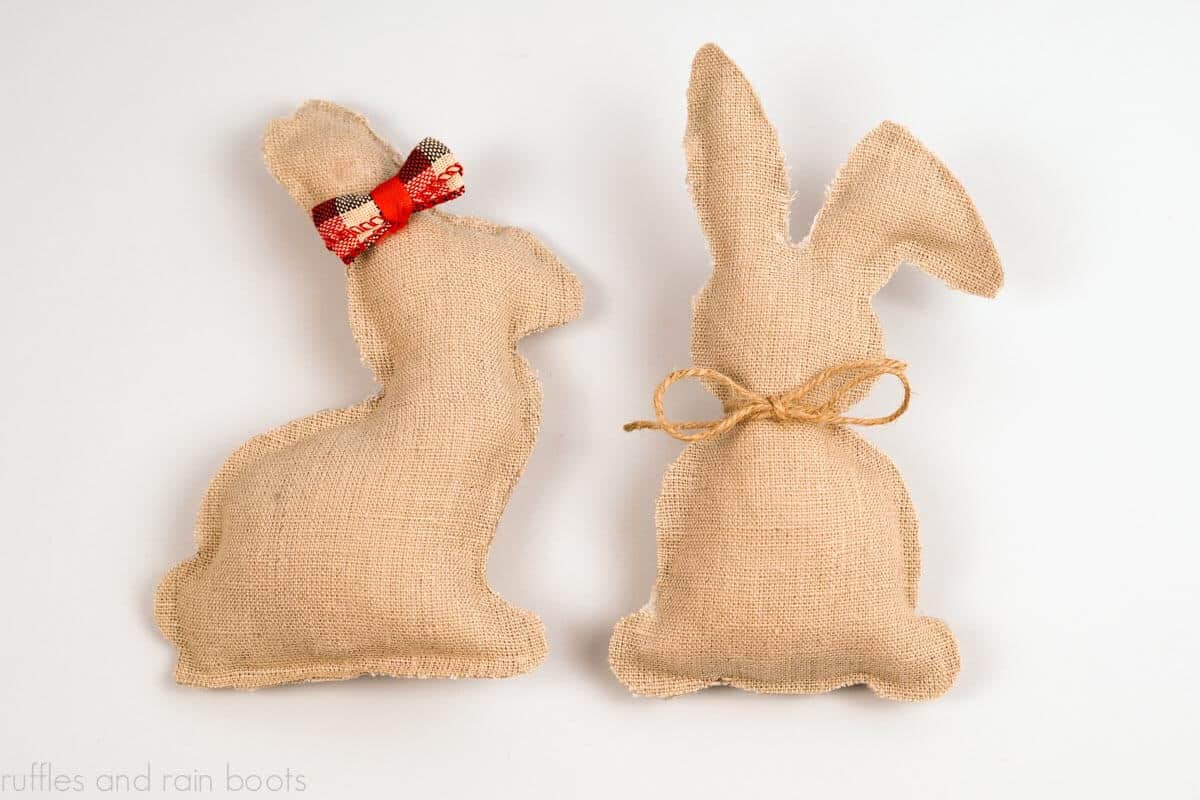
Drop Cloth Bunny DIY for Easter
These adorable drop cloth bunny DIY projects are done in no time at all using a hot glue gun, fabric glue, or sewing machine. Add a little weight, fill, and decorate these bunnies to match your decor.
Materials
- Drop Cloth, Linen, or Other Fabric
- Weight (Small Rocks, Poly-Pellets, etc.)
- Poly-Fill for Stuffing
- Bunny Templates (3 Shapes)
- Printer Paper or Card Stock
Tools
- Hot Glue Gun and Glue Sticks
- Scissors
- Pencil for Tracing
Instructions
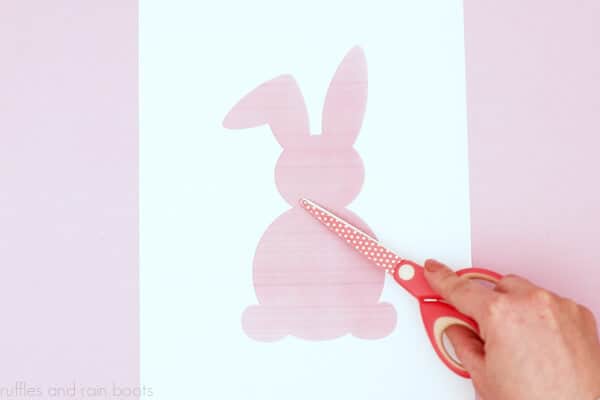
- Print the bunny templates in the PDF (or resize the PNG files to your liking). Cut them out from printer paper or card stock using scissors.

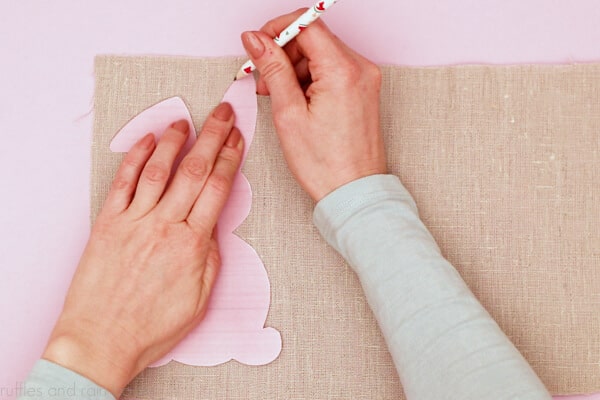
- Trace the bunny shape onto the fabric twice. Note: if using a fabric which is not the same on both sides, flip one of them.
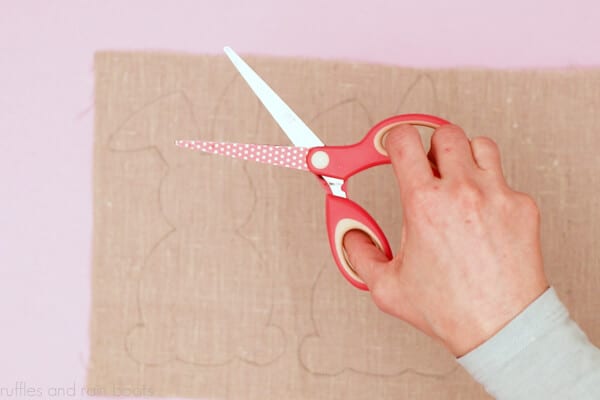
- Cut the fabric bunny shapes out (make sure there are 2 per pillow).
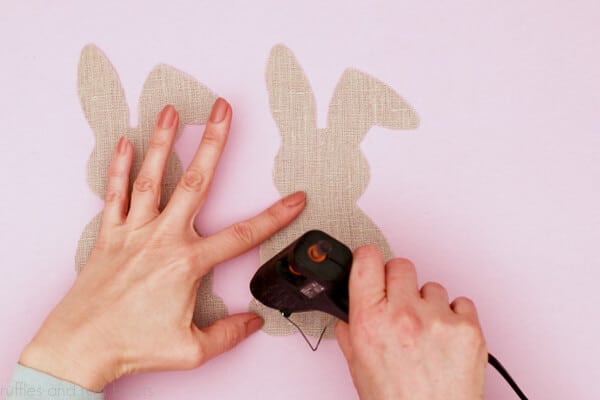
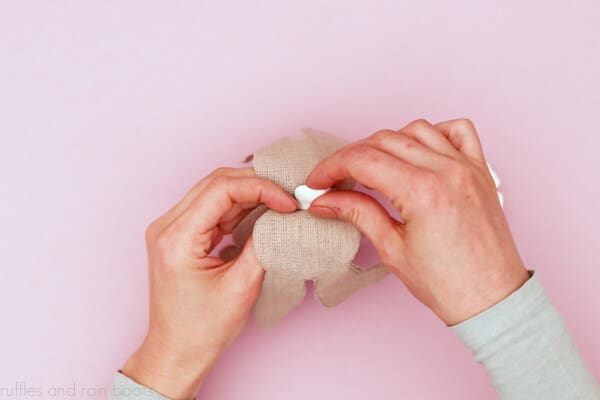
- Line up the shapes and, starting at the bottom, hot glue the shapes together using the hot glue gun and glue sticks, working in small sections at a time.
- Before moving to a new section, add weight to the bottom of the bunny.
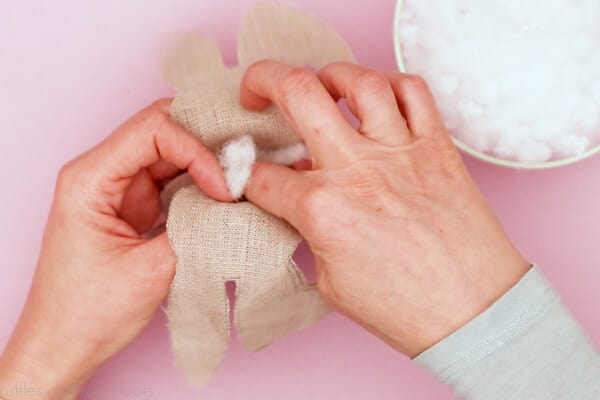
- Add fill to the section you've glued.
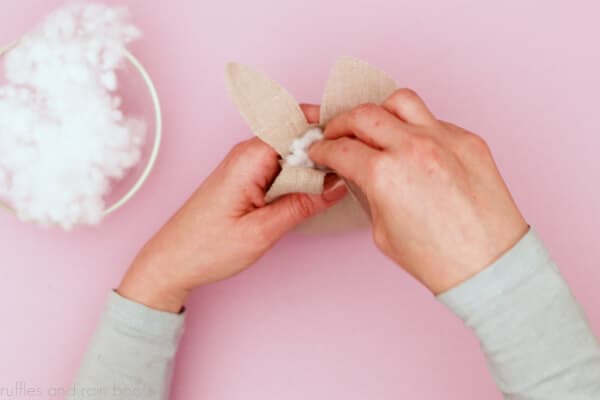
- Repeat with the other sections of the bunny until all pieces are stuffed (no additional weight is needed except for the bottom section).
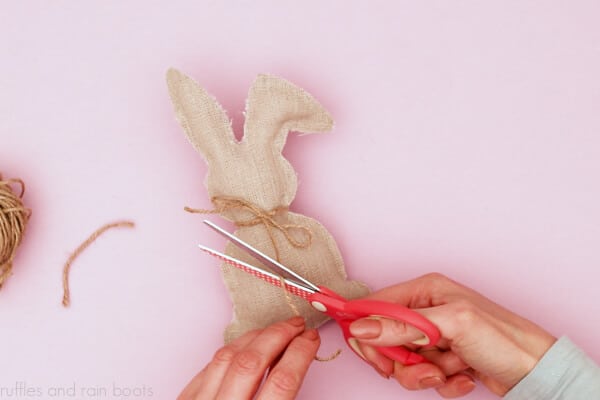
- Add a bow or floral and the drop cloth bunny is done!
Notes
1. For sewing instructions, see the article's "Tips" section. You will need a jeans needle (100/16 or 100/18).
2. Ideas for weight include small, clean pebbles, Poly Pellets, or another non-odor and non-moisture absorbing weight.
3. Decorate with twine, ribbon, bows, tags, or flowers.
Note: each bunny should take about 10 minutes, but the more you do, the less time it takes.
Recommended Products
As an Amazon Associate and member of other affiliate programs, I earn from qualifying purchases.
More Bunny Crafts You Might Like
- Bunny Sock Gnome with a Glove – Use a Dollar Tree glove to make an adorable and trendy gnome.
- Tiered Tray Bunny Using a Clay Pot – This is so elegant and adorable, it’s perfect for a tiered tray (and it uses that other glove)!
- Kid’s Terra Cotta Pot Bunny Craft – If you want a fun Easter or Spring project for a rainy day, this is it.
Please Save or Share This Easy Easter DIY
Your shares are how this site grows and I am sincerely grateful. Please save this fun craft to a farmhouse style pin board or share it on Facebook with a crafty group.
Meet the Creator
Hi there, I’m Sarah Nenni-Daher. I’m a crafty gal and always have at least 14 projects going at once. I am a crafter, designer, DIYer, and pattern maker. I share my creations here and in the Ruffles and Rain Boots® Shop.
Here at Ruffles and Rain Boots®, you’ll find DIY gnomes, crafts, gifts, cupcakes, laser crafts, and so much more. I love sharing video tutorials over on YouTube and chatting with other crafters in my Facebook groups. We’d love to have you!